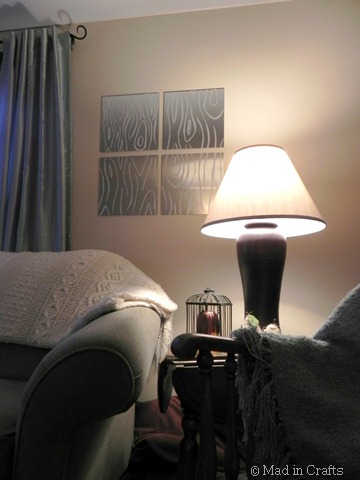
We have had an empty spot over our couch since we moved in. I didn’t want to hang anything too visually “heavy” there because our curtained windows already take up a lot of visual space. I thought a quartet of mirrors would be cool in that spot since they would mimic the shape of the windows.
Please forgive my weird/yucky pictures in this tutorial. Taking picture of mirrors is hard!
You can tell this is an old project by the autumn leaves on my kitchen chandelier!
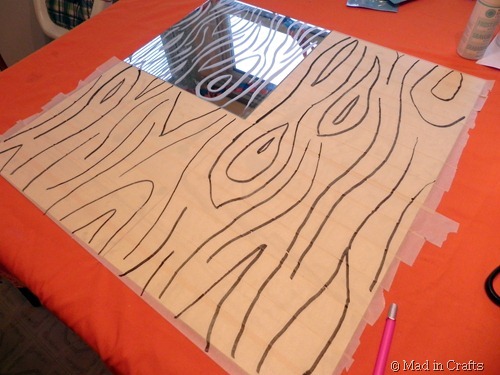
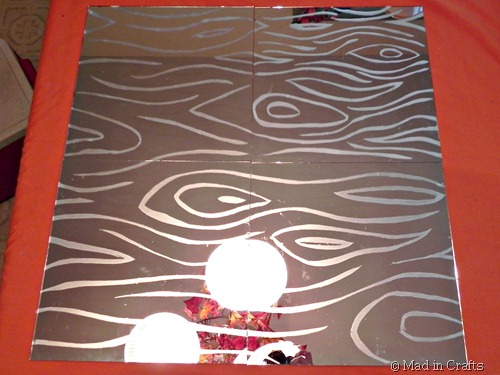
You can see in this picture that I had completely done one mirror tile from start to finish as a test tile to make sure this project worked!
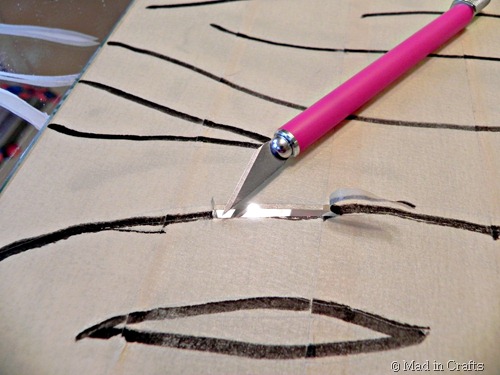
Next, use an exacto knife to trace both sides of each line. You don’t need to be perfectly precise with your tracing, so it doesn’t take all that much time. Then peel each line of faux bois pattern off.
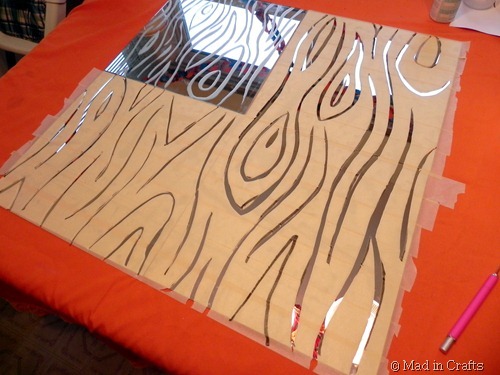
After all the lines are removed it will look something like this.
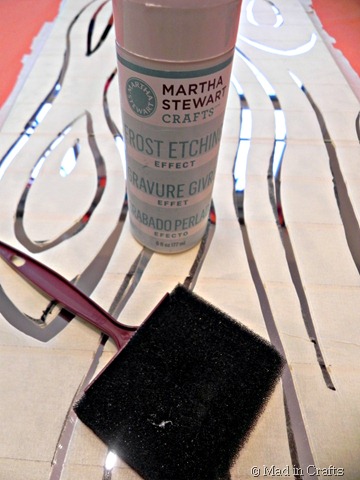
I prefer to use Martha Stewart’s Frost Etching Effect medium to traditional etching solution. This is not caustic at all, and if you make a mistake, you have a bit of time where you can wash it off with water and try again. For the same final look as etching solution, this is much more forgiving!
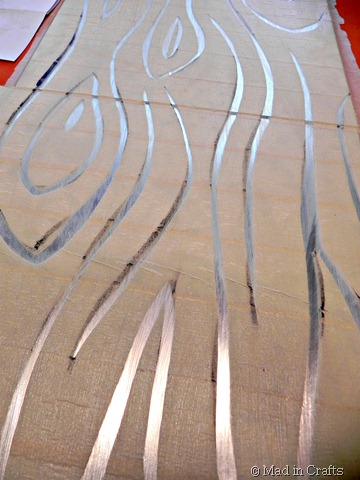
Apply a liberal layer of the frost etching medium over the entire mirror.
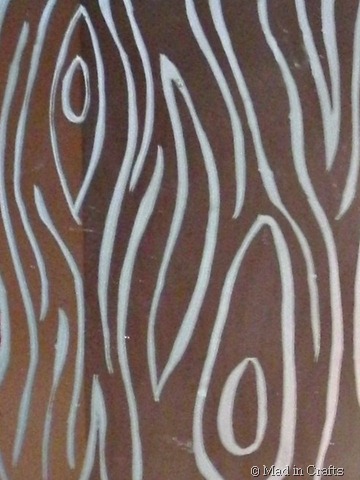
When you peel all off the tape, your etched faux bois pattern will be revealed.
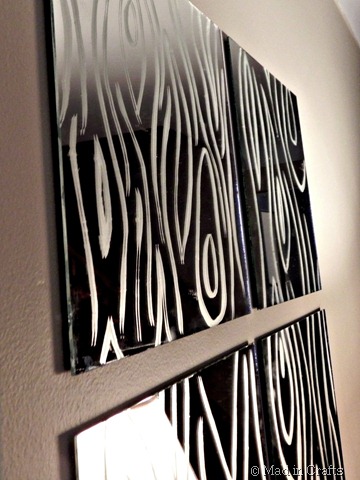
Instead of the headache of positioning a million mirror brackets, I hung these mirror tiles with heavy-duty 3M strips. I followed the directions carefully and the mirrors are still hanging after several months; no mirrors crashing to the floor yet — knock on faux wood!
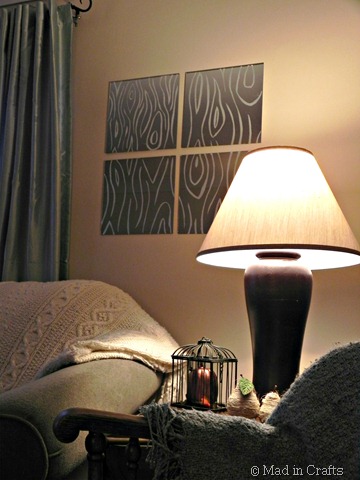
I love the contrast of the sleek, frameless mirrors and the nature-inspired faux bois pattern. With this technique, you can easily replace the faux bois for animal print, stripes, chevron, whatever design you like best!
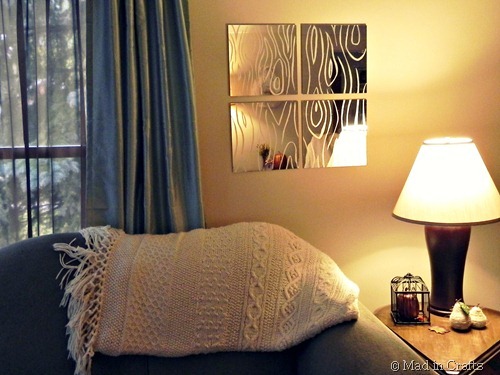
The mirrors have a lovely custom-made look to them. Plus, they are useful for checking to see if I have any food in my teeth on my way out the door!



Leave a Reply