I am so excited to have a guest post today from the FABULOUS Amy Anderson! I have had the chance to work for her and Heather Mann over at Décor Hacks, and they are both just the greatest bosses ever. They also just started a company called Blueprint Social which offers creative online marketing campaigns to connect creative bloggers and brands. If you are a creative blogger, you should check them out!
In her free time (HA!), Amy makes some fantastic craft projects using her beloved Mod Podge. She is sharing one of her creations here today.
This is Amy from Mod Podge Rocks, so pleased to be here today! I have been blogging for almost four years at MPR, and I am (as you can guess) addicted to crafts and DIY. I love creating, but I also love writing. I co-own Decor Hacks with Heather Mann, and I contribute to Babble.com’s The New Home Ec. Not to mention that I have a new book coming out this June called Mod Podge Rocks. You could say I keep busy.
I hope you enjoy my Custom Mod Podge Coasters. I made them with bright colors and papers/paint because that’s what I like, but you can customize it to fit your decor. Here’s how I made it!
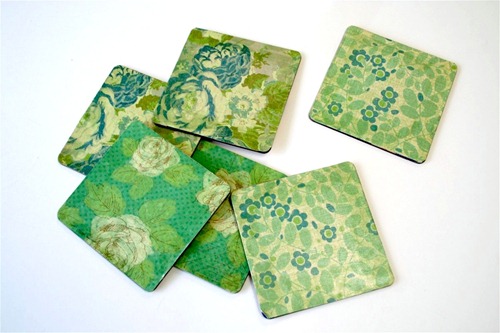
Are you interested in decoupage, but don’t know where to begin? Have I got the project for you! Coasters are great for home décor and gifts, and are the perfect project to start with if you have never used Mod Podge. I got mine from the dollar bin at my local craft store, but these are easy to find at almost any thrift store. There is always a set needing a little love. Set aside a few hours one afternoon, grab your Mod Podge and you’re ready to go.
To make, you’ll need to gather these supplies:
Coasters – mine are from the $1 bins at Michaels
K & Company Scrapbook paper – 3 sheets coordinating
Ranger Adirondack Alcohol Ink Set Cottage Path (I used Meadow)
Mod Podge Outdoor
Flat Paint Brush
Scissors or Craft Knife
Ruler
Pencil or Pen
Cotton cloth or facial round – something disposable for alcohol ink application
Sandpaper (optional)
Here are the coasters I started with. They were only $1 for six!
I sanded my coasters lightly because the paper on top had a coating, and I wanted to rough it up so that the Mod Podge would stick well.
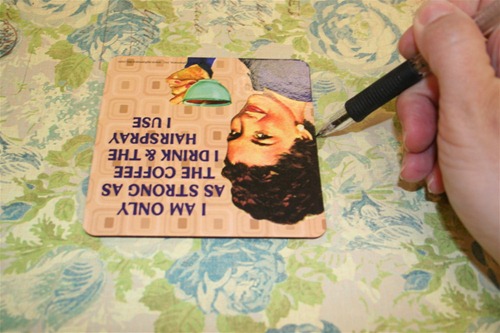
Place one coaster down on the paper and trace – repeat for as many coasters as you have. I used three different sheets of coordinating papers, two coasters came out of each sheet. When you are done tracing, cut out the coaster shapes with your craft knife or scissors.
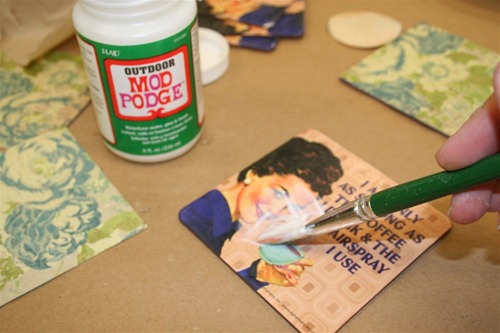
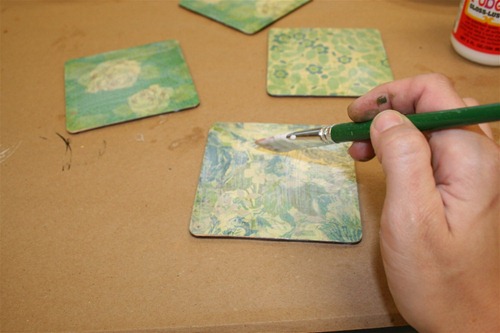
Spread your Mod Podge down on the surface of the coaster in a medium layer. Apply the paper and SMOOTH thoroughly until the air bubbles are removed. Wipe away any Mod Podge that comes out the edges with your brush. Repeat with the other coasters and then allow them to dry for 15 – 20 minutes.
DO NOT Mod Podge over the top yet.
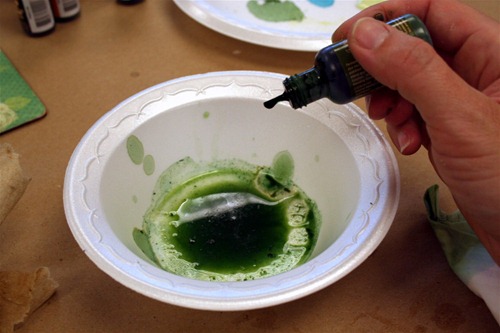
The alcohol ink adds a little extra color and distressing effect around the edges. I grabbed a bowl and mixed some Meadow ink with water.
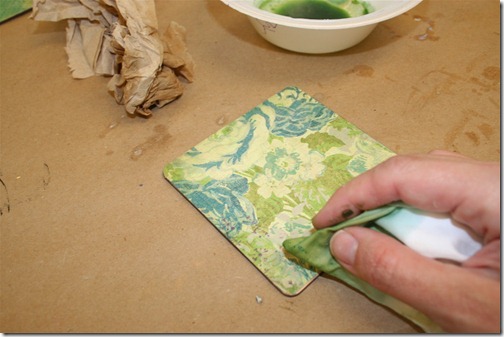
Using your cloth or facial round, apply the ink to the edges. Add more ink for a stronger color effect. Allow to dry.
Once they are dry, seal them with at least two more coats of your Mod Podge. I used the Outdoor to seal (even though my Gloss is sitting nearby) – this is the most water resistant!
Your coasters are finished, but before you use them, I HIGHLY recommend spraying with an outdoor sealer to make them waterproof.
Thank you Jess, for having me today! Please feel free to visit me at Mod Podge Rocks anytime, or follow me on Facebook or Pinterest. Have a great day!
Thanks for the great beginner’s tutorial, Amy! Make sure you visit Amy on MPR and tell her you loved her on Mad in Crafts!




Great tutorial! Definitely have been looking for some cute coasters for my apartment, but I think I’ll try to make my own now! (Also, fyi, the first pic in this post is no longer working.)
Thanks!
Beth
thanks for share!