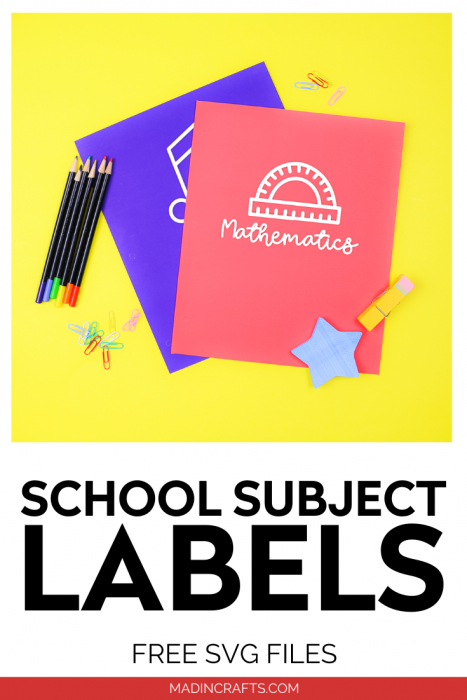
For years I have tried different ways to make sure that my kids know which folder is for which school subject. We’ve color-coded. We have written the school subject on the front in permanent marker. But inevitably, one of them brings home the wrong folder and can’t get their homework done properly. I thought maybe making some giant school subject stickers for the front of the folders might work. Hope springs eternal, right? I used Cricut Smart Paper Sticker Cardstock to make a set of school subject folders to help us get organized for the school year.
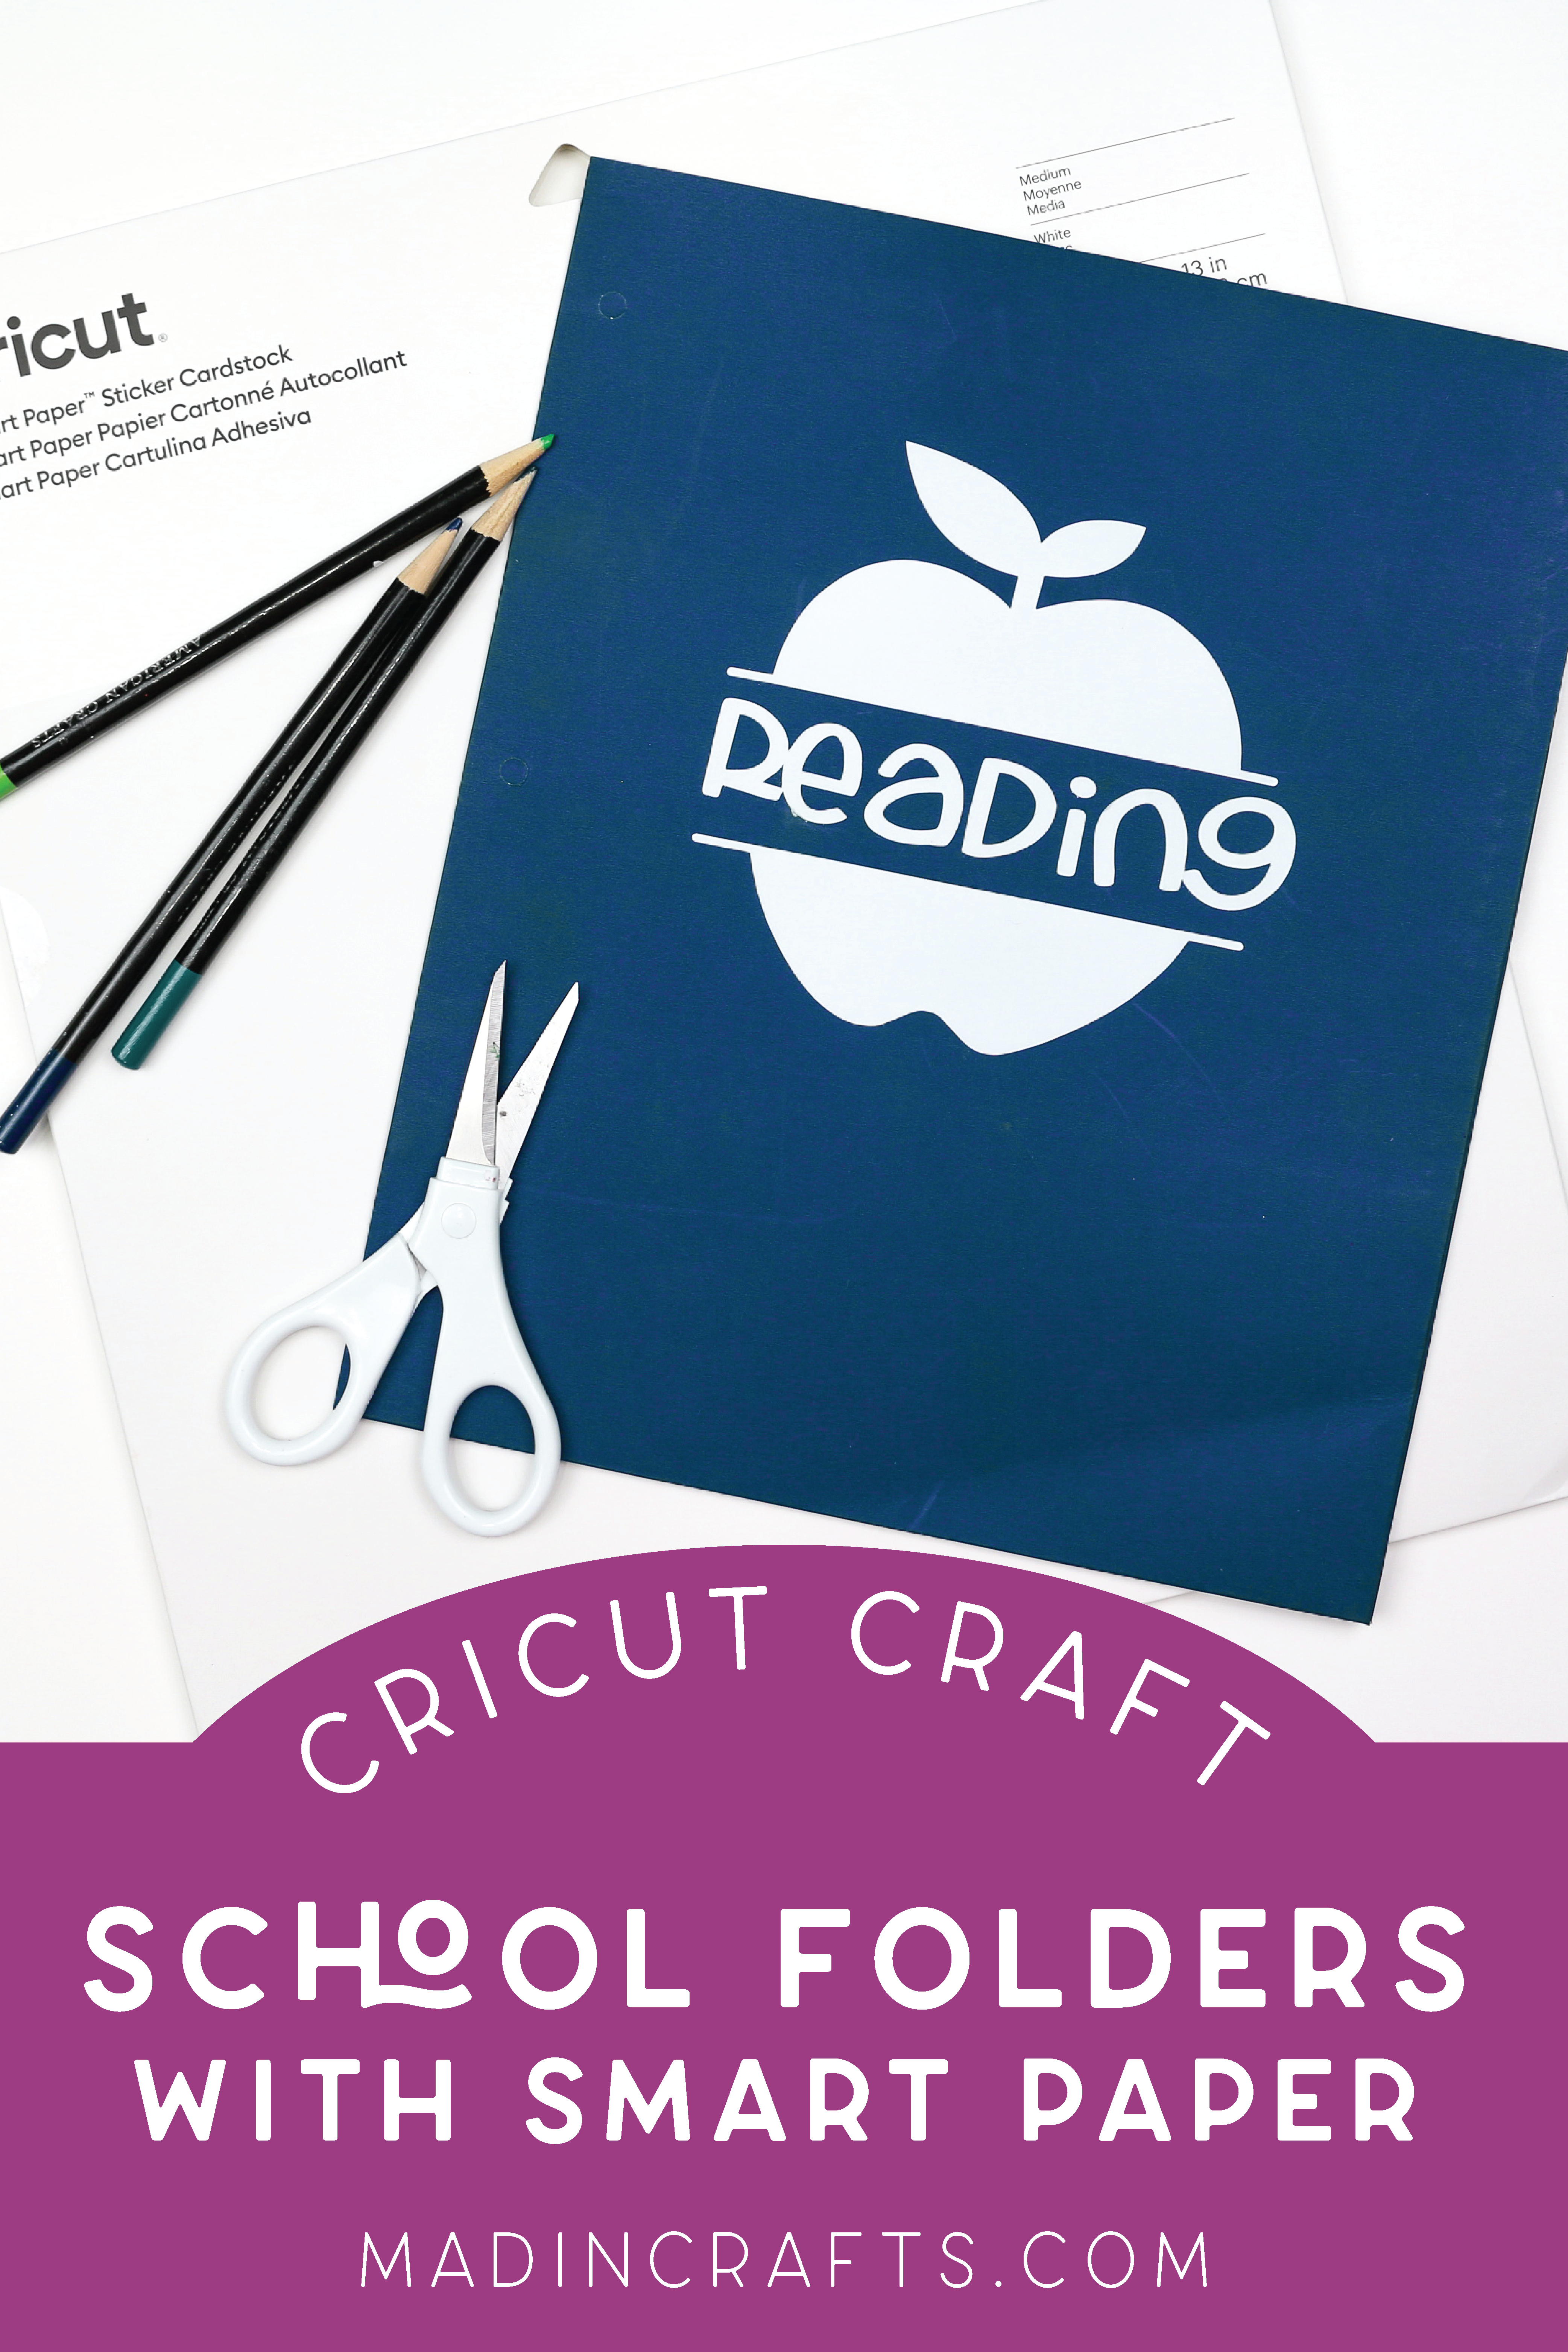
CRICUT SMART PAPER SCHOOL SUBJECT FOLDERS
WHAT YOU NEED TO MAKE SCHOOL FOLDERS WITH SMART STICKER PAPER
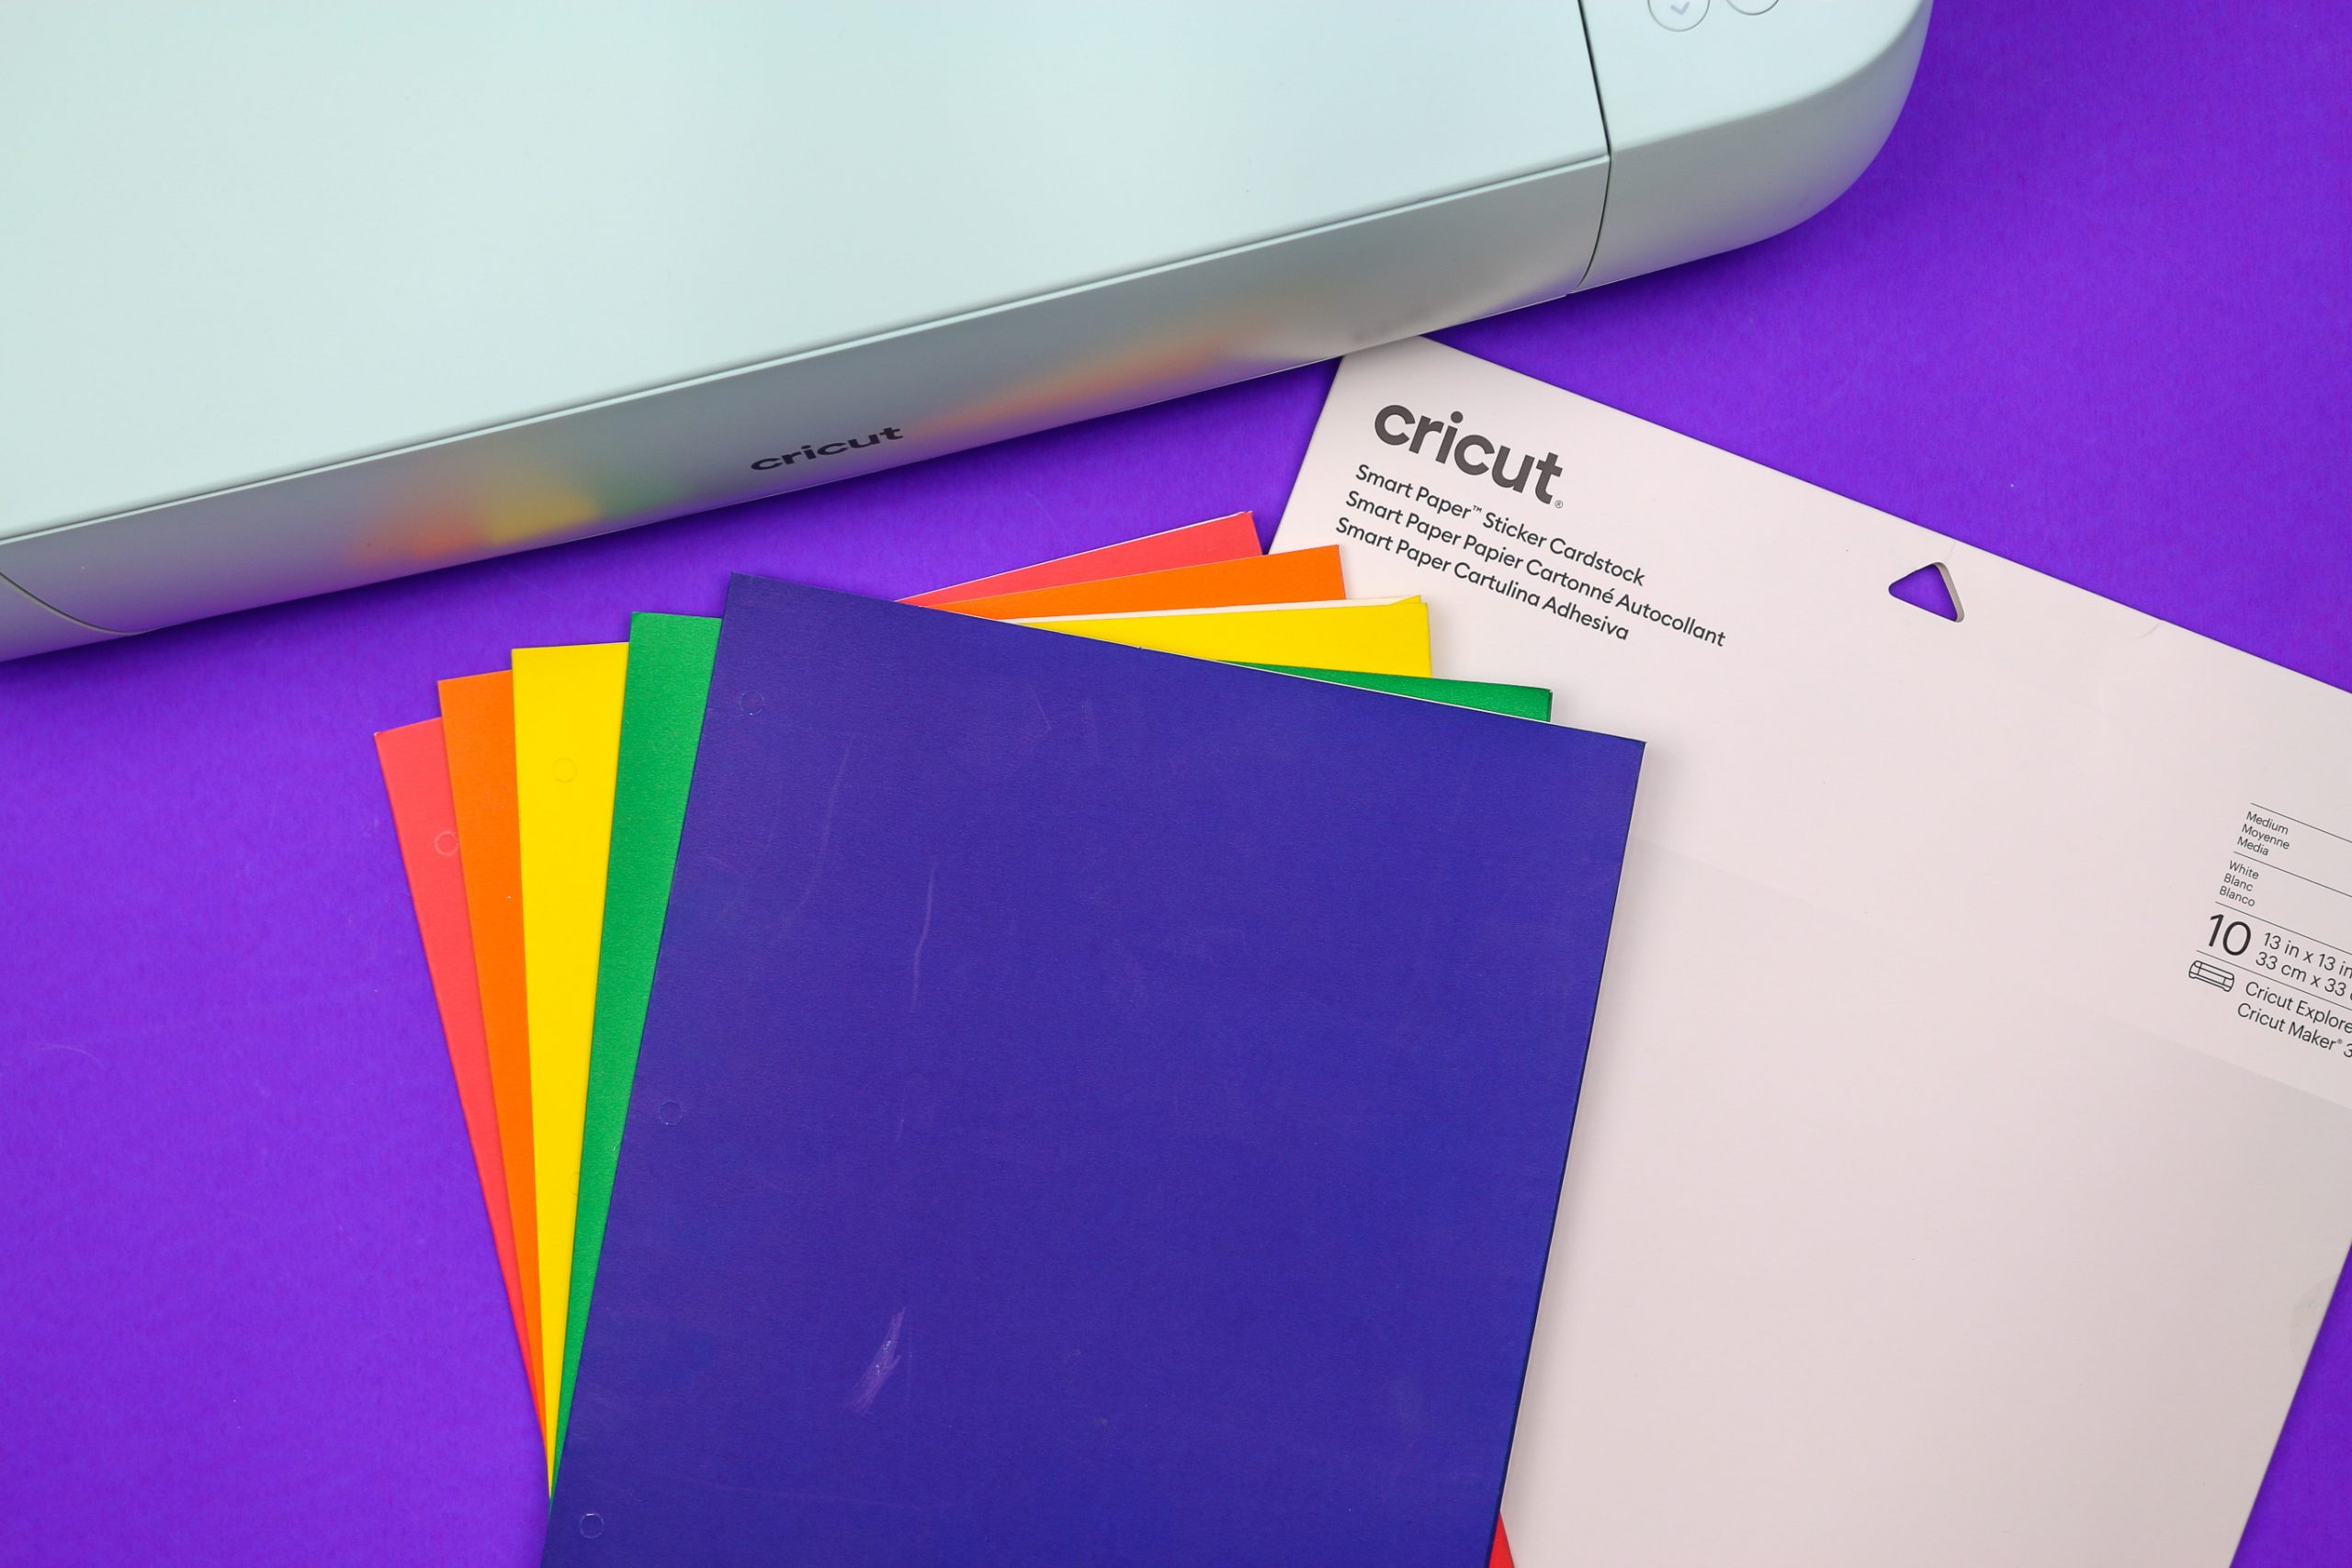
Cricut Smart Sticker Paper works with the Cricut Maker 3 and the Explore 3 without needing a mat. You can also buy smaller sticker paper for the Cricut Joy. You can cut the paper with another cricut machine as well, but you will need to use a mat.
These are all affiliate links, if you make a purchase (of anything from the site, not just these items) after clicking through, I will earn a small commission. Ads and affiliate links are the way I am able to keep this website running and to offer you free tutorials all year long. Thank you so much for supporting me and Mad in Crafts!
- Cricut Explore 3 (or Maker 3)
- Smart Paper Sticker Cardstock
- Cricut Access
- school folders

Want to know which craft supplies I always keep in my craft room?
Visit the Mad in Crafts Amazon Storefront to learn more and to buy your own supplies!
HOW TO USE STICKER CARDSTOCK TO MAKE SCHOOL FOLDERS
I thought about how to walk you through the process of creating the design in Cricut Design Space when I realized it would be way easier to just show you in a video. I screen-recorded myself working in the mobile version of Design Space and then actually adding the design to the folders.
Smart Sticker Paper Folders
- Open Cricut Design Space and search through the Access images for “Apple Border.”
Insert that image into a new canvas.
- (Optional) Use the Contour tool to remove any elements of the design you don’t like.
Open the Contour tool and deselect any elements you would like to remove.
- Weld the layers together using the Weld tool.
Select the whole design, navigate to the actions menu, and click Weld.
- Resize your design to fit your folders.
- Select the image and change it to No Fill.
Navigate to the Fill tool, click the dropdown menu, and select No Fill.
- Duplicate the image for as many folders as you would like to make.
- Open the text tool and select a font.
- Type in the school subject in the text box.
Adjust the line spacing and font size as necessary to make the text slightly touch each other.
- Duplicate the text and change the wording to the other school subject names.
- Weld all the layers of the design together.
Select all the elements of the canvas, navigate to the actions folder, and click weld.
COLORING THE FOLDER STICKERS
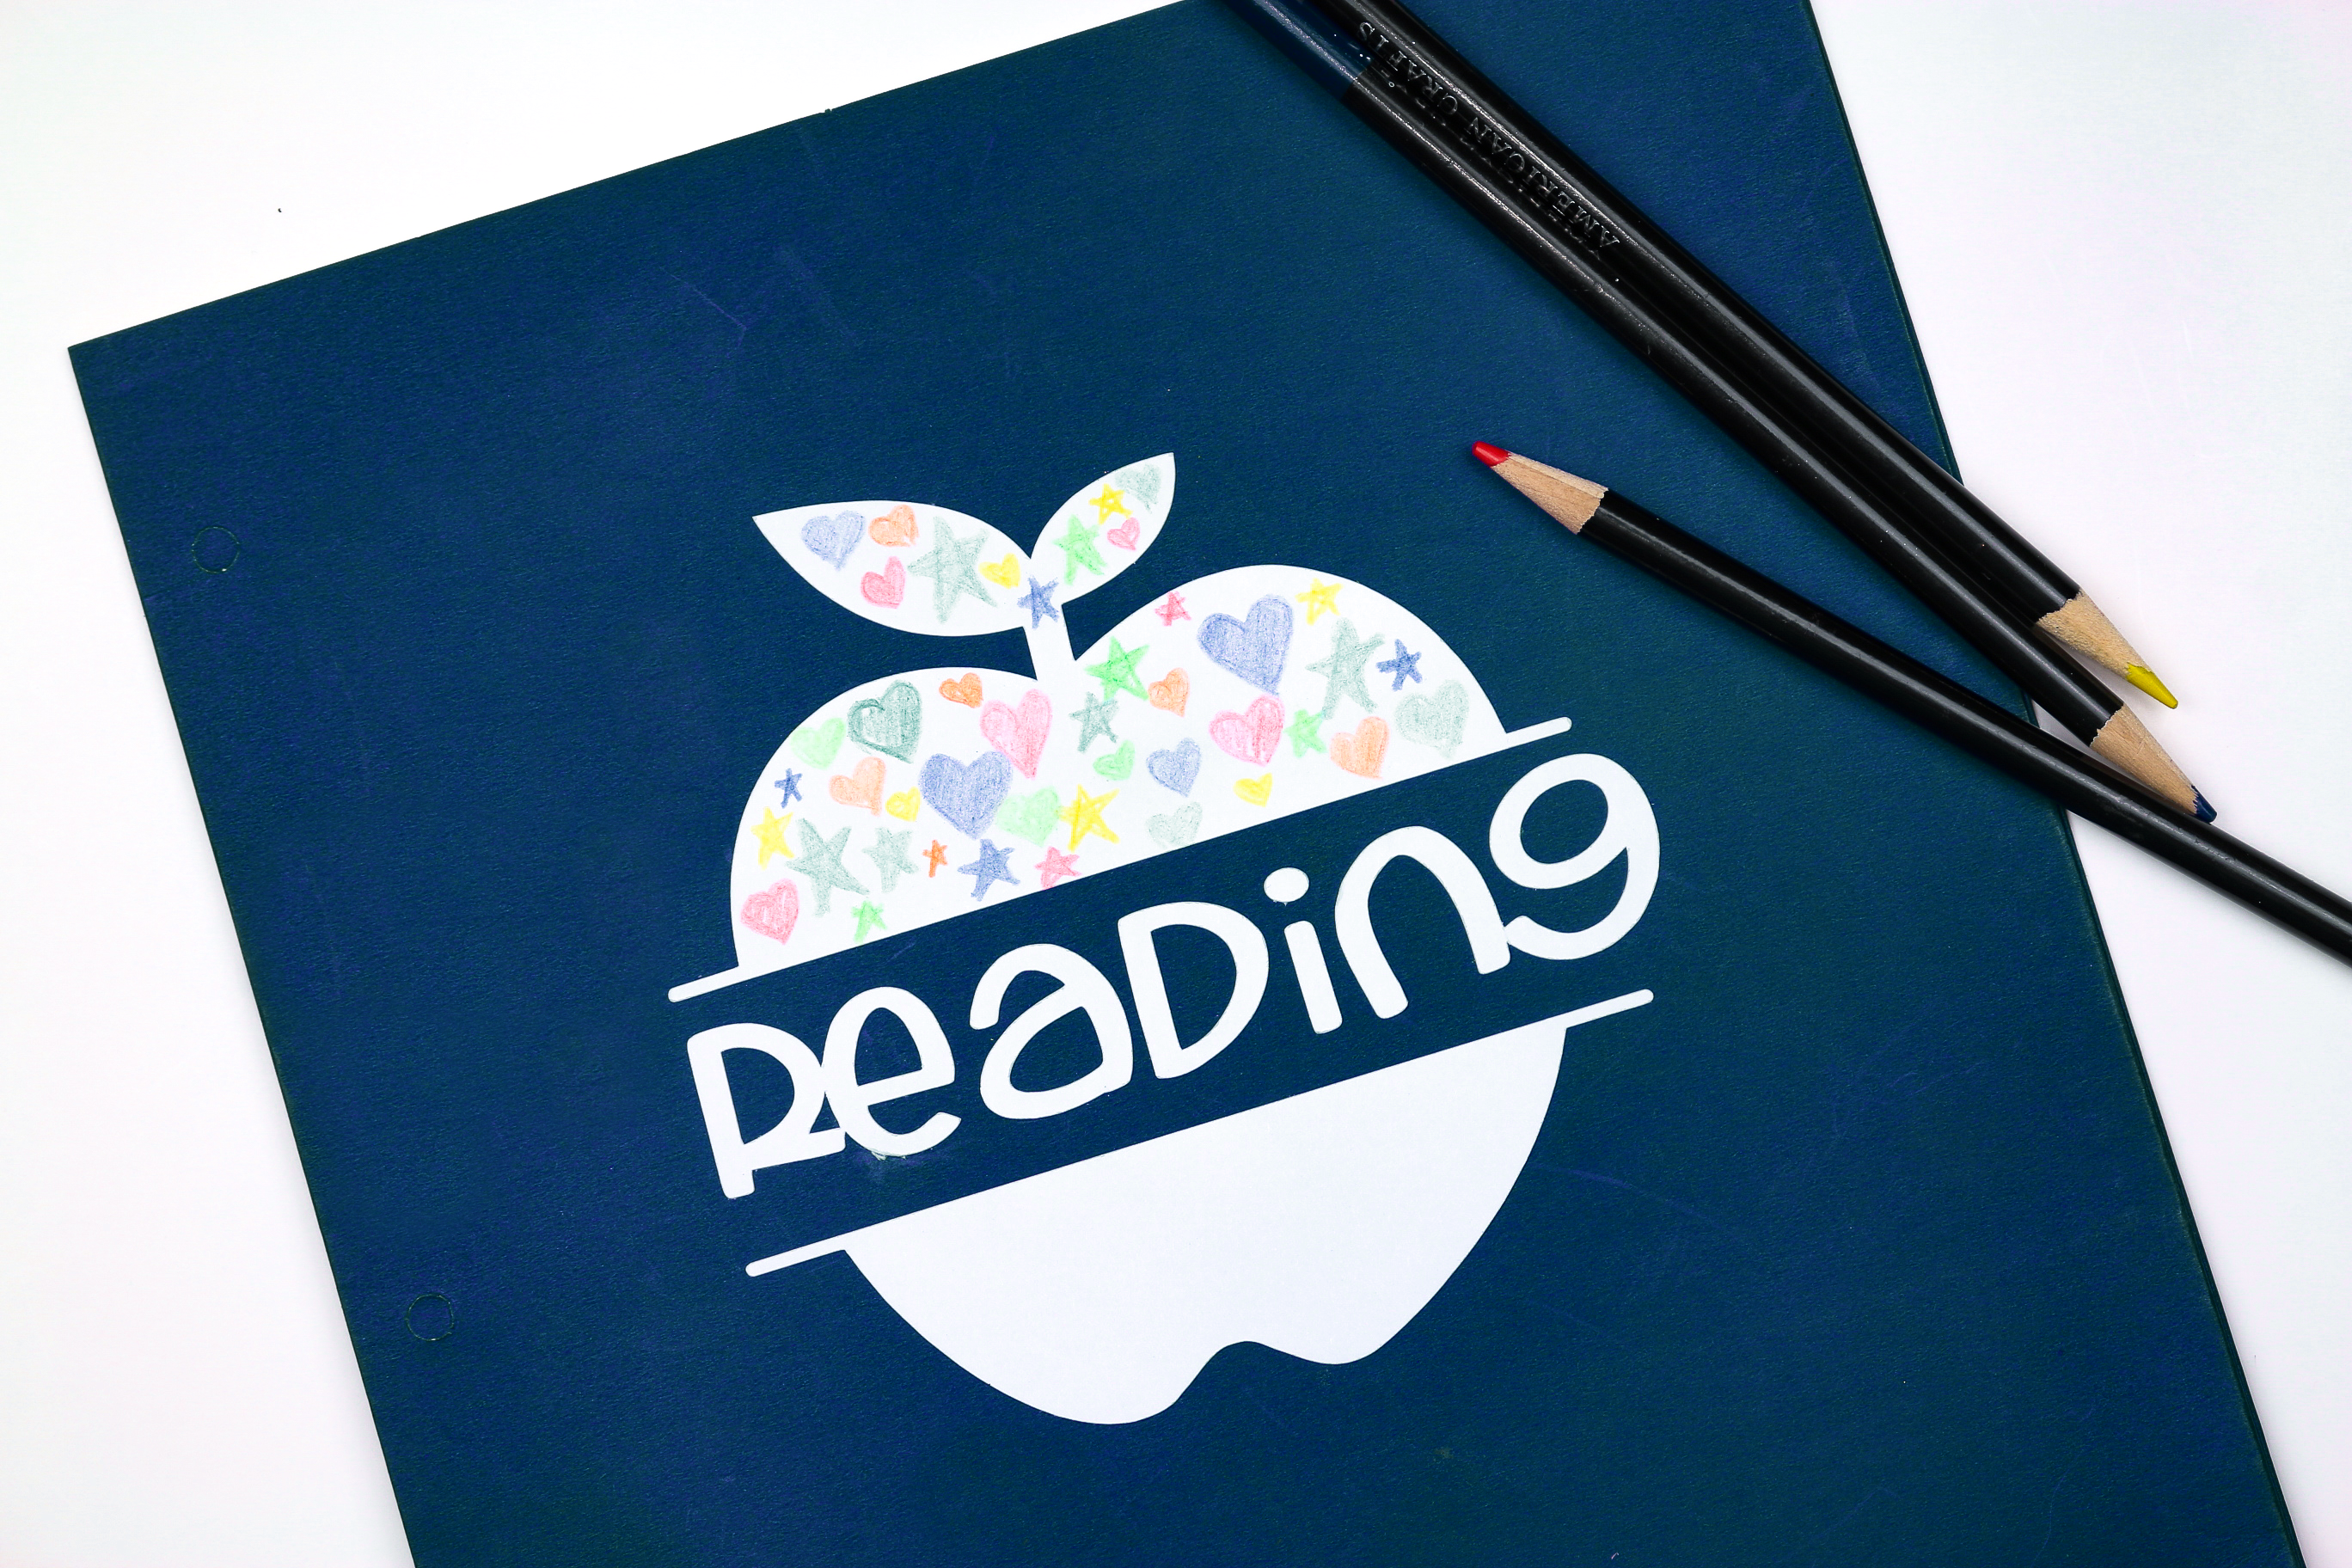
Since the Smart Paper stickers are cardstock, you can color in the stickers however you would like! Let your kids have fun personalizing the stickers with crayons, colored pencils, or markers. You can do this before or after you add the stickers to the folders.
You can definitely use these stickers on school supplies other than folders. Add the stickers to binders, notebooks, or book covers, or use them for as school labels in your classroom by putting them on cubbies, bulletin boards, and bins.
What other fun projects would you make with this sticker paper?

