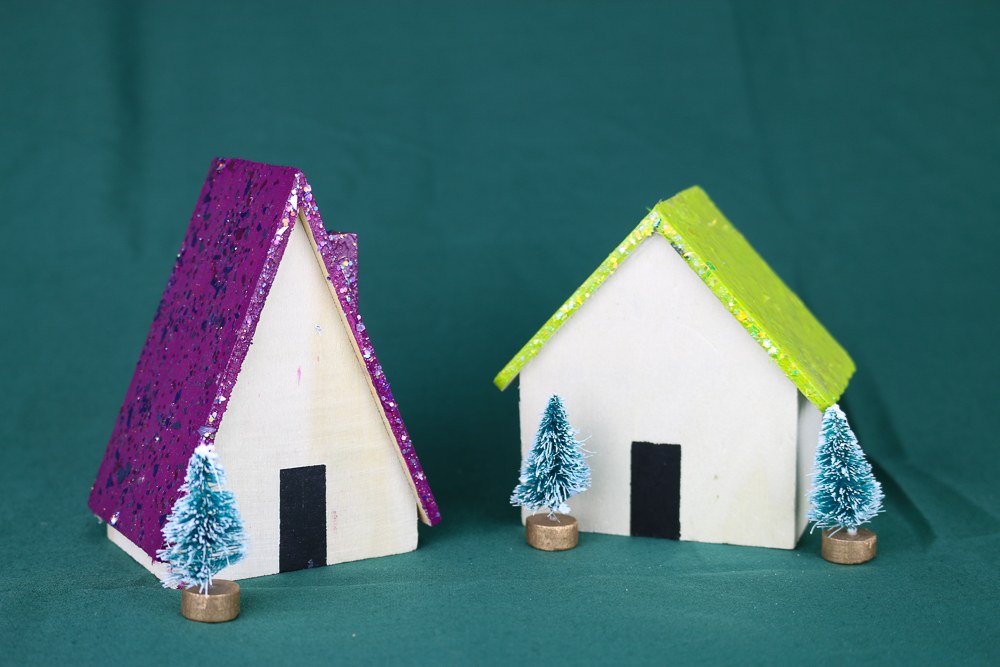
Most of the Christmas decorations in my house are pretty neutral and classic. I have lots of white, dark green, and natural wood decor that gives our house a peaceful Christmas vibe. But sometimes I want bright, colorful, and sparkly decorations too! I painted a colorful Glitterific Christmas village to add some pizzazz to my holiday decor.
PAPER GINGERBREAD ORNAMENTS WITH TEMPLATE
WHAT YOU NEED TO MAKE A GLITTERIFIC CHRISTMAS VILLAGE
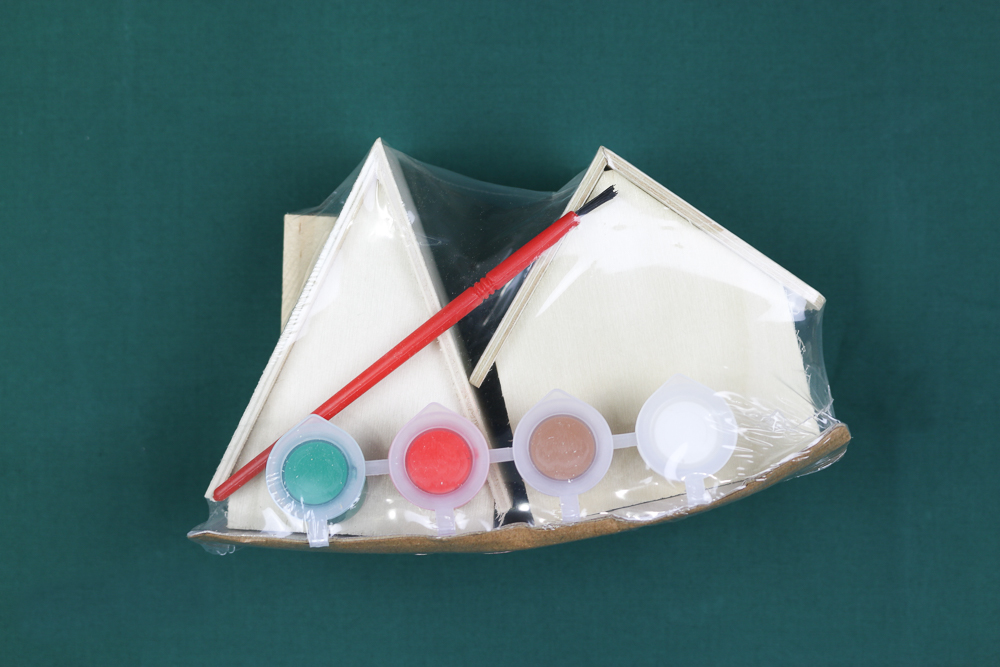
I found my wooden Christmas houses in the dollar spot section of Target, but any Christmas village houses will work. You can even give dollar store houses a quick coat of white spray paint and then follow the steps below to make them colorful and sparkly!
I recommend coordinating the colors of craft paint and Glitterific that you use. For example, I used the dark blue Glitterific over navy craft paint.
These are all affiliate links, if you make a purchase (of anything from the site, not just these items) after clicking through, I will earn a small commission. Ads and affiliate links are the way I am able to keep this website running and to offer you free tutorials all year long. Thank you so much for supporting me and Mad in Crafts!
- mini craft houses
- sandpaper
- paintbrushes
- painter’s tape
- craft paint
- Glitterific

Want to know which craft supplies I always keep in my craft room?
Visit the Mad in Crafts Amazon Storefront to learn more and to buy your own supplies!
HOW TO MAKE A NO-MESS GLITTER CHRISTMAS VILLAGE
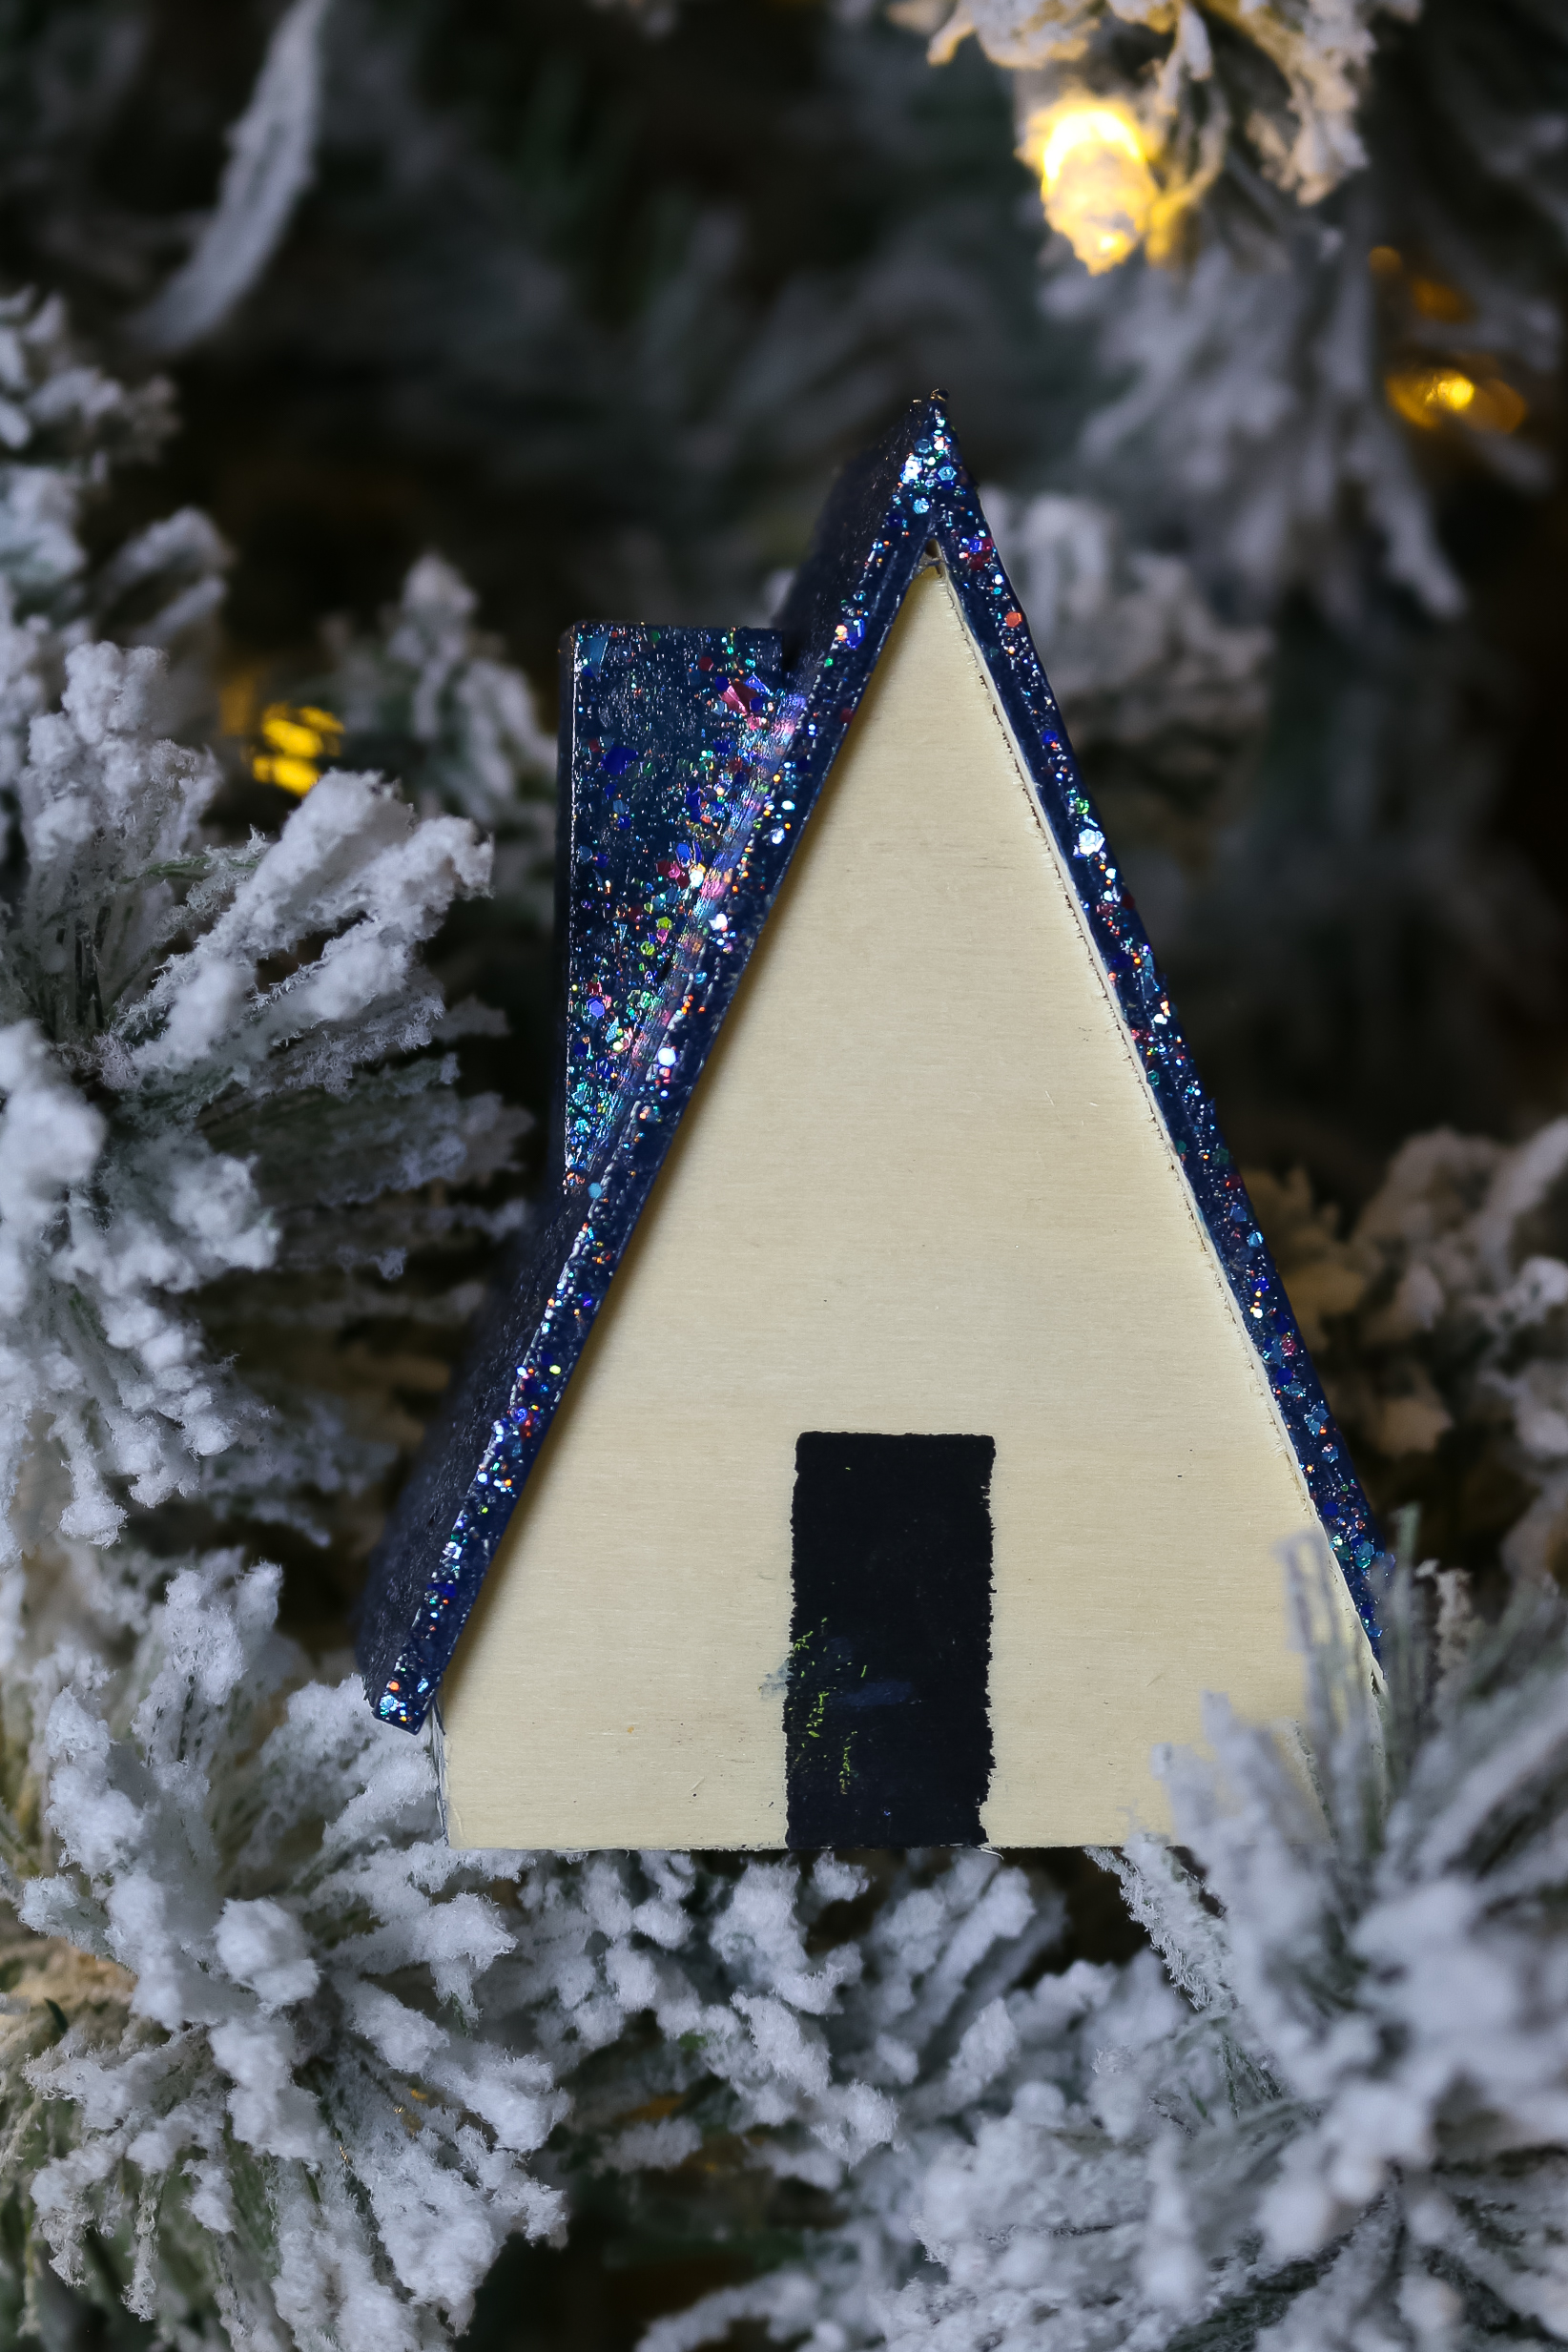
This is an easy and satisfying Christmas project that will give you great results with a minimum amount of effort! And, since you will be using Glitterific paint rather than loose glitter, you can avoid a sparkly mess.
Glitterific Christmas Village
- Sand off any rough edges of the wood houses.

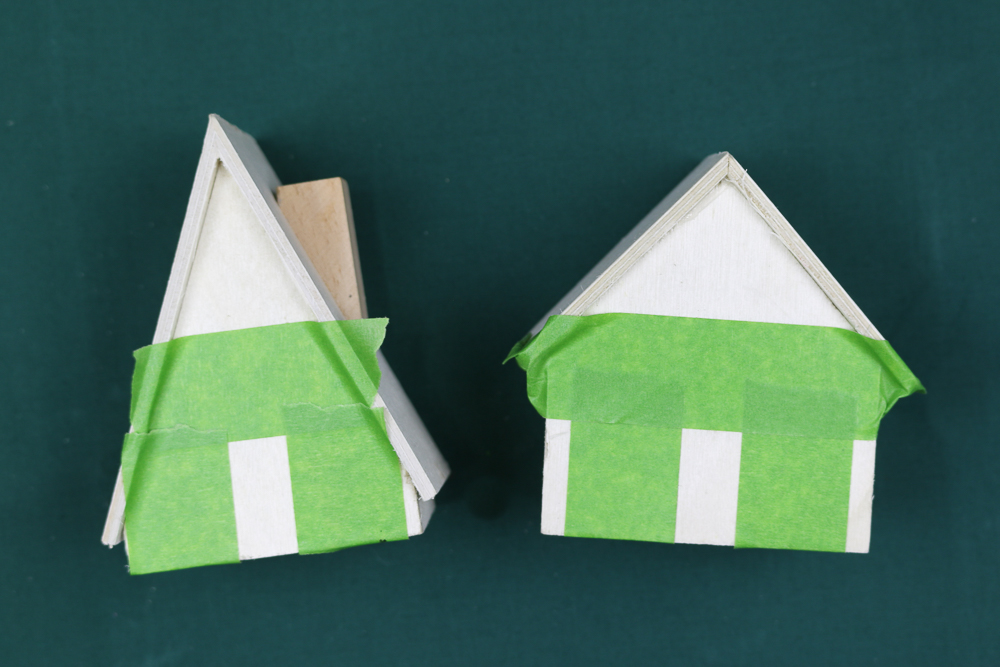
- Use painter’s tape to tape off doors on the front of the houses.
Run your fingers over the edges of the tape to make sure the tape is pressed down completely.

- Use black craft paint to paint in the doors. Remove the painter’s tape while the paint is still wet.

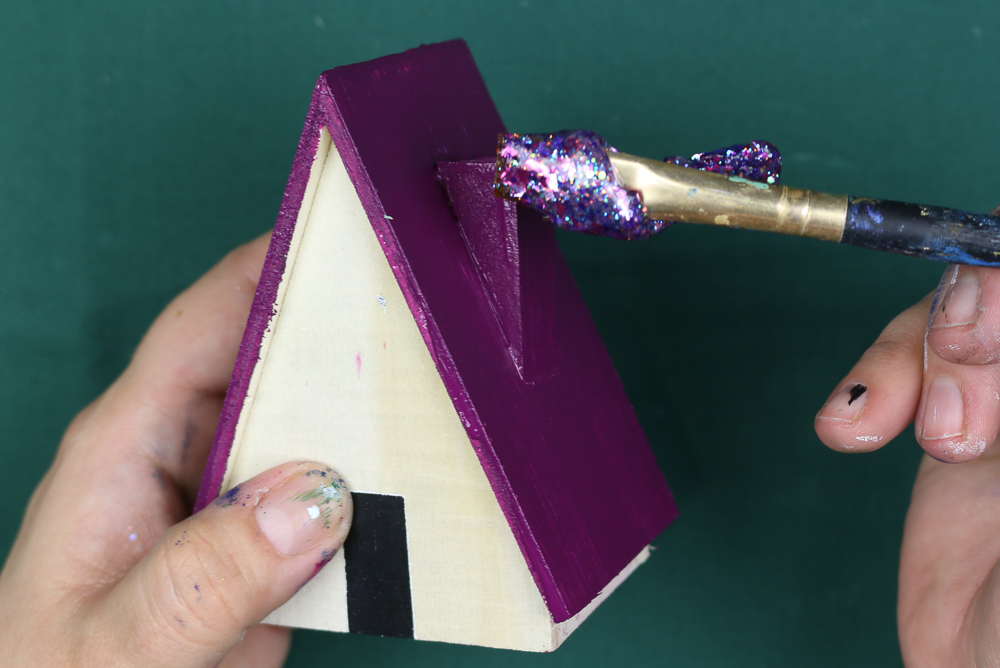
- Paint the roof of each house with colorful craft paint. Let the paint dry completely.

- Add a thick coat of Glitterific paint in a color that coordinates with the craft paint you used on the roof.

- Let the Glitterific dry and display your new houses!

TIPS FOR WORKING WITH GLITTERIFIC PAINT
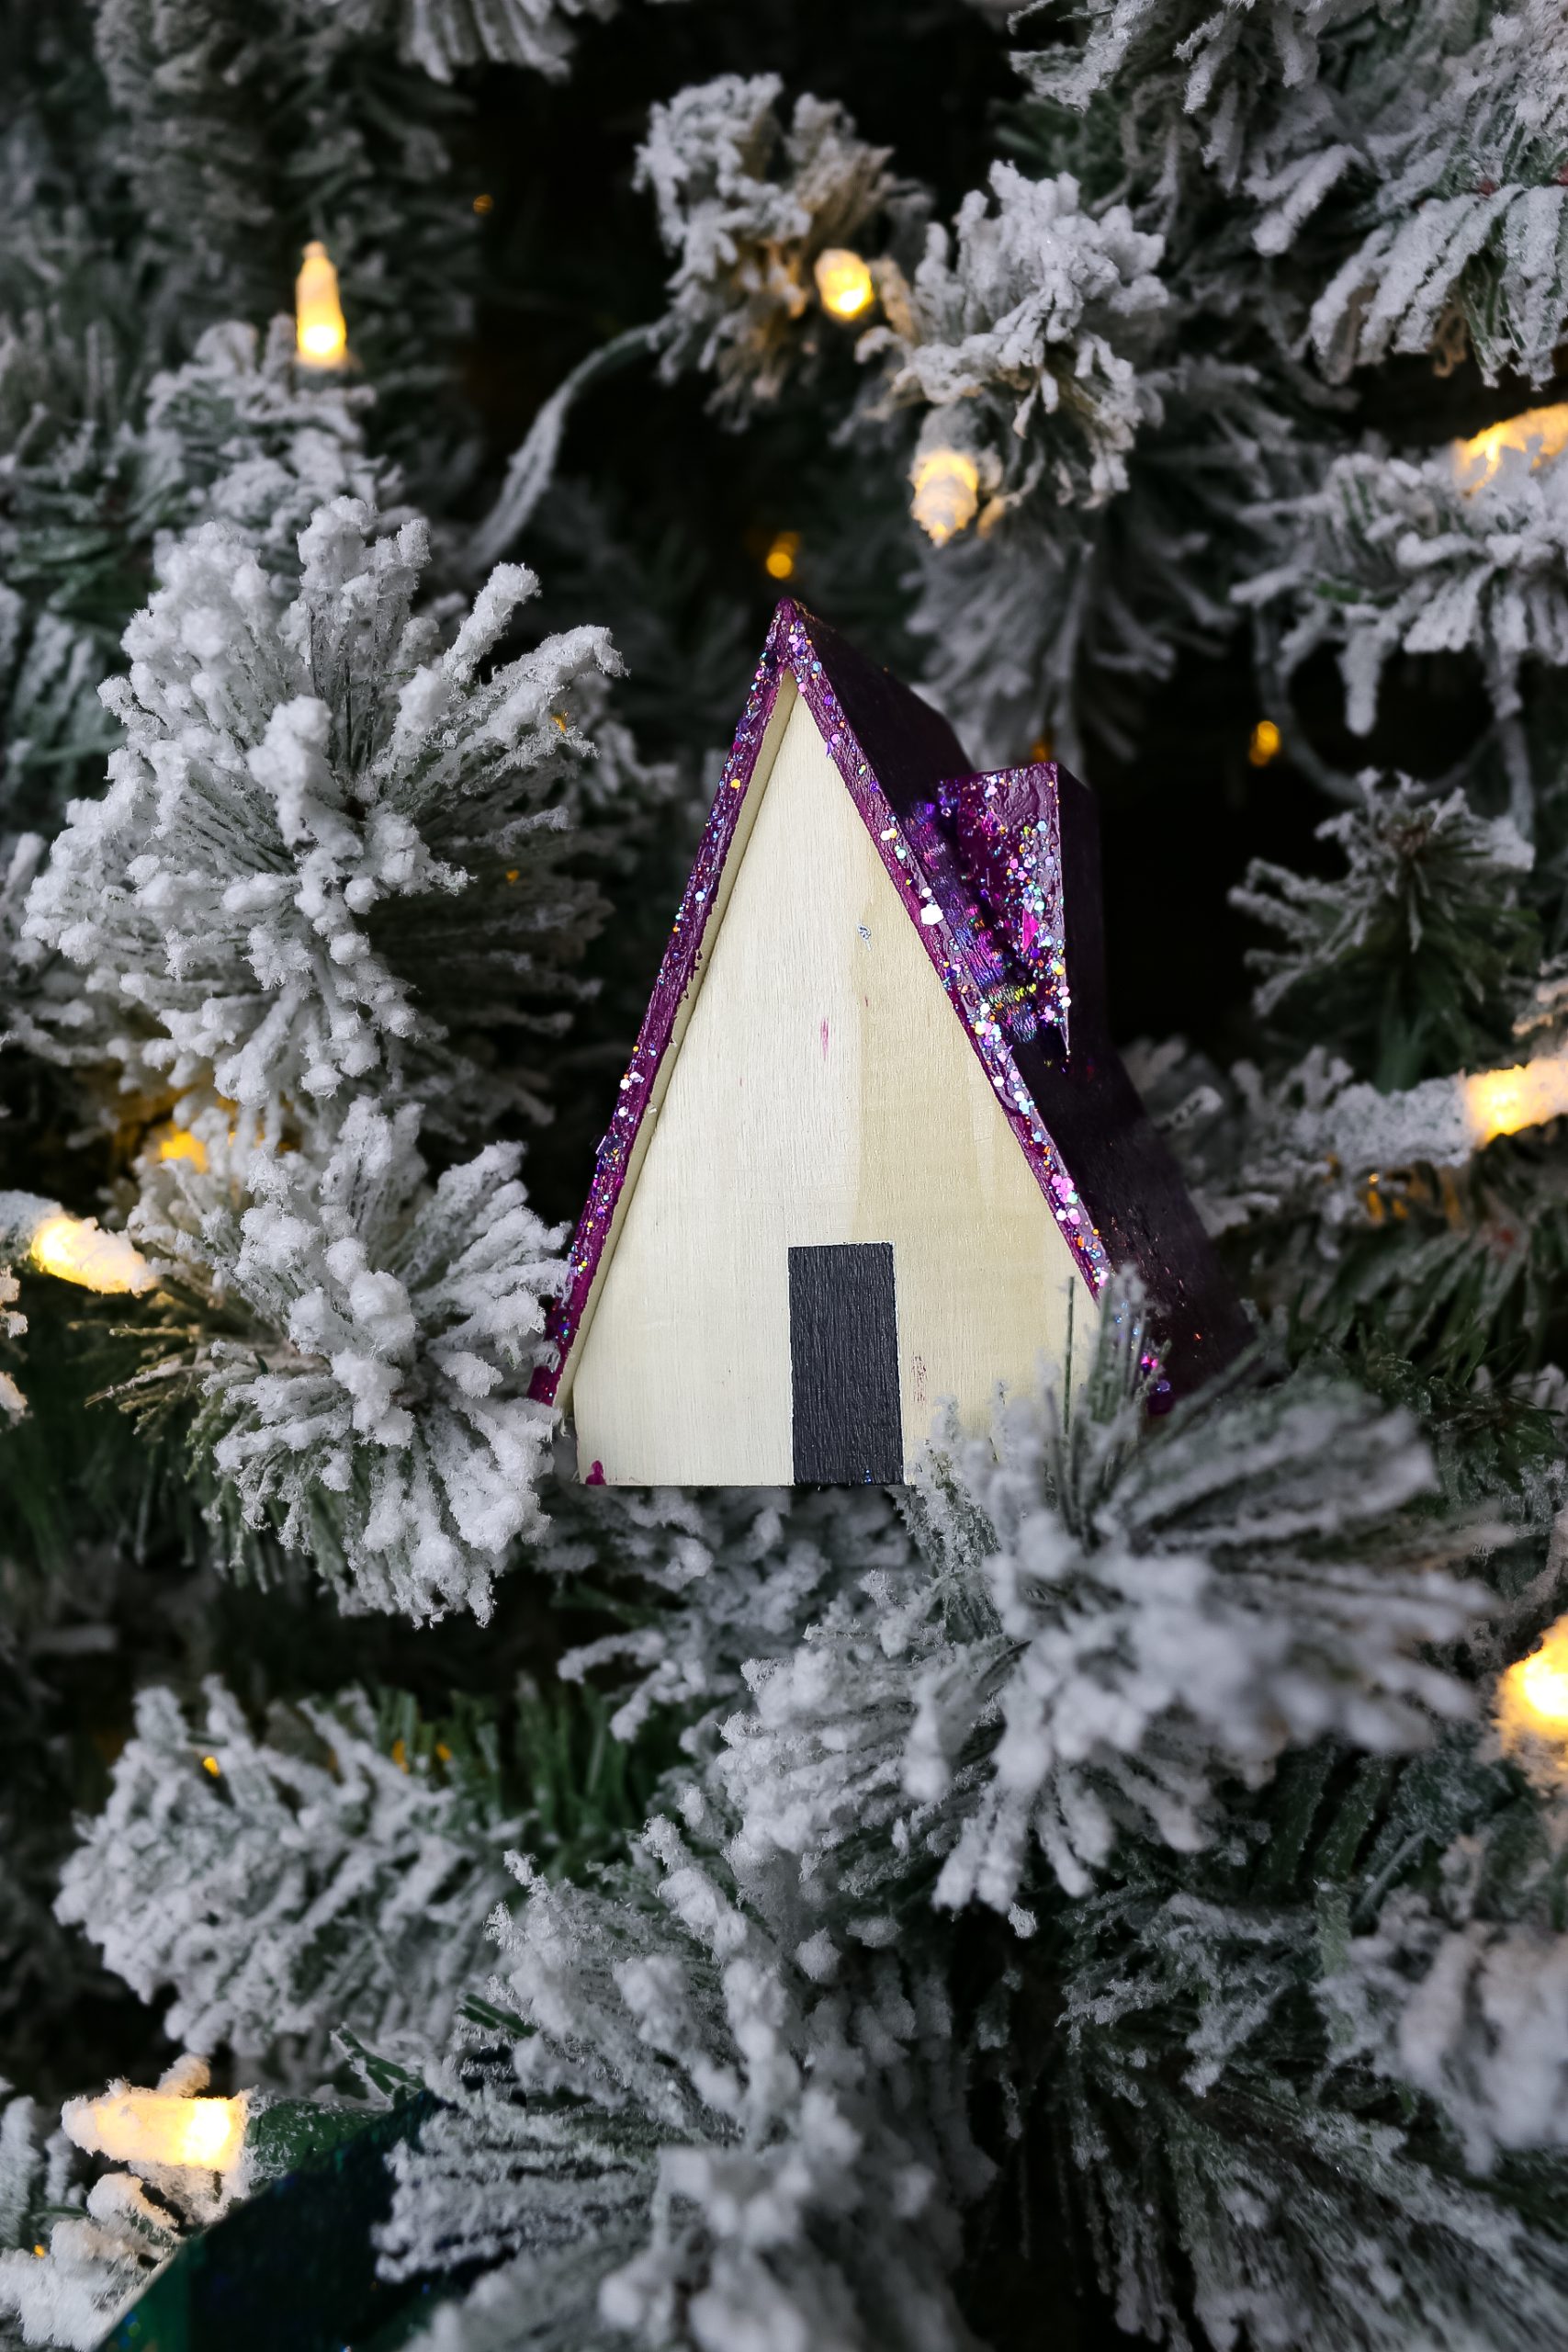
Glitterific is a fantastic way to add sparkly to holiday projects without the mess! Since the glitter is contained in the gel-like base, you don’t have to worry about glitter escaping all over your home. Here are a few of my best tricks for working with this unique paint:
- Use a wide, flat paintbrush or a foam brush to apply the Glitterific.
- The texture of Glitterific is closer to glue than paint, so think more about laying the Glitterific down and spreading it out rather than painting.
- Don’t overwork the Glitterific once it is applied because that moves the glitter pieces around and may cause clumping.
- Glitterific dries pretty quickly, but any areas where you have applied a thicker coat will take longer to dry. I like to leave mine overnight before handling.
DISPLAYING YOUR GLITTERED CHRISTMAS HOUSES
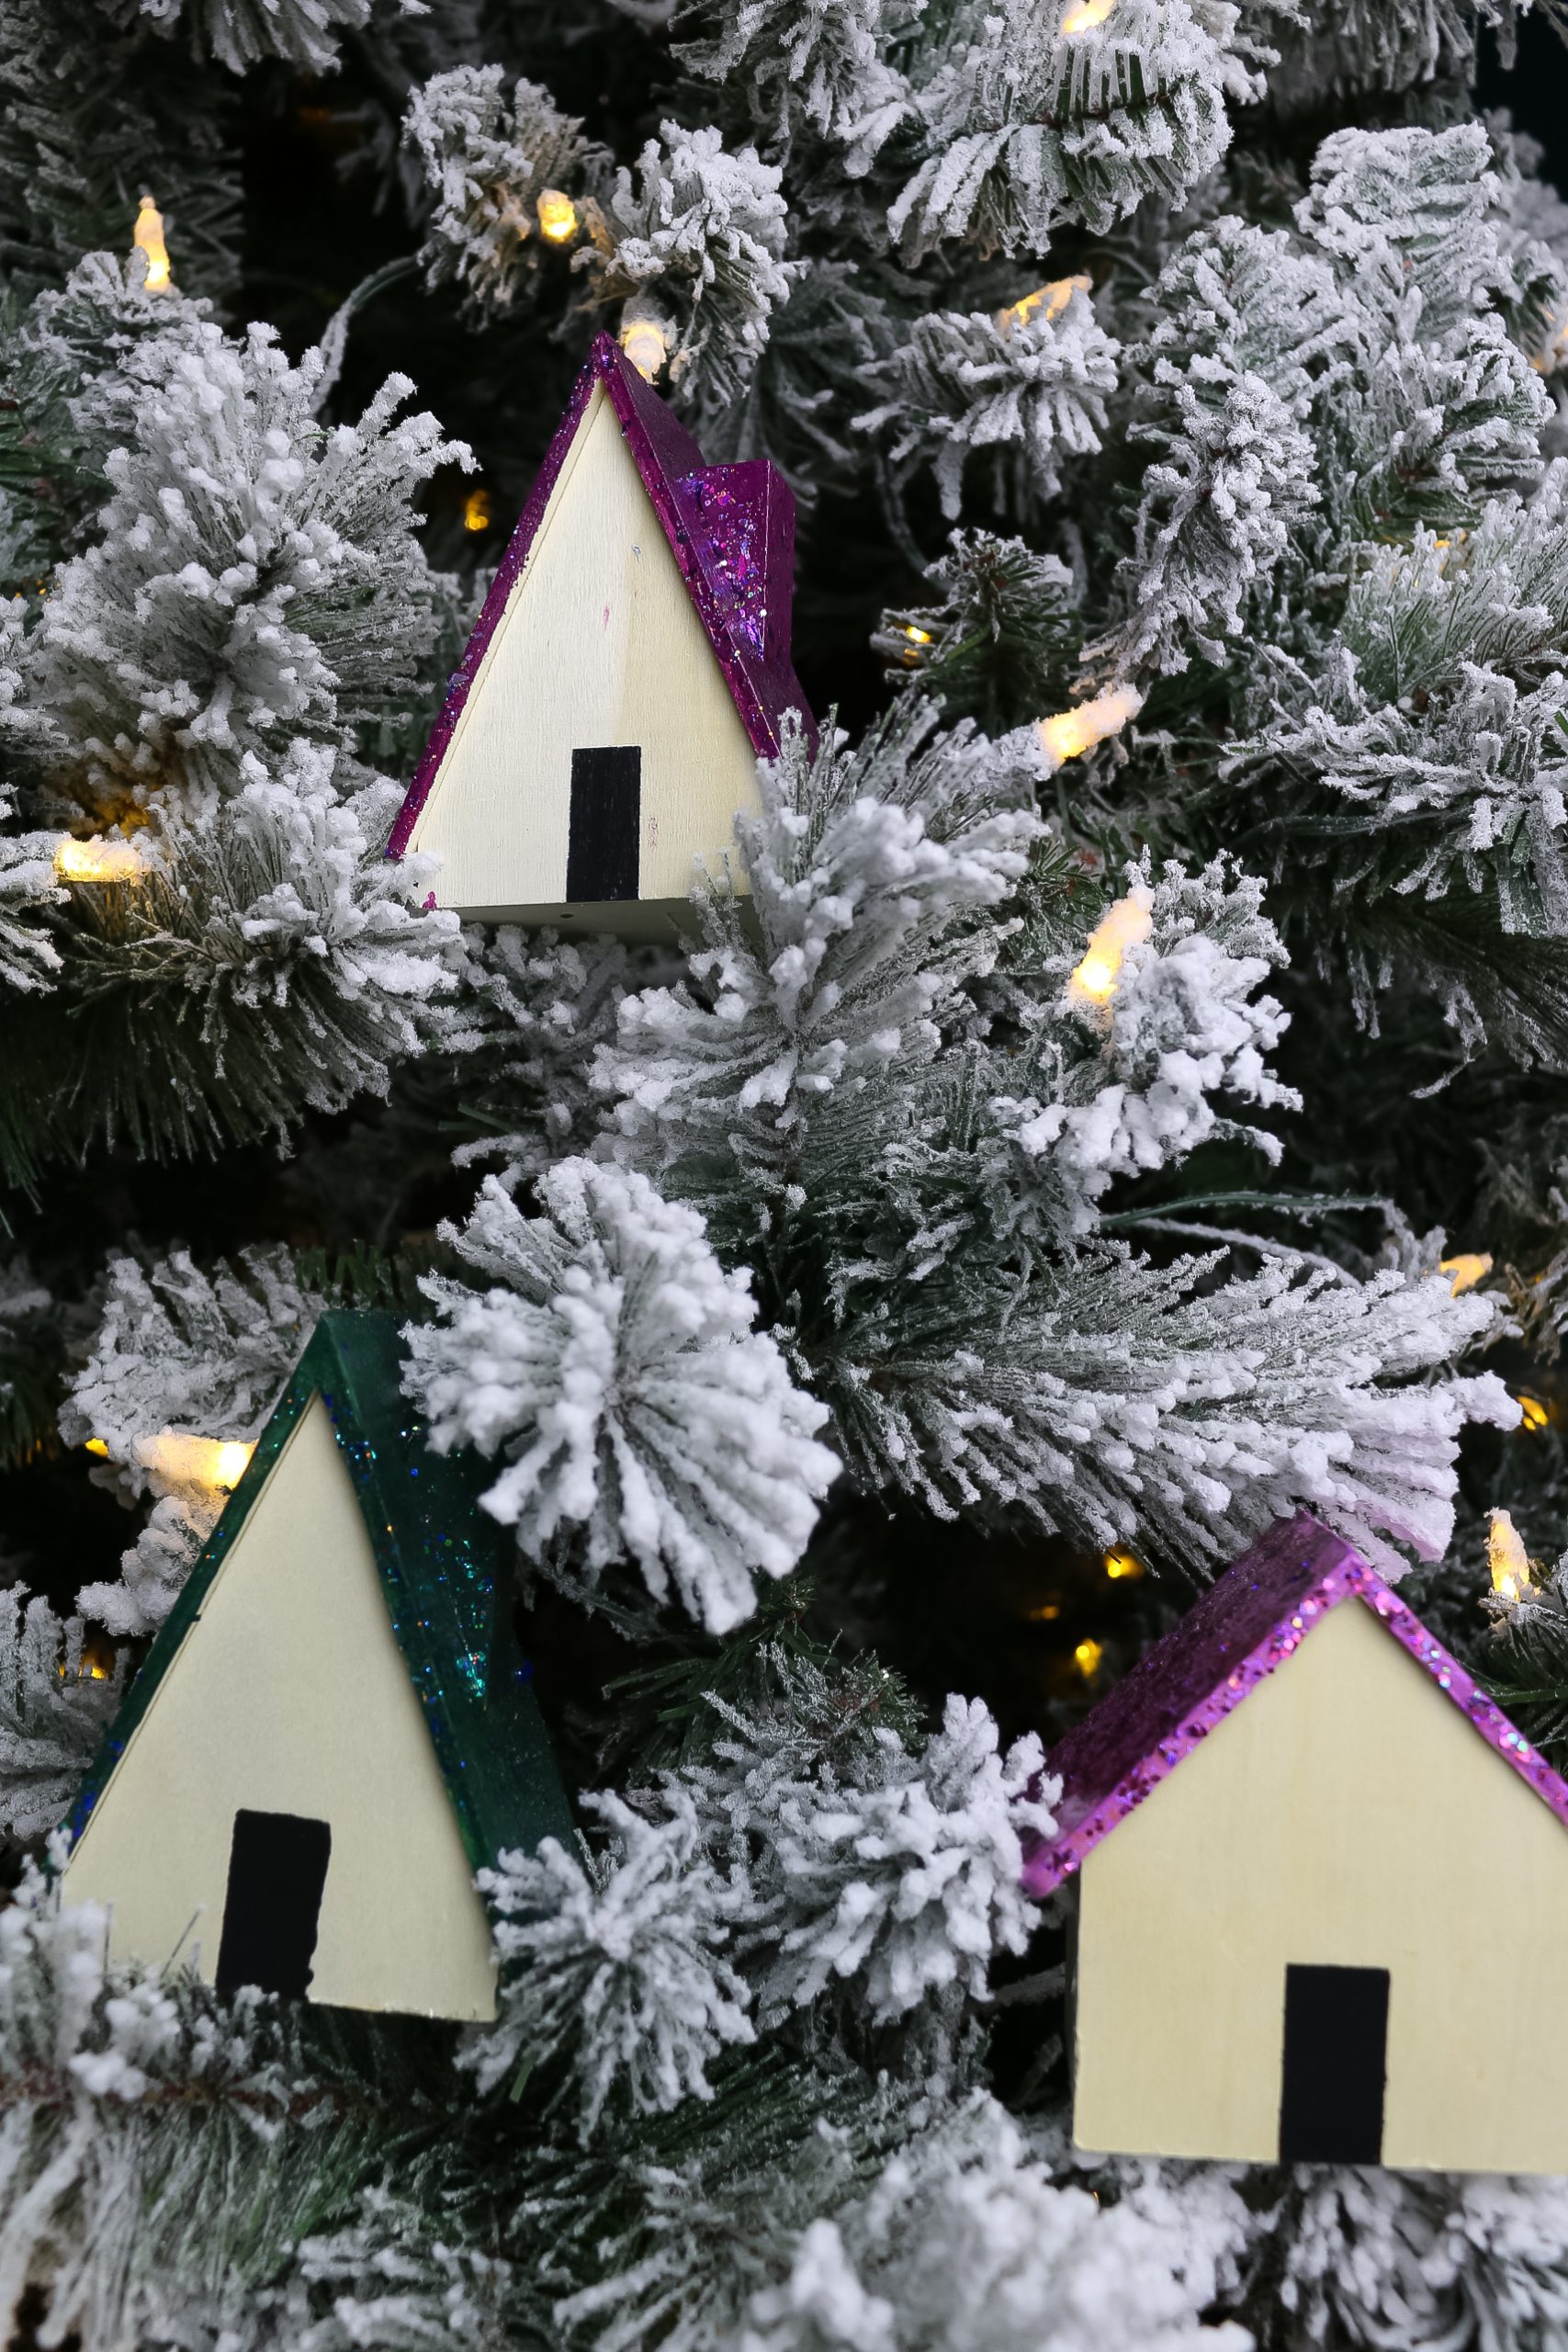
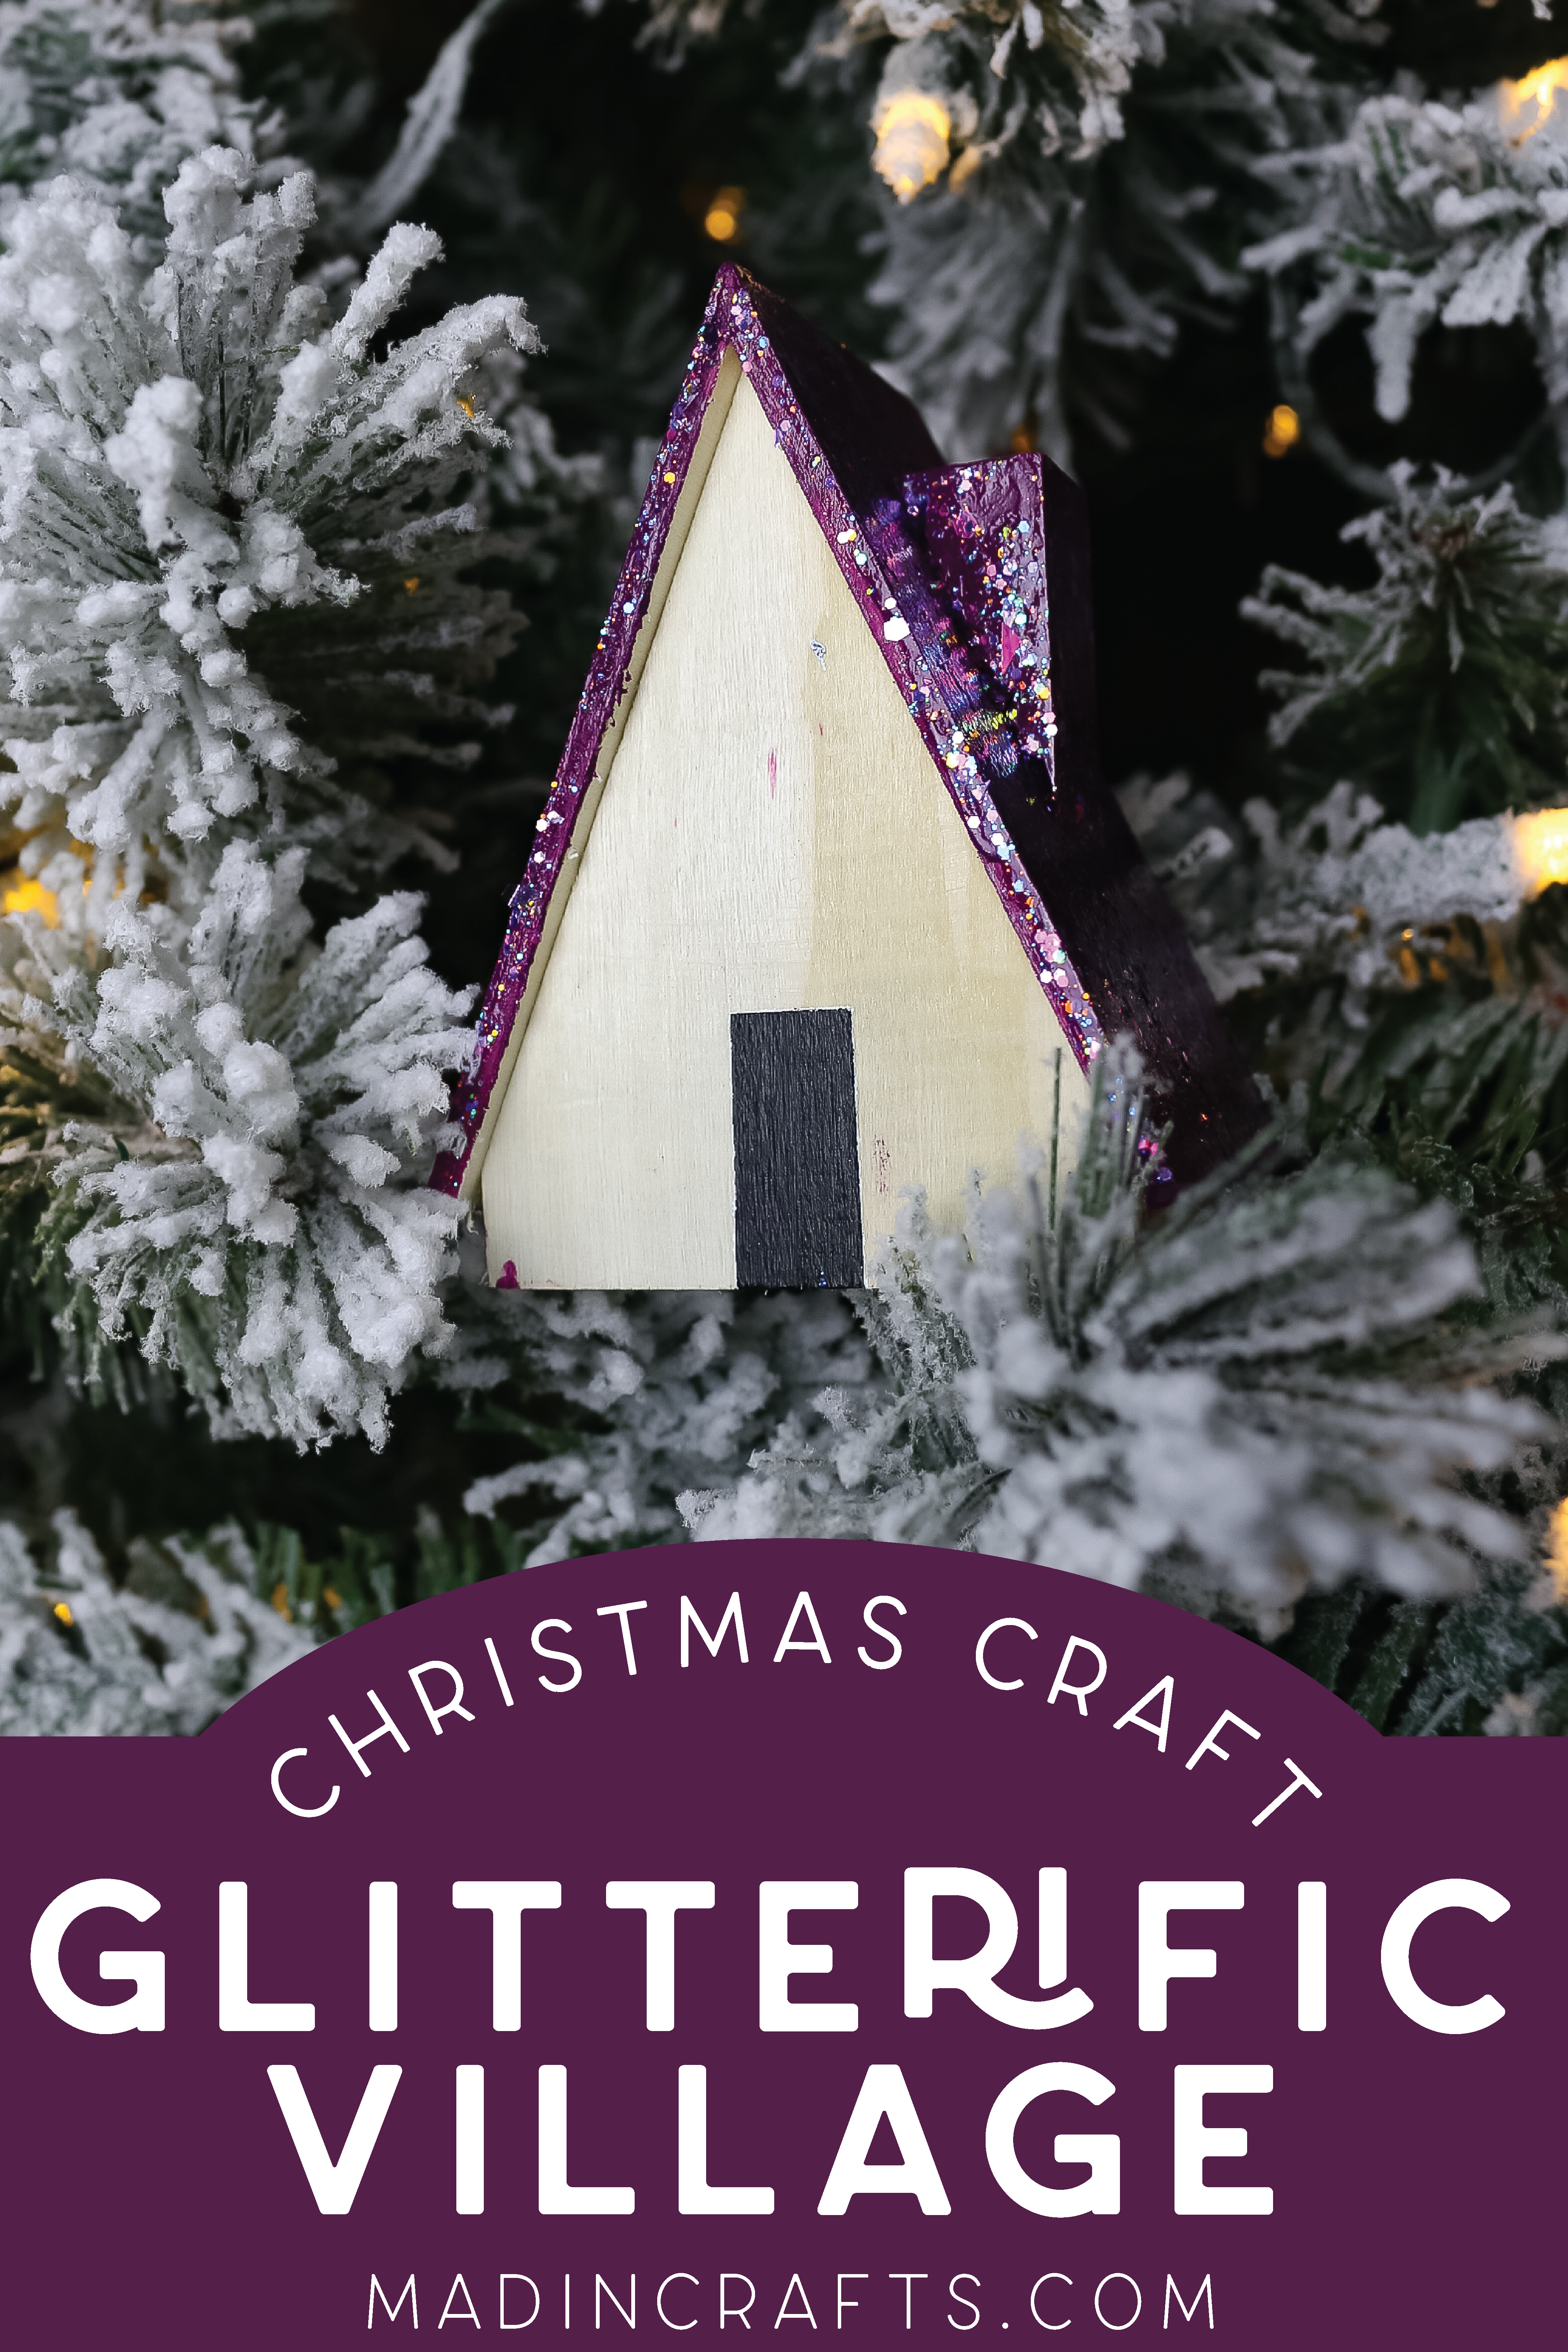
Obviously, you can line your glittered houses on a shelf or mantel like you would with a typical Christmas village. I like the idea of tucking the miniature houses into the branches of a lit Christmas tree quite a lot too. The various sizes of glitter in the paint will catch the lights from the tree beautifully. You can also set the houses up in houseplants or glue them onto a holiday wreath. Where would you display your Glitterific Christmas village?

You might like these other Christmas DIYs:
