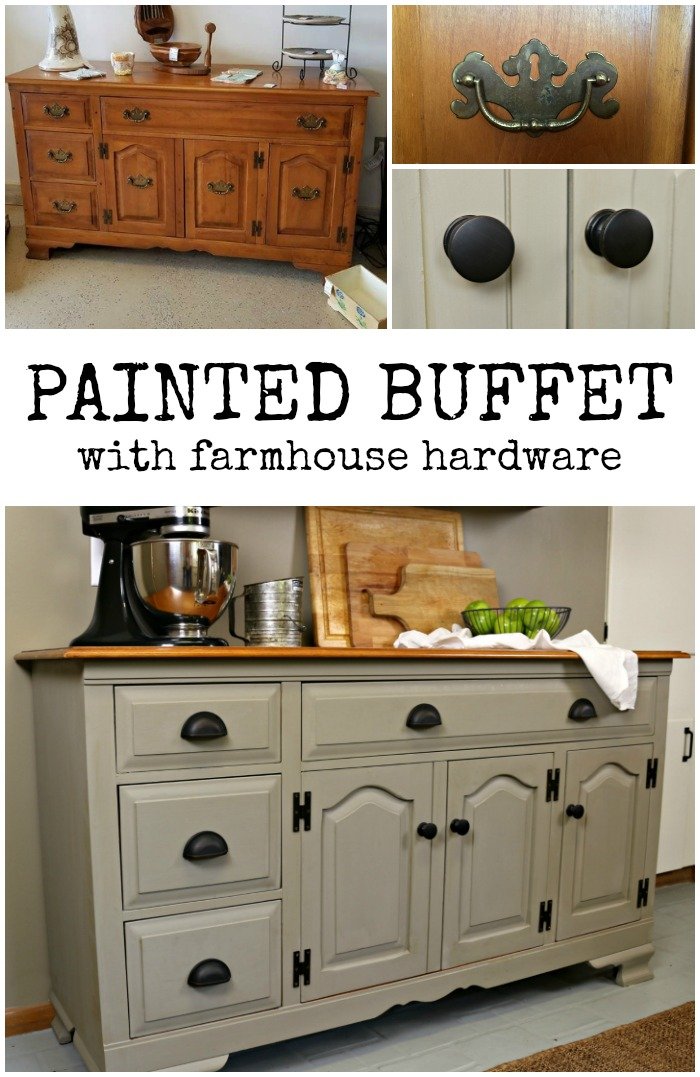
A few months ago an important event took place. My parents purchased their very first home. They have lived in housing provided by the churches and schools which my dad served over the years, but now that he is retired they have a home of their own. Since this is the first time they have really been able to make their own modifications to a home, I wanted to use my DIY skills and resources to help however I could. One of the ways I was able to do this was by tackling this chalk painted buffet for them (with help from both my mom and dad, of course).
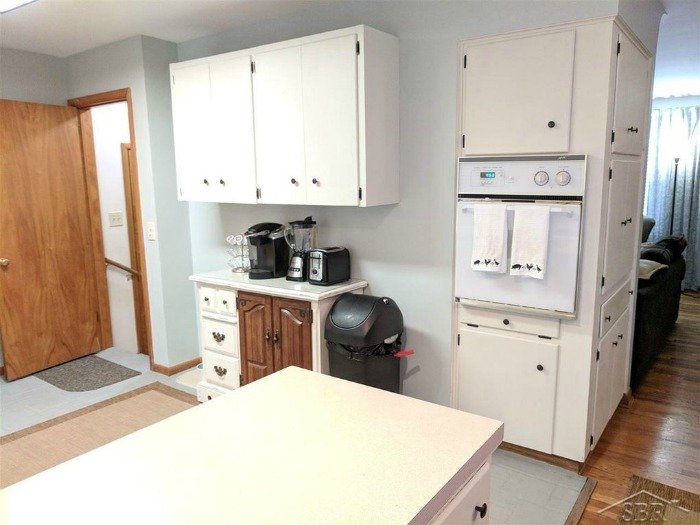
listing photo
The previous owners of the house had done some nice work in the kitchen themselves. They removed some upper cabinets from over the peninsula to open up the kitchen to the dining room. They then mounted those upper cabinets on an empty wall opposite the kitchen sink. There were no lower cabinets underneath, however, just a small buffet that they would be taking with them.
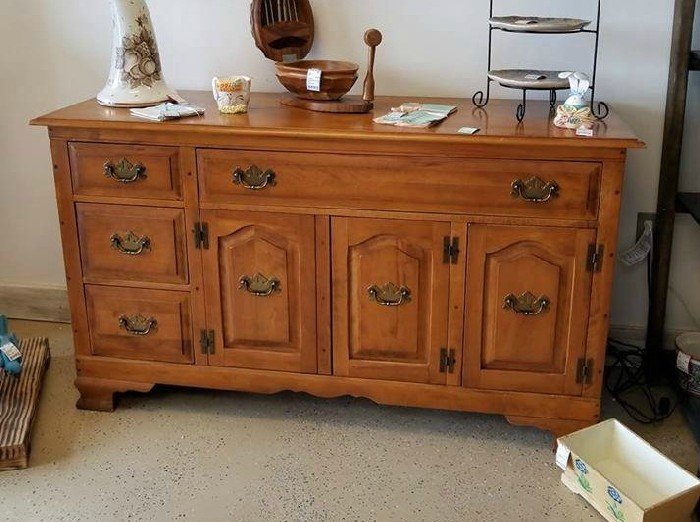
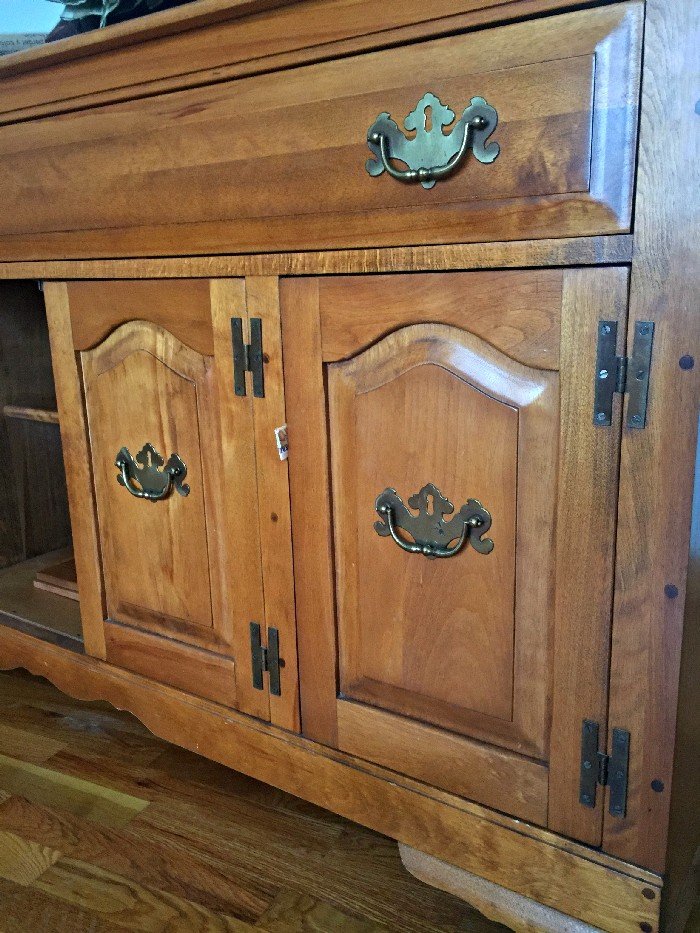
My mom found someone selling this wood buffet online, and it just happened to be the perfect size to fit underneath those upper cabinets. The dated hardware had to go, however. Because the only way to replace the hardware entailed filling the original hardware holes with plugs, refinishing the buffet to camouflage those plugs would have been a very difficult process. In the end we decided that painting the buffet was the best option.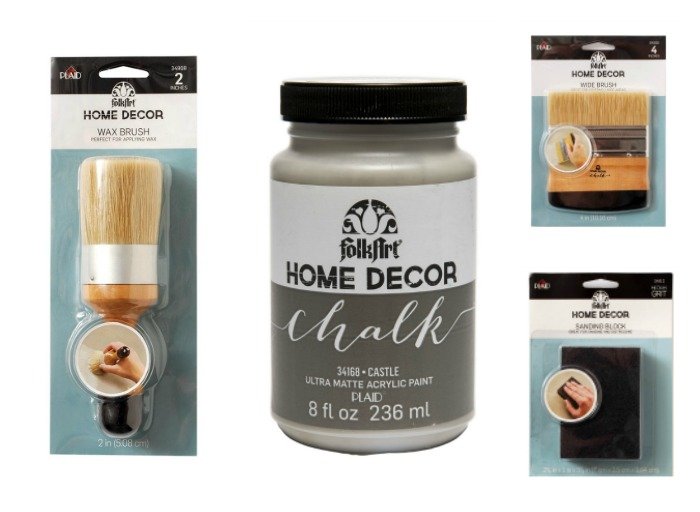
That’s when I reached out to Plaid to see if they would be willing to send me some of their wonderful FolkArt Home Decor Chalk Paint. Chalk paint is perfect for furniture projects like this because it (typically) requires very little prep and covers impressively well. I say “typically” because this project ended up being something other than a typical chalk painting DIY. More on that in a minute.
When we originally picked the color for the buffet, the walls were going to be painted a light, warm toned tan color. After lots of paint samples and swatches, my parents ended up deciding on a wall color that is incredibly close to the color of the chalk paint for the buffet! This beautiful greige shade is called Castle, and it’s a really rich neutral color. I am so thankful to Plaid for partnering with me on this DIY for my parents!
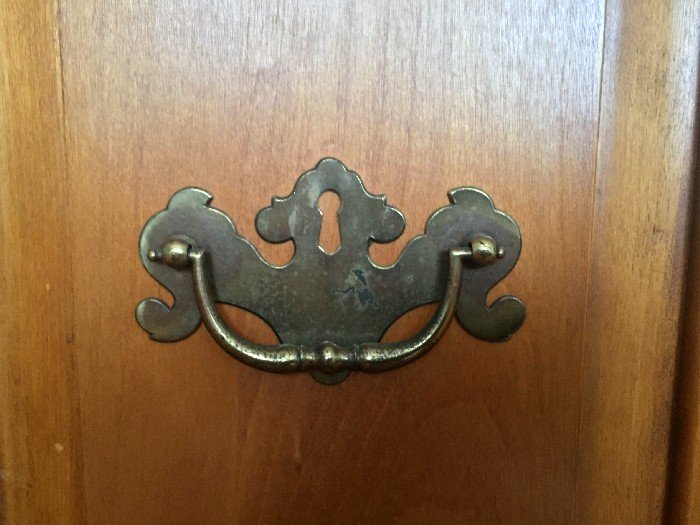
Now onto the struggle bus portion of the project. Apparently there was some kind of chemical reaction going on between the metal of these old pulls and the finish of the buffet because that area was a bugger to cover.
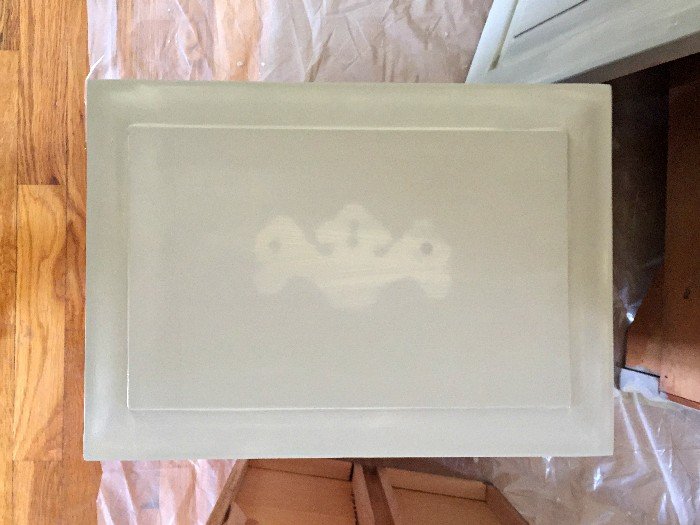
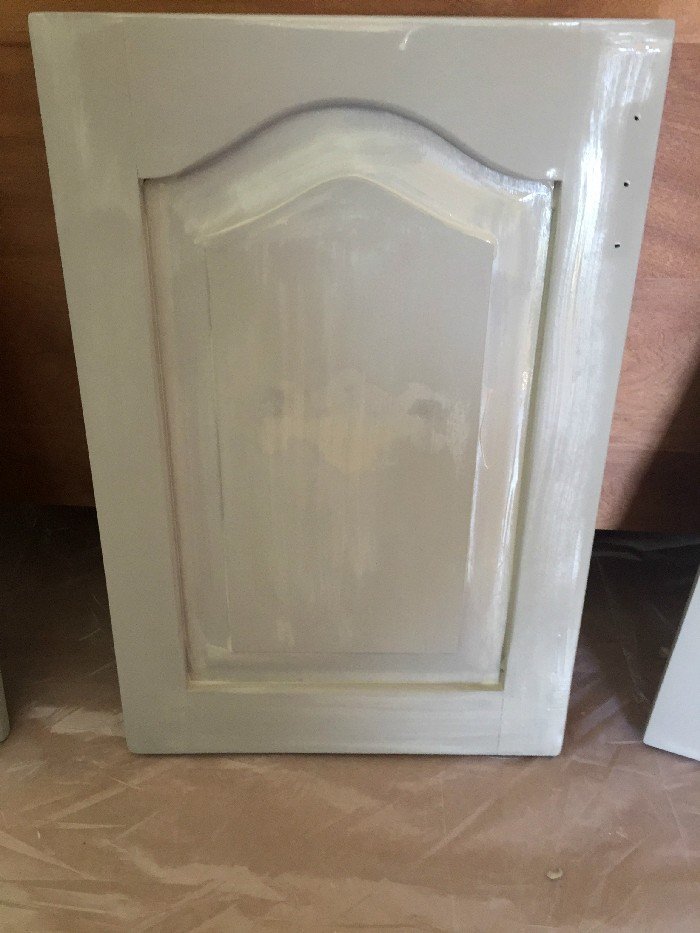
Even after applying two thick coats of the chalk paint to the drawers and doors, you could still see the clear outline of where the pulls had been. The paint covered beautifully everywhere else, so I was pretty certain this wasn’t the paint’s fault. Just in case, I reached out to my contact at Plaid, and she asked the lab team to see if they had any suggestions for me. Their best guess was that there was something going on with the tannins in the wood, and that I should try a coat of primer before adding another coat of chalk paint.
I ran to buy a small container of heavy duty primer, applied it over the trouble spots and let it dry. After another coat of chalk paint and some touch-ups, the outlines of the old pulls were basically invisible. Since I am a perfectionist, I do know that if you look at the buffet at just the right angle and in just the right light and you know just where to look you can still barely see the little ghost of the drawer pulls. But I am sure I am the only person who will ever notice.
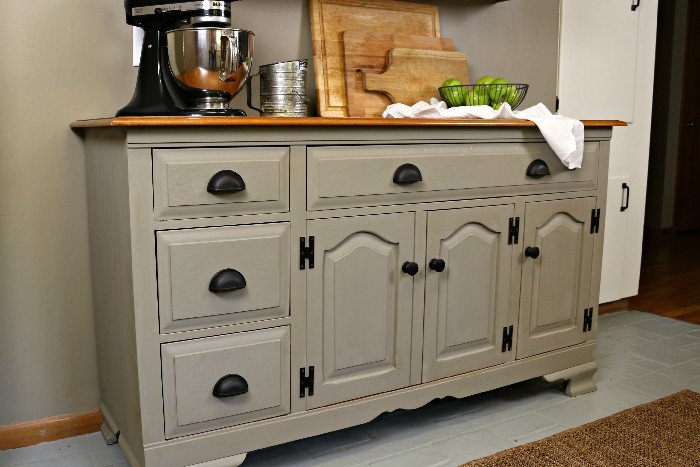
I gave the entire piece a good coat of clear wax and then buffed the excess away with a clean cloth. Finally we moved the buffet into place in the kitchen.
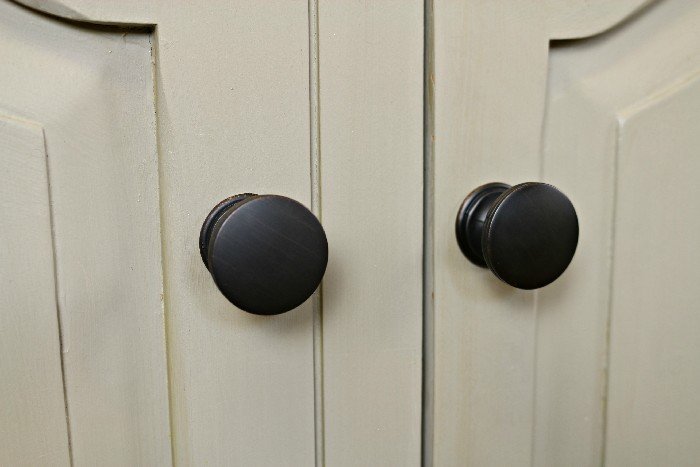
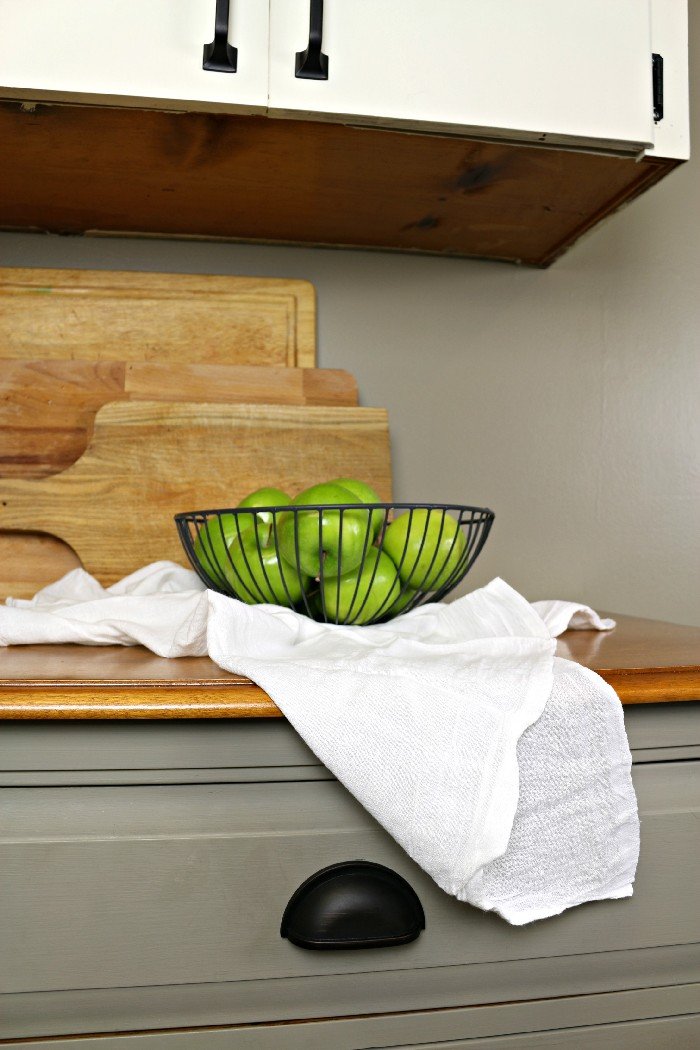
The final touch was the new pretty farmhouse hardware. If you want to know more about these gorgeous knobs and pulls, be sure to come back on Friday when I will spill all those details!
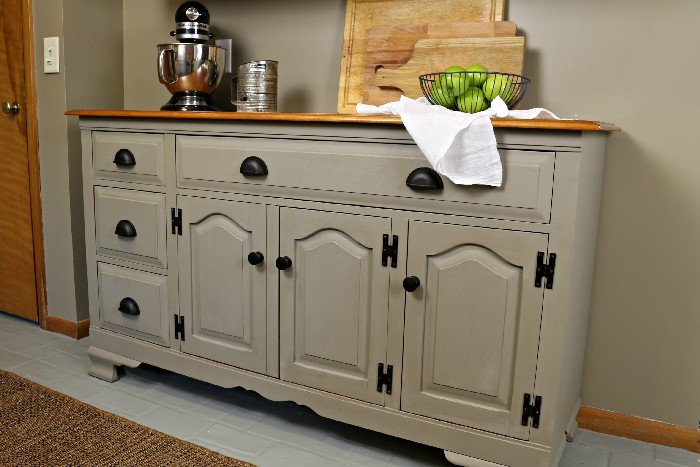
The buffet is the perfect addition to my parents’ new kitchen. It provides additional storage for baking goods and silverware, plus it adds such pretty farmhouse style!
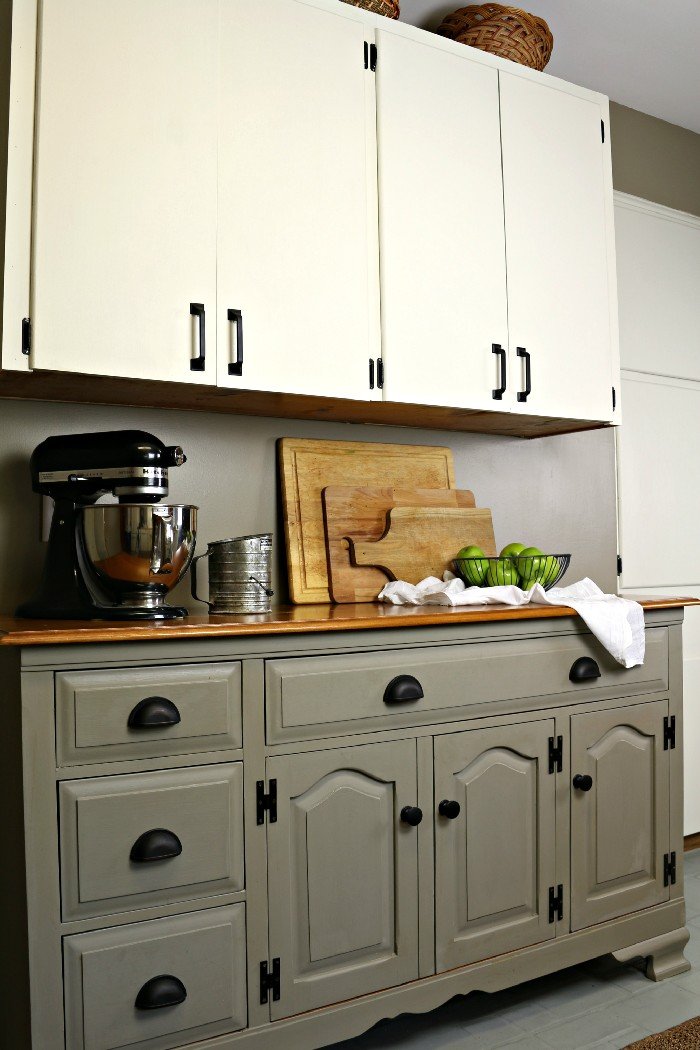
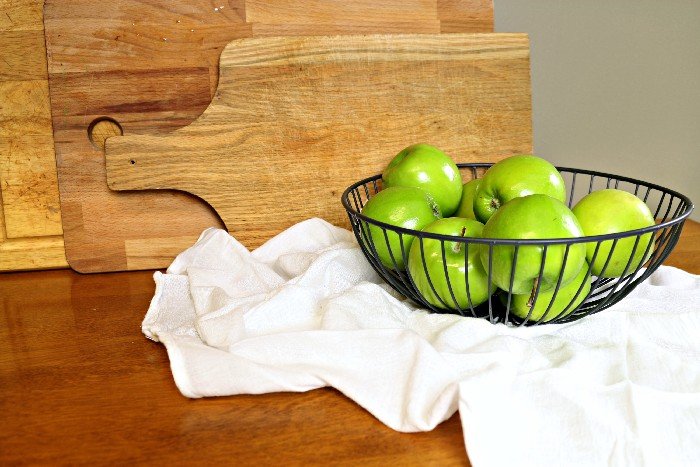
As you can see, we decided to leave the top of the buffet unpainted. I like the contrast between the wood finish and the chalk paint. The wood top also ties in the other wooden elements throughout the kitchen.
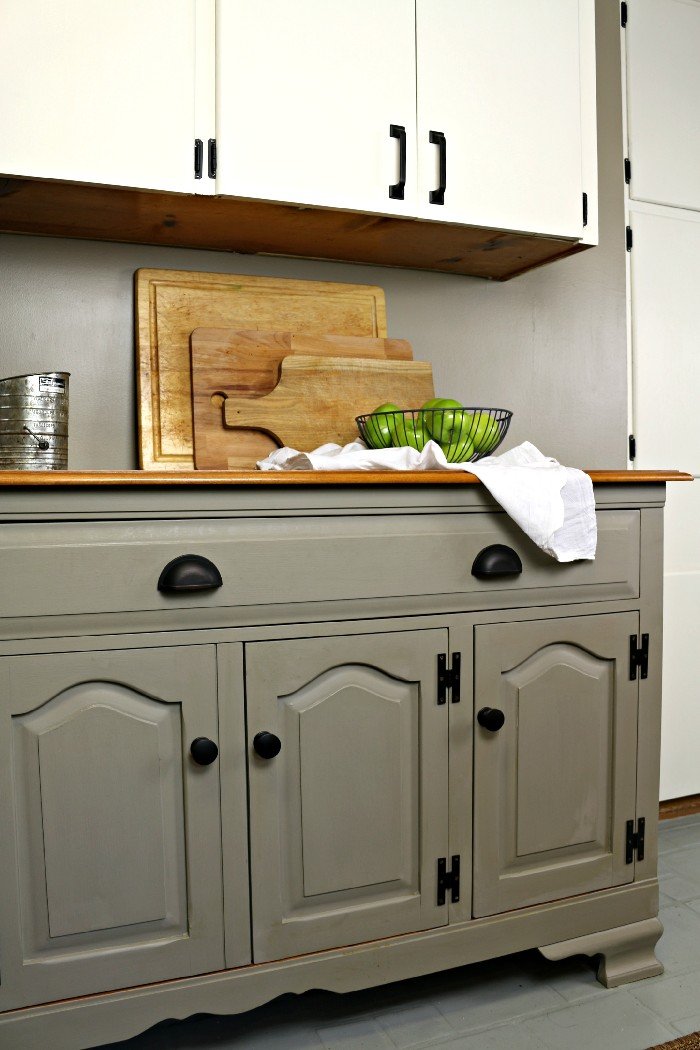
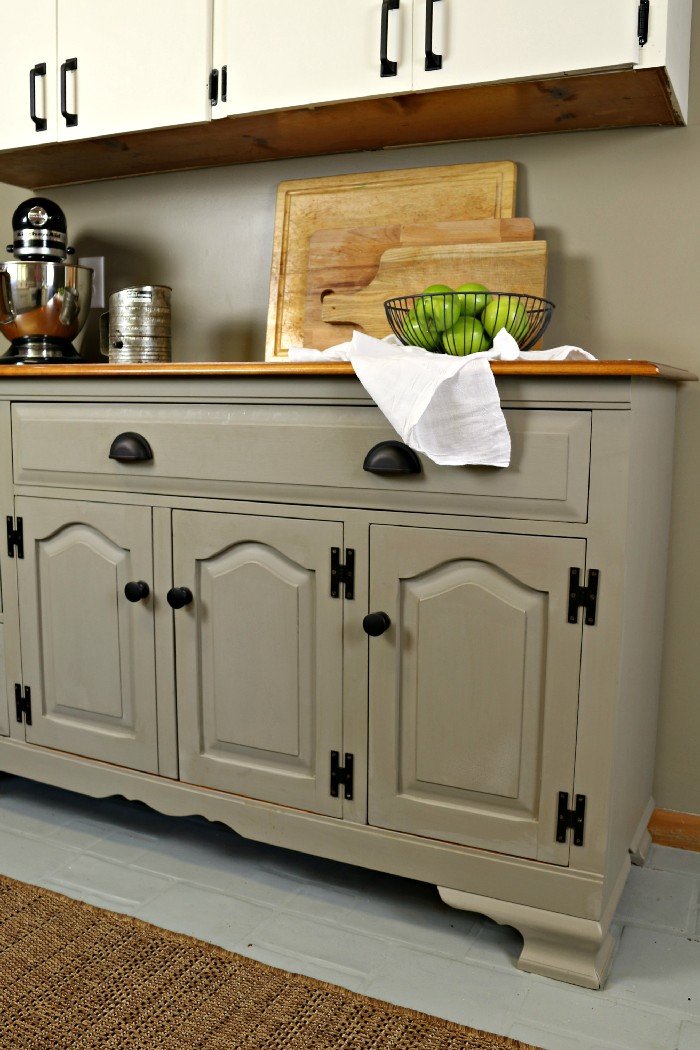
I am sure there are people out there who are shocked that I would have painted a piece of solid wood furniture. Honestly, in most cases I would agree with you. But replacing the hardware really did require painting over the plugs. And I think the buffet turned out beautifully!
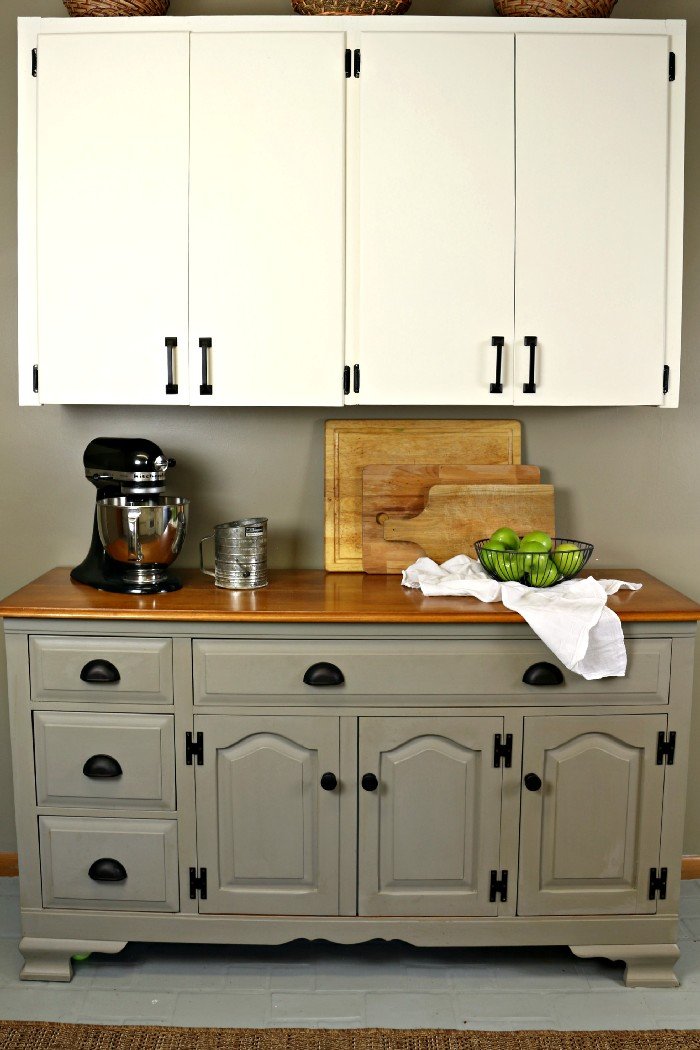
I hope my parents are pleased with the finished buffet and that it will last them for many years to come!
These are all affiliate links, if you make a purchase (of anything from these retailers, not just these items) after clicking through, I will earn a small commission. Ads and affiliate links are the way I am able to keep this website running and to offer you free tutorials all year long. Thank you so much for supporting me and Mad in Crafts!
- FolkArt Sanding Block
- FolkArt Home Decor Chalk Paint – Castle
- FolkArt Chalk paintbrush and wax brush
- FolkArt Clear Wax
- Soft cloth
You might like these other farmhouse inspired projects:


How many 8oz bottles of the Fold Art Castle did it require? This would be my first chalk paint project
I believe we used 2-3 bottles. Good luck on your first chalk paint project. Let me know how it turns out!
Just curious, where did you get the hardware (cup pulls, knobs, & hinges) on the buffet?
The hardware is from Hickory Hardware. You can get all the details in this post: https://madincrafts.com/farmhouse-kitchen-hardware-makeover/
Did you sand the buffet at all? I have a dresser that I am trying to repaint and want to know if I use chalk paint is that better than other paints? I need help I am new to this. Thank you
Nope! There is very little prep with chalk paint, but you do have to take the extra step to wax or varnish the piece after you paint it.
Can you tell me where you bought your pulls for the drawers?
You can learn all about the hardware in this post: https://madincrafts.com/farmhouse-kitchen-hardware-makeover/