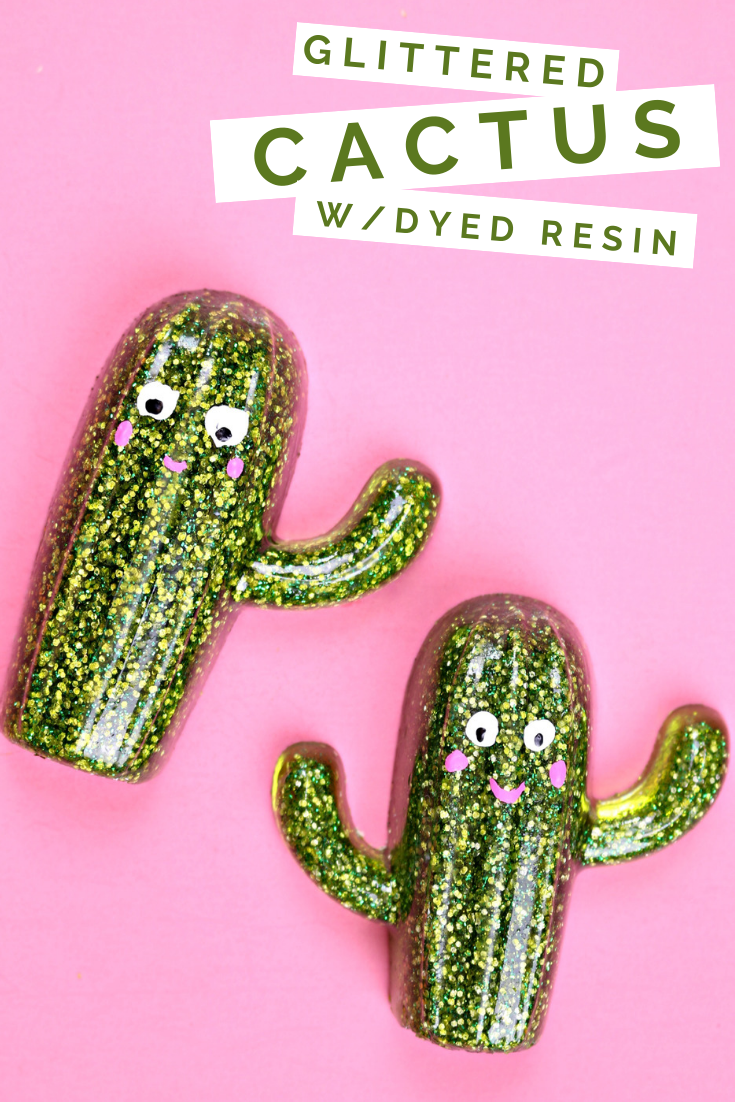
I have really gotten into using silicone molds to make fun resin creations. Did you know that it is actually really easy to add glitter and dye to resin projects? I added green glitter and transparent green dye to these fun cactus casts.
ADDING DYE AND GLITTER TO RESIN PROJECTS
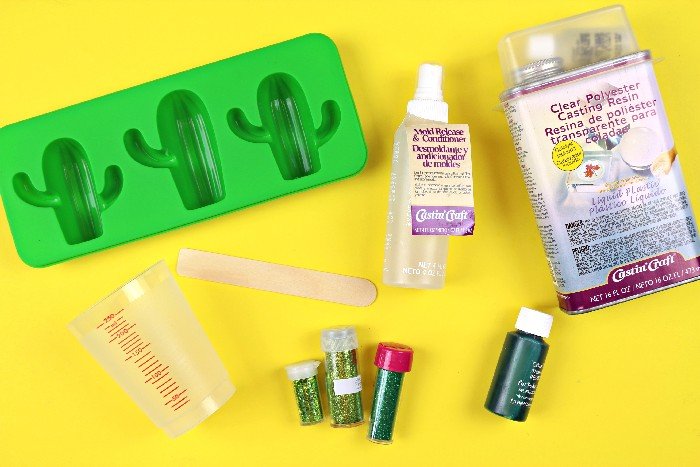
WHAT YOU NEED TO MAKE RESIN CACTI
You can find dyes and pigments made for resin in crafts stores and online. You will be able to choose from every color under the rainbow, glow-in-the-dark pigments, color-shifting powder, and more!
These are all affiliate links, if you make a purchase (of anything from these retailers, not just these items) after clicking through, I will earn a small commission. Ads and affiliate links are the way I am able to keep this website running and to offer you free tutorials all year long. Thank you so much for supporting me and Mad in Crafts!
- silicone cactus mold: Target or HERE
- Clear Polyester Casting Resin and catalyst
- Mold Release
- Mixing cup and stir stick
- Green transparent resin dye
- Green glitter or holographic glitter

Want to know which craft supplies I always keep in my craft room?
Visit the Mad in Crafts Amazon Storefront to learn more and to buy your own supplies!
HOW TO ADD DYE AND GLITTER TO RESIN
The silicone mold that I used was meant to make popsicles, so I had to close the holes for the popsicles sticks with duct tape. To make sure I could remove my finished resin cacti from the mold easily, I applied two coats of mold release to the mold. Be sure to allow it to fully dry in between coats.
Dyeing resin is super easy.
Adding Color and Glitter to Polyester Resin
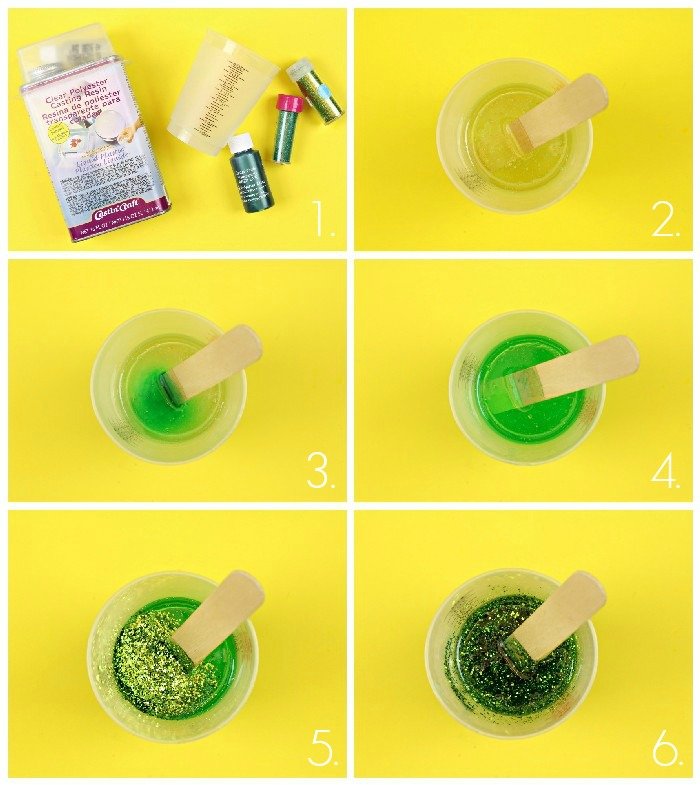
- Gather your supplies: polyester resin and catalyst, a mixing cup and stir stick, transparent green resin dye, and glitter.
- Follow the directions for the correct resin to catalyst ratio for your project.
Since my mold was about 1″ deep, I added 4 drops of catalyst per each ounce of resin. I ended up mixing up about 5 ounces of resin with 20 drops of catalyst. I mixed for 60 seconds, making sure to scrape down the sides and bottom of the cup as I mixed.
- Add in a few drops of transparent green resin dye.
The more dye you add to the resin, the more it interferes with the cure time, so only use as much as you need.
- Stir well until the resin is a consistent color.
- Add in green glitter. I like different types of glitter for more interest.
Using different sizes of glitter, finishes, and textures will add even more dimension.
- Stir well until the glitter is evenly spread throughout the resin mixture.
You can use this same process for epoxy resin. Just mix up the two-part resin according to the instructions on the resin’s packaging. Before the resin cures, mix in the dyes and glitters.
USING DYED RESIN TO MAKE CASTS
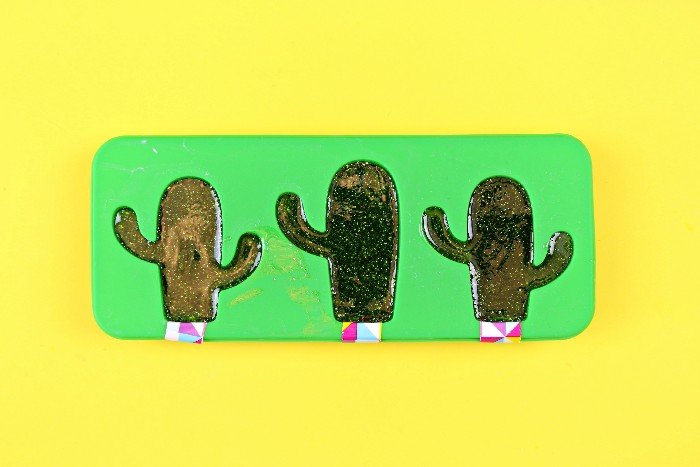
I carefully poured the dyed resin into the prepared mold. It is important that the mold is on a level surface so that the cast stays level. Carefully pour the resin into the mold. Let any air bubbles rise to the surface for about 20 minutes, then pop the bubbles with a long arm lighter or a heat gun.
NOTE: Sometimes with epoxy resin, the glitter will sink to the lowest part of the mold. To prevent glitter sink, I suggest mixing a smaller amount of dyed and glittered resin using the process above, and pouring one layer. Let that layer of resin cure before adding on a second layer.
I allowed the resin to cure overnight. Factors including the depth of your mold, the temperature of the air, and what you have embedded in the mold will all affect the resin’s cure time. Adjust the amount of time you let your resin cure accordingly. When you tap on the back of your project with a stir stick, it will make a clicking noise when it is fully cured.
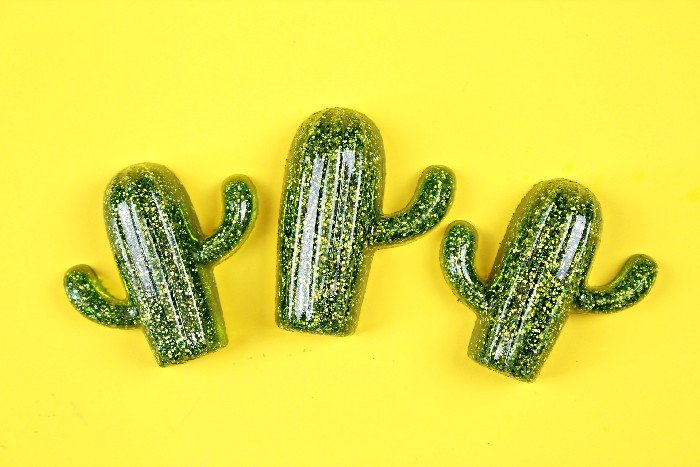
I flipped the silicone mold over to remove the finished resin pieces from the mold. The glitter is suspended inside the resin making the casts sparkle beautifully!
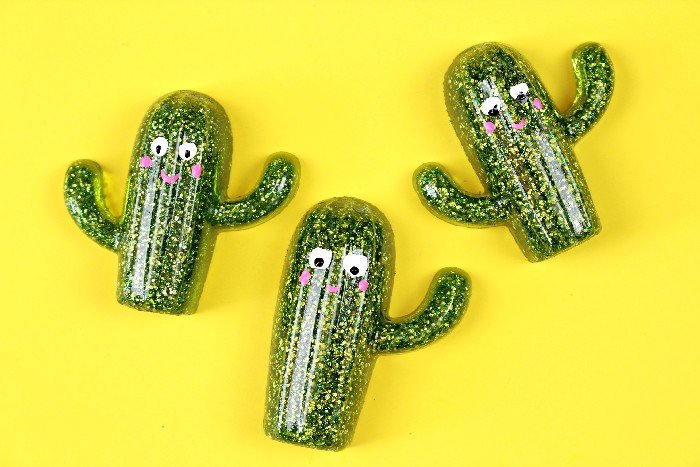
While I loved the look of my finished pieces, I decided they would be even cuter with little faces. I quickly painted faces onto the resin cacti with acrylic paint. This step is completely optional, of course. These cacti would make adorable magnets, paperweights, or decor items!
Check out these other fun resin projects:
