This is a sponsored post. I was compensated for my work, but the opinions are 100% my own.
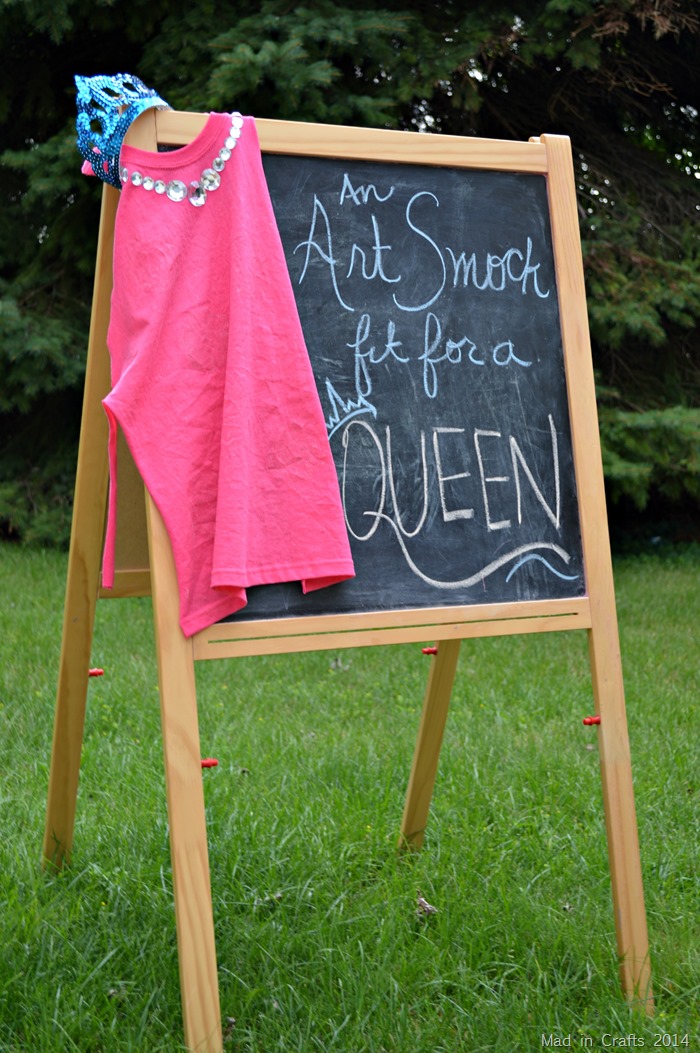
It’s almost First Day of School time! Whether that makes you cringe or jump for joy, you can’t put off school supply preparations too much longer. This is the first year that both of my kids will be in some kind of school, so we have double the shopping and prep to do. One of the things on my daughter’s school list is a smock for her preschool art projects. Instead of just grabbing an old button down shirt, I made her an art smock fit for a queen… with a little help from a mysterious box that showed up at my door.
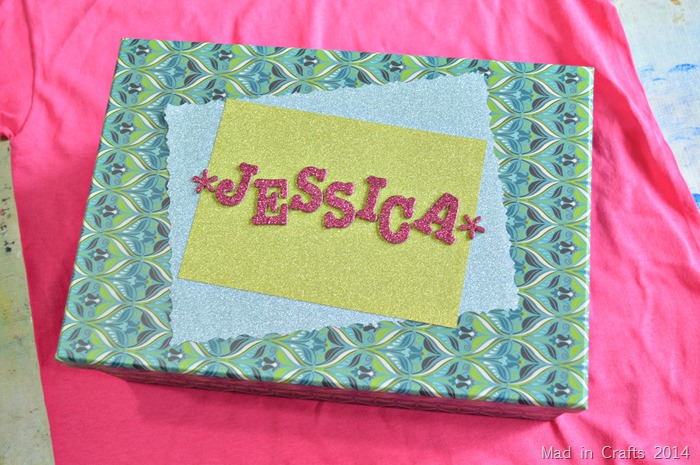
Joann Fabric and Crafts Stores challenged a group of bloggers to make a back to school craft. We each received a mystery box in the mail, and we were told that we had to use everything in the box to make our project.
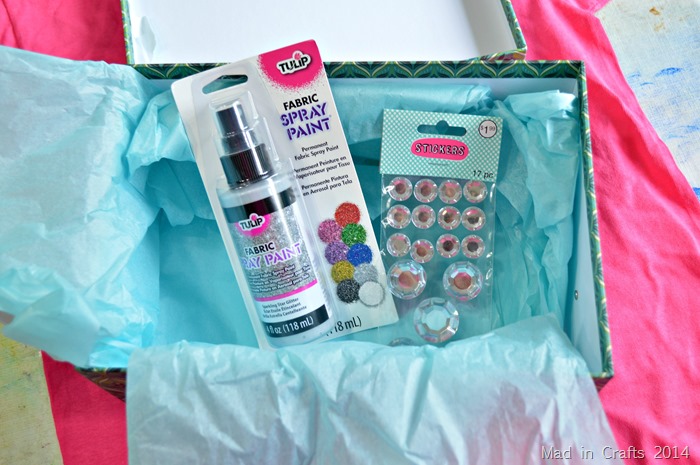
I opened my box and found Tulip Fabric Spray Paint in silver glitter and rhinestone stickers. These items, and all the other materials found in all the mystery boxes, can be found in Joann Fabric and Craft Stores in their Big Bling aisles. These are the same type of supplies that I used to make my Patriotic Pinwheel Pin back in June. You can use all the supplies you find in this section of the store to bling up your back to school supplies: notebooks, backpacks, teacher gifts, and more!
After brainstorming for a while, I came up with the idea to use my mystery box supplies to create a bling-y art smock for my daughter.
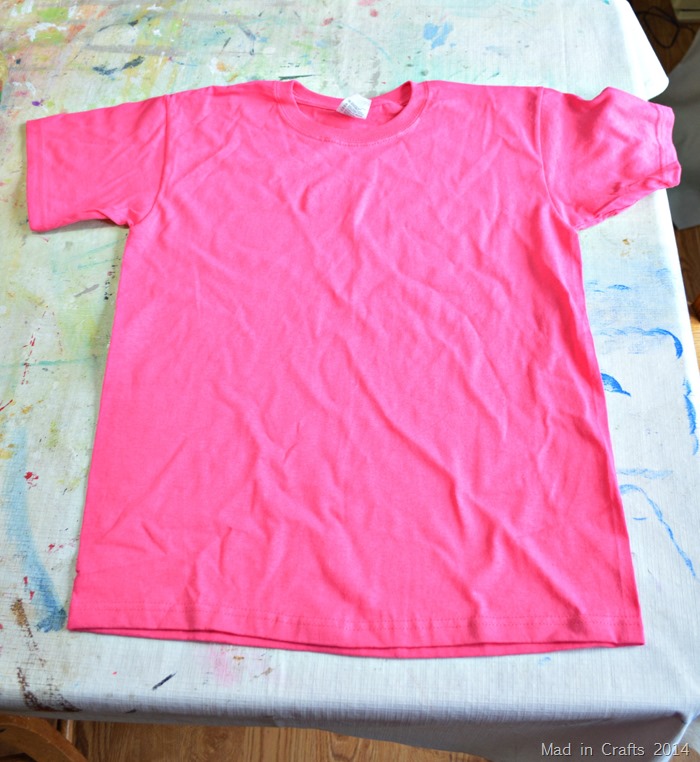
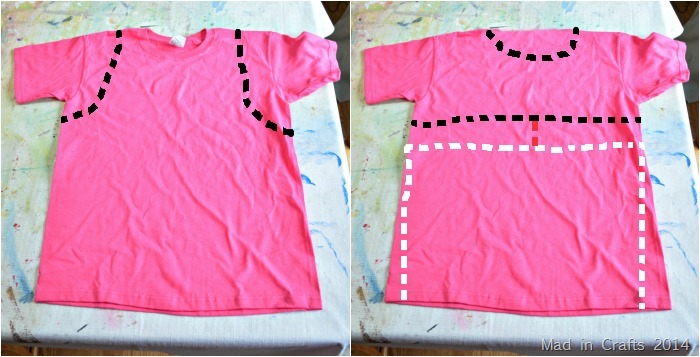
Did you know that it is simple to turn a T-shirt into a no-sew apron or smock? Start with a tee that is several sizes too large. Then use a pair of scissors to cut along the lines shown in the photo above. The first cut (black line) goes around the collar in the back, removes each sleeve, and then cuts a straight line across the back of the shirt under the shoulder blades. The second cut (white line) goes up one side seam, straight across the back, and down the other side seam. Cut the back strip in half (red line), and you are done! Because jersey fabric doesn’t fray, you don’t have to hem any of the edges.
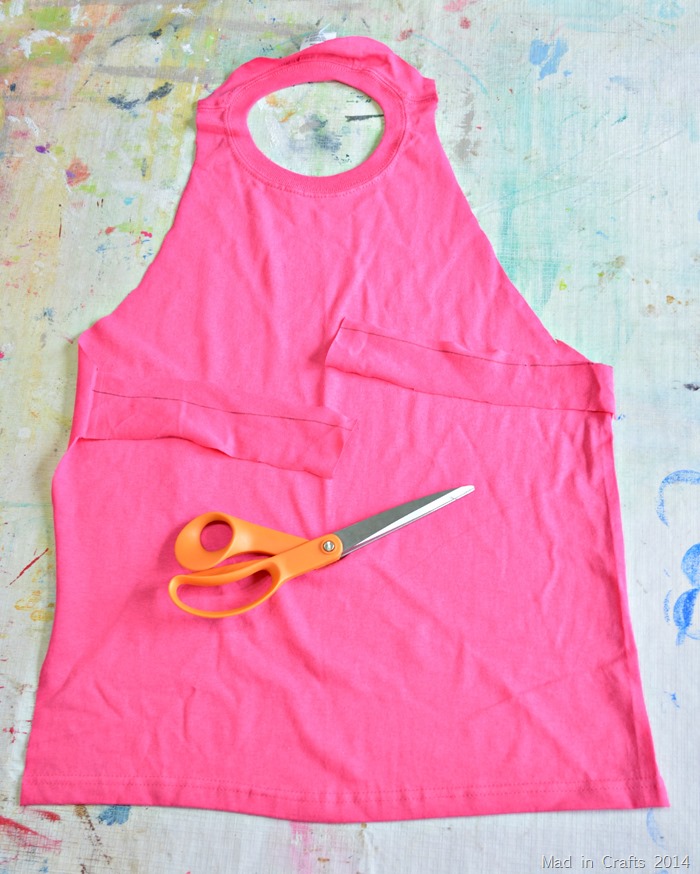
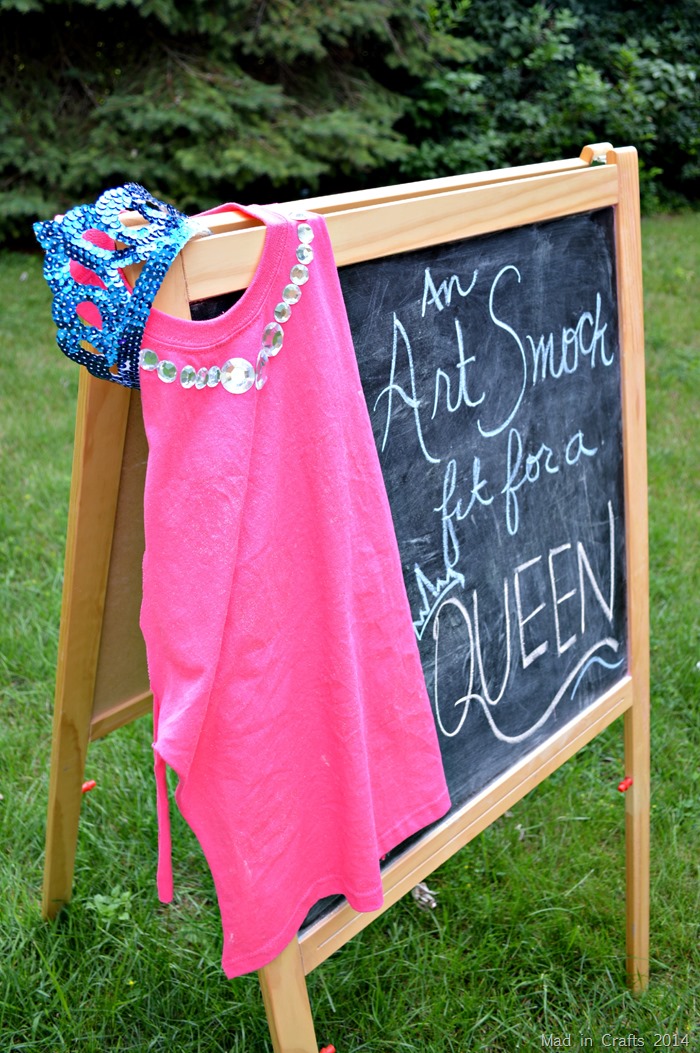
When you are finished cutting the smock should look like this. The collar will still slip over your child’s head, and the two pieces from the back of the shirt serve as ties.
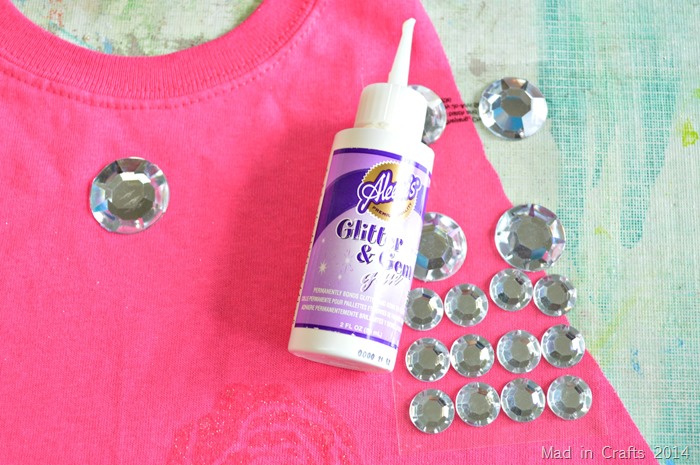
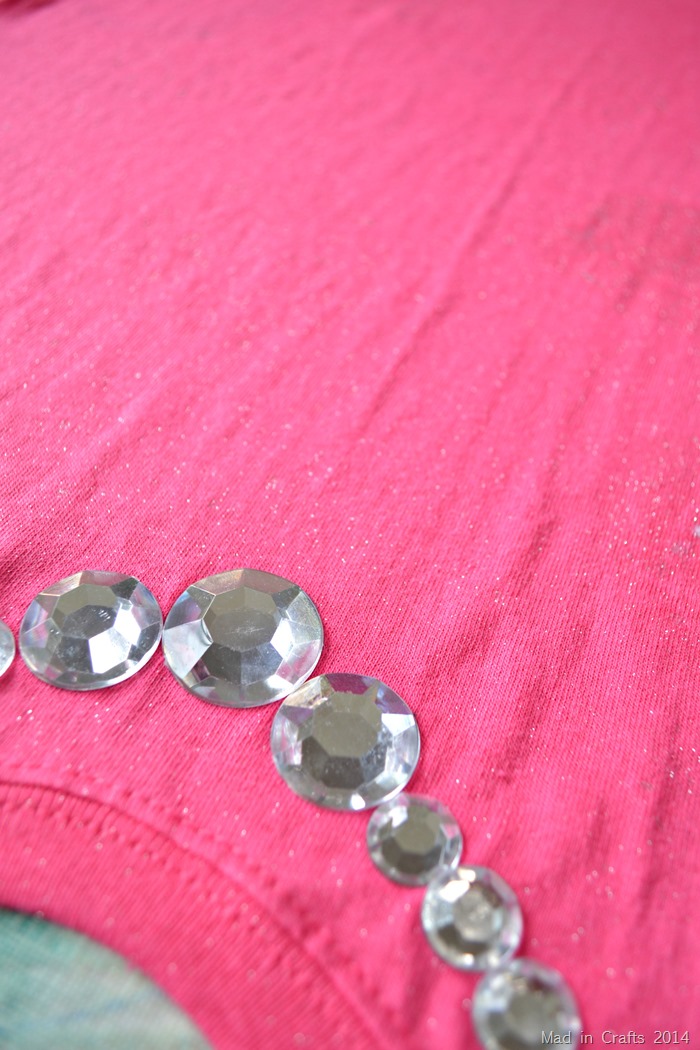
Now it was time to make the smock worthy of preschool royalty. The large rhinestone stickers would stick very well on notebooks on their own, but on fabric they needed a little help. I used Aleene’s Glitter and Gem glue on the back of each sticker to adhere them permanently to the smock. After the glue has cured, the smock will be washable.
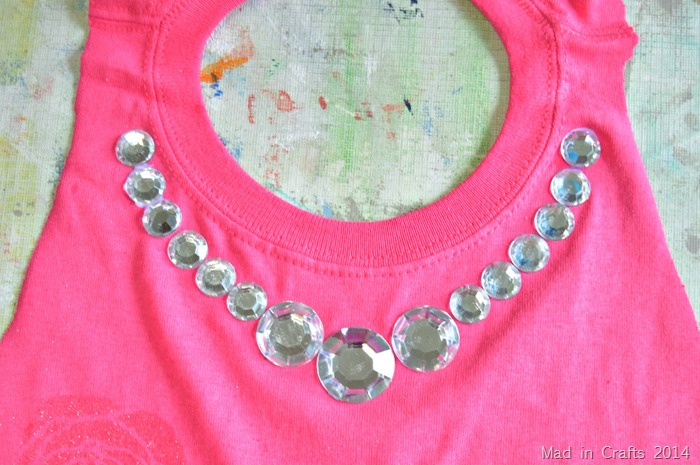
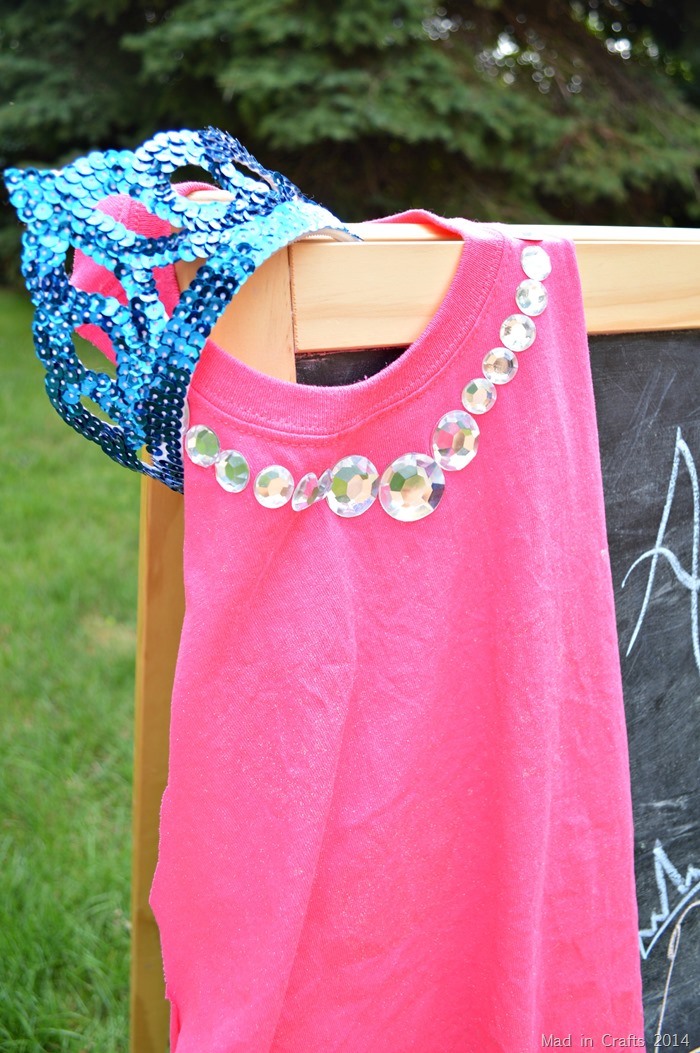
I glued the rhinestones onto the neck of the smock to look like a sparkling diamond necklace. This blinged out smock is no joke.
While the glue was drying, I gave the entire smock a coat of the glittery Tulip Fabric Spray Paint. The paint itself had no color, leaving the pink t-shirt the same color, just with a shimmering coat of glitter. After the paint dried, the smock really looked as though it was made from glittery fabric, not a painted t-shirt.
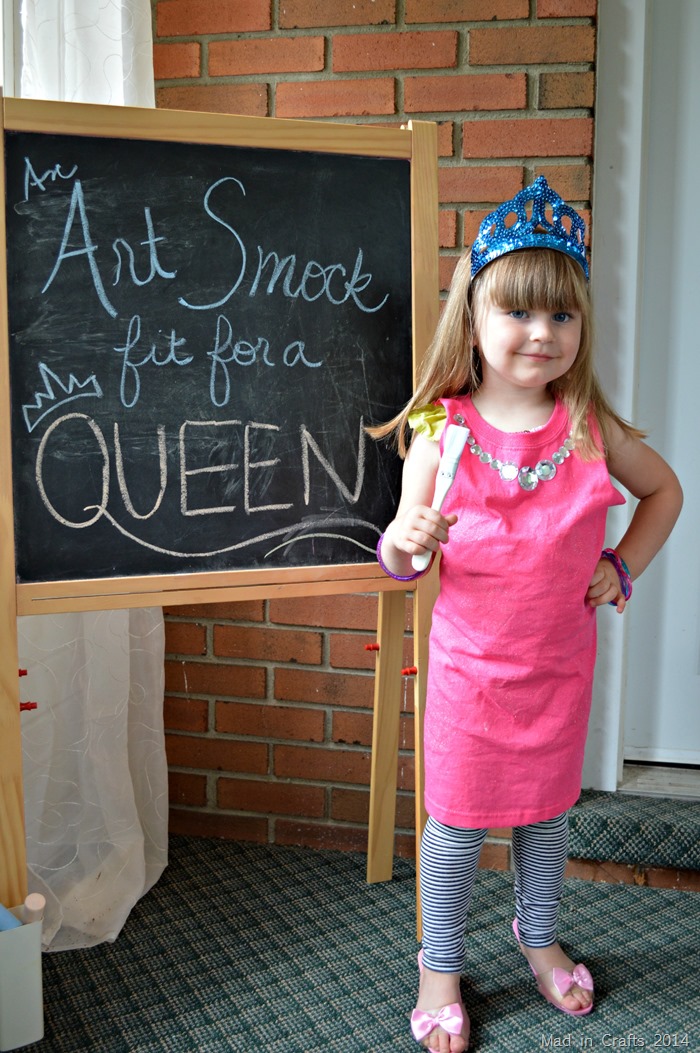
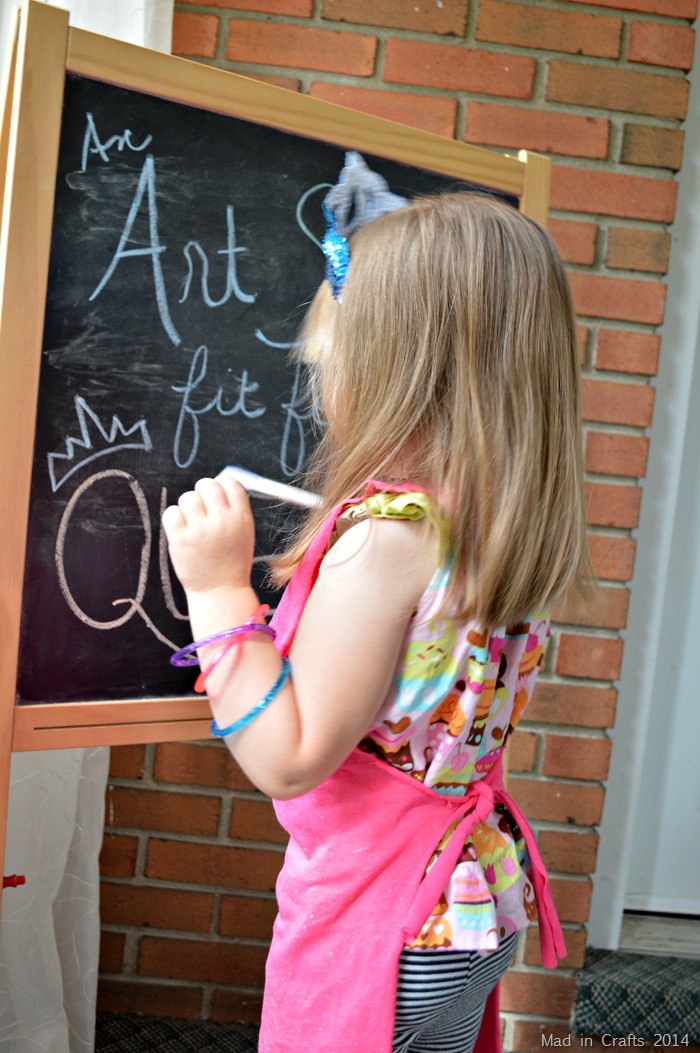
Here is my sassy girl in her sparkling smock — and just a few of her other dress-up accessories.
The smock ties securely behind her, so her clothes are protected from finger paint, chalk, clay or whatever art supplies she is using.
You could also use this smock as a kitchen apron or even as a simple dress-up princess gown. I would not be surprised to see my daughter turn it around and use it as a sparkly superhero cape.
If you found a T-shirt long enough, you can repeat this same process to make a glittering apron for an adult just as easily.
Does this make you a little more excited for back to school preparations? I am a little emotional about having both my kids in school, but I am not so secretly looking forward to having a quiet house a few mornings a week!
Did you like this post? Think it’s worth sharing? Please share with your friends using the social media share buttons at the bottom of the page!
Thanks, Jessica

