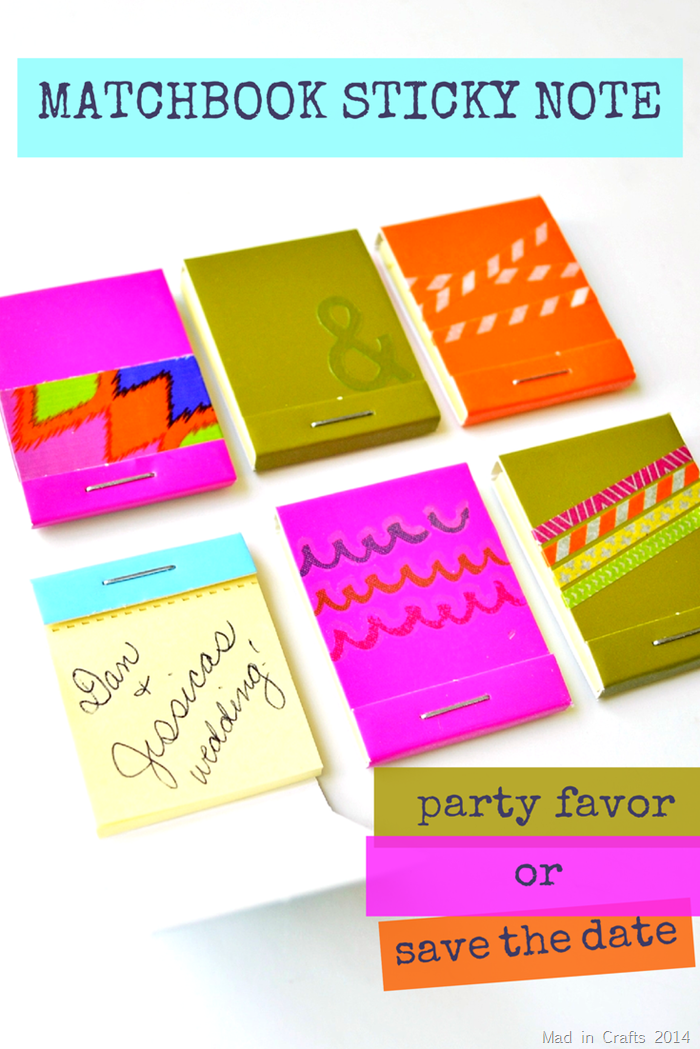
When I found these tiny matchbook sticky notes I thought about how they would make a sweet and practical party favor. Instead of giving guests a little trinket that will sit in a drawer, you can give them something completely practical but still personalized. After playing around with the note pads a bit, I also recognized that they would be ideal for Save the Dates for a party or wedding as well. Check out what I did with them.
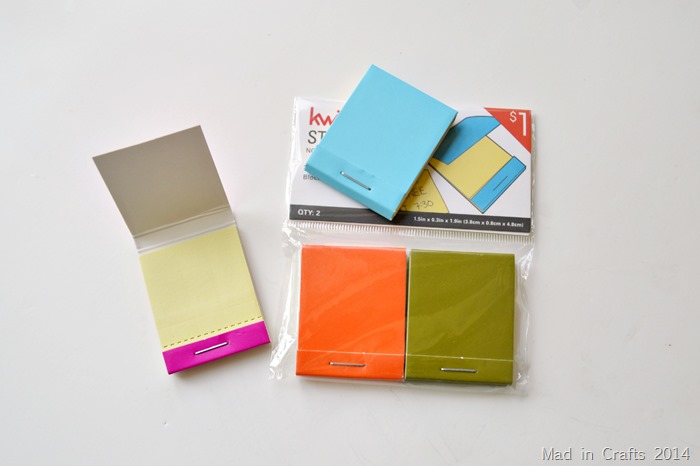
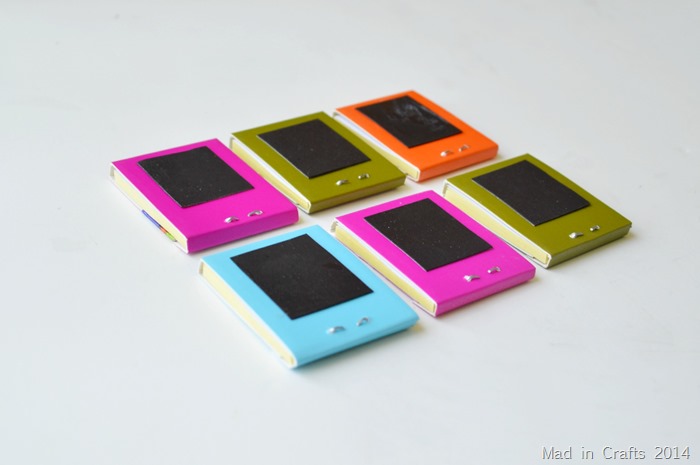
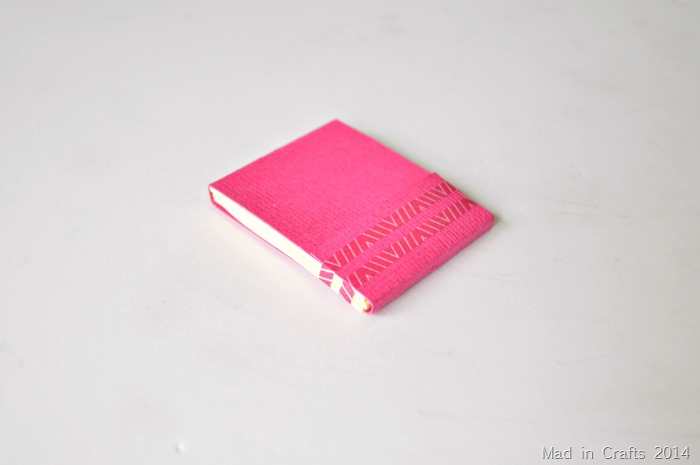
The outside of the note pads is just like an old fashioned matchbook, but instead of housing matches they hold mini pads of sticky notes.
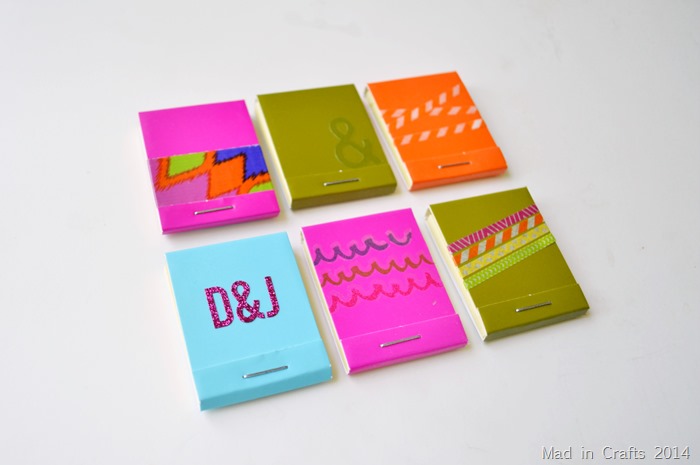
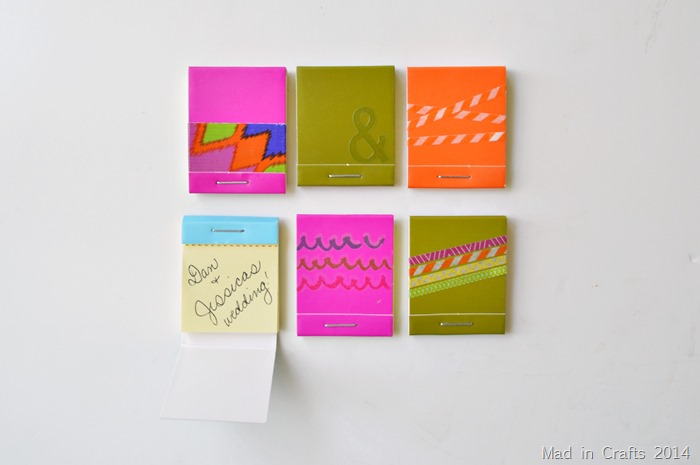
I rummaged through my stash of embellishments and played around with adding stickers, washi tape, Duck™ tape, and rub-on transfers. You could also embroider through the cardstock, stamp them, use small paper punches…. the options are endless. Add the couples’ initials, the graduate’s class year, stick to the party’s color scheme – be creative!
To make the note pads even more practical, I adhered pieces of magnets to the back of each matchbook. That way your giftees can toss the note pad right on their fridge to have handy at all times.
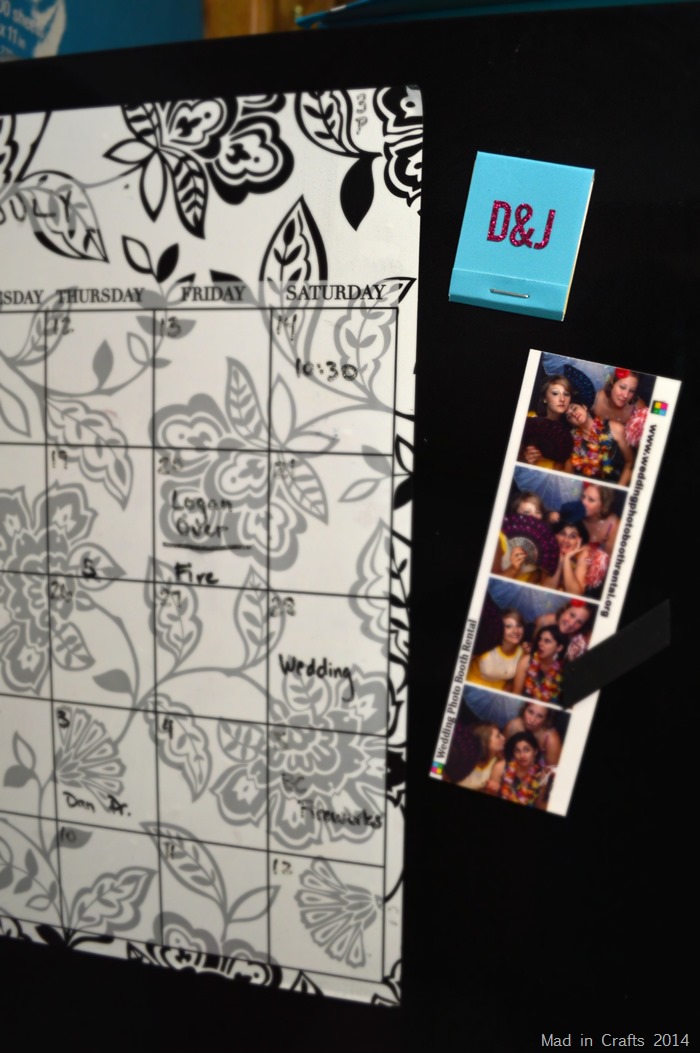
PRO TIP: Obviously magnet tape is ideal for this, since the backing is already sticky. If you want to save some money, dig around in your junk drawer for thin, promotional magnets and cut them to size. Glue them on with super glue. Recycling!
If you are using the note pads as save-the-dates, write the name of the event on the first note of the pad. Then they can rip off that note and stick it to the correct date on their calendars at home!
You can buy matchbook sticky pads online, but if you would rather DIY your own I figured out how to do that too!
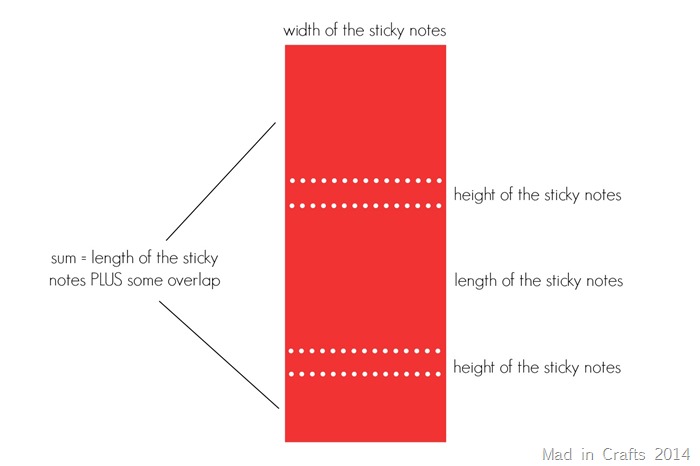
Use this handy template to help you cut your own cardstock to size. The strip of cardstock should be exactly as wide as the sticky note pad. The length of the strip should follow this formula: 2(length of the pad) + 2(height of pad) + x amount of overlap. For example, if your sticky notes are 2” x 2” x 1/4”, you should cut your cardstock to be 2” wide and 4 3/4” long (allowing for 1/4” of overlap).
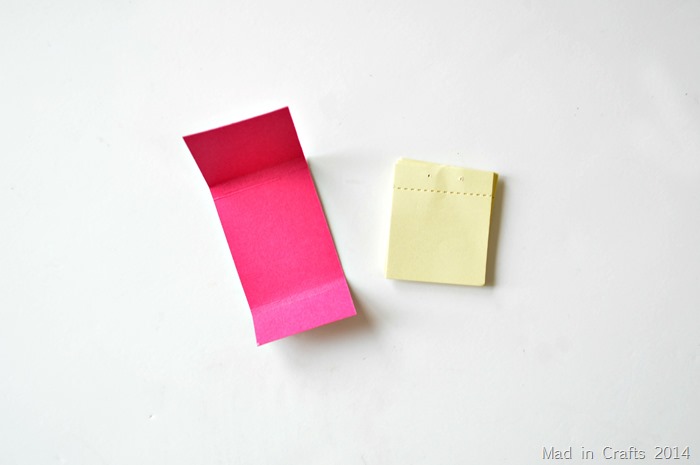
Next fold the strip of cardstock according to the template above. Glue the back of the sticky pad into place and add the magnet to the back of the matchbook.
If you have a strong stapler, you can staple all the way through the bottom of the note pad. If not, decorative tape works just as well.
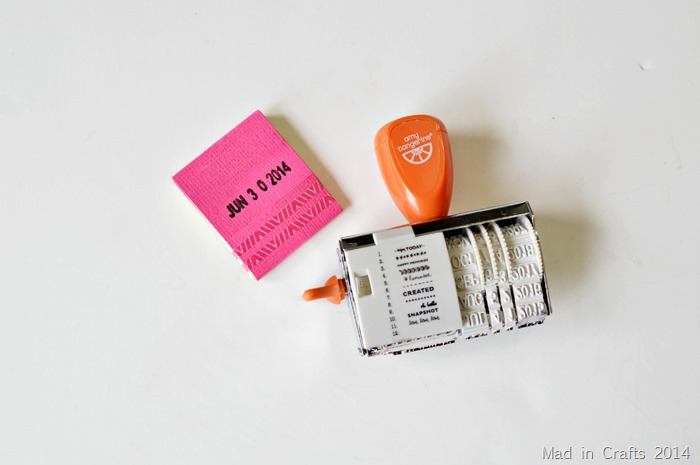
You can decorate the matchbook however you would like. Roller date stamps are a quick way to add important dates to the cover of each matchbook to help your guests remember which date to save.
I’ve gathered links to the materials I used in this tutorial. If you purchase after clicking one of these links, I will receive a small commission. Thanks!
Did you like this post? Think it’s worth sharing? Please share with your friends using the social media share buttons at the bottom of the page!
Thanks, Jessica



Love the sticky note idea! Notepad like this is a very popular wedding favor in my country too!