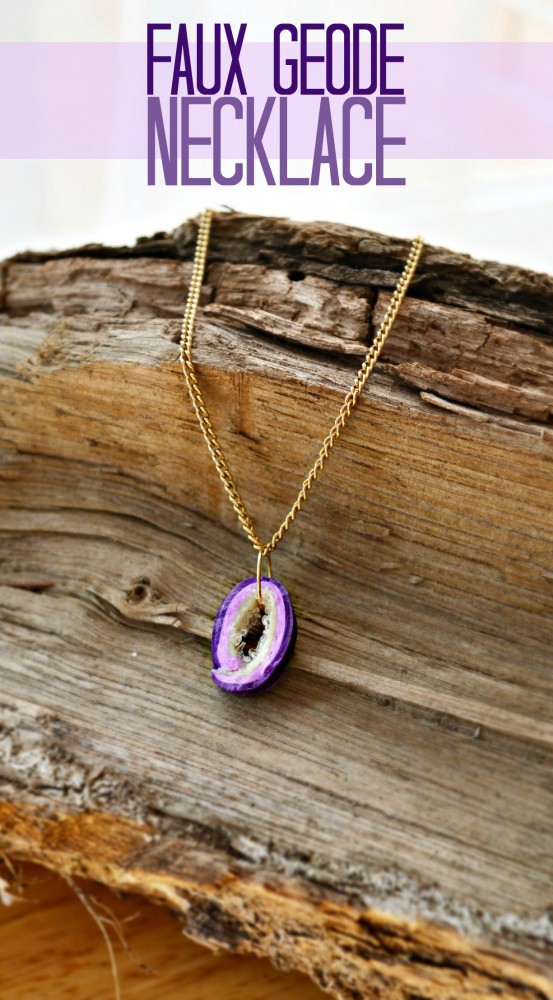
I am so excited to share this tutorial with you today. I got to try out Premo polymer clay for the first time, and I think the project turned out really well. I was a little intimated to try claying, but it is easy to get really great results with the right materials. I decided to use my clay to make a faux geode necklace.
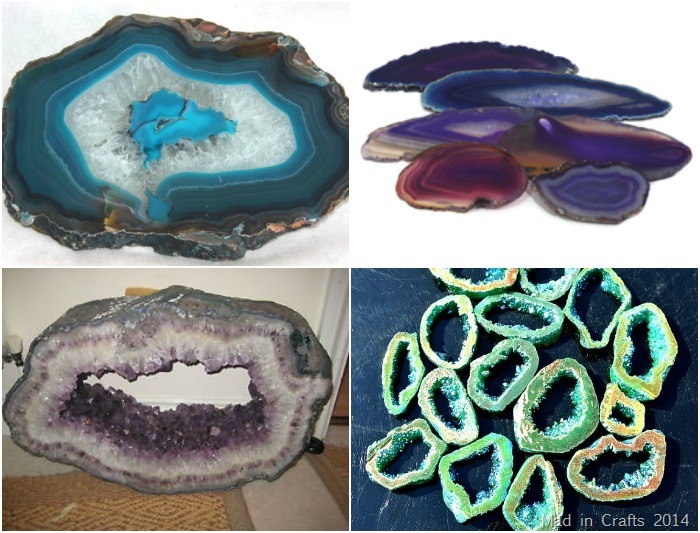
Look out, friends, it’s about to get all Science-y up in here. Geodes are formations that occur within cavities in rocks. When there is a cavity in rock, minerals build up on the cavity’s surface over time, leaving banding and crystals. Geodes are found, cut into cross sections, and polished.
Geodes are trendy again in home decor and jewelry, probably as an offshoot of the geometric trend that is popular. Geodes have a very distinctive look: striations of color (like tree rings) leading out from a hollow core that is crusted with crystals.
It doesn’t sound like something that can be easily replicated with clay, but I promise you that it can be done!
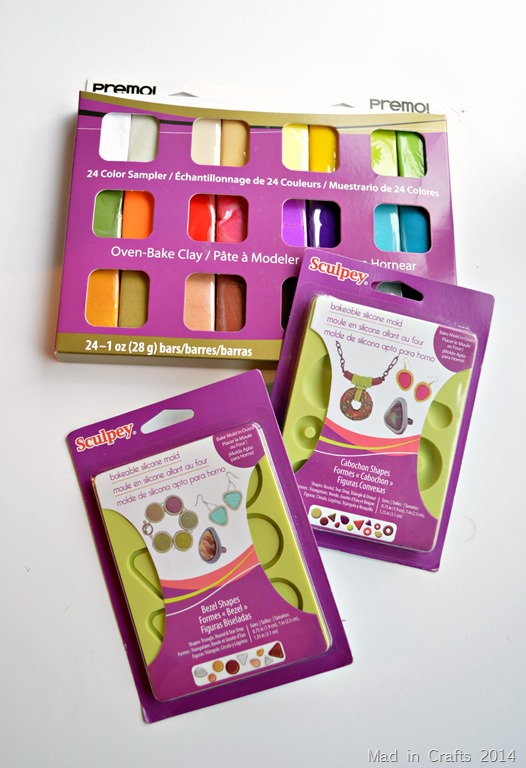
I was sent some Premo clay and Sculpey molds to work with. I did try out the molds, but you will have to wait for another post to hear about those. I decided to use the wide variety of clay colors to make some pretty faux geodes.
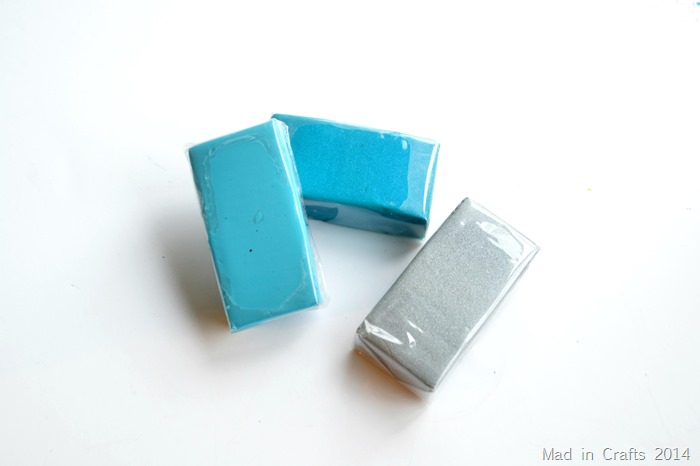
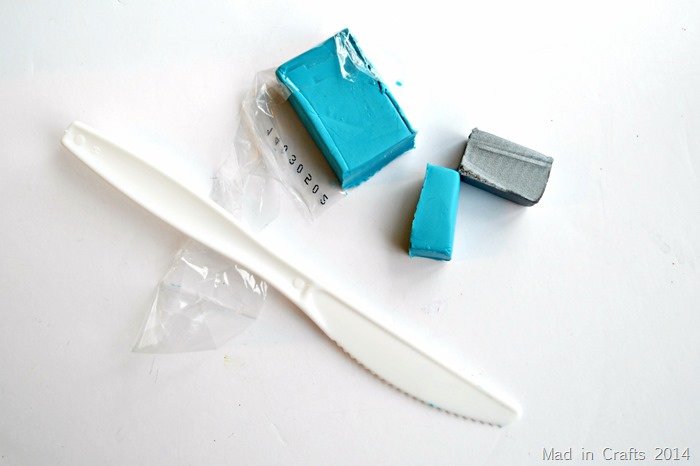
For my trial run, I chose two shades of teal clay and the silver. Both the silver and the darker teal have a shimmer to them that is hard to see in this picture.
I only used small portions of clay to make my faux geodes. If you are planning on making large pendants, you will need more clay.
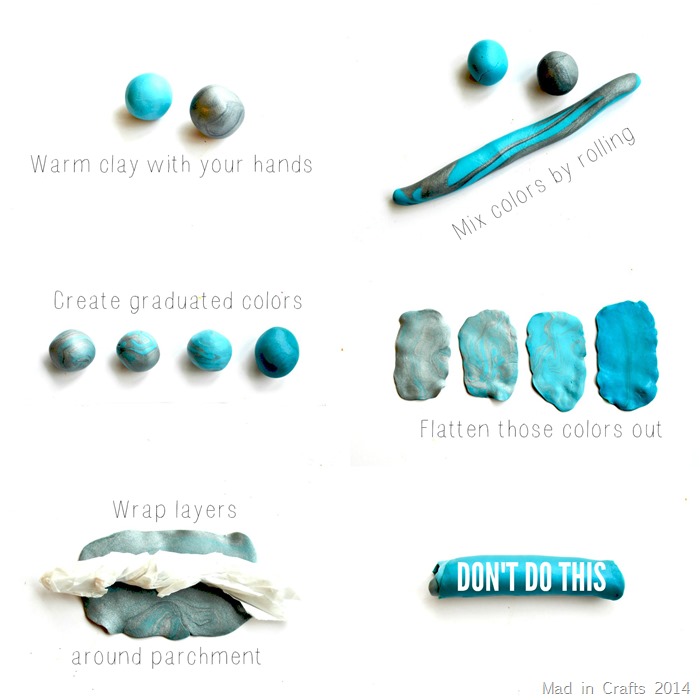
- Warm the clay by working it between your hands. Make snakes and spheres until it is pliable.
- Mix two or more colors together. Form each color into a snake, and put two snakes next to each other. Roll them into one snake. Fold it in half and roll into another snake. Repeat until the clay is mixed to your liking.
- Create 3-5 graduated colors (lightest to darkest). The lightest color will become the inside of your geode, and the darkest color will become the outer layer.
- Crumple a small piece of parchment paper into a snake (it’s a theme, people). Wrap the layers of clay around the snake, from lightest to darkest.
- DON’T MAKE IT INTO A SNAKE. I know I just blew your mind.
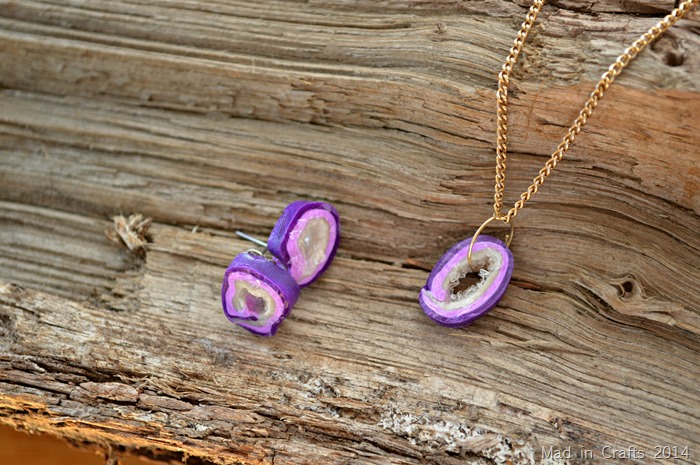
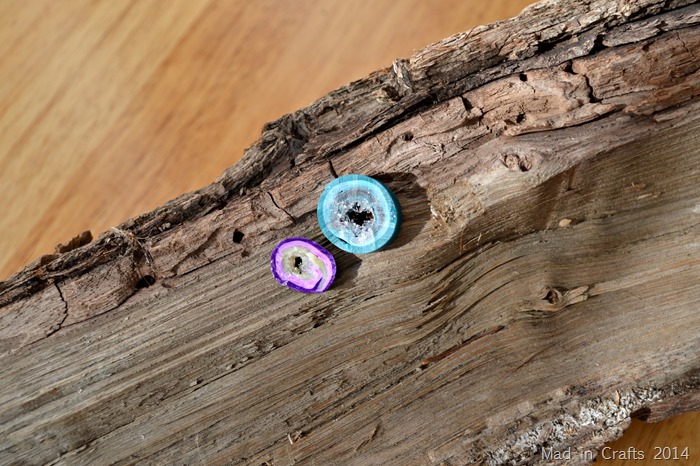
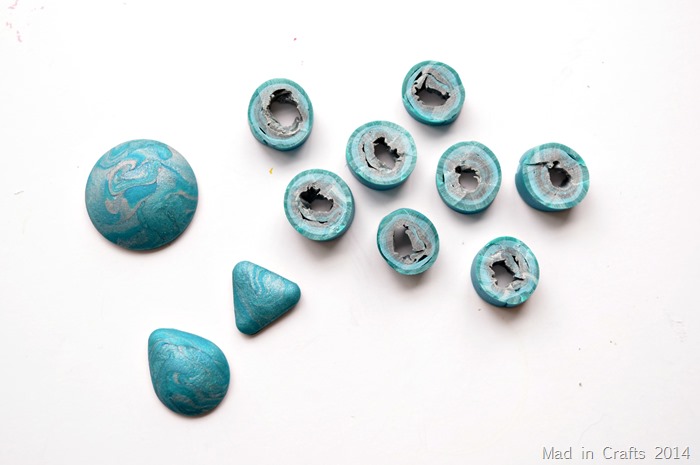
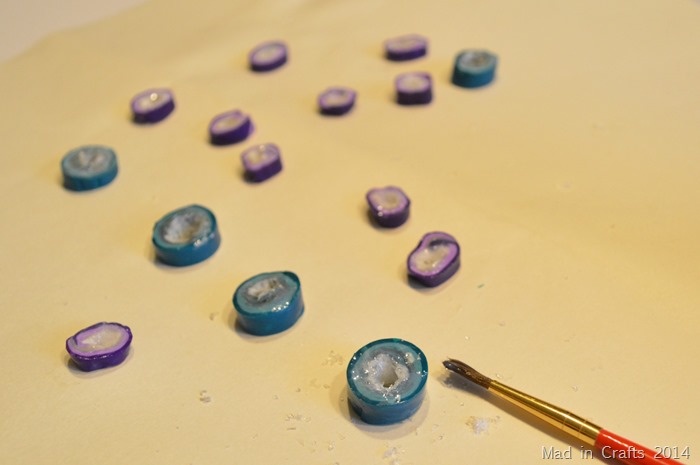
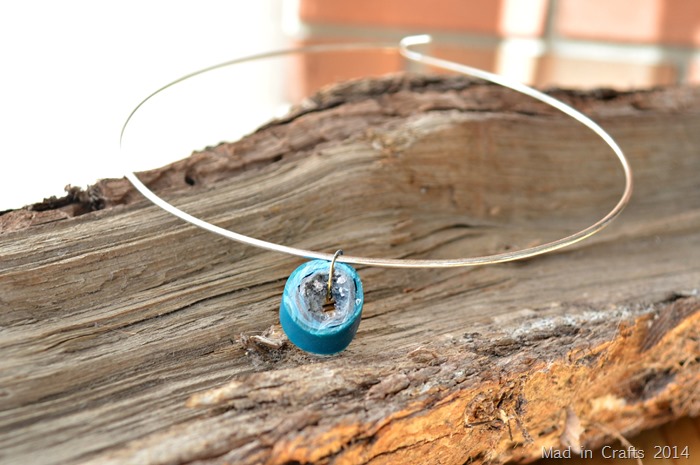
The last step is where I went wrong with my blue batch. Geodes are not perfectly round, and when I sliced my baked clay into discs they were all too uniform. They ended up looking as fake as they really are. (Pay no attention to the pretty clay shapes on the left side of the picture. I used Sculpey’s fabulous mold to make them, and I will talk about those another day.)
You can see that the parchment paper did succeed in leaving an uneven cavity in the middle of each slice, similar to the cavities found in real geodes. Score one for Jess.
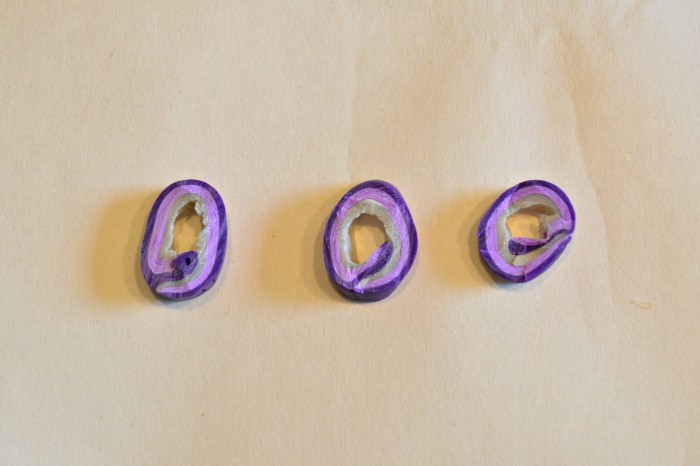
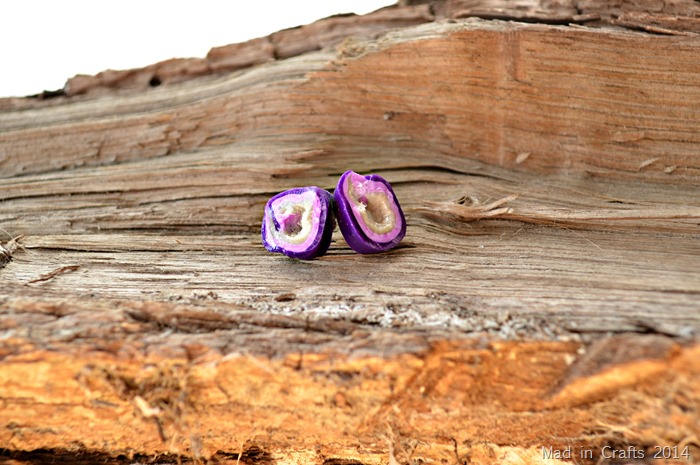
What you want to do is to moosh the clay into a wonky tube shape once all the layers of clay are wrapped around the parchment. My purple geodes look more authentic because of their irregularity.
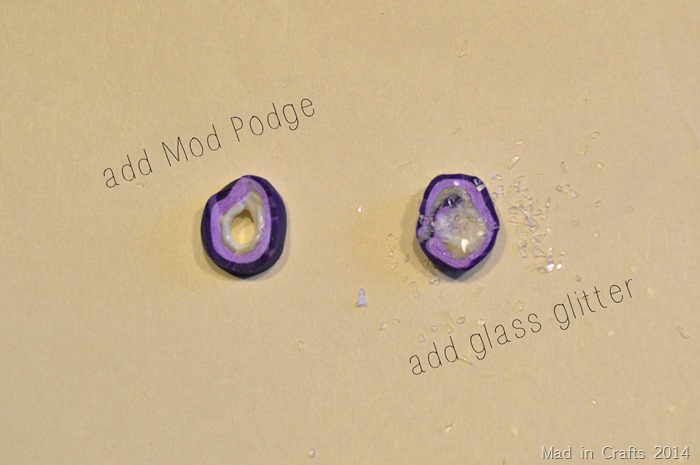
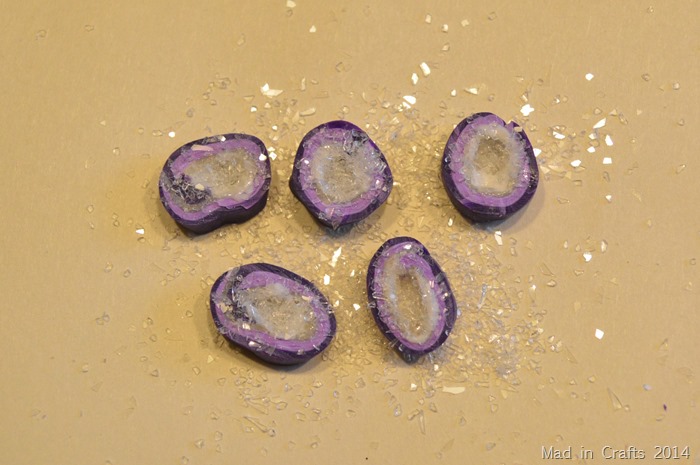
After the slices have cooled completely, you can add the “crystals” to the insides of the geodes. Apply a layer of decoupage inside the geode cavity and sprinkle on glass glitter.
Don’t use regular glitter, as it won’t give you the chunky, crystal look we are going for. Be careful with glass glitter! It’s real glass and will poke you if handle it too much.
Let the geodes dry.
After the glitter has set, you can decide whether you want to seal your pieces. A coat of gloss sealant helps to bring out the striations in the clay and adds to the polished rock look.
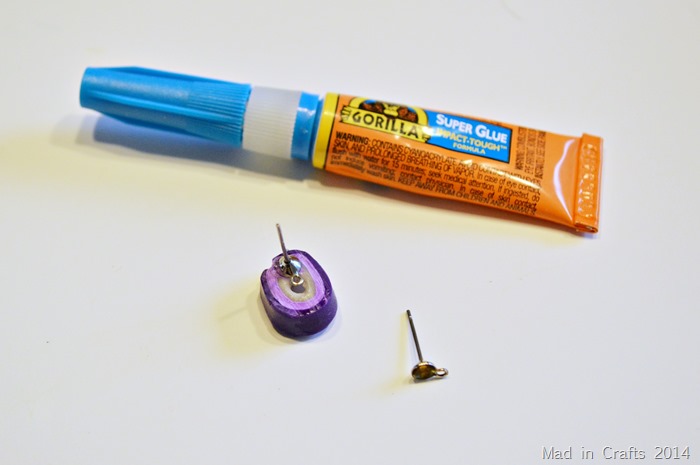
Add the pieces to your choice of jewelry hardware: ring bases, earring backs, or jump rings. Now you have trendy geode style jewelry that you made yourself!
Some things I discovered while working with clay:
- If you mix a shimmery clay with a solid color, both colors will become shimmery. That worked will for this project, but it’s something for you to keep in mind for yours.
- If you don’t use the entire block of clay for this batch of jewelry, be sure to store it in a zippered food storage bag so that it doesn’t dry out.
- When working with different colors, wipe off your hands and tools before moving on to the next color. There will be residual clay that will transfer.
- Cut baked clay while it is still warm. It will harden even more as it cools, making it harder to cut.
- Raid your kids’ toys. I used my daughter’s plastic rolling pin to help me flatten out the clay. Worked like a charm.
These are all affiliate links, if you make a purchase (of anything from these retailers, not just these items) after clicking through, I will earn a small commission. Ads and affiliate links are the way I am able to keep this website running and to offer you free tutorials all year long. Thank you so much for supporting me and Mad in Crafts!
- polymer clay
- glass glitter
- super glue
- jump rings
- necklace chain
- earring findings
You might like these other clay DIYs:
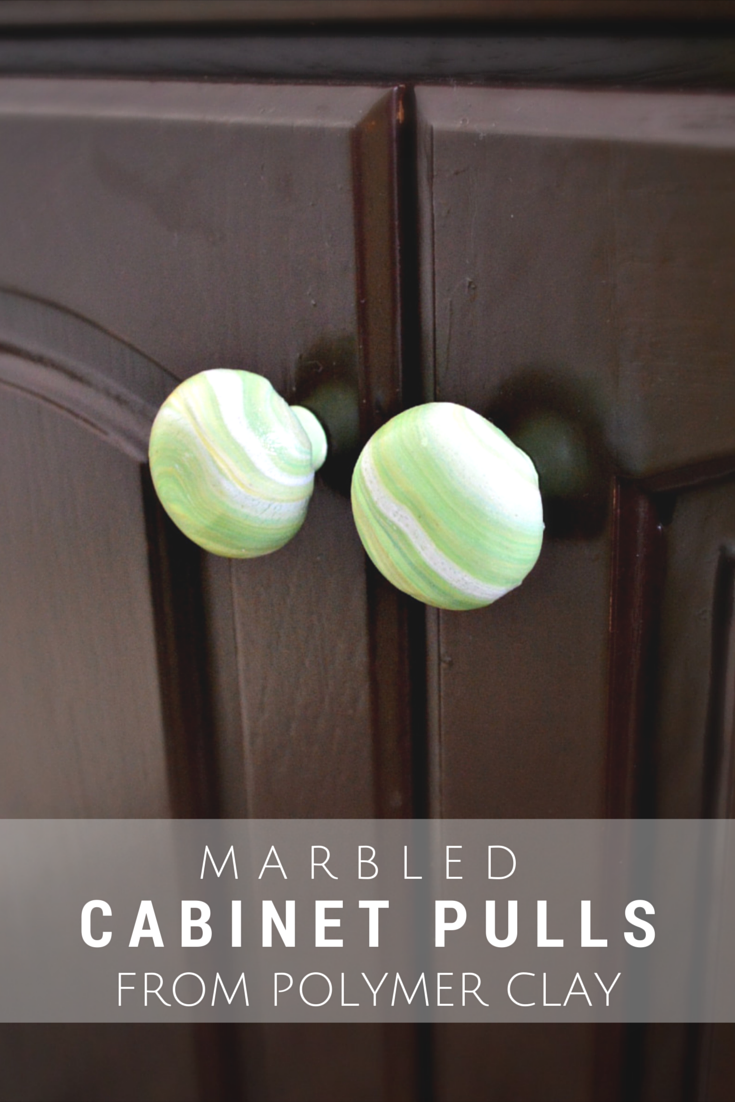
MARBLED CABINET PULLS FROM POLYMER CLAY



How cool is this?! I LOVE geodes! So, I happen to think this is a bit of brilliance right here! 🙂
Such an awesome idea, I never would have thought to make a faux geode!!
These are so pretty!! Thanks a lot for the detailed instructions with the clay! Love it!
Thanks so much. I almost felt silly illustrating the steps because the process is so simple!
That is crazy-cool! Love!!
FANTASTIC IDEA! Great work!
This is brilliant and so creative! Just WOW!!! So many ideas of what to do with this 🙂
Seriously amazing! I LOVE this! I think I see some faux geode Christmas ornaments in my future this year!
Ooh, that is a great idea!
The glass glitter really sets it off. I love the teal and purple.
This is super cool! You are a genius! I would love it if you had a minute to come by and link up with us at The Makers link party over on my blog. 🙂
This necklace turned out so pretty! Love it!
So cool! I collected rocks growing up and was obsessed with geodes. I will have to give this a try with my kids 🙂
Wow this looks amazingly like the real thing! I’ve always found polymer clay a chore but this might actually tempt me to use it 🙂
Hello again 🙂 I just did a Statement Necklace DIY tutorial which features agate geodes- https://hapinesswherever.wordpress.com/2014/08/25/15-min-diy-necklace-statement-agate-geode-necklace/
I was wondering if you’d mind if I linked to this post? It’s an amazingly helpful and beautiful tutorial 🙂