This project post is a part of a paid marketing campaign with Snap. Although this post is sponsored, the project idea and all opinions expressed are my own.
I love having greeting cards on hand, but I am not very good at making my own cards. The cards usually end up wonky or mismatched or just plain fugly. When I was given the chance to try out the Amy Tangerine Plus One line available on HSN, I thought it might be a chance for me to make a stash of greeting cards that I would actually be proud to give out.
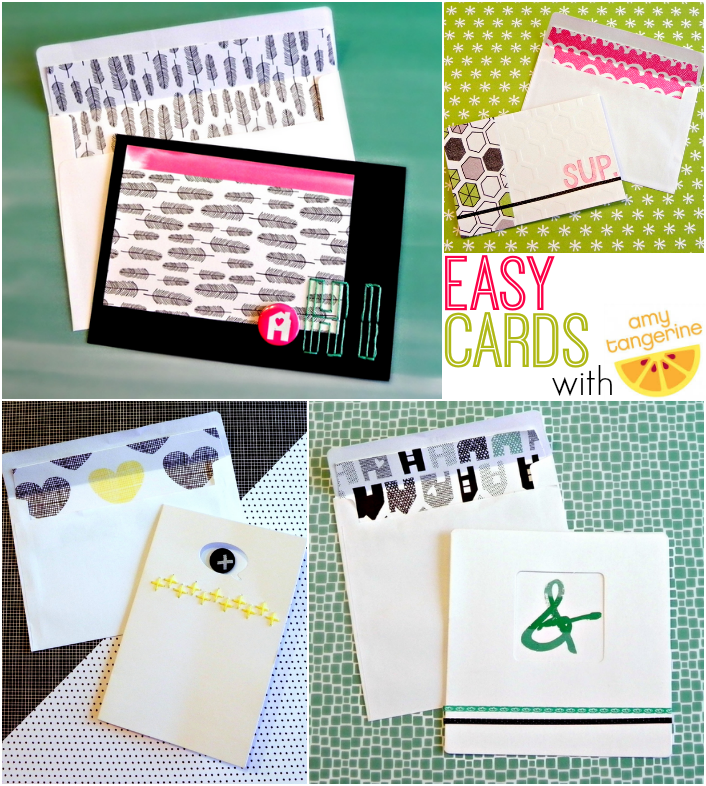
Because the Amy Tangerine line is stinking adorable, each item coordinating with all the rest, it is very easy to put together cards even if you aren’t a paper crafting whiz. I made up these detailed cards in just an hour or two, and most of that time was spent rechecking my measurement math.
To make Easy Amy Tangerine Cards, I used:
The following links may be affiliate links. I will receive a small amount of compensation if you choose to make a purchase after visiting the link.
Amy Tangerine “Plus One” Papercrafting Kit
Amy Tangerine Embroidery Stencil Kits
blank cards
glue dots
paper cutter
scissors
ink pad
Amy Tangerine Embellishments Kit
fabric brads
flair embellishments
scrapbook paper
washi tape
letter stickers
rub-on transfers
Amy Tangerine Stamp and Marker Set
date stamp
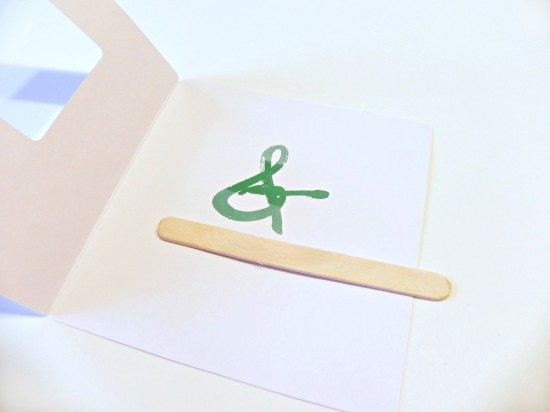
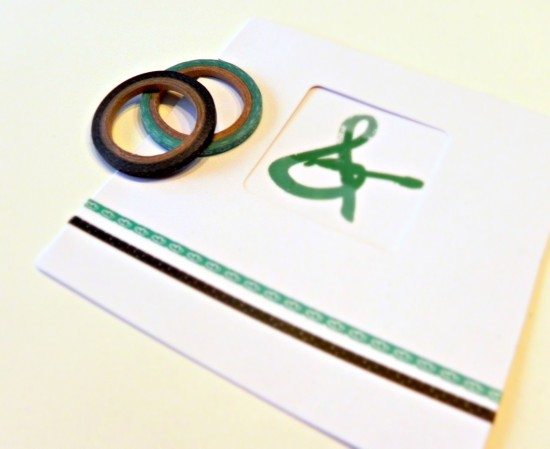
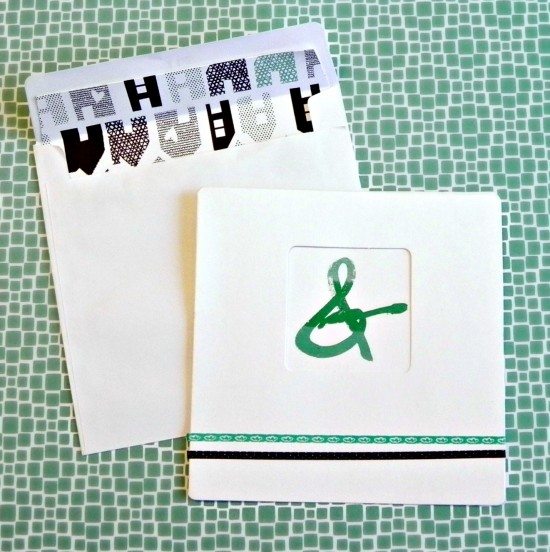
First I tried using the rub-on transfers for a simple, any occasion card. I cut the ampersand image out of the pack of transfers and positioned it so it would show through the frame on the front of my card. I used the included craft stick to burnish the image right on to the paper.
Next I used Amy Tangerine’s itty bitty washi tape to add a few stripes to the front of the card. I didn’t think there was any craft supply more precious than washi tape until I saw miniature washi.
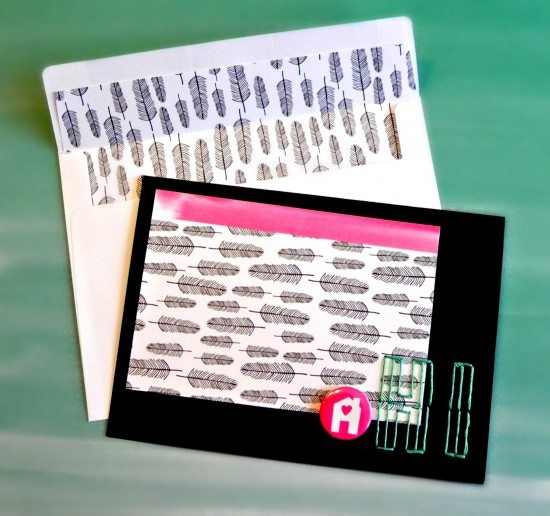
I picked a coordinating pattern of Amy Tangerine scrapbook paper and cut it to fit inside of the card’s envelope. After it was trimmed to size, I adhered it to the inside of the envelope with glue dots. A lined envelope is a really cool touch, especially when the pattern is as trendy as the ones in this paper pad.
PRO TIP: There’s really not a need for the envelope liner paper to go much lower than the front edge of the envelope. Save yourself the paper by not lining the part no one will see.
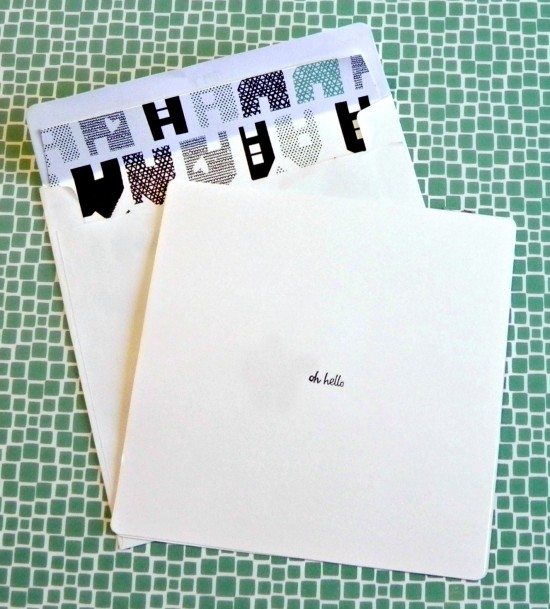
I used the Amy Tangerine roller stamp to add a tiny message to the back of the card.
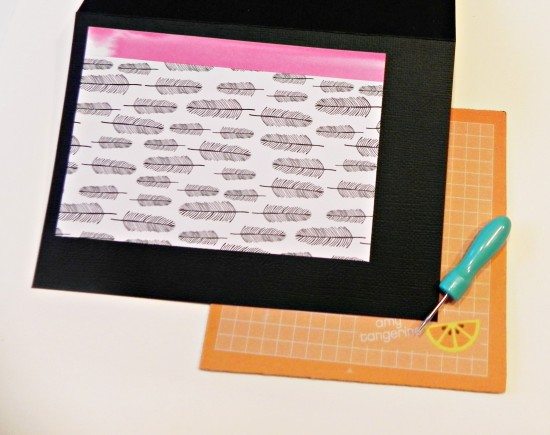
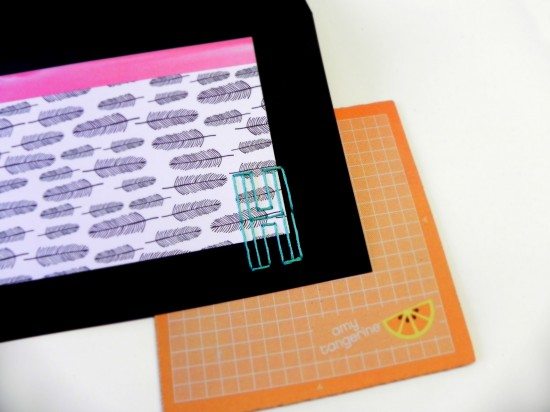
Next I tried out the Amy Tangerine Embroidery Stencil Kits . Included in the kit are stencils (pre-marked with the perfect stitch holes marked out), a piercing tool, a self-healing gridded mat, and embroidery thread and a needle.
You start by placing your project on top of the mat. I have only tried the stencils with cardstock, but I am told you can also use them on plastic and fabric!
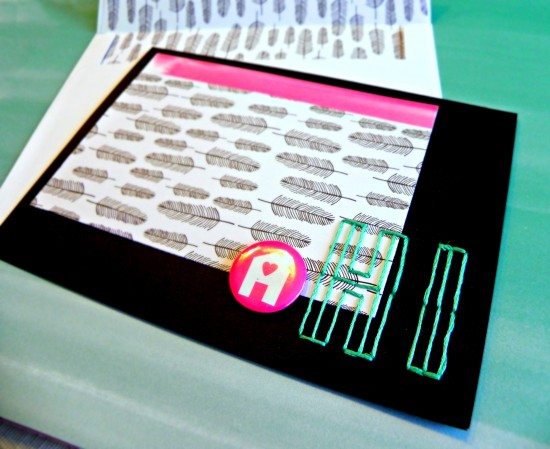
Next, place the stencil where you would like the stitching to appear on the card. I decided to just try out the word “HI” because I’m lazy. Pierce through all the holes in the stencil for those letters.
Then use the thread and needle to follow the lines indicated on the stencil.
When you are finished, you have a perfectly spaced stitching detail on your card! I am not a sewer, and the hardest part of the process was threading the needle.
I lined the envelope with the same feather paper that I used on the front of the card and finished it with a coordinating stick-on button.
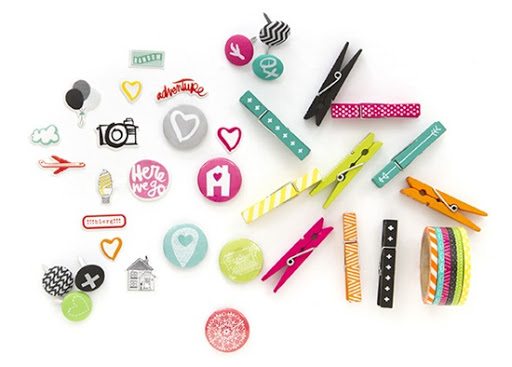
The Amy Tangerine line on HSN has a variety of sweet embellishments to add to any paper project. Like the whole line, all the patterns and colors coordinate with each other, so you can mix and match as much as you would like.
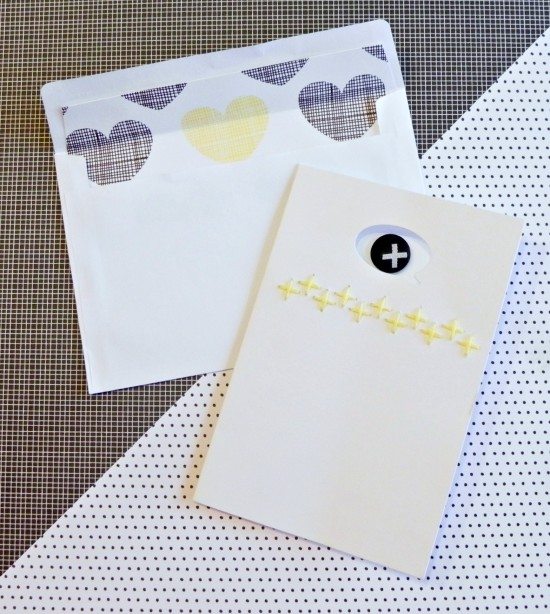
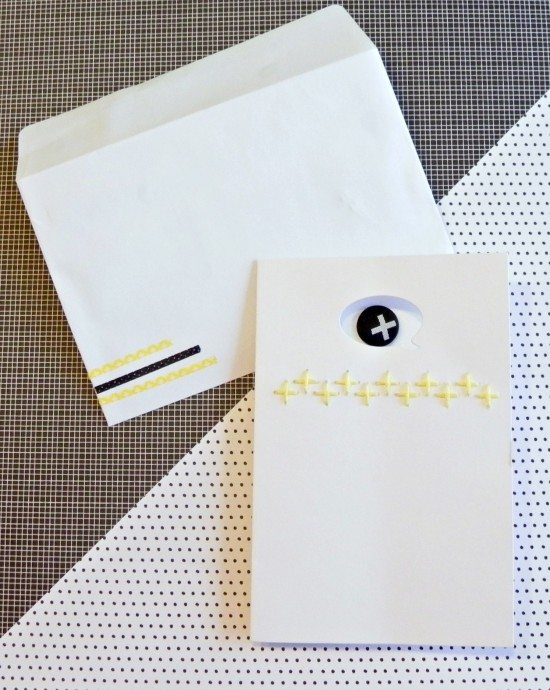
I made a quick card using another stitch stencil and a fabric brad. I also used another of the patterned papers to line the envelope again.
To carry the black and yellow theme, I added a few washi strips to the front of the envelope too.
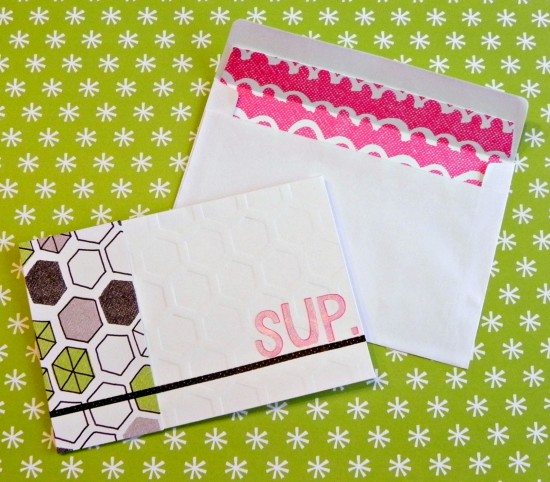
The last blank card I used had a honeycomb paper embossed into the cardstock, so I added a strip of the hexagon paper to play off the pattern. Washi tape, alphabet stickers. and another envelope liner later, and I had another cute one-of-a-kind card.
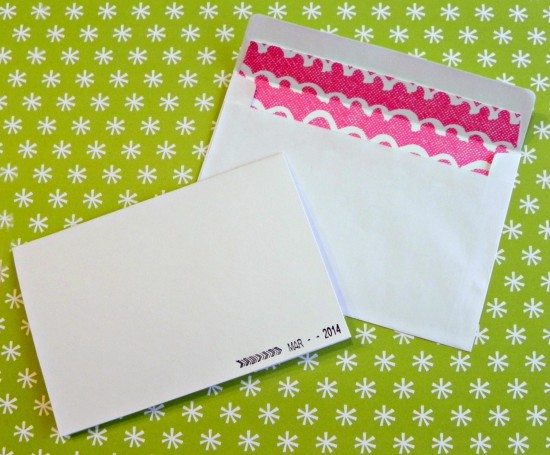
I used the roller stamp to add a creation date to the back of the card too. Have you been noticing the fun backgrounds behind all these cards? Those are all papers from the Amy Tangerine pack too. You can see how easy it is to put elements together to make unique, but coordinating, combinations.
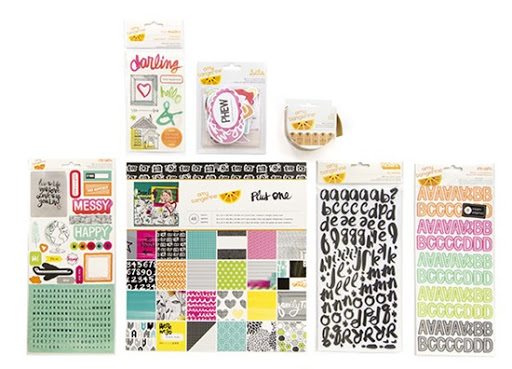
Now that I have convinced you how fun this line is, you want to get your hands on it, don’t you? I’ve got good news: The Amy Tangerine Plus One paper craft collection will be available for sale again on HSN beginning on March 24. The collection will be available in five bundles starting at just under $20. You will be able to choose from the: Amy Tangerine Stamp and Marker Set, the Amy Tangerine Embroidery Stencil Kit
, the Amy Tangerine “Plus One” Papercrafting Kit
, or the Amy Tangerine Embellishments Kit
. If you have gotten into the Project Life scrapbooking method, the sold out Project Life Amy Tangerine “Plus One” Mini Kit
will also be available at a discounted rate.
What’s your favorite part of this Amy Tangerine line: the papers, embellishments, or the embroidery kit?
Did you like this post? Think it’s worth sharing? Please share with your friends using the social media share buttons on the toolbar on the left side of the page!
Thanks, Jessica




Leave a Reply