Making DIY Christmas ornaments doesn’t have to be complicated. Today I am going to show you how to use alcohol ink to create a beautiful stained glass look on clear plastic ornaments. You can make a marbled alcohol ink Christmas ornament with amazing results with little to no effort!
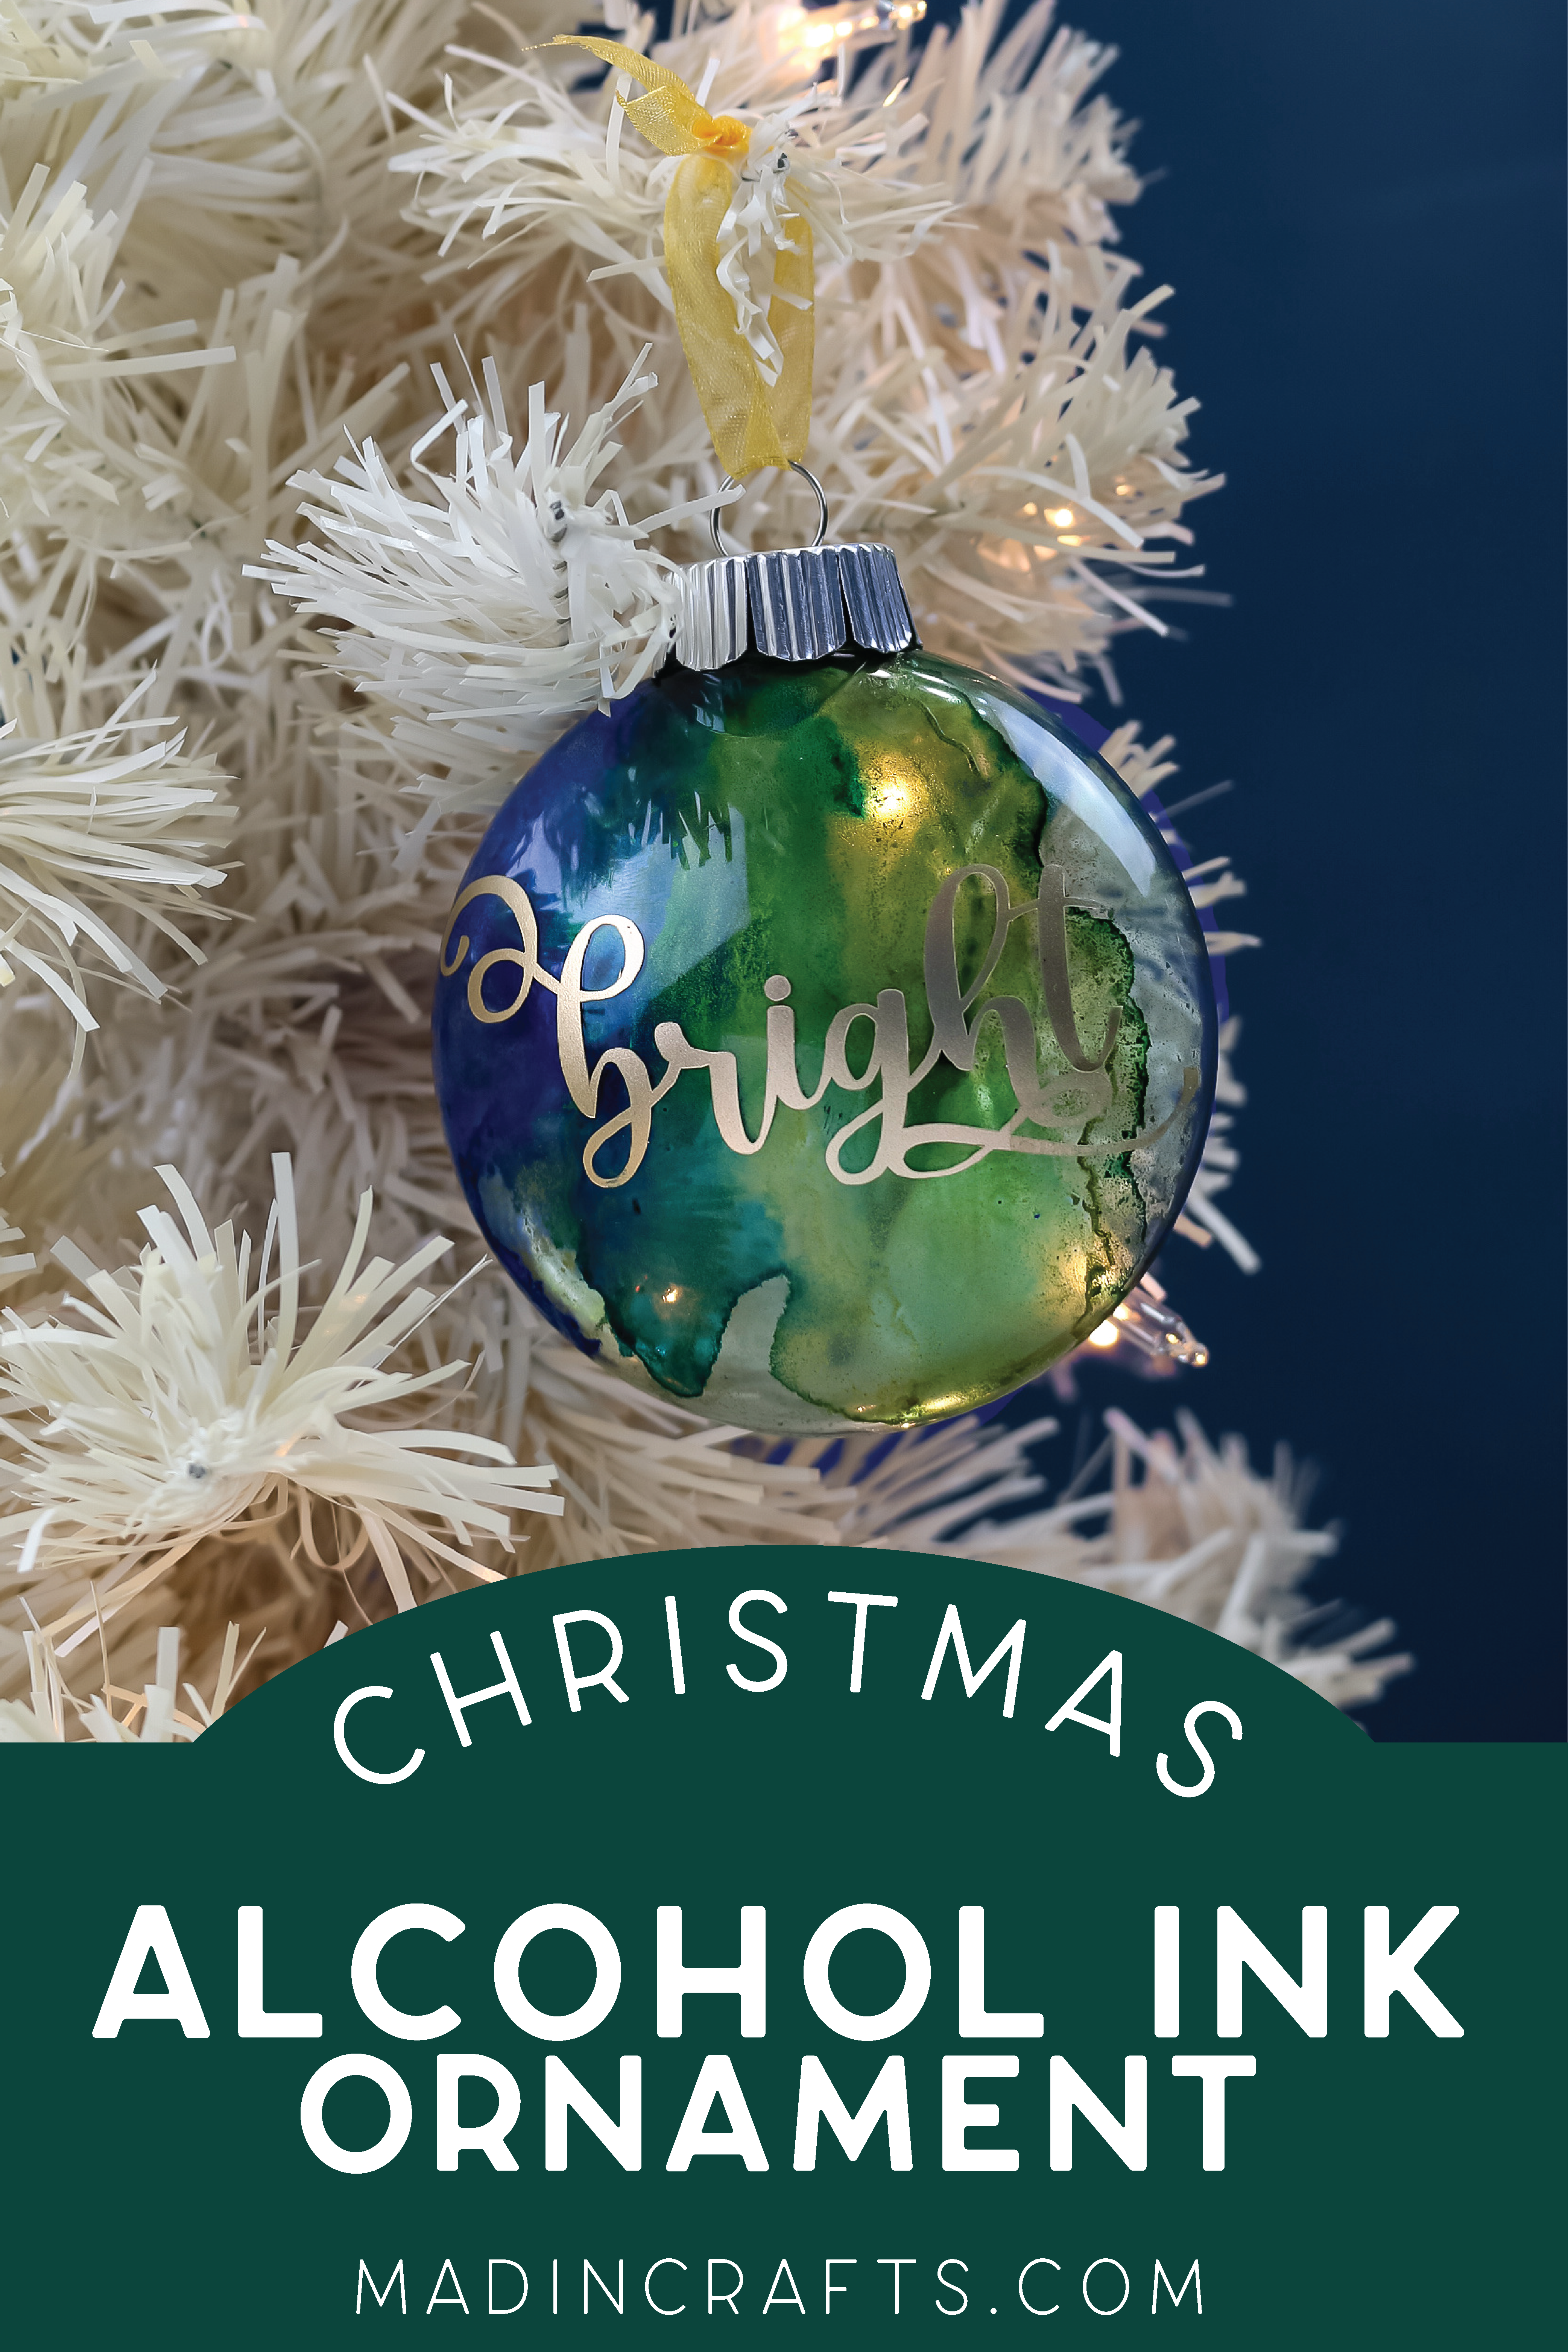
MARBLED ALCOHOL INK CHRISTMAS ORNAMENT
WHAT YOU WILL NEED TO MAKE ALCOHOL INK ORNAMENTS
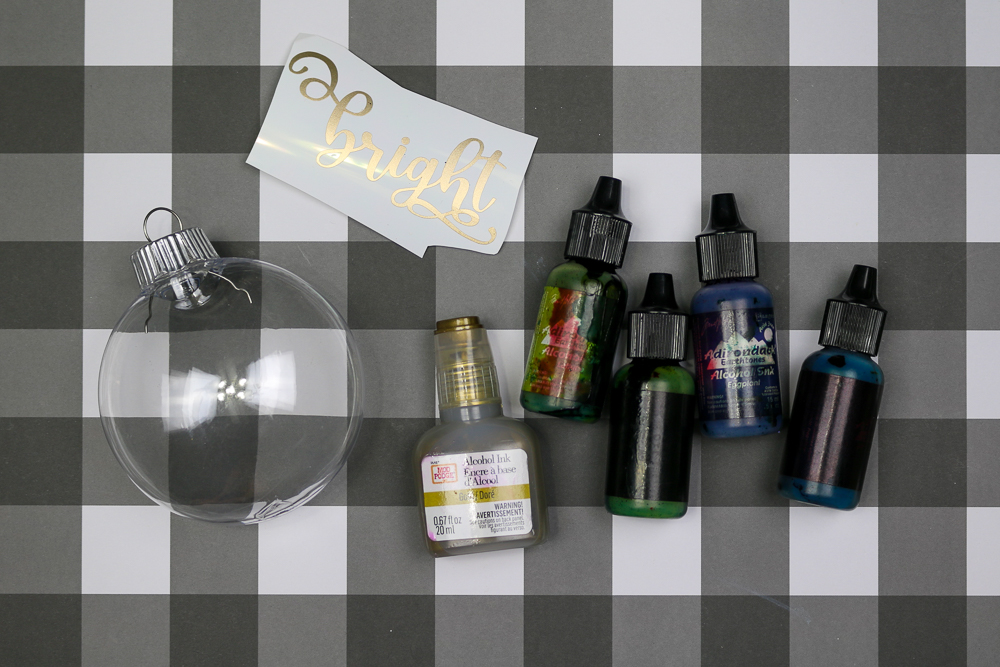
I like the flatter ornaments because they are much easier to apply vinyl to, but regular ball ornaments look beautiful filled with marbled ink as well. This DIY ornament technique is easy enough for kids to do. If you are working with younger children, I recommend using plastic ornaments rather than glass as the lip of clear glass ornaments can be sharp.
These are all affiliate links, if you make a purchase (of anything from these retailers, not just these items) after clicking through, I will earn a small commission. Ads and affiliate links are the way I am able to keep this website running and to offer you free tutorials all year long. Thank you so much for supporting me and Mad in Crafts!

Want to know which craft supplies I always keep in my craft room?
Visit the Mad in Crafts Amazon Storefront to learn more and to buy your own supplies!
HOW TO MAKE ALCOHOL INK CHRISTMAS ORNAMENTS
Once you learn this technique for creating beautiful marbled Christmas ornaments with pretty painterly effects, you won’t want to stop! You can quickly create enough ornaments to decorate a full tree or to give as gifts during the holiday season. This fun Christmas craft can lead you to make some of your all-time favorite Christmas tree ornaments.
Marbled Alcohol Ink Ornament Instructions
- Begin by removing the cap from the ornament and setting it aside for later.
- Choose 3-5 colors of alcohol ink that suit your color scheme.
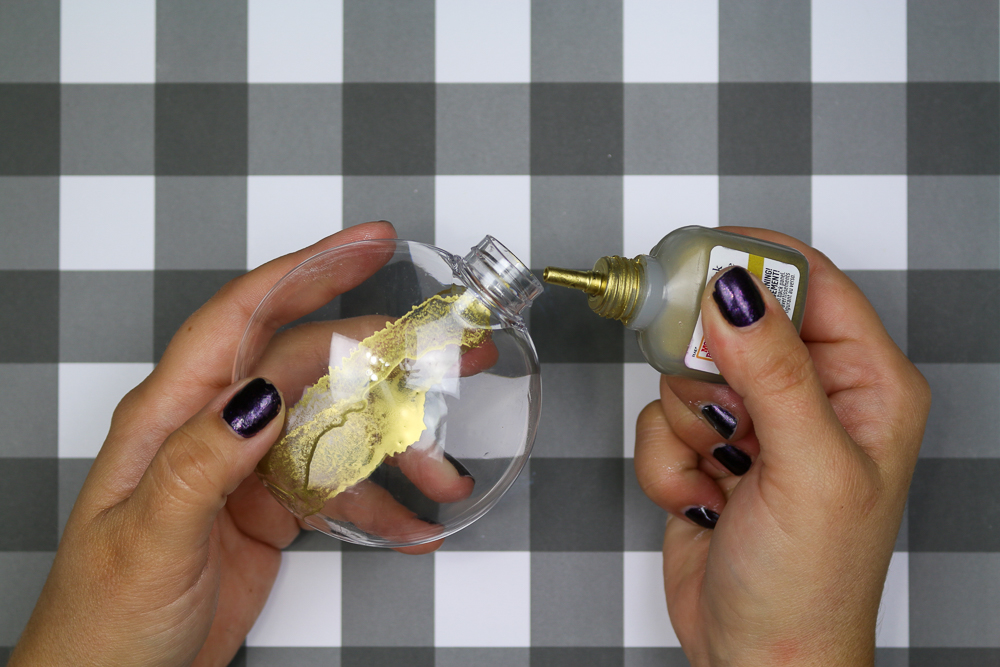
- Beginning with your lightest color ink (or metallic ink), squeeze a small amount of ink through the opening of the ornament allowing it to drip inside of the ornament.
- Slowly tilt and swirl the ornament to direct the ink flow to streak the inside of the ornament.
- Choose another color of ink, and place a few drops of it inside the ornament as well. The colors can touch, but try not to overlap the colors completely.
- Repeat this process with all of your different colors of alcohol inks until the inside of the ornament is well-coated.
- Tip out any excess ink and let the ink inside the ornament dry.
- Replace the cap on the ornament.
- Cut a design out of adhesive vinyl with your Cricut machine.
- Weed away the excess vinyl
- Use transfer tape to position the vinyl design on the front of the ornament.
- Carefully remove the transfer tape to reveal your finished ornament.

HELPFUL TIPS FOR USING ALCOHOL INK ON A CLEAR ORNAMENT
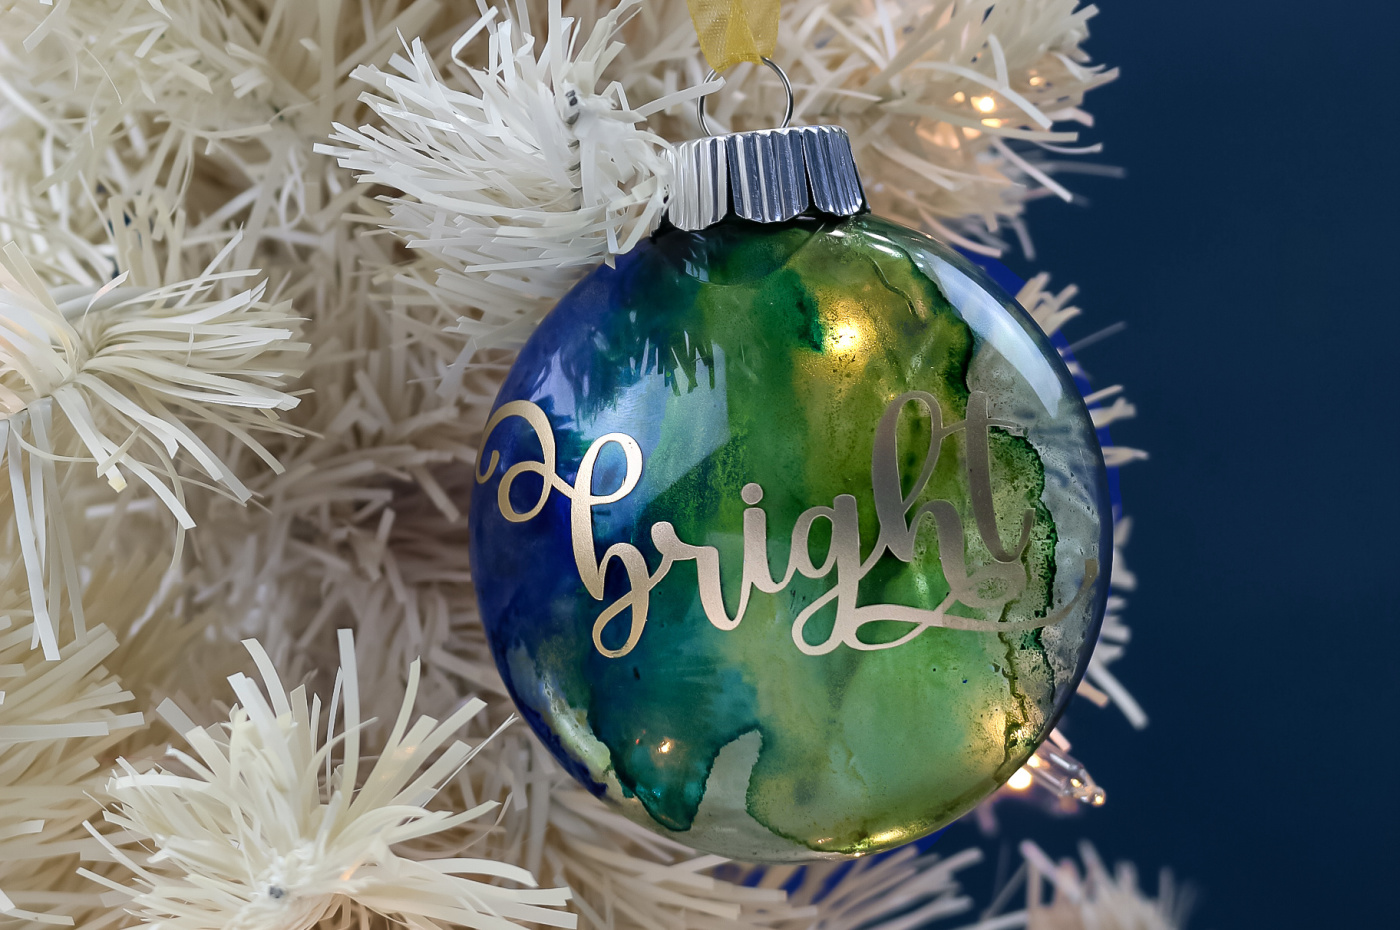
- Using colors that are similar (using all cool tones, for example) will lead to the best results. Mixing colors that are opposite on the color wheel can lead to muddy browns.
- If you accidentally put too much ink in the ornament, tip the ornament upside down over a piece of paper towel to drain the excess ink.
- If you allow the ink to dry between colors (it only takes a few seconds to dry) the streaks will be more distinct.
- If you do not allow the ink to dry between colors, or you put more than one color of ink in at once, you will get more blending of the ink colors.
- You can clean up any alcohol ink drips on the outer part of the ornament by adding a little rubbing alcohol onto a paper towel. Just wipe the drips away!
- Be sure to cap your alcohol ink bottles well after using, so the ink does not dry up.
CHRISTMAS WORD SVG BUNDLE
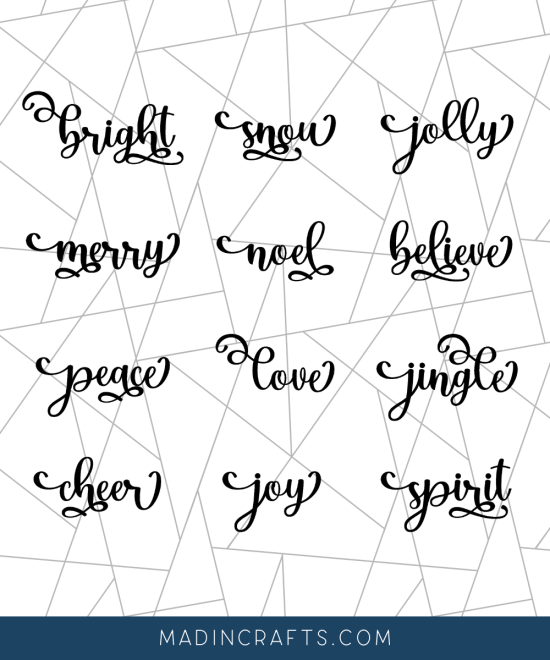
The SVG that I used on my ornament comes from a bundle that is for sale in my shop. These simple SVGs will help with a wide range of Christmas DIYs. Use them in your holiday crafting for home decor or gift-giving!
Ideas to use this file:
- Ornaments
- Cards
- Pillows
- Decor signs
- and more!

