I always like to try out interesting new craft supplies when I come across them. When I saw that Expressions Vinyl was carrying Puff HTV, I bought a few sheets to try for myself. Puff vinyl is very fun to use, adds a unique texture to your crafts, and is simple and straightforward to use.
HOW TO USE PUFF VINYL
EXPRESSIONS VINYL PUFF HTV
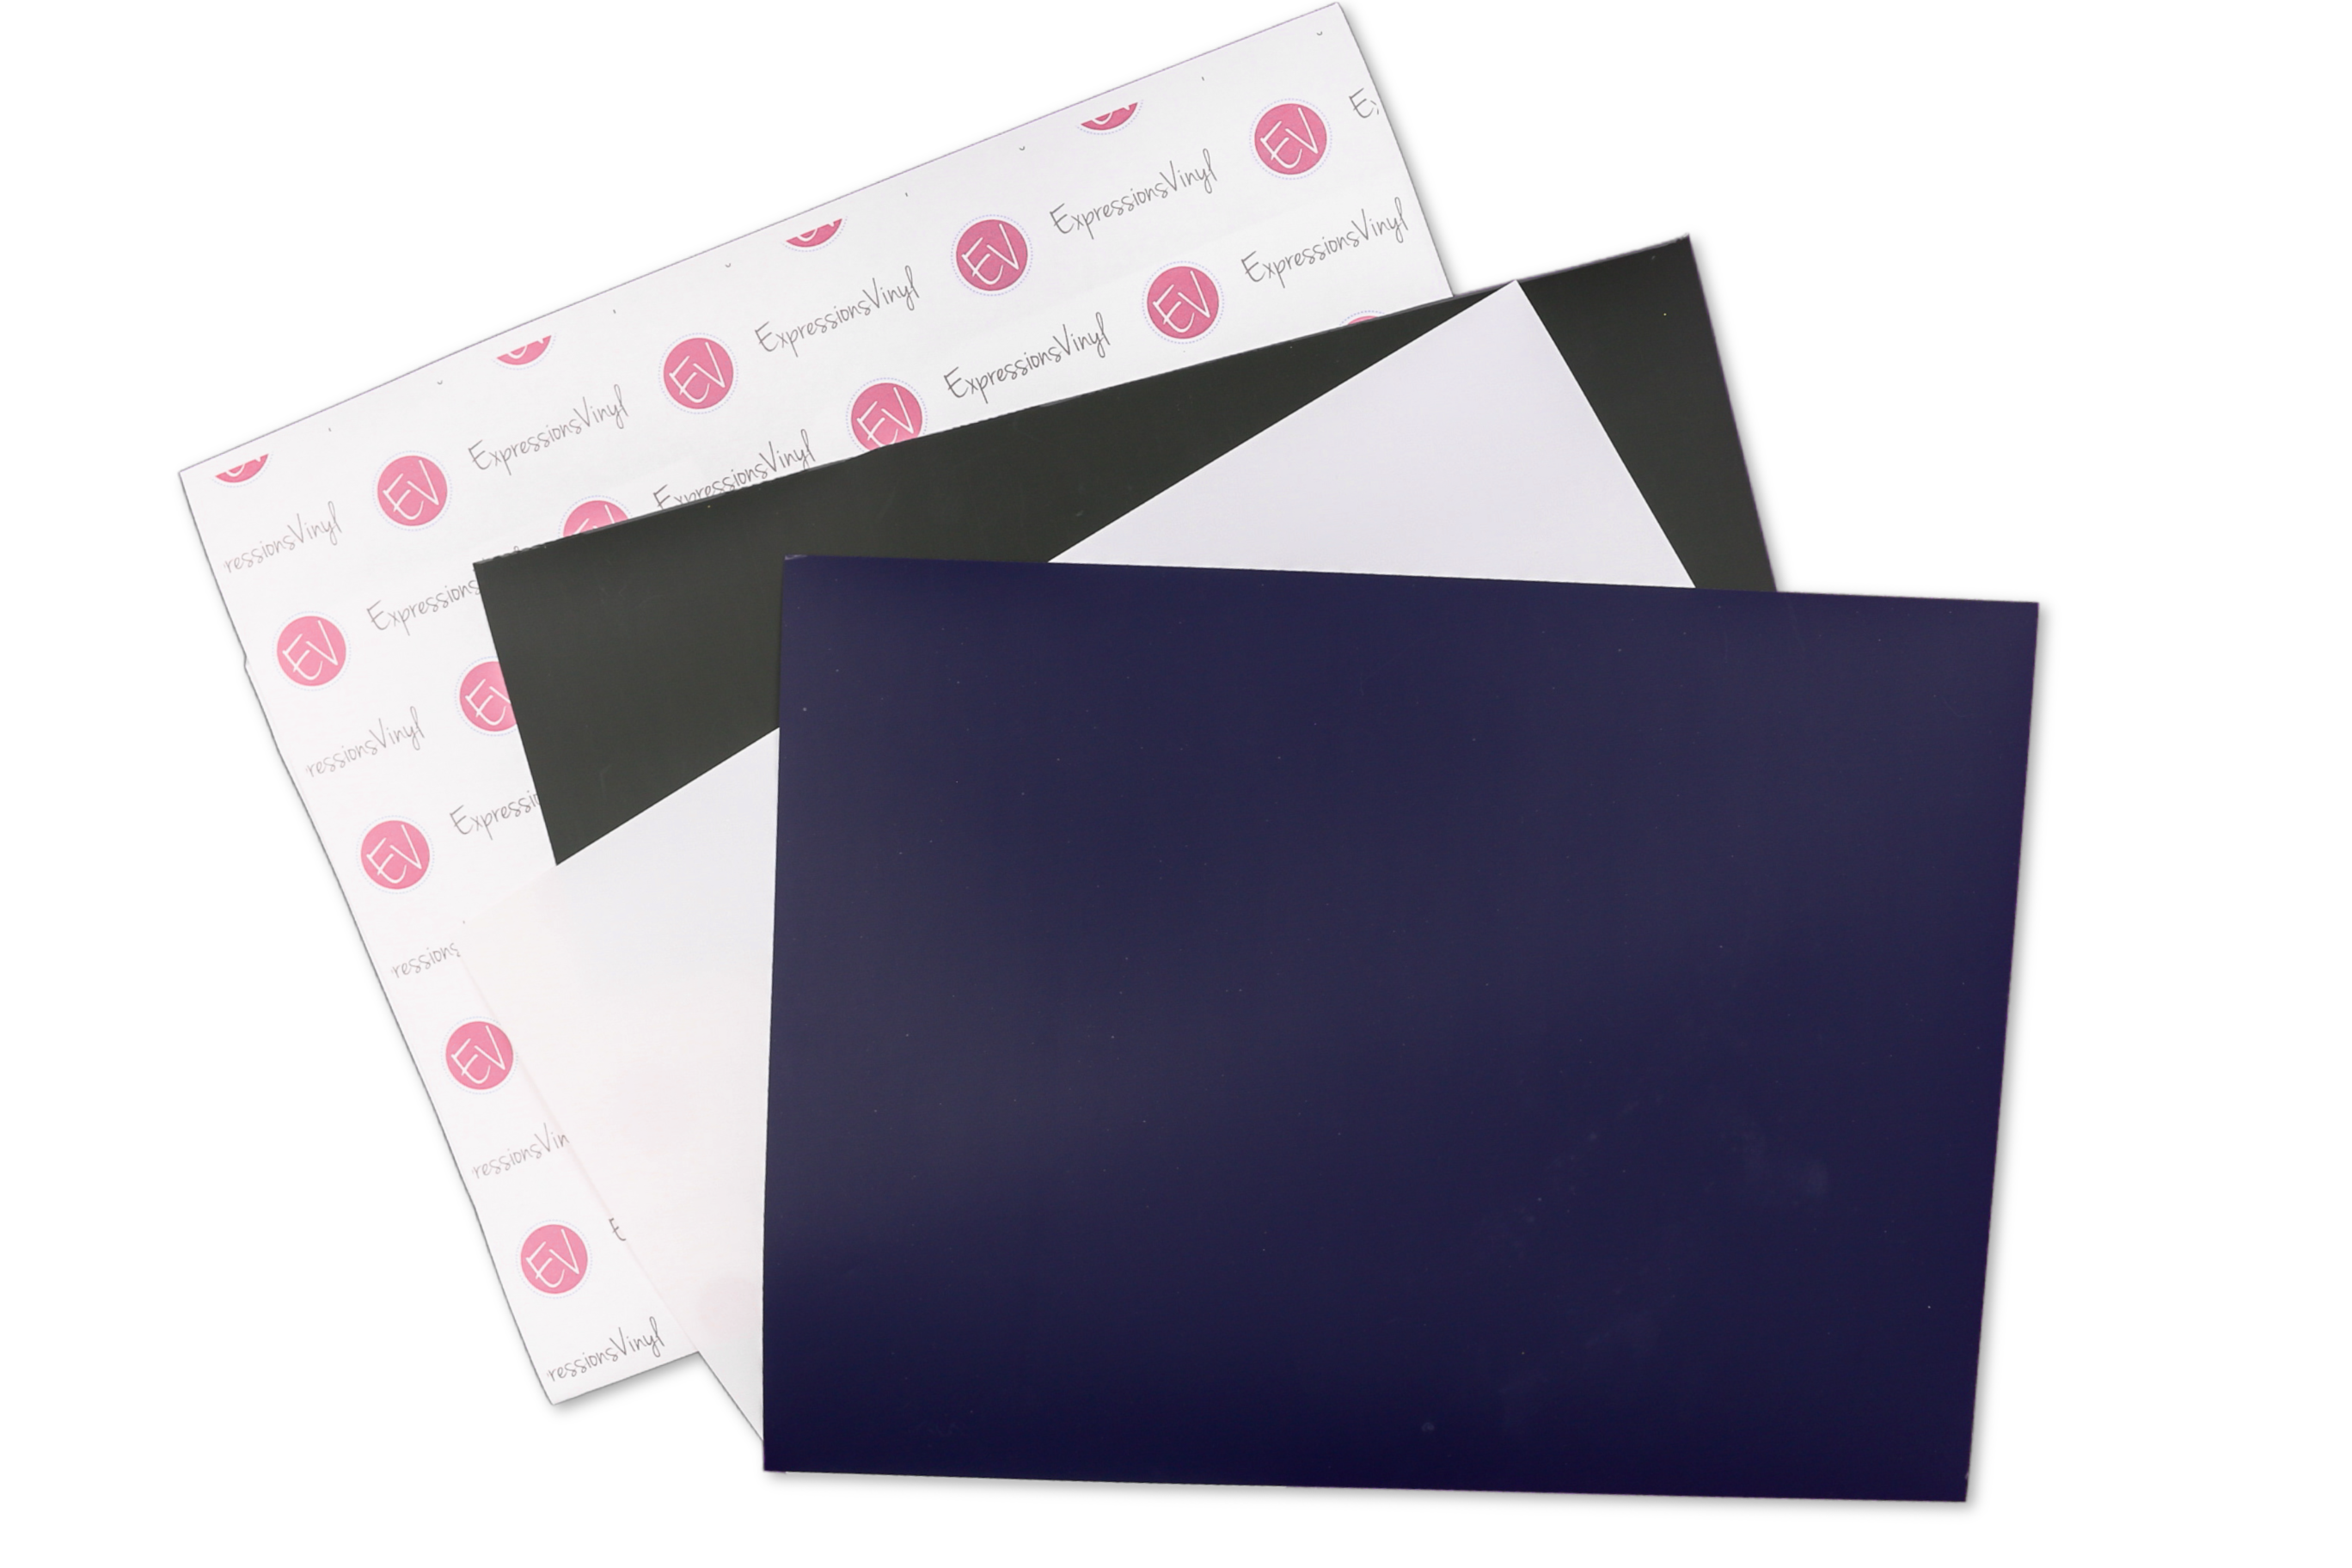
I have not yet seen puff vinyl in any of my local crafts stores, so you will likely need to order it online. Expressions Vinyl is my favorite online retailer for specialty vinyl. They have a large range of products, reasonable prices, and top-notch customer service.
These are all affiliate links, if you make a purchase (of anything from the site, not just these items) after clicking through, I will earn a small commission. Ads and affiliate links are the way I am able to keep this website running and to offer you free tutorials all year long. Thank you so much for supporting me and Mad in Crafts!
- Expressions Vinyl Puff HTV (I ordered Forest Green, White, and Navy)
- Cutting machine (I used my Cricut Explore 3)
- Standard grip mat
- Painter’s tape (optional, but recommended)
- Weeding tools
- Heat press (I used my Cricut EasyPress 2)

Want to know which craft supplies I always keep in my craft room?
Visit the Mad in Crafts Amazon Storefront to learn more and to buy your own supplies!
WHAT IS PUFF HEAT TRANSFER VINYL?
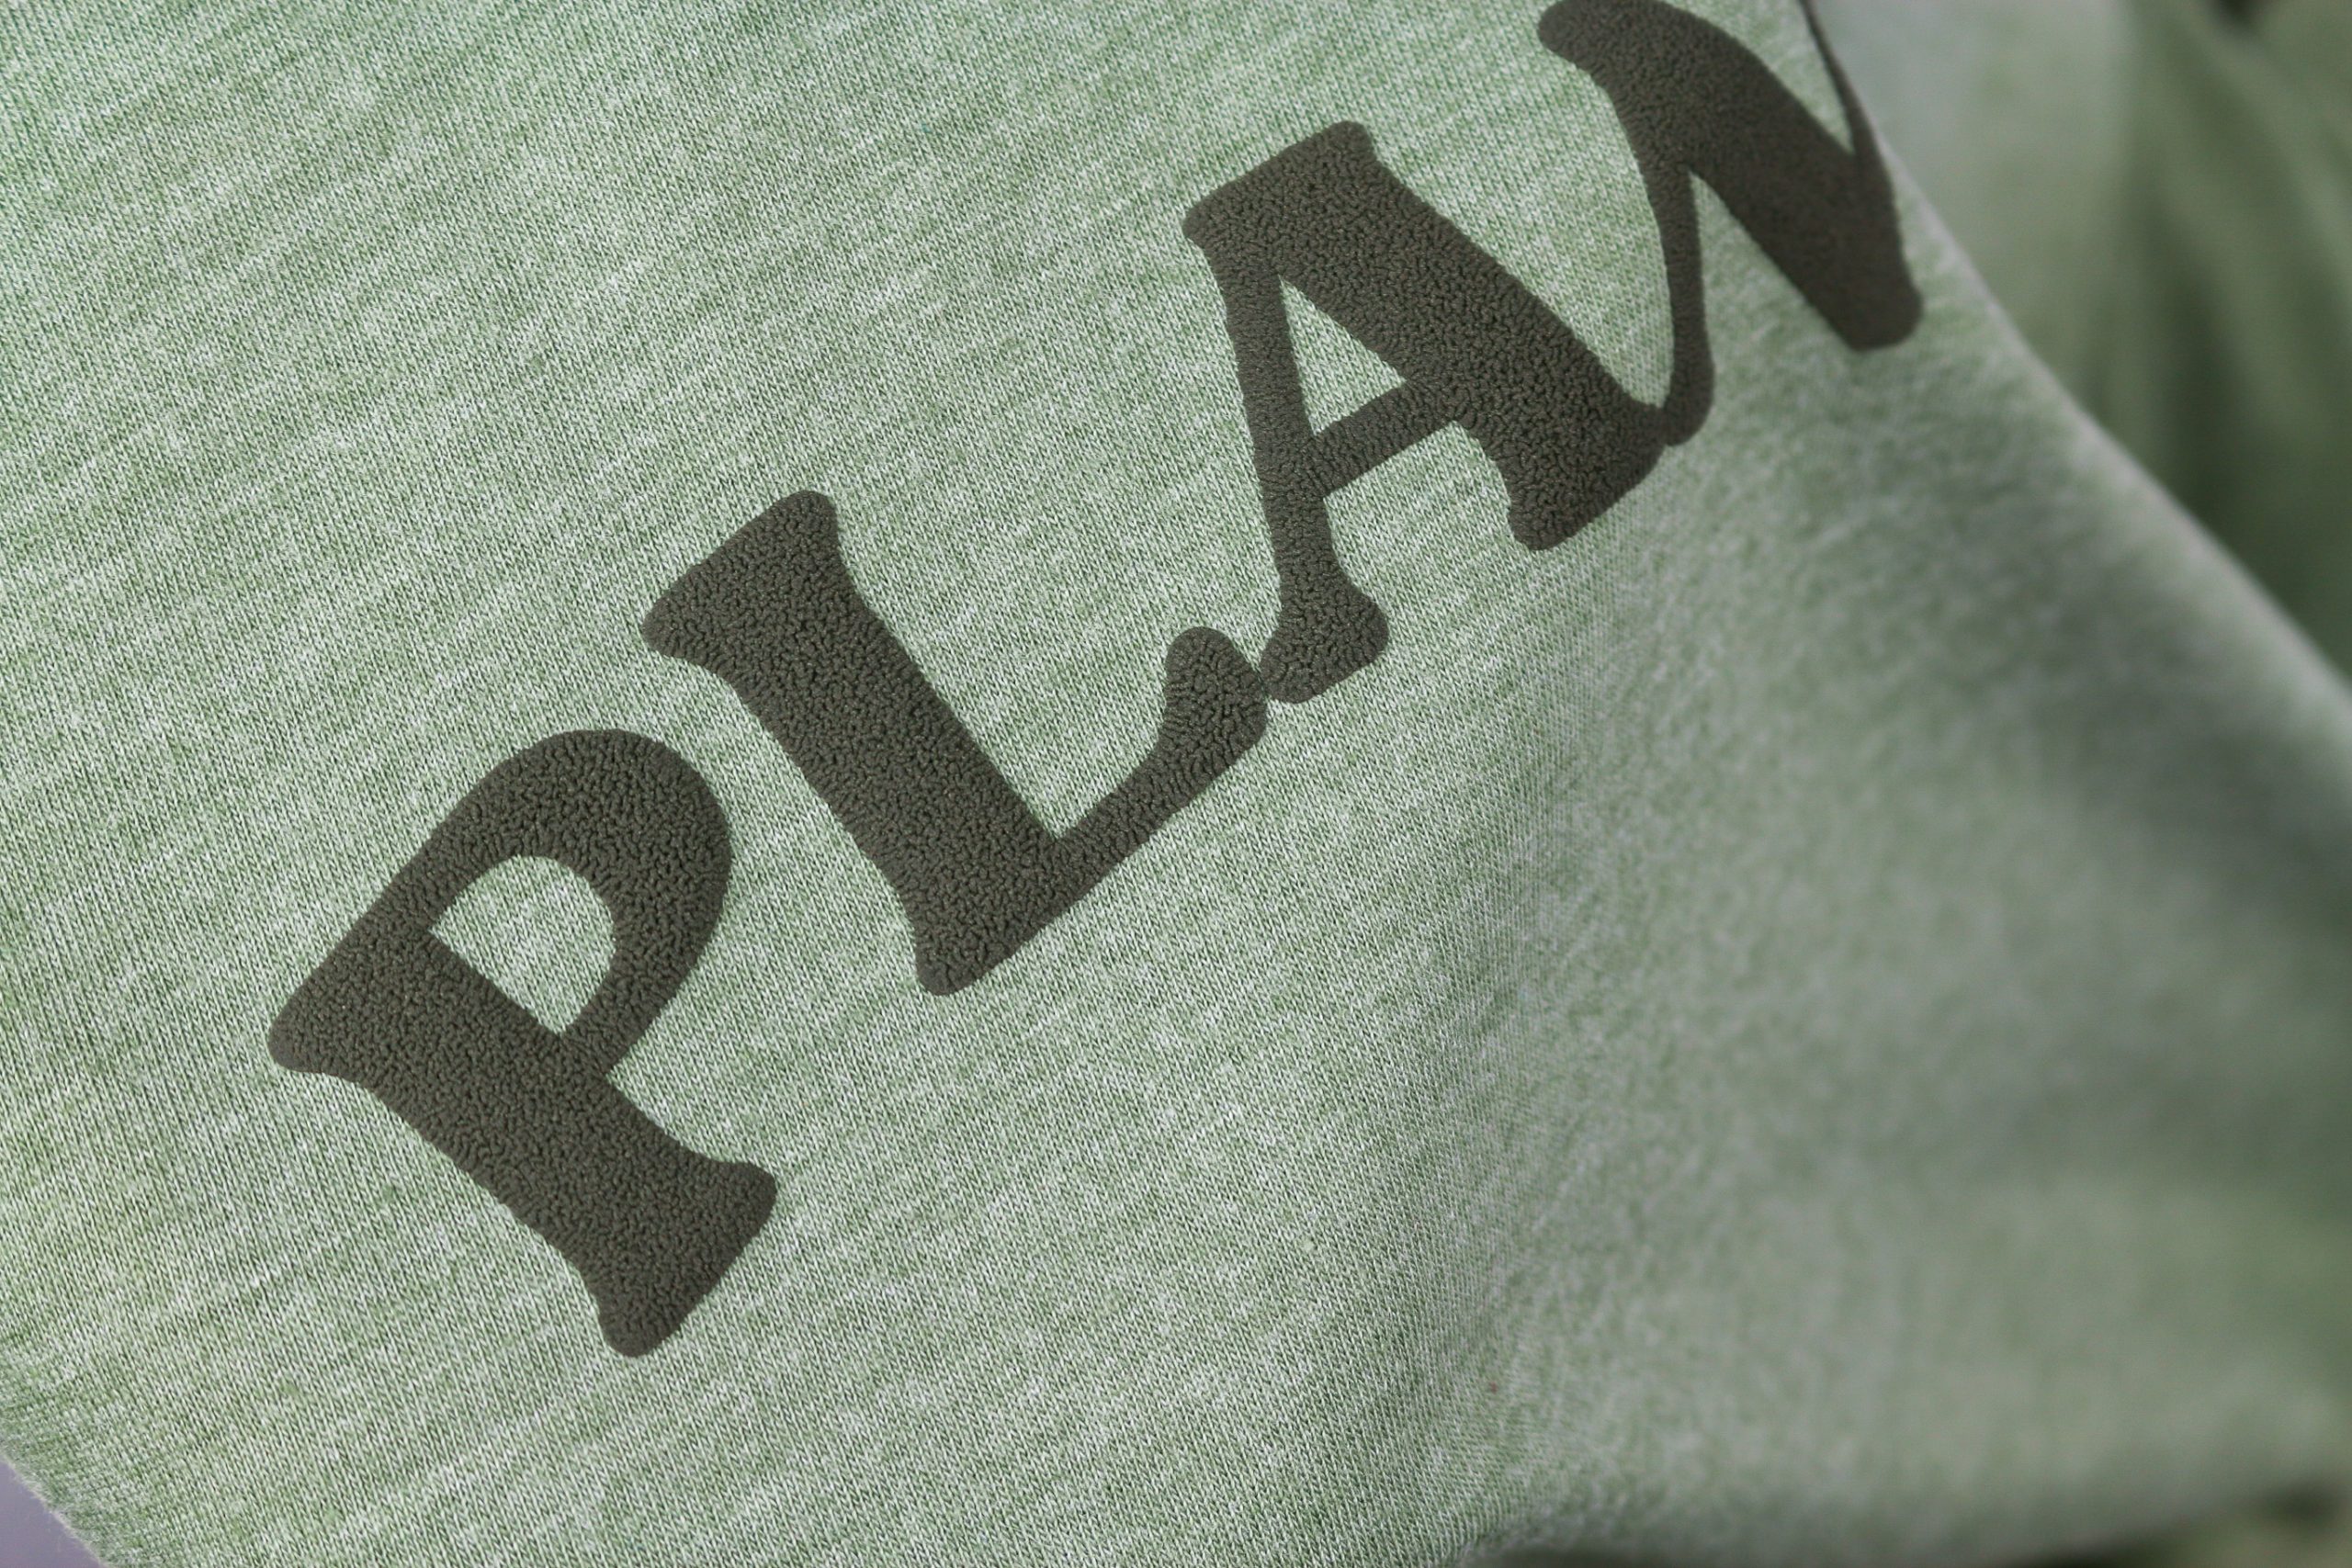
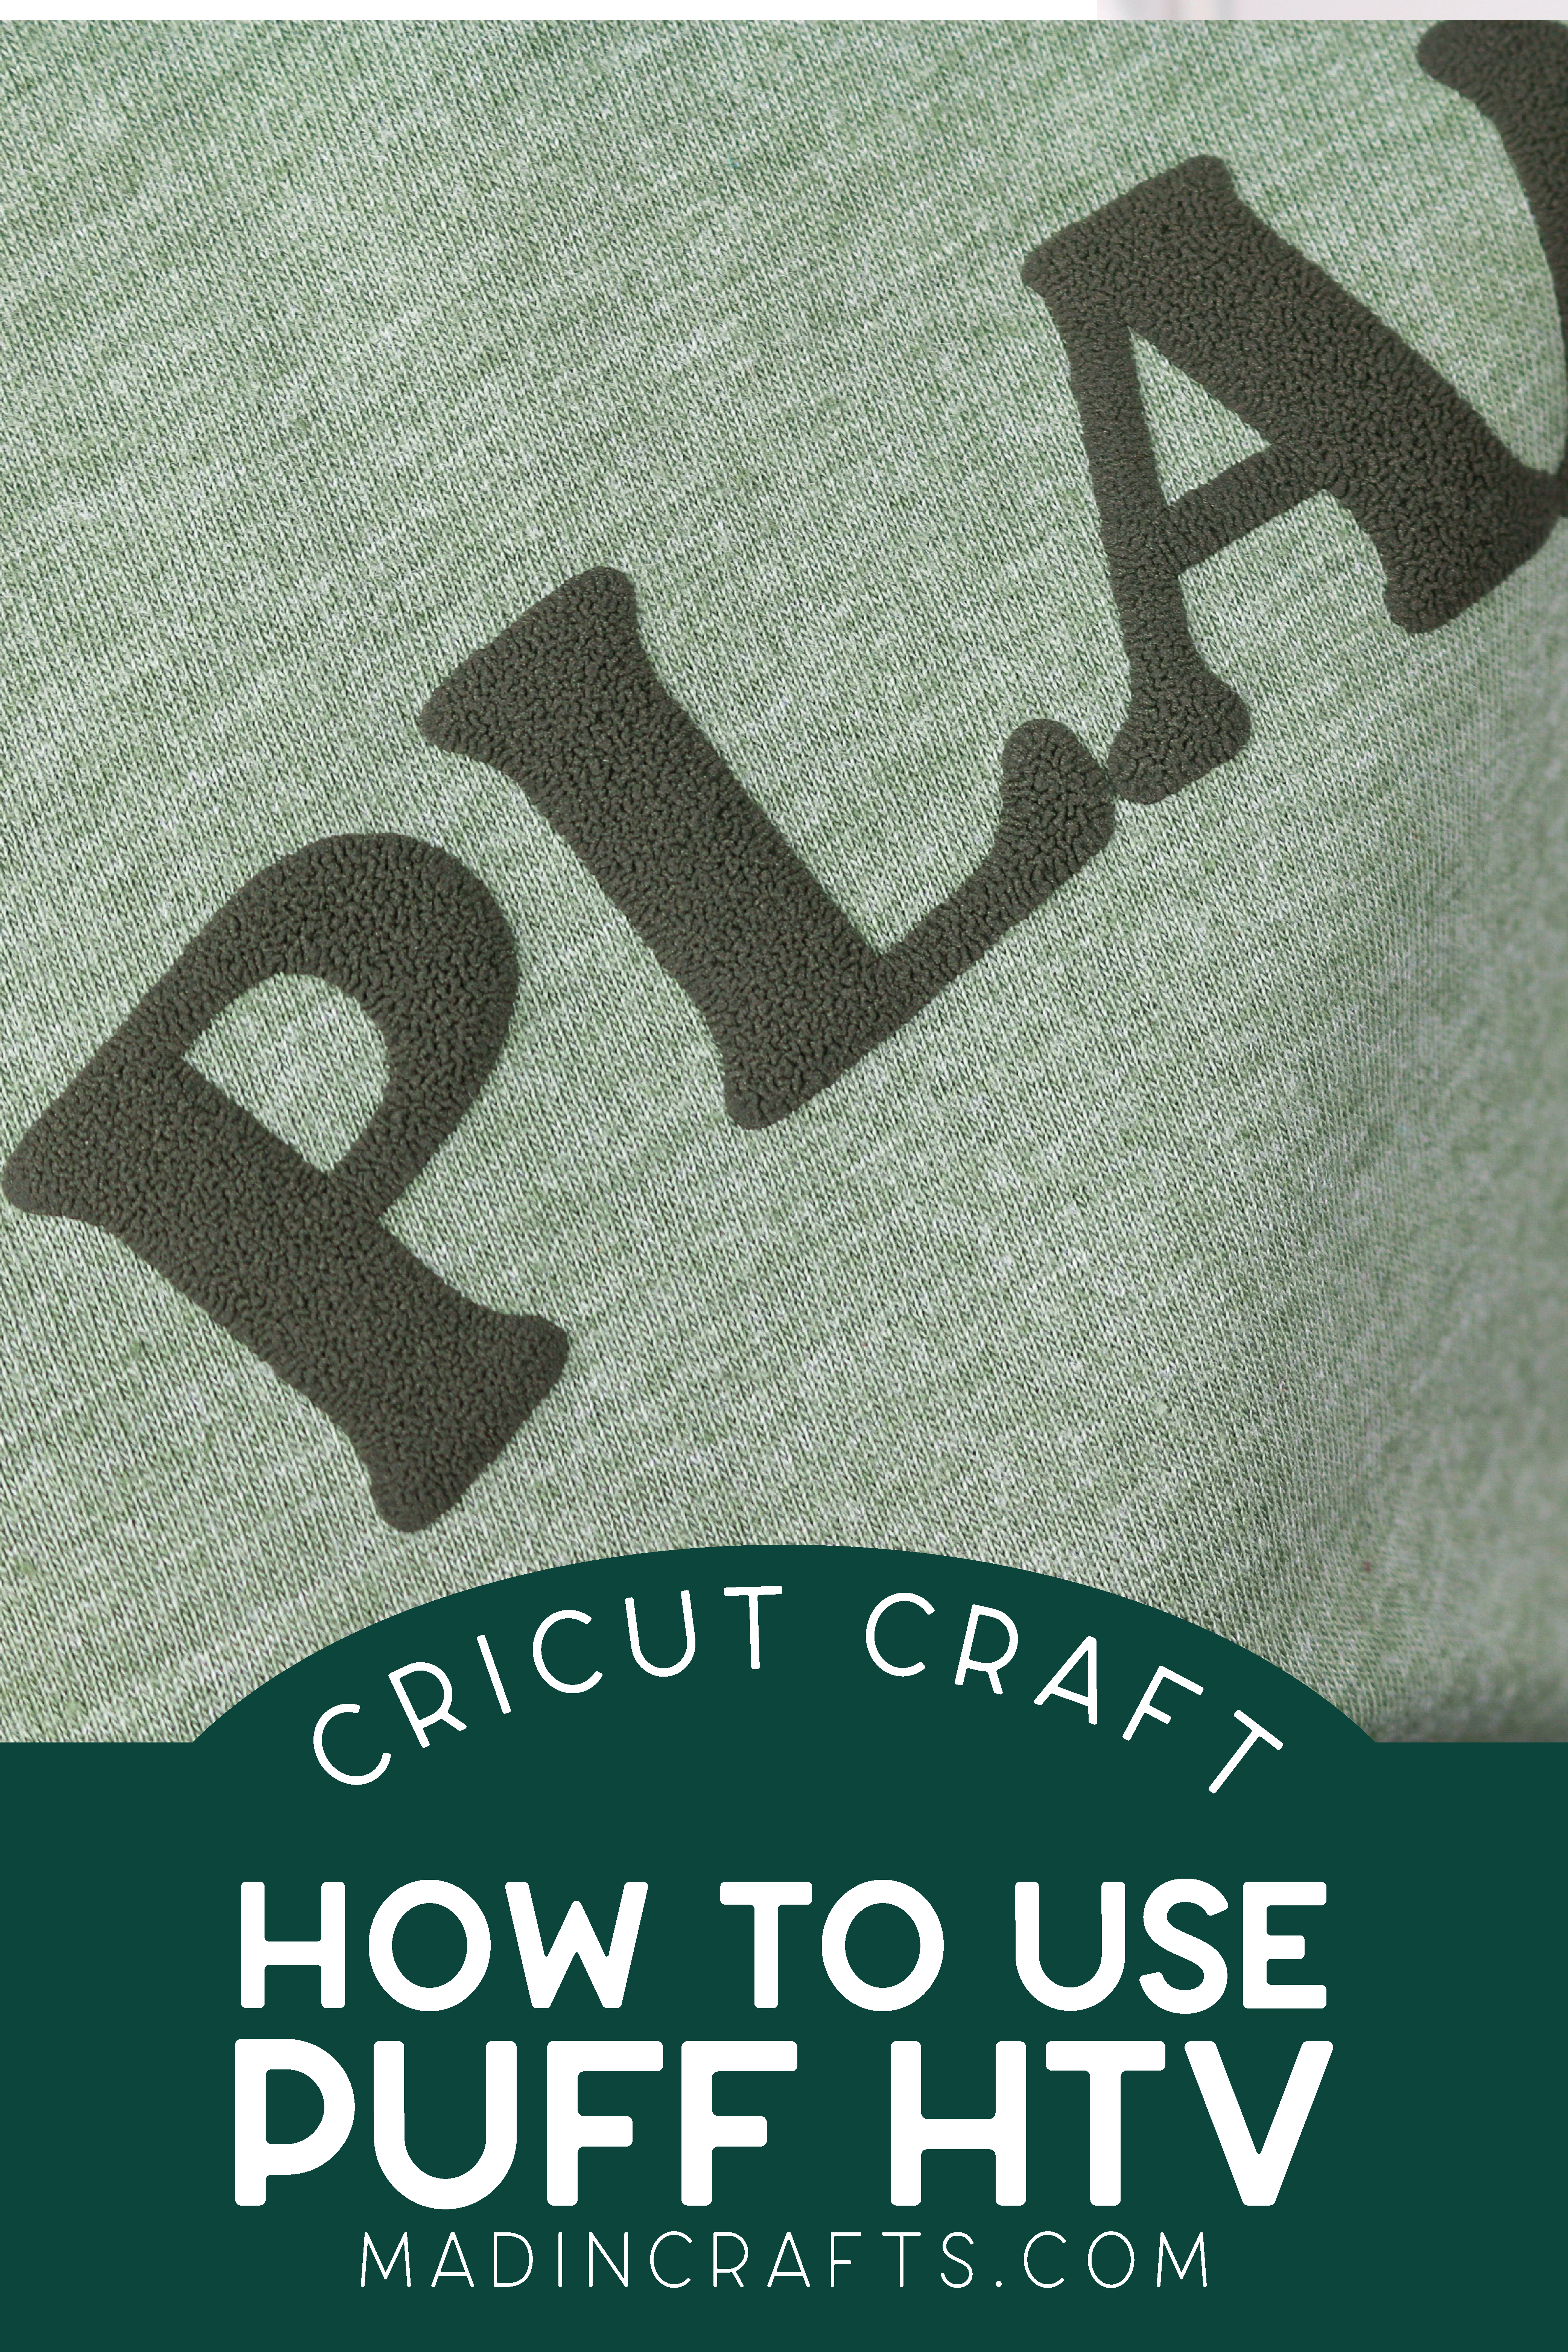
As you can guess from its name, puff vinyl is a unique HTV that “puffs” up from the garment when heat is applied. When you are adhering the heat transfer vinyl to fabric, the vinyl will puff up, giving your design a textured 3D look.
The raised and textured look of the puff vinyl looks great for this shirt since the forest green puff vinyl ended up looking almost mossy on the surface of my shirt. I think this vinyl would work well for shirts, tote bags, towels, and socks.
HOW DO YOU USE PUFF HEAT TRANSFER VINYL?
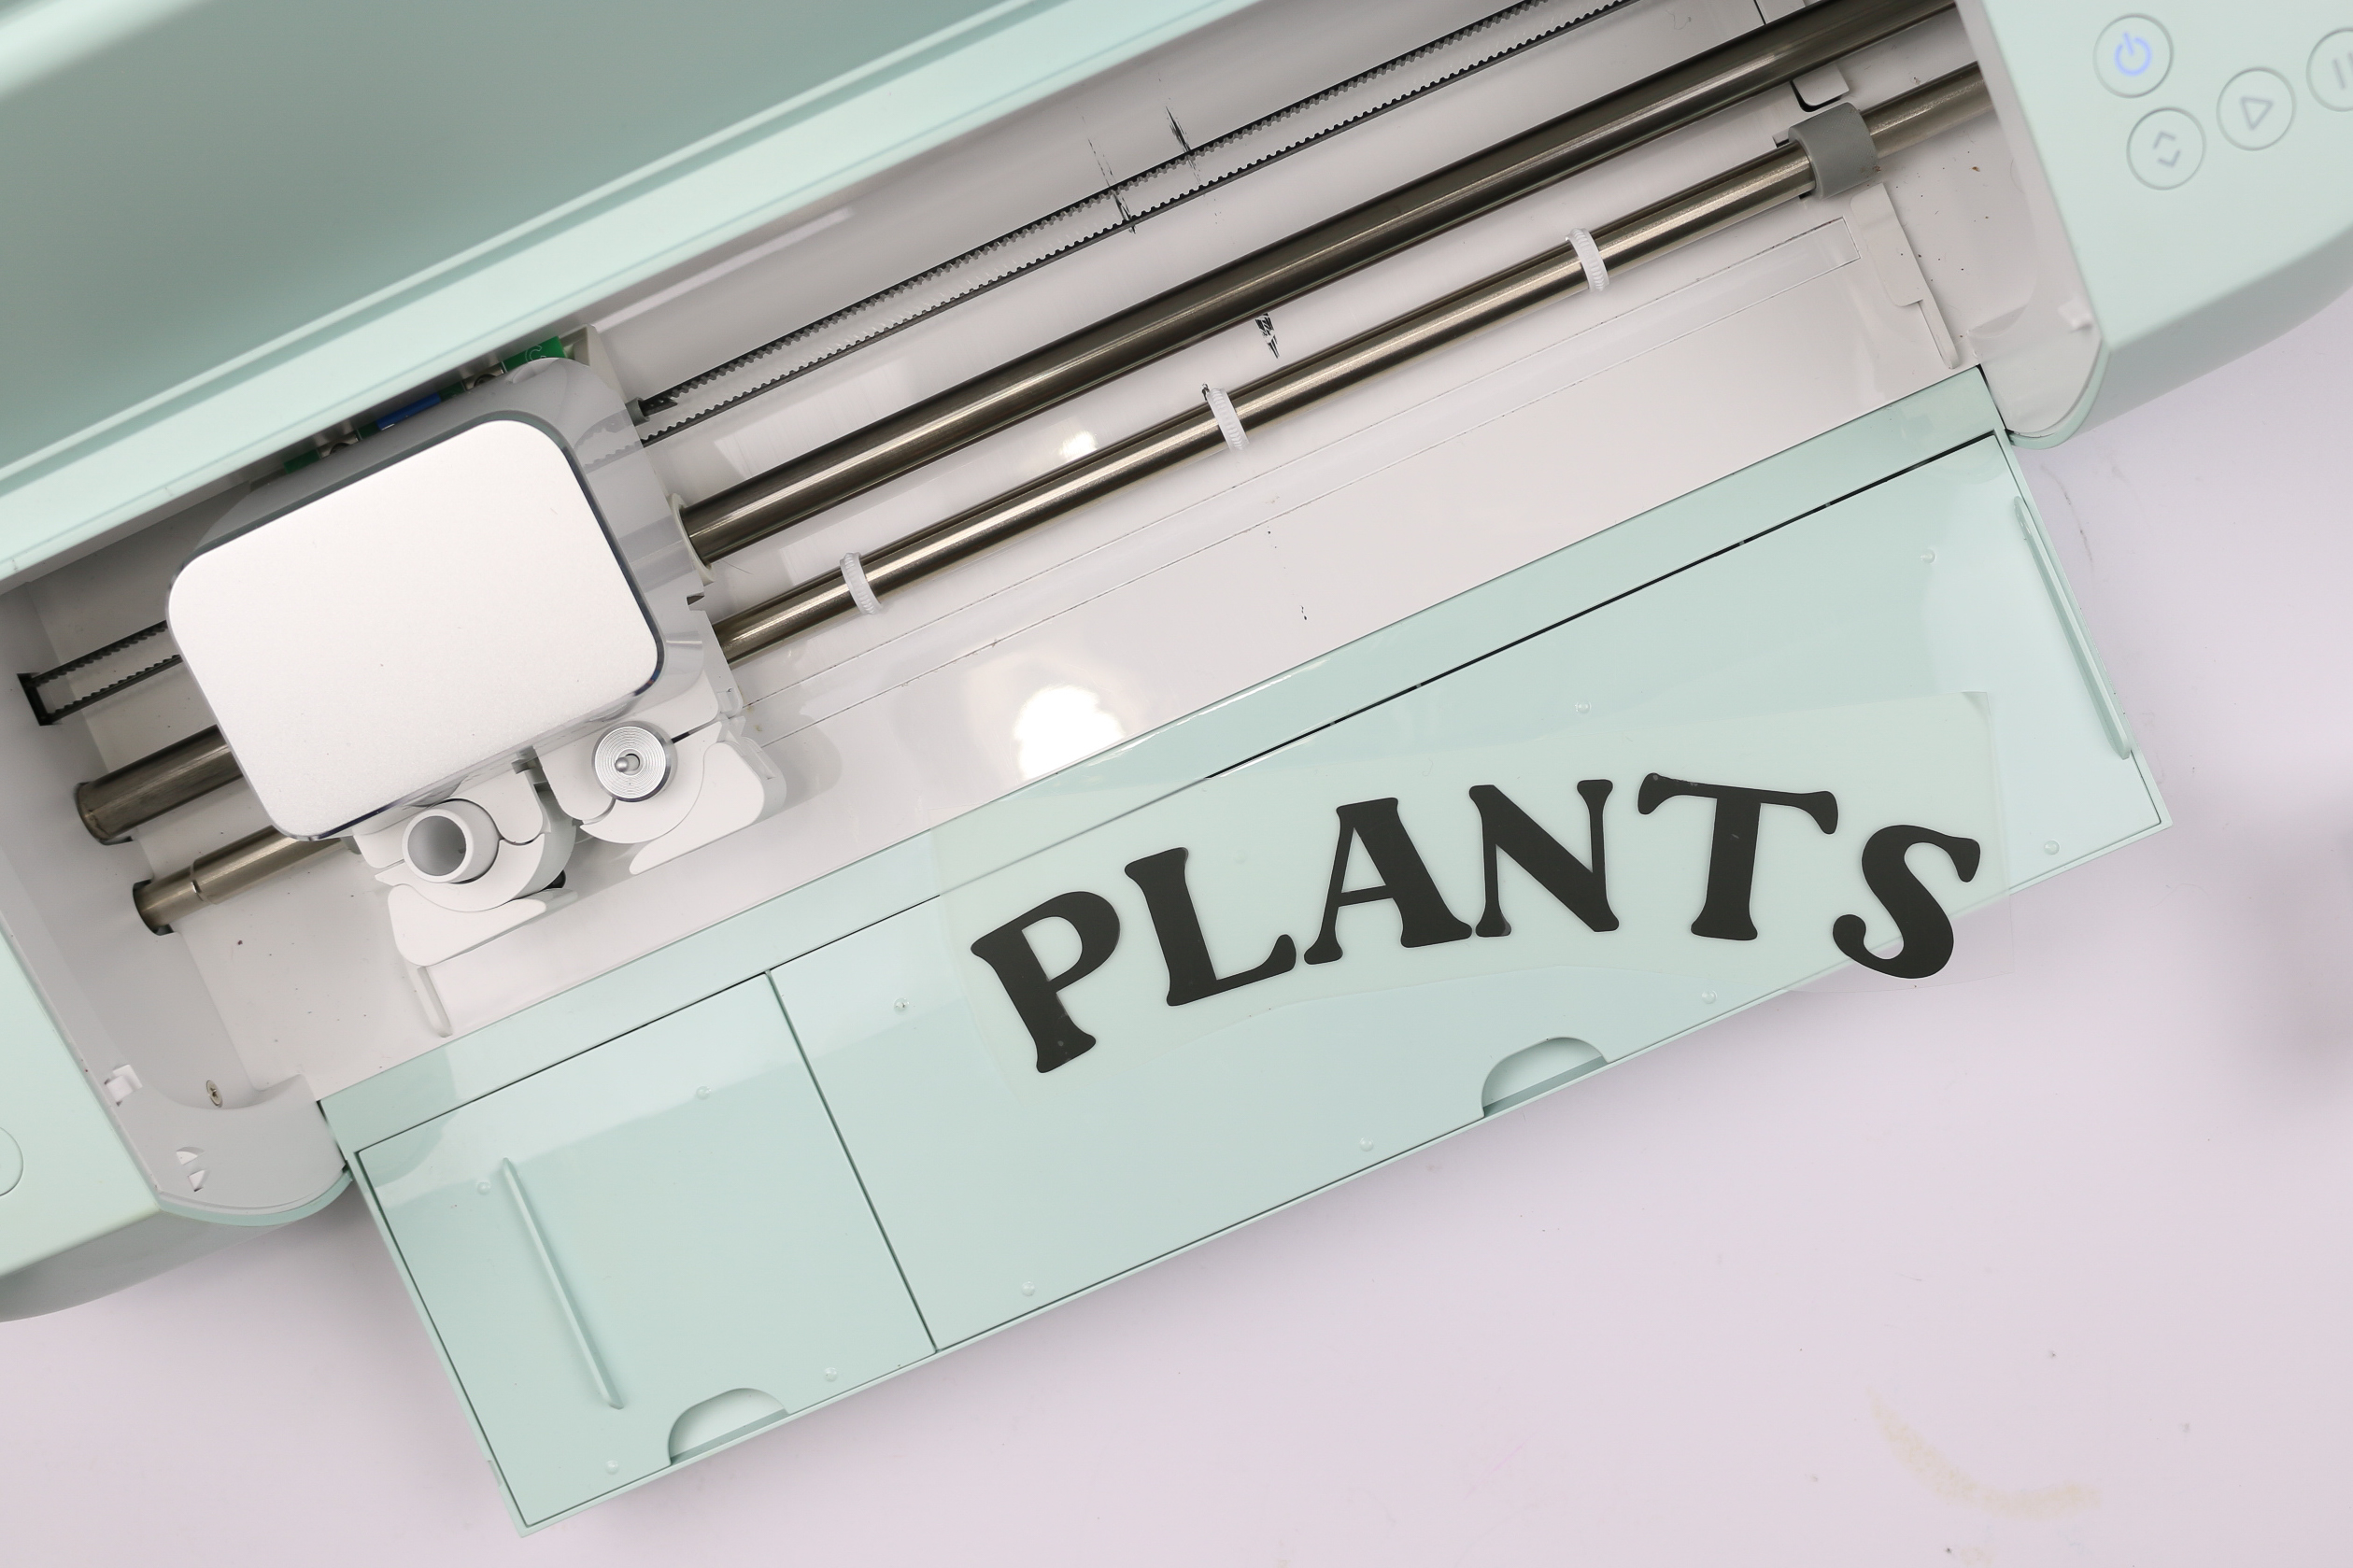
Puff vinyl is meant to be cut with digital and manual craft cutters in much the same way as standard iron-on vinyl with a standard blade. Expressions Vinyl sends an instructional sheet along with their puff vinyl that gives directions for cut settings for various machines.
Puff Vinyl Can Be Cut with These Craft Cutters:
- Cricut
- Silhouette
- Xyron
- Craft ROBO
- Graphtec
- Quickutz
- Inspirations
What Mat Should You Use with Puff HTV?
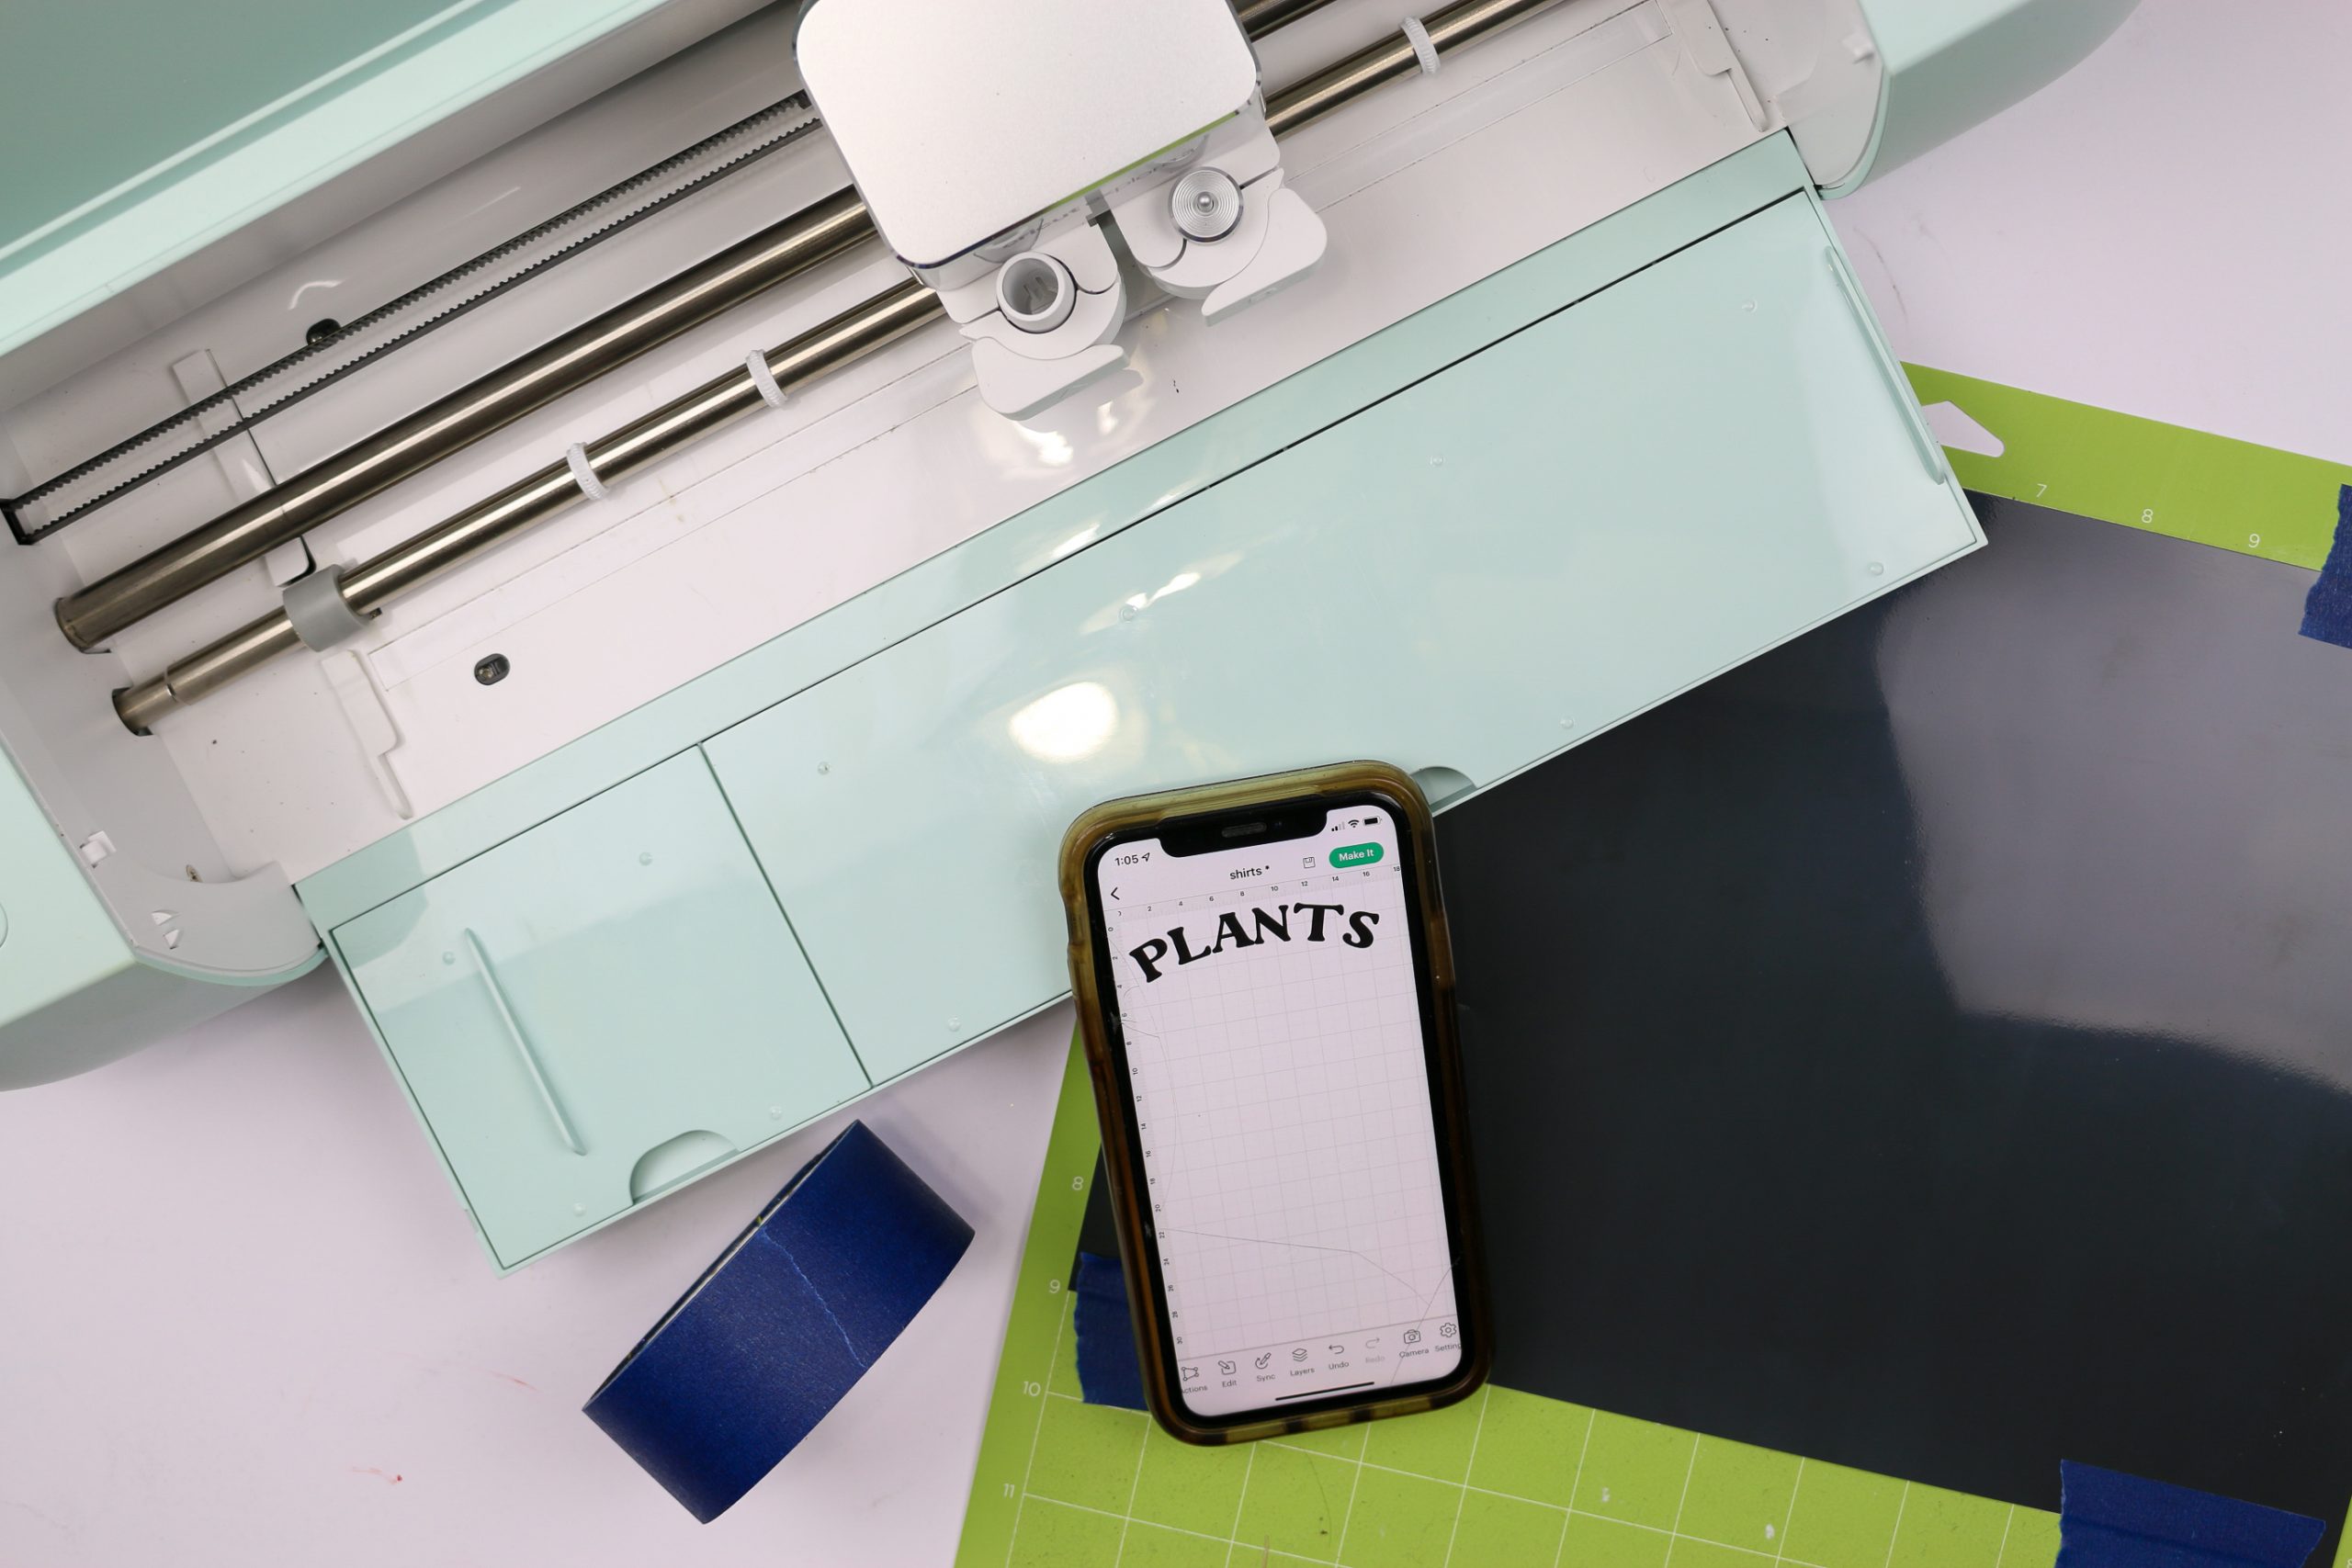
Since puff vinyl is thicker than traditional HTV, it’s a good idea to choose a normal or strong grip mat when cutting the puff HTV. I also secured the vinyl to my cutting mat with painter’s tape to make sure it didn’t slip around at all while it ran through my Cricut Explore 3.
Which Side Goes Down on Puff Vinyl?
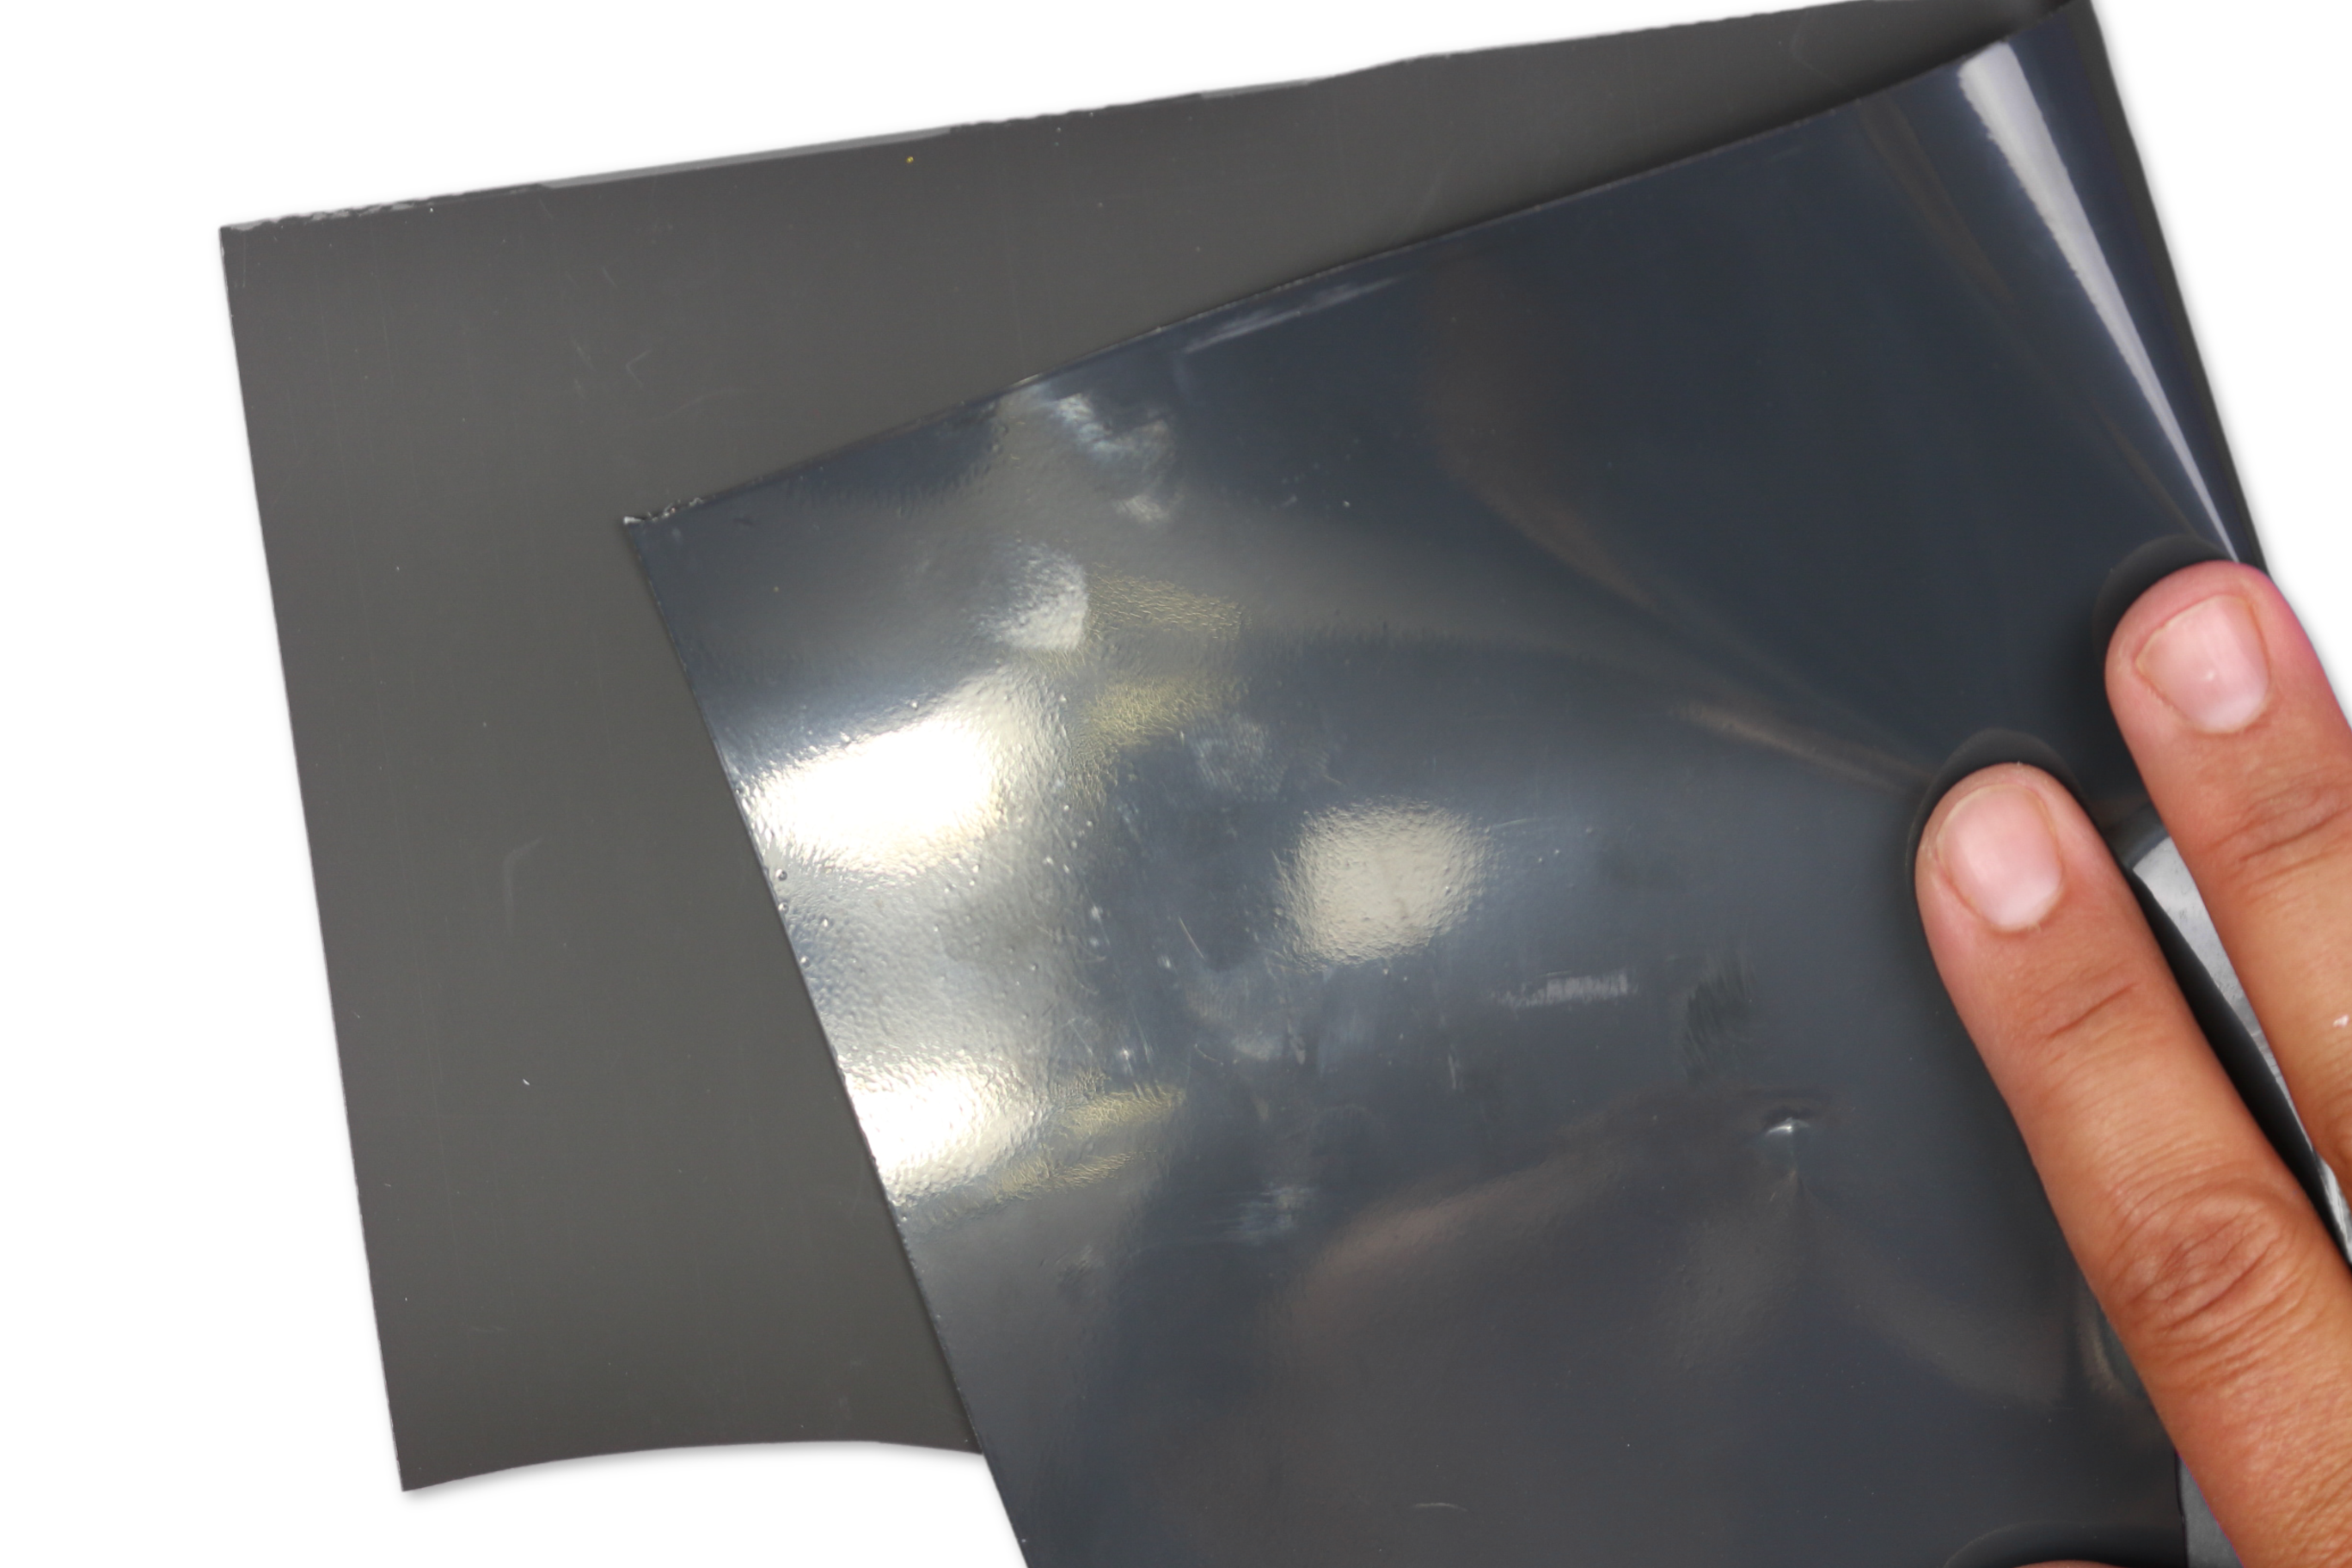
When you place Expressions Vinyl puff vinyl onto a cutting mat, be sure to place the shiny side of the vinyl UP. Usually, with HTV, you place the shiny side down since the carrier sheet is shiny. For this puff vinyl, the carrier sheet is duller than the protective sheet. You can bend back a tiny corner of the vinyl to make sure you are placing the vinyl carrier sheet down.
In the photo above the dull side (on the left half of the photo) would be placed down touching your cutting mat. The shiny side (the right half of the photo) would be facing up.
How To Cut, Weed, and Apply Puff Heat Transfer Vinyl
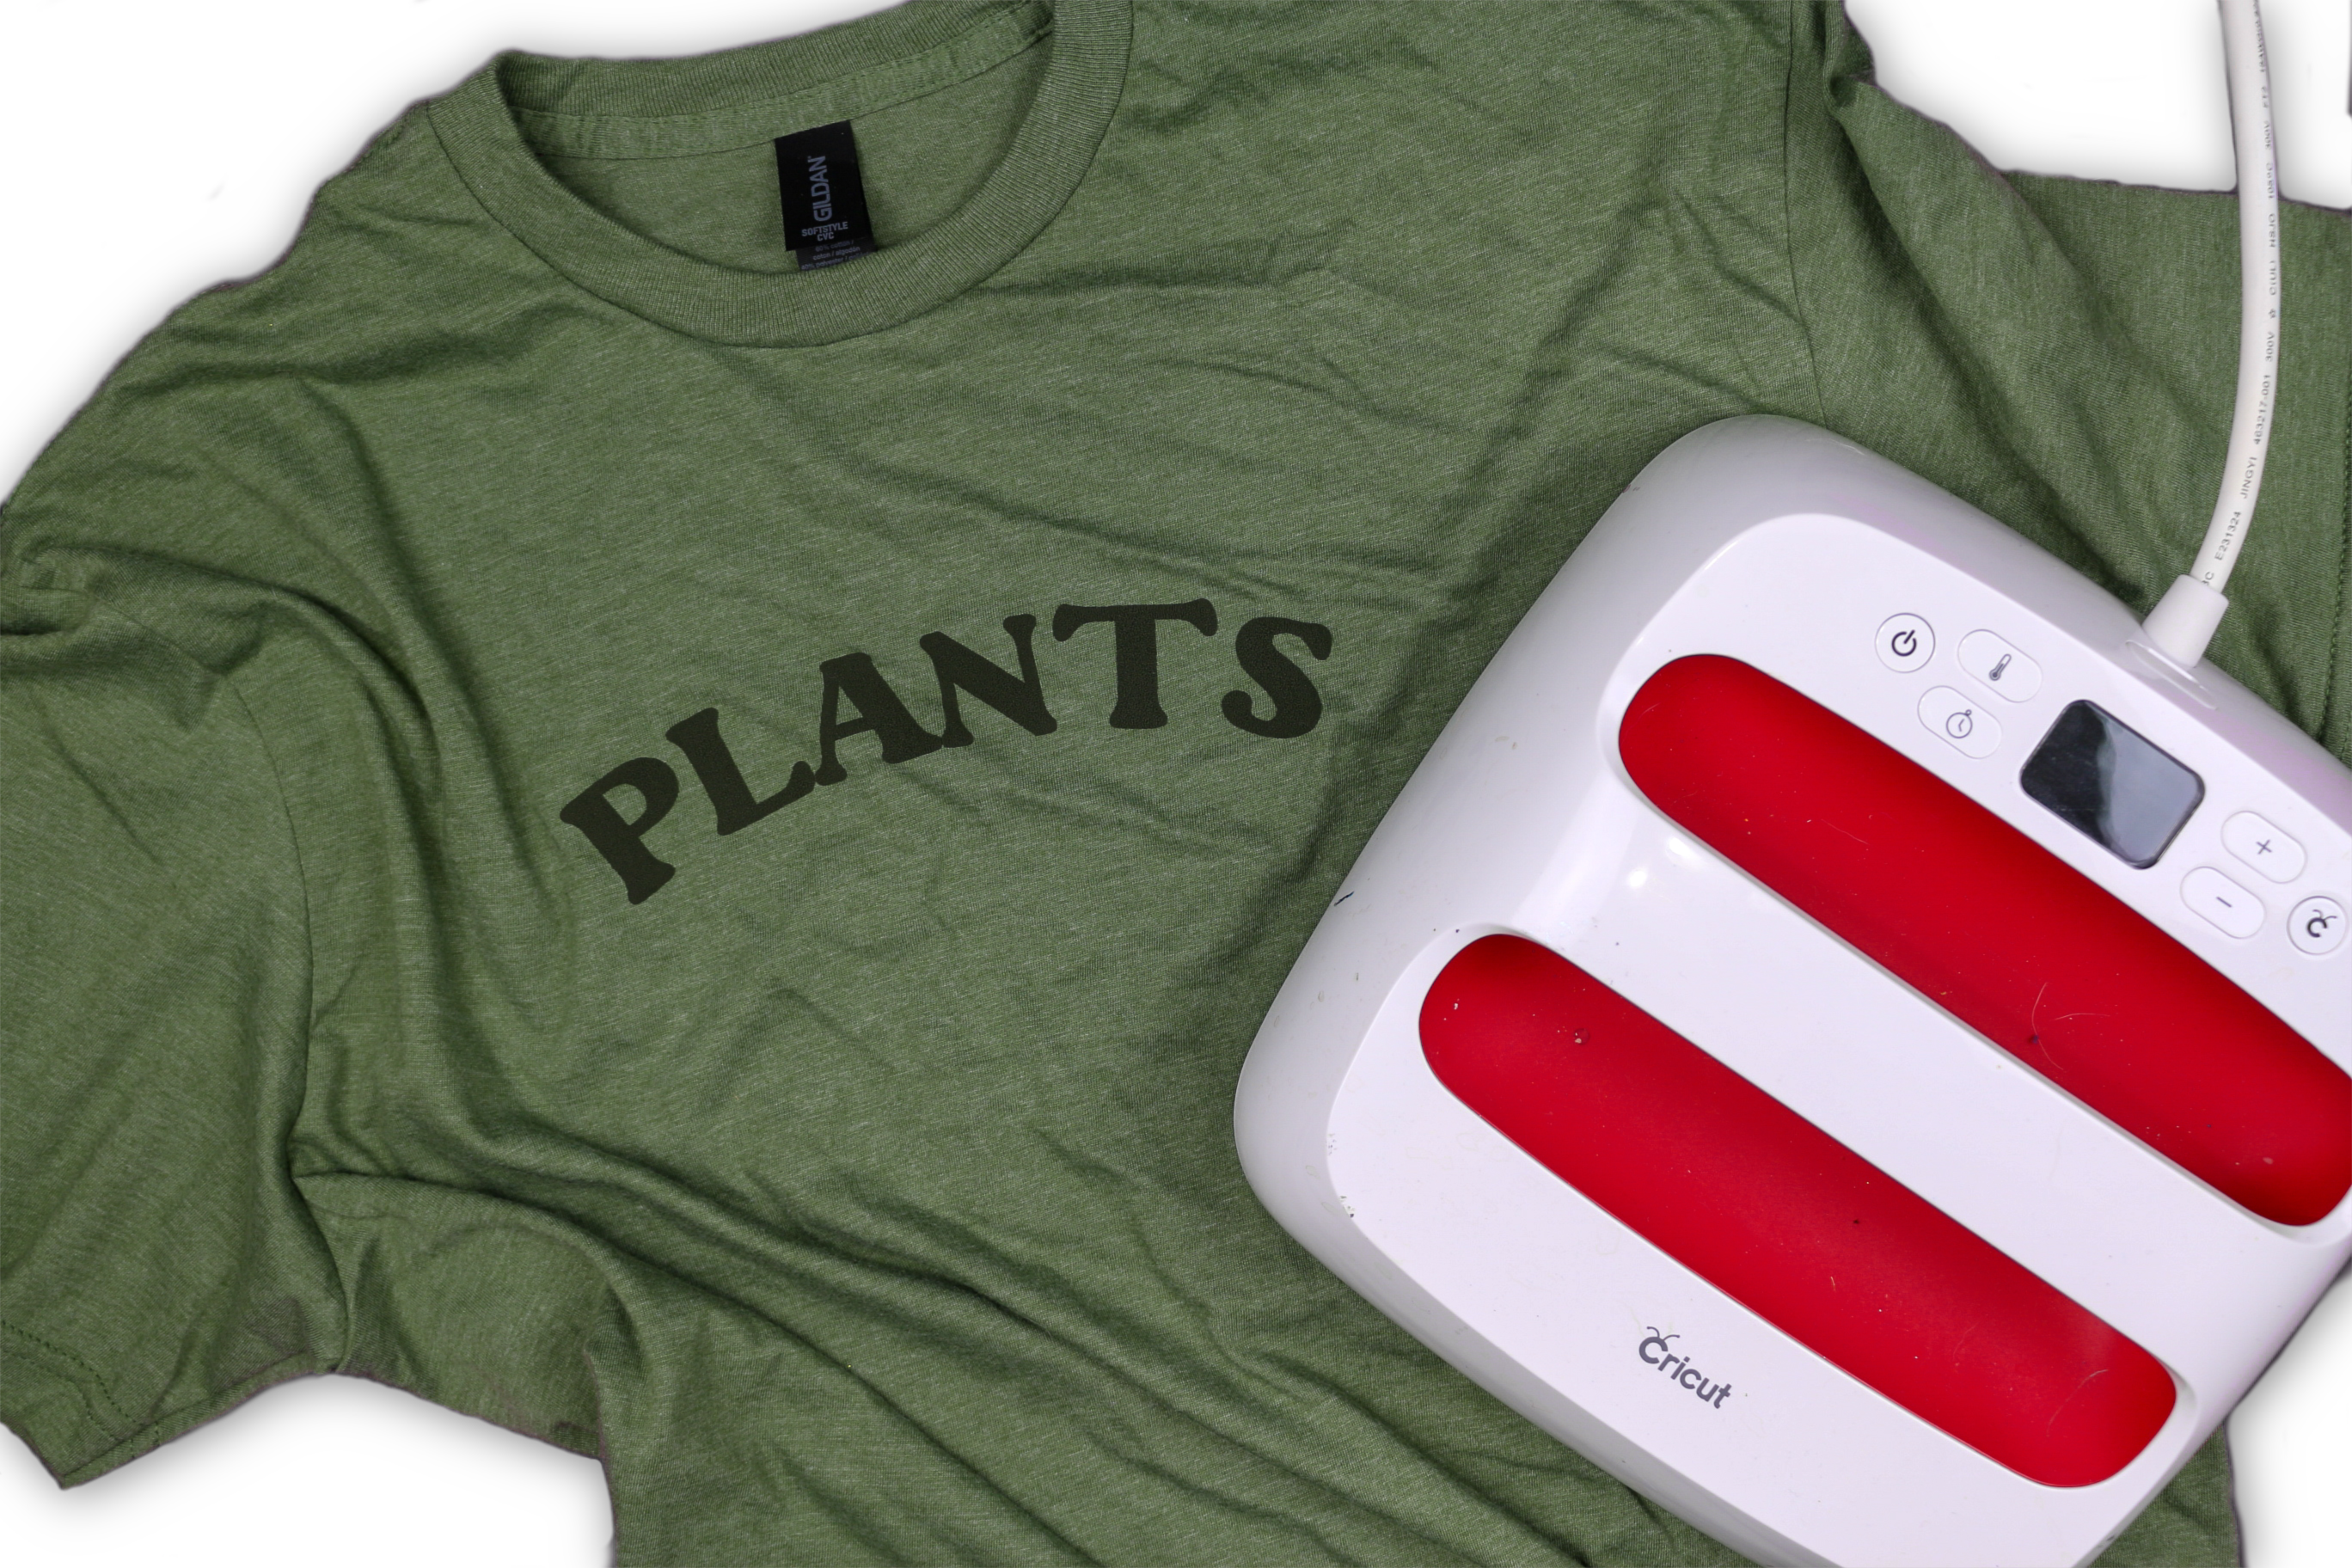
BE SURE TO MIRROR THE DESIGN BEFORE CUTTING! Then cut the vinyl according to the directions given to you by the manufacturer.
Weeding the EV puff vinyl is easy, but go slowly. I found the design sometimes pulls away from the carrier sheet if you go too quickly.
Follow the manufacturer’s directions to determine what temperature your heat press should be set to. The directions should also instruct you about the correct pressure and duration time to use when pressing. Only press the puff vinyl once. Pressing multiple times will reduce the puff effect of the vinyl. Make sure to use a heat press that is large enough to press your entire design in one pass.
EV puff vinyl is a warm peel HTV, so you can carefully remove the carrier sheet from the vinyl as soon as it is cool enough to touch.
3D PUFF HEAT TRANSFER VINYL TIPS AND TRICKS

Using puff HTV isn’t too different than using standard iron-on vinyl, but there are a few best practices that will help to make sure your project turns out well.
Tips for Crafting with Puff Vinyl:
- Follow all of the manufacturer’s application instructions carefully, especially with regards to temperature and pressing time.
- Puff vinyl works best on cotton or cotton/poly blends. My shirt was a 60/40 blend and it worked just fine.
- Avoid designs with small, intricate cuts or features that are close together. The puff vinyl expands in all directions, so your design will lose some detail (and lettering will move closer together) when heated.
- Use a heat press, not a household iron. The holes in your iron may cause the puff HTV to puff in an inconsistent way. Consistent heat and pressure are key!
CARING FOR A GARMENT DECORATED WITH PUFF VINYL
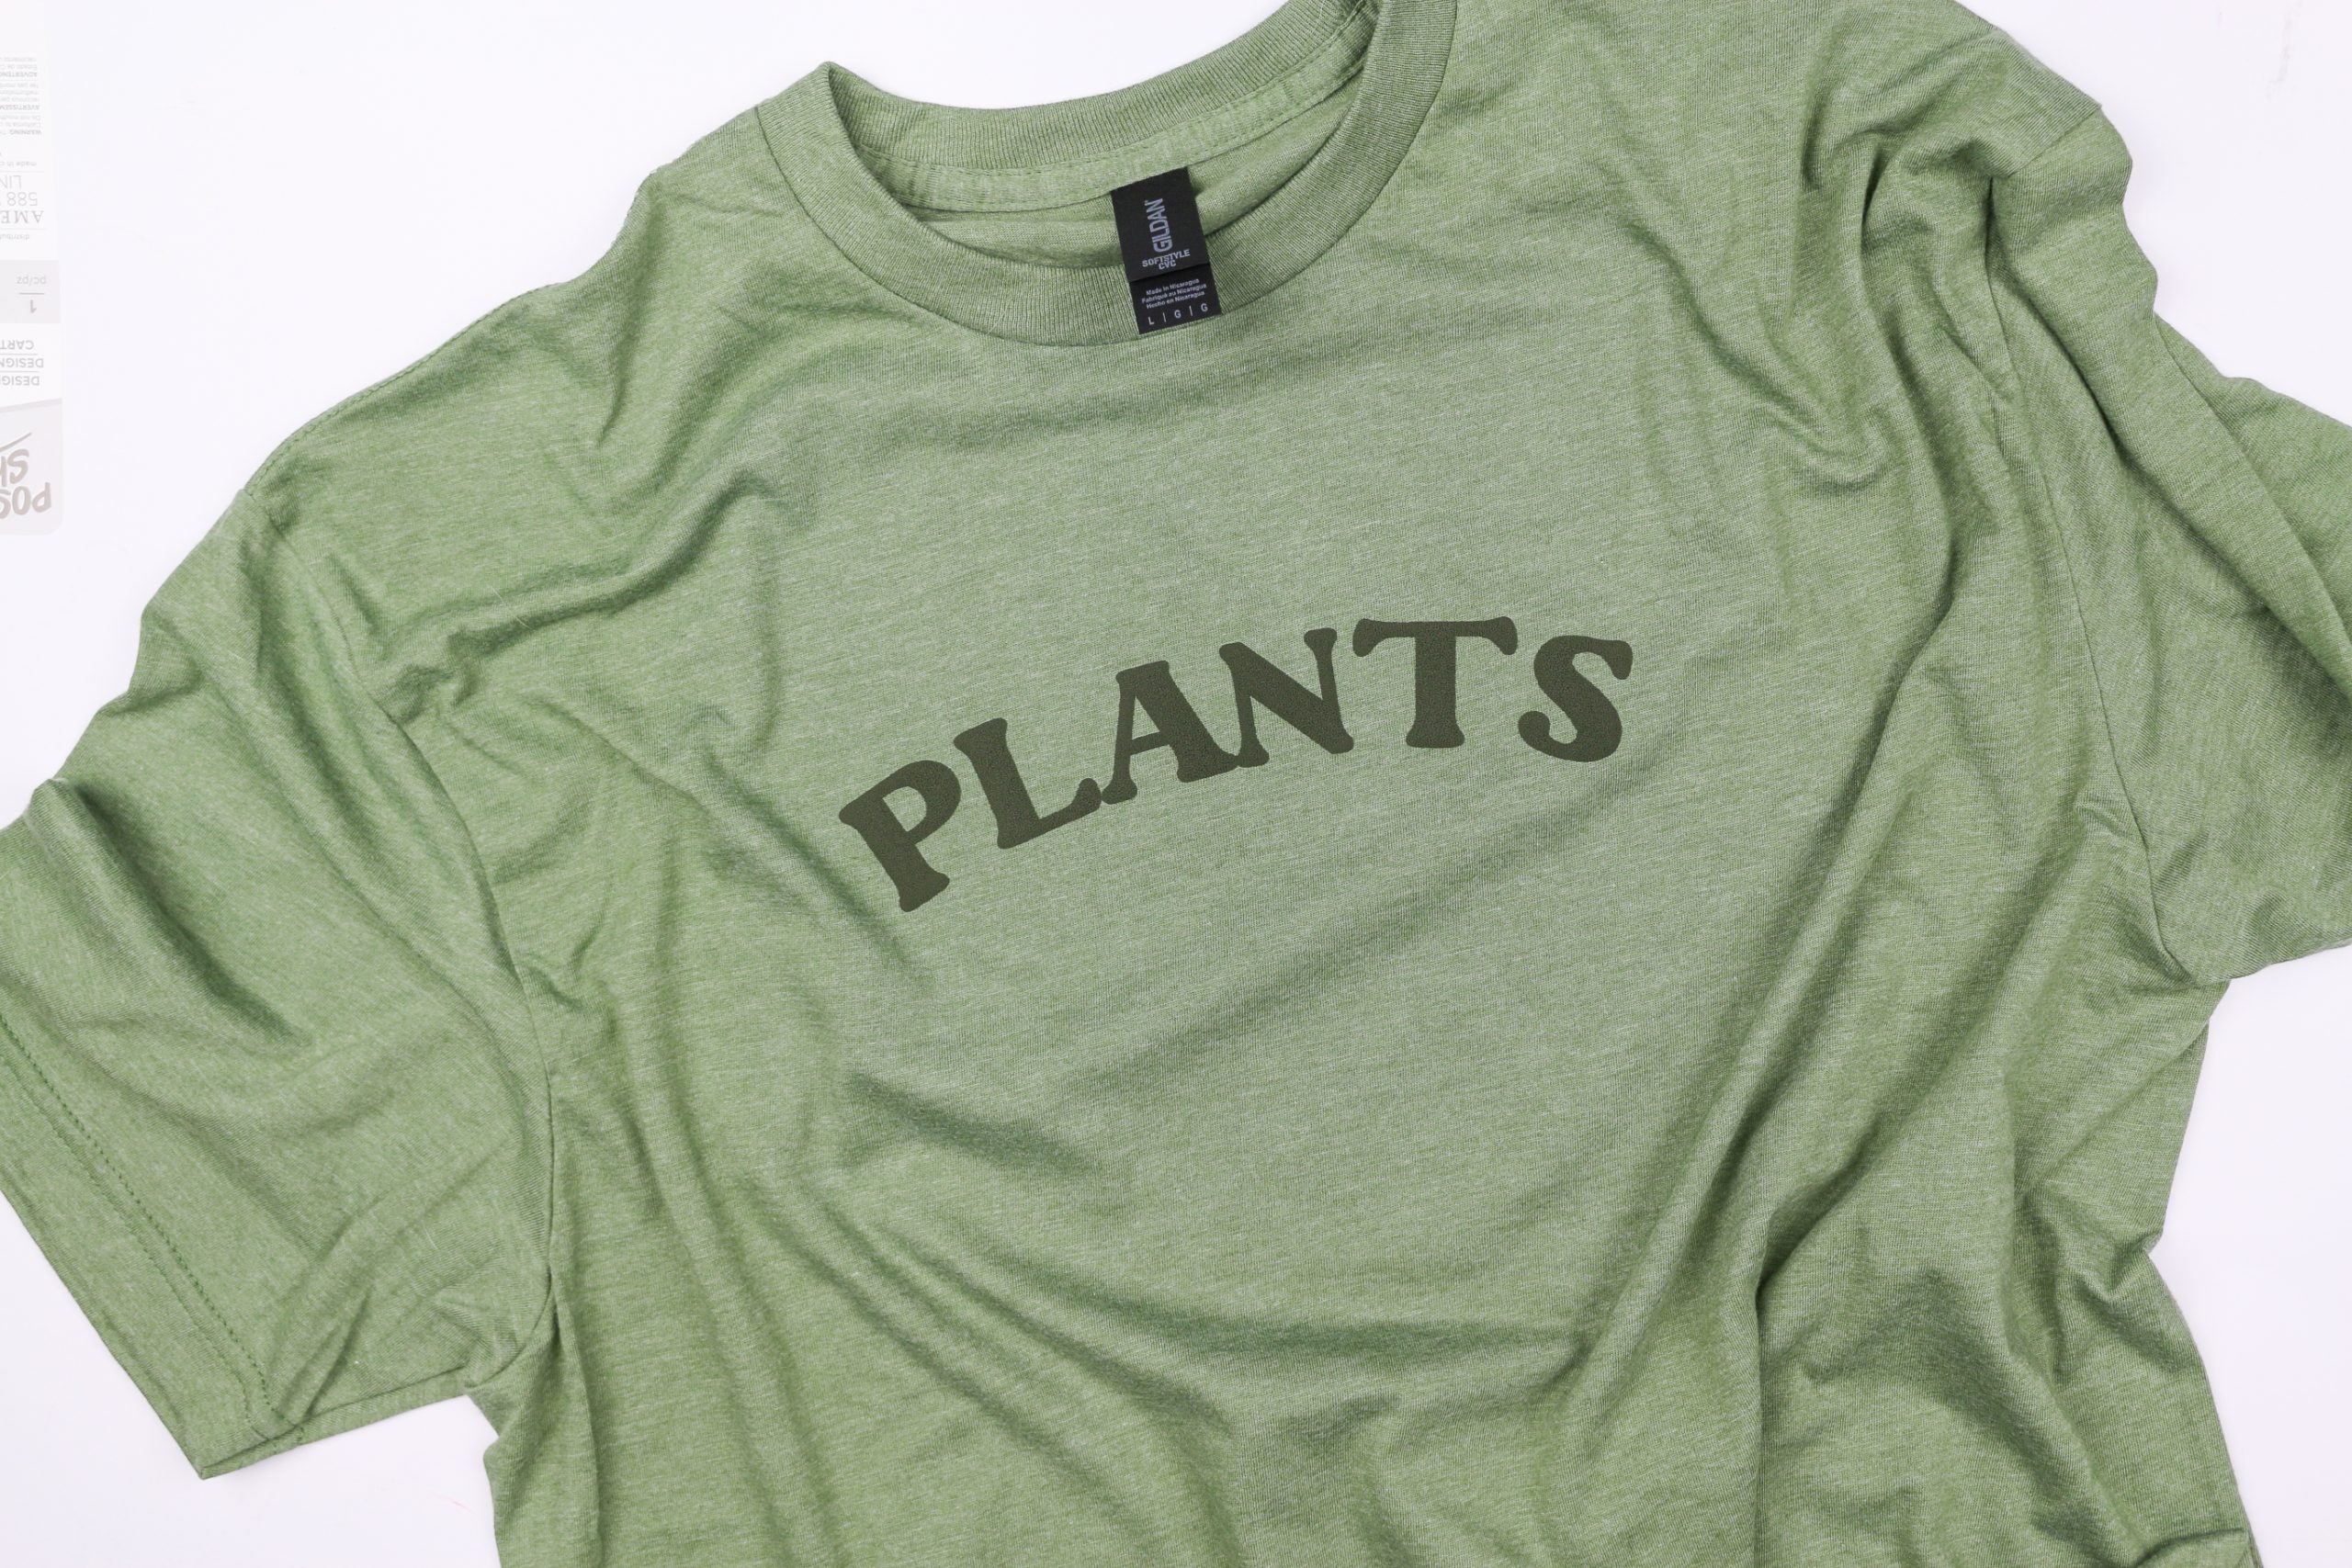
- Wait for at least 24hrs after applying the puff vinyl before your first wash.
- Machine wash on a warm/cold water setting with the garment inside out.
- Tumble dry on a normal setting (garment still inside out).
- Do not bleach or dry clean the garment.
- Do not iron over the puff vinyl.
Are you longing for a beachy breeze and the sand between your toes? Bring in some of the elements of summers at the shore with these beachy projects. This ebook contains step-by-step tutorials for home decor pieces, handmade jewelry, spa products, and more!
To receive this ebook FOR FREE simply sign up for the Mad in Crafts newsletter using the form below. This ebook will only be free for a limited time, so don’t wait!

