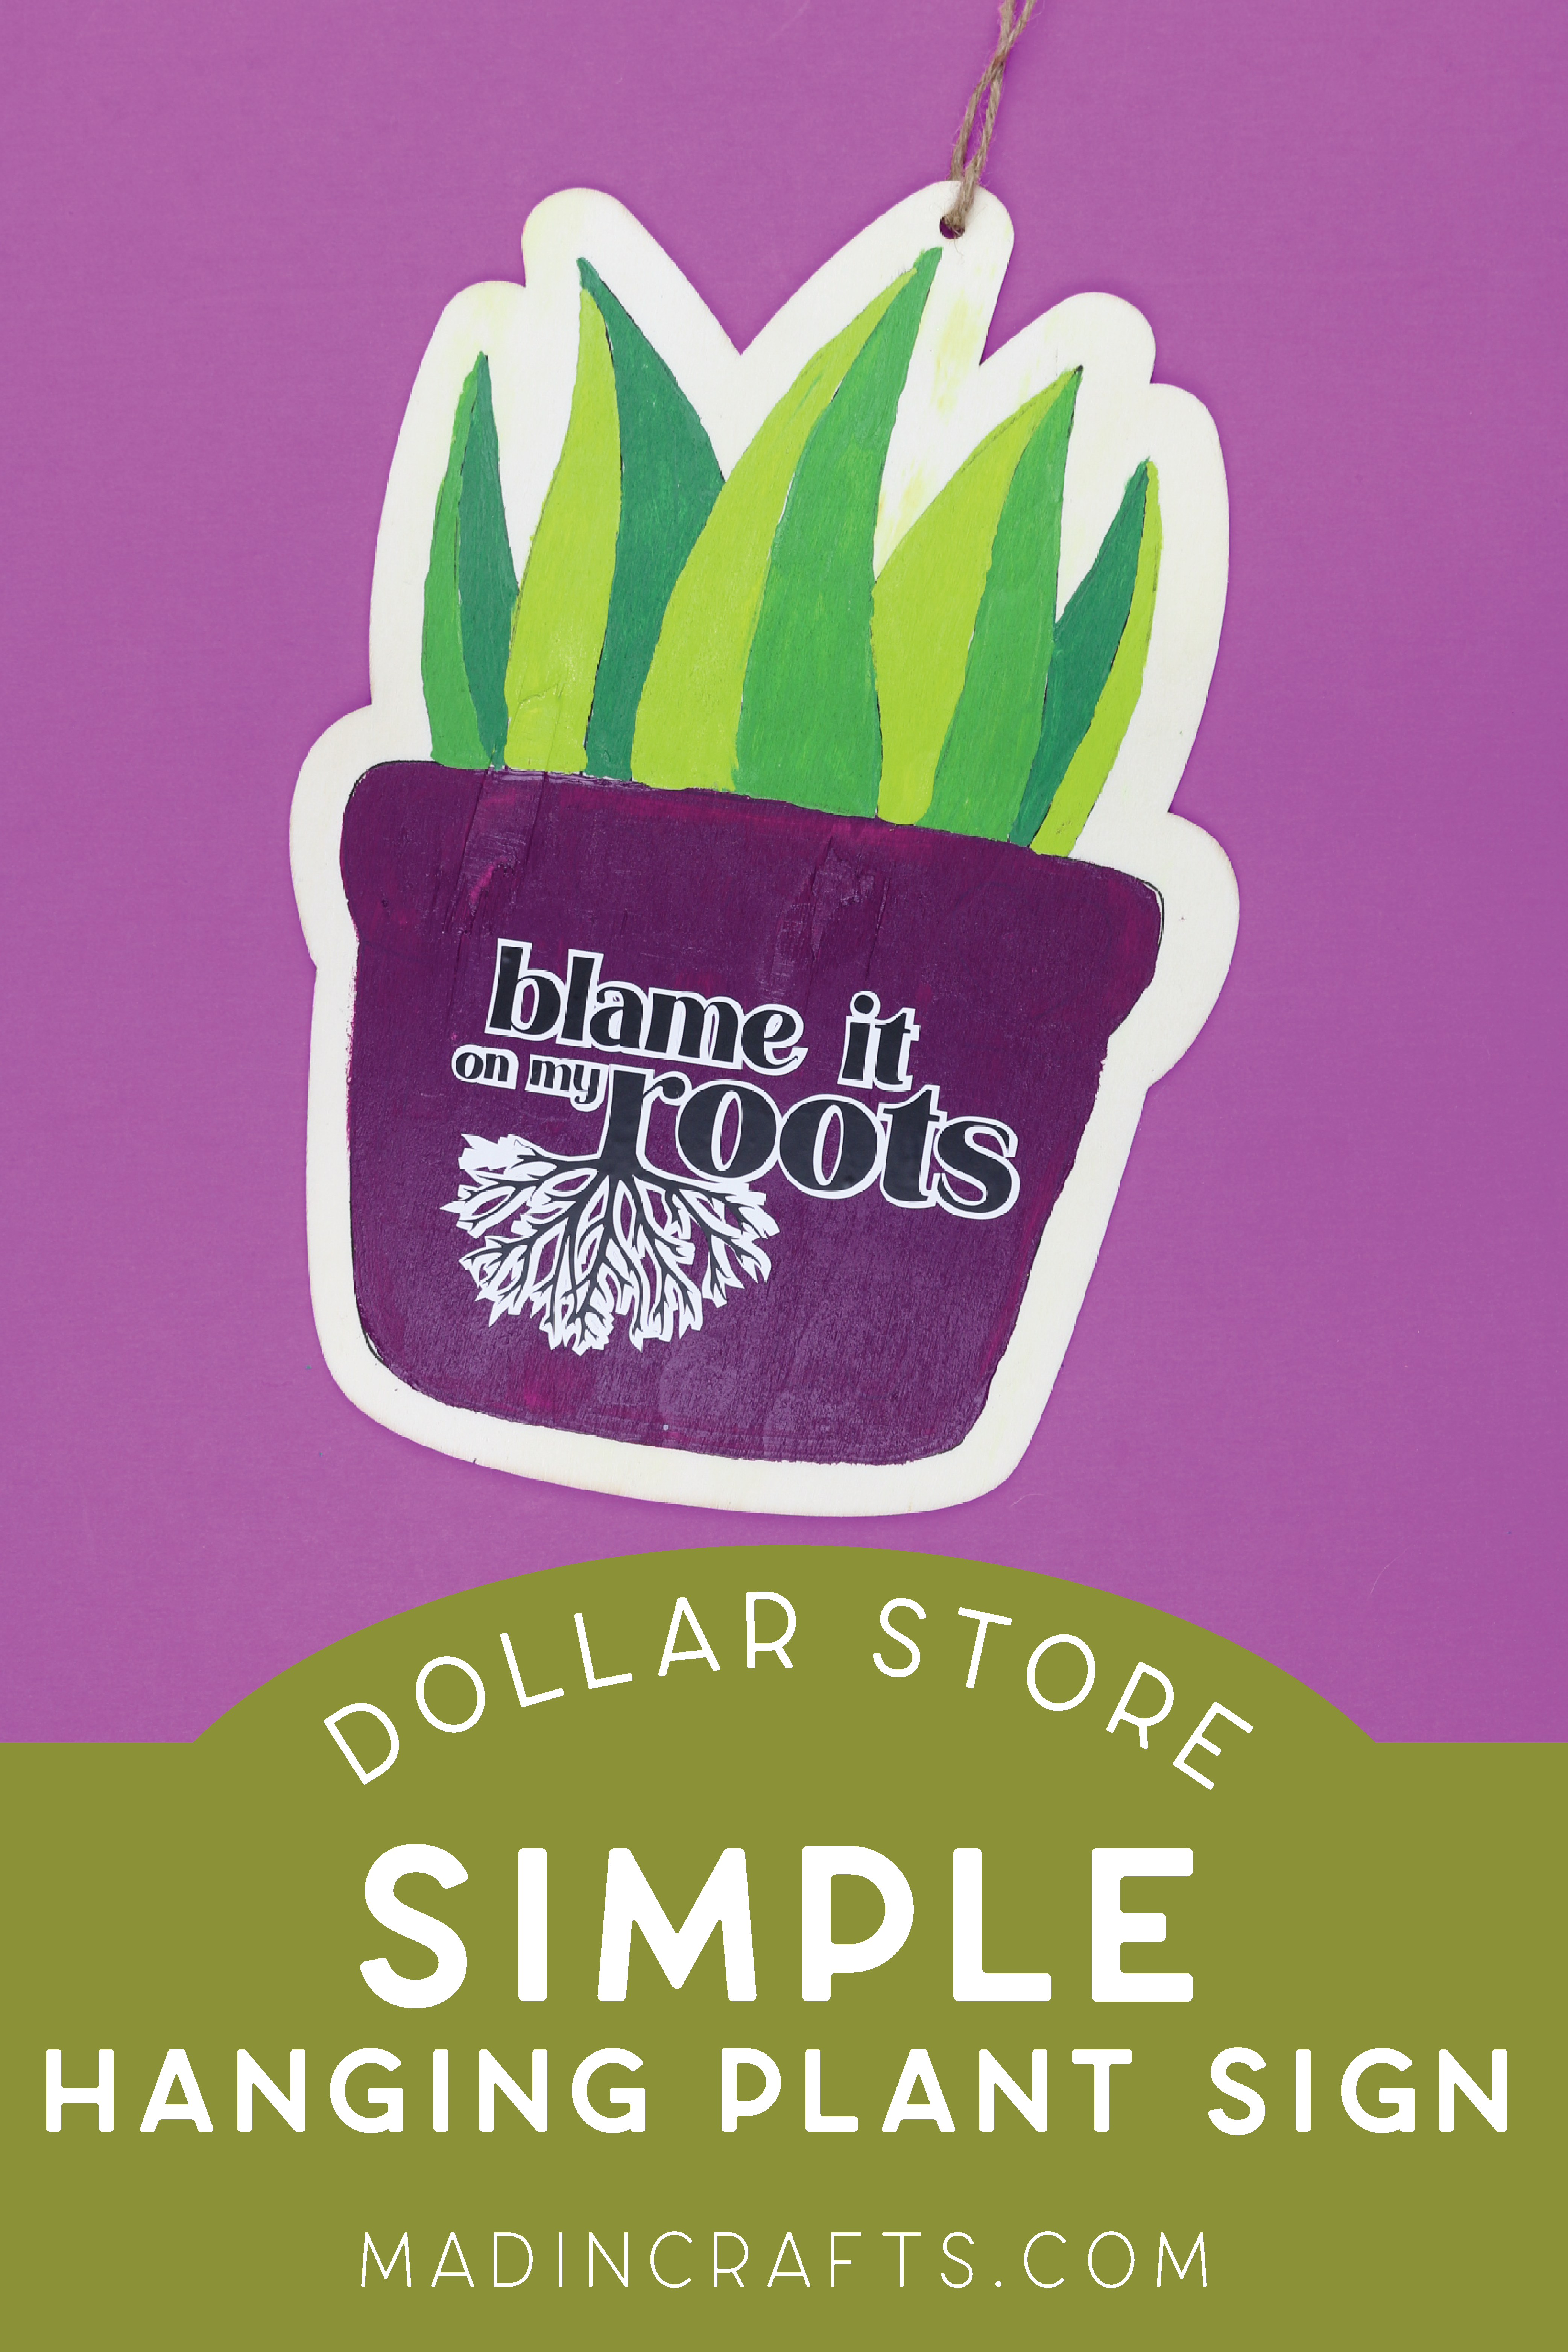
One of my favorite crafting supplies to buy at the dollar store is wood signs. They often carry hanging signs in fun shapes and sizes, and they are a fantastic blank canvas for your creativity. When I found an adorable planter-shaped sign, I knew I wanted to make some easy dollar store plant decor since I can’t seem to get enough of houseplant crafts!
EASY DOLLAR STORE PLANT DECOR
WHAT YOU NEED TO MAKE AN EASY PLANT SIGN
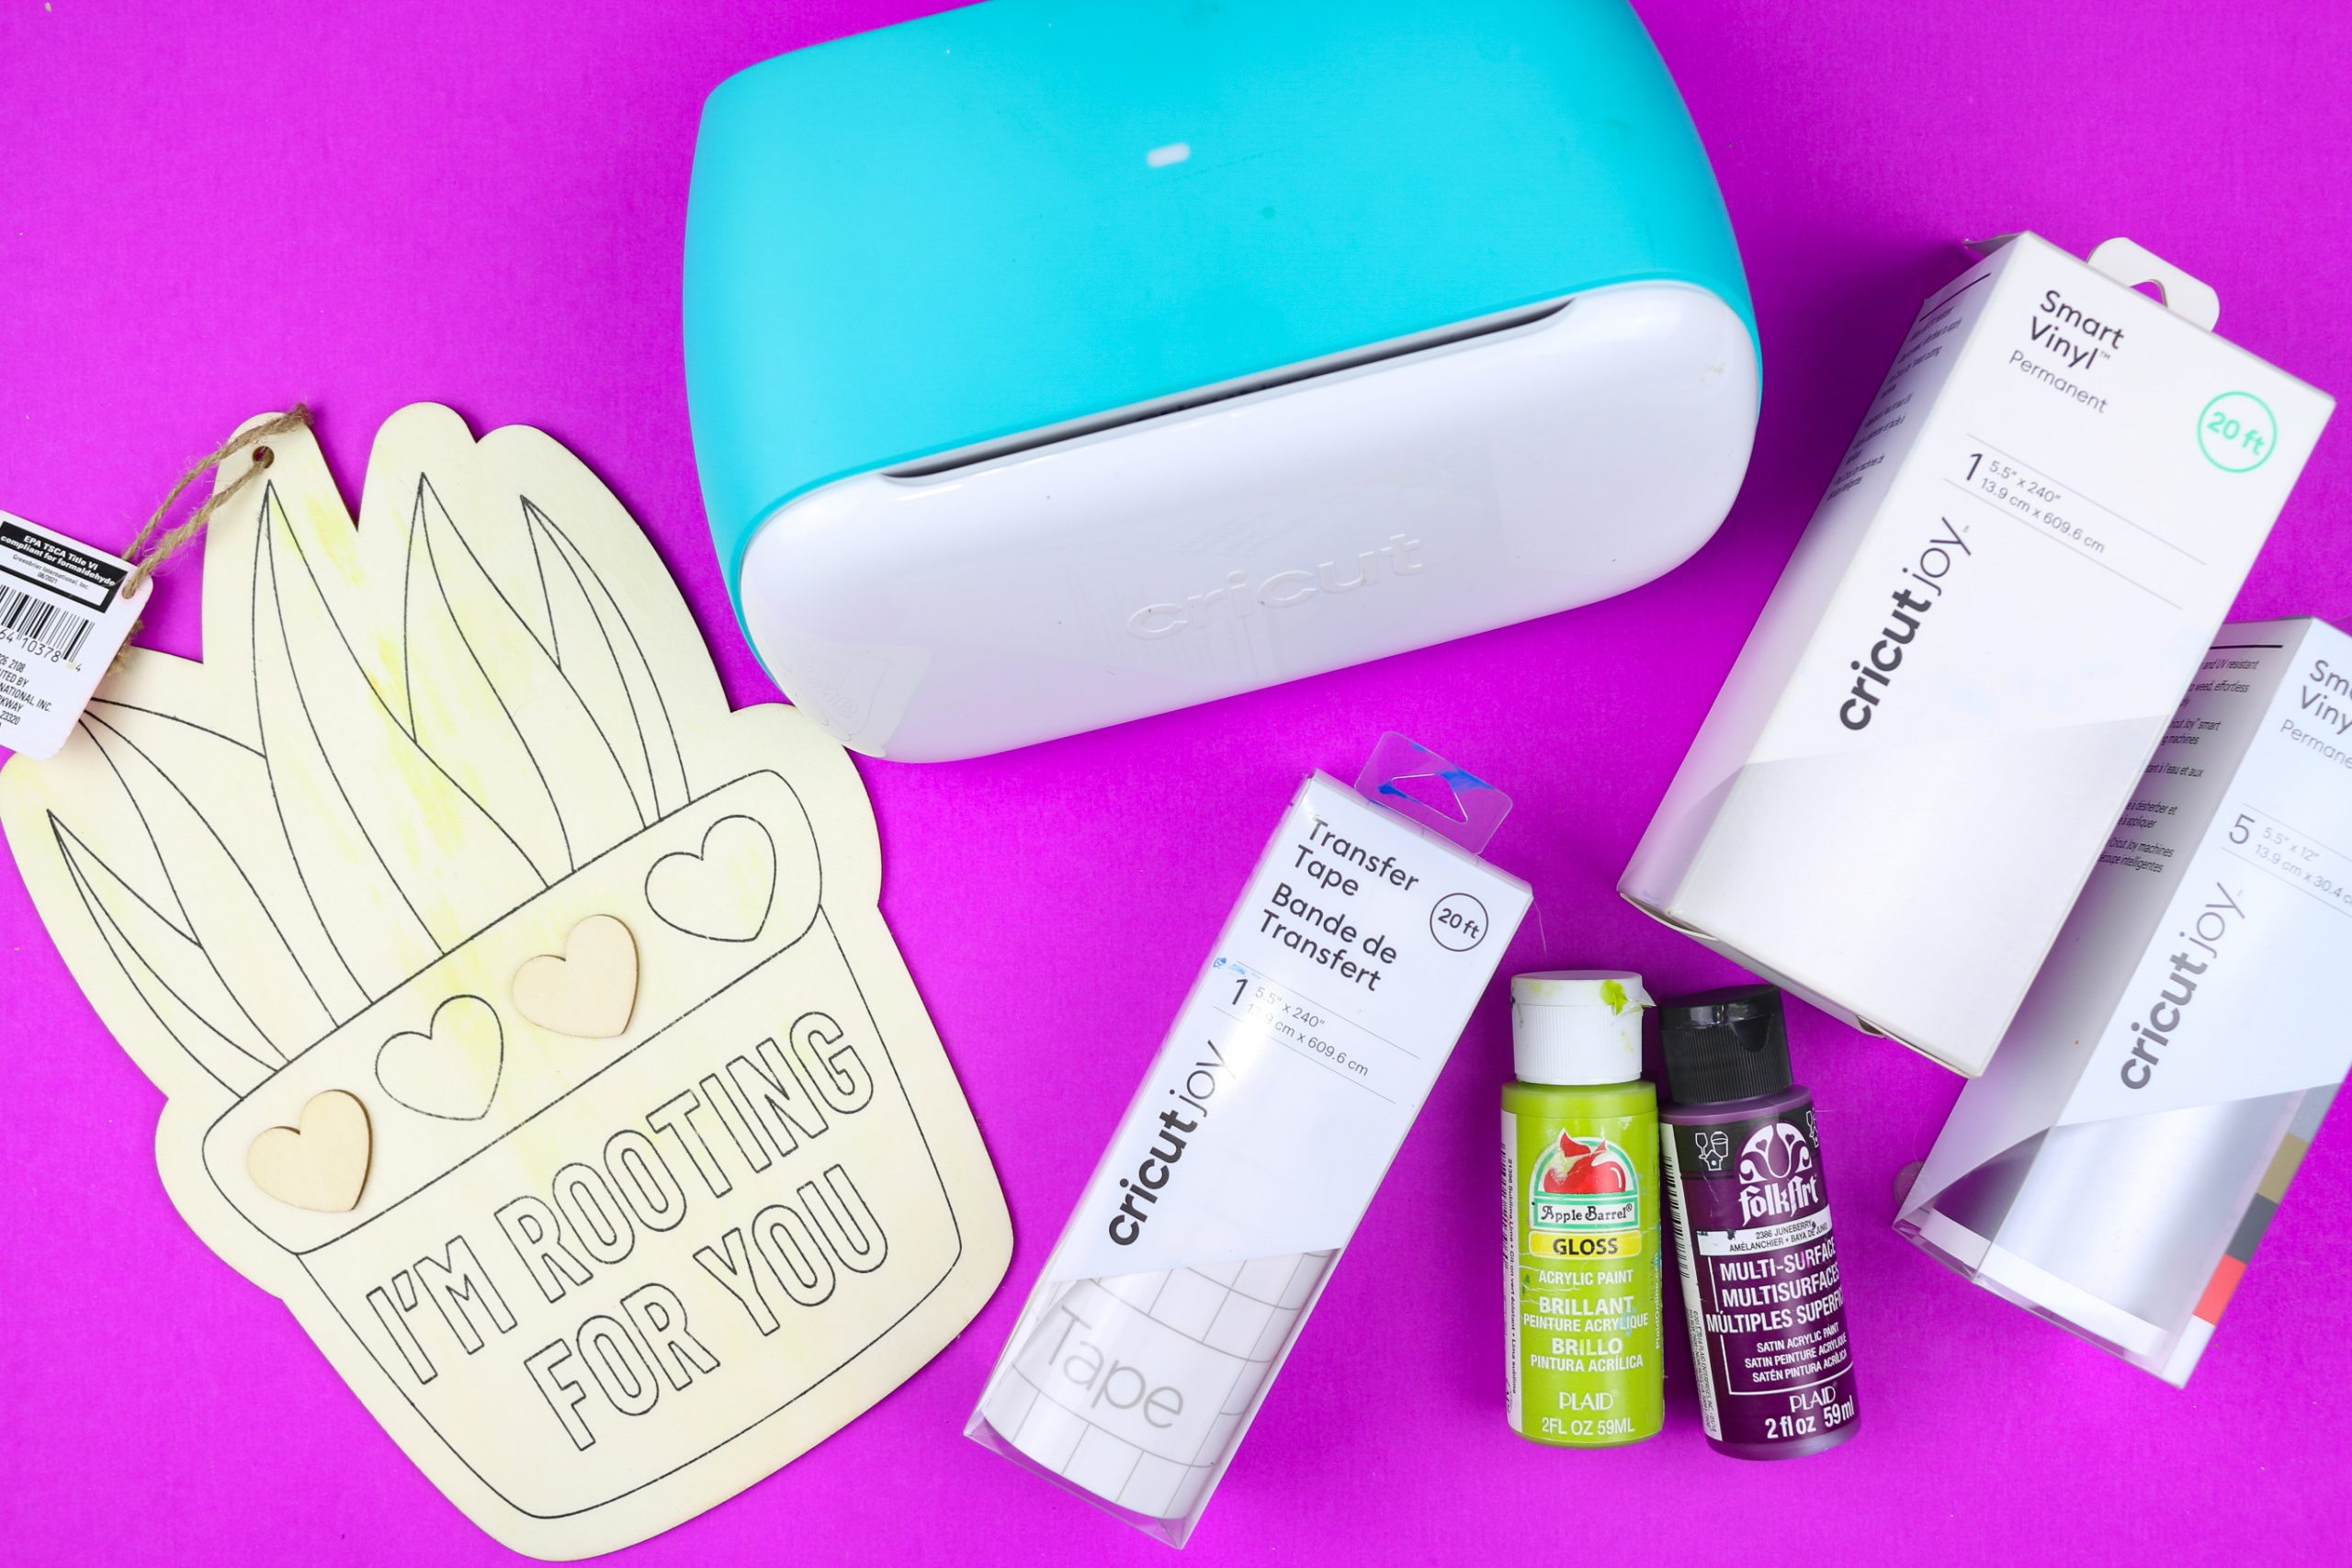
I found the planter-shaped sign in Dollar Tree’s crafting section in late February. While you might not be able to find this exact sign shape at your local dollar store, you can use any raw wood sign for a project like this. You can also find similar signs at the craft store or online for a buck or two more.
The dollar store also carries craft paint and vinyl if you wanted to use all dollar store supplies. You can read my review of the Dollar Tree vinyl, if you are interested.
These are all affiliate links, if you make a purchase (of anything from the site, not just these items) after clicking through, I will earn a small commission. Ads and affiliate links are the way I am able to keep this website running and to offer you free tutorials all year long. Thank you so much for supporting me and Mad in Crafts!
- plant shaped sign (or other hanging wood sign)
- acrylic paint
- paintbrushes
- Cricut Joy
- Smart Vinyl (white & black)
- weeding tools
- scissors
- transfer tape

Want to know which craft supplies I always keep in my craft room?
Visit the Mad in Crafts Amazon Storefront to learn more and to buy your own supplies!
CREATING YOUR OWN PLANT SIGN
Begin by painting your sign in your favorite colors. I chose to paint in the design that was originally on the dollar store sign (minus the words and hearts). You can paint yours a solid color or add a pattern of your own design. Just be sure to let the paint fully dry before handling it.
While the paint dries, choose an SVG or design from Cricut Access that you would like to add to your sign. I used one of my own plant SVGs, which I will link to later in the post, that has two layers. I cut these layers out of permanent Smart Vinyl in black and white.
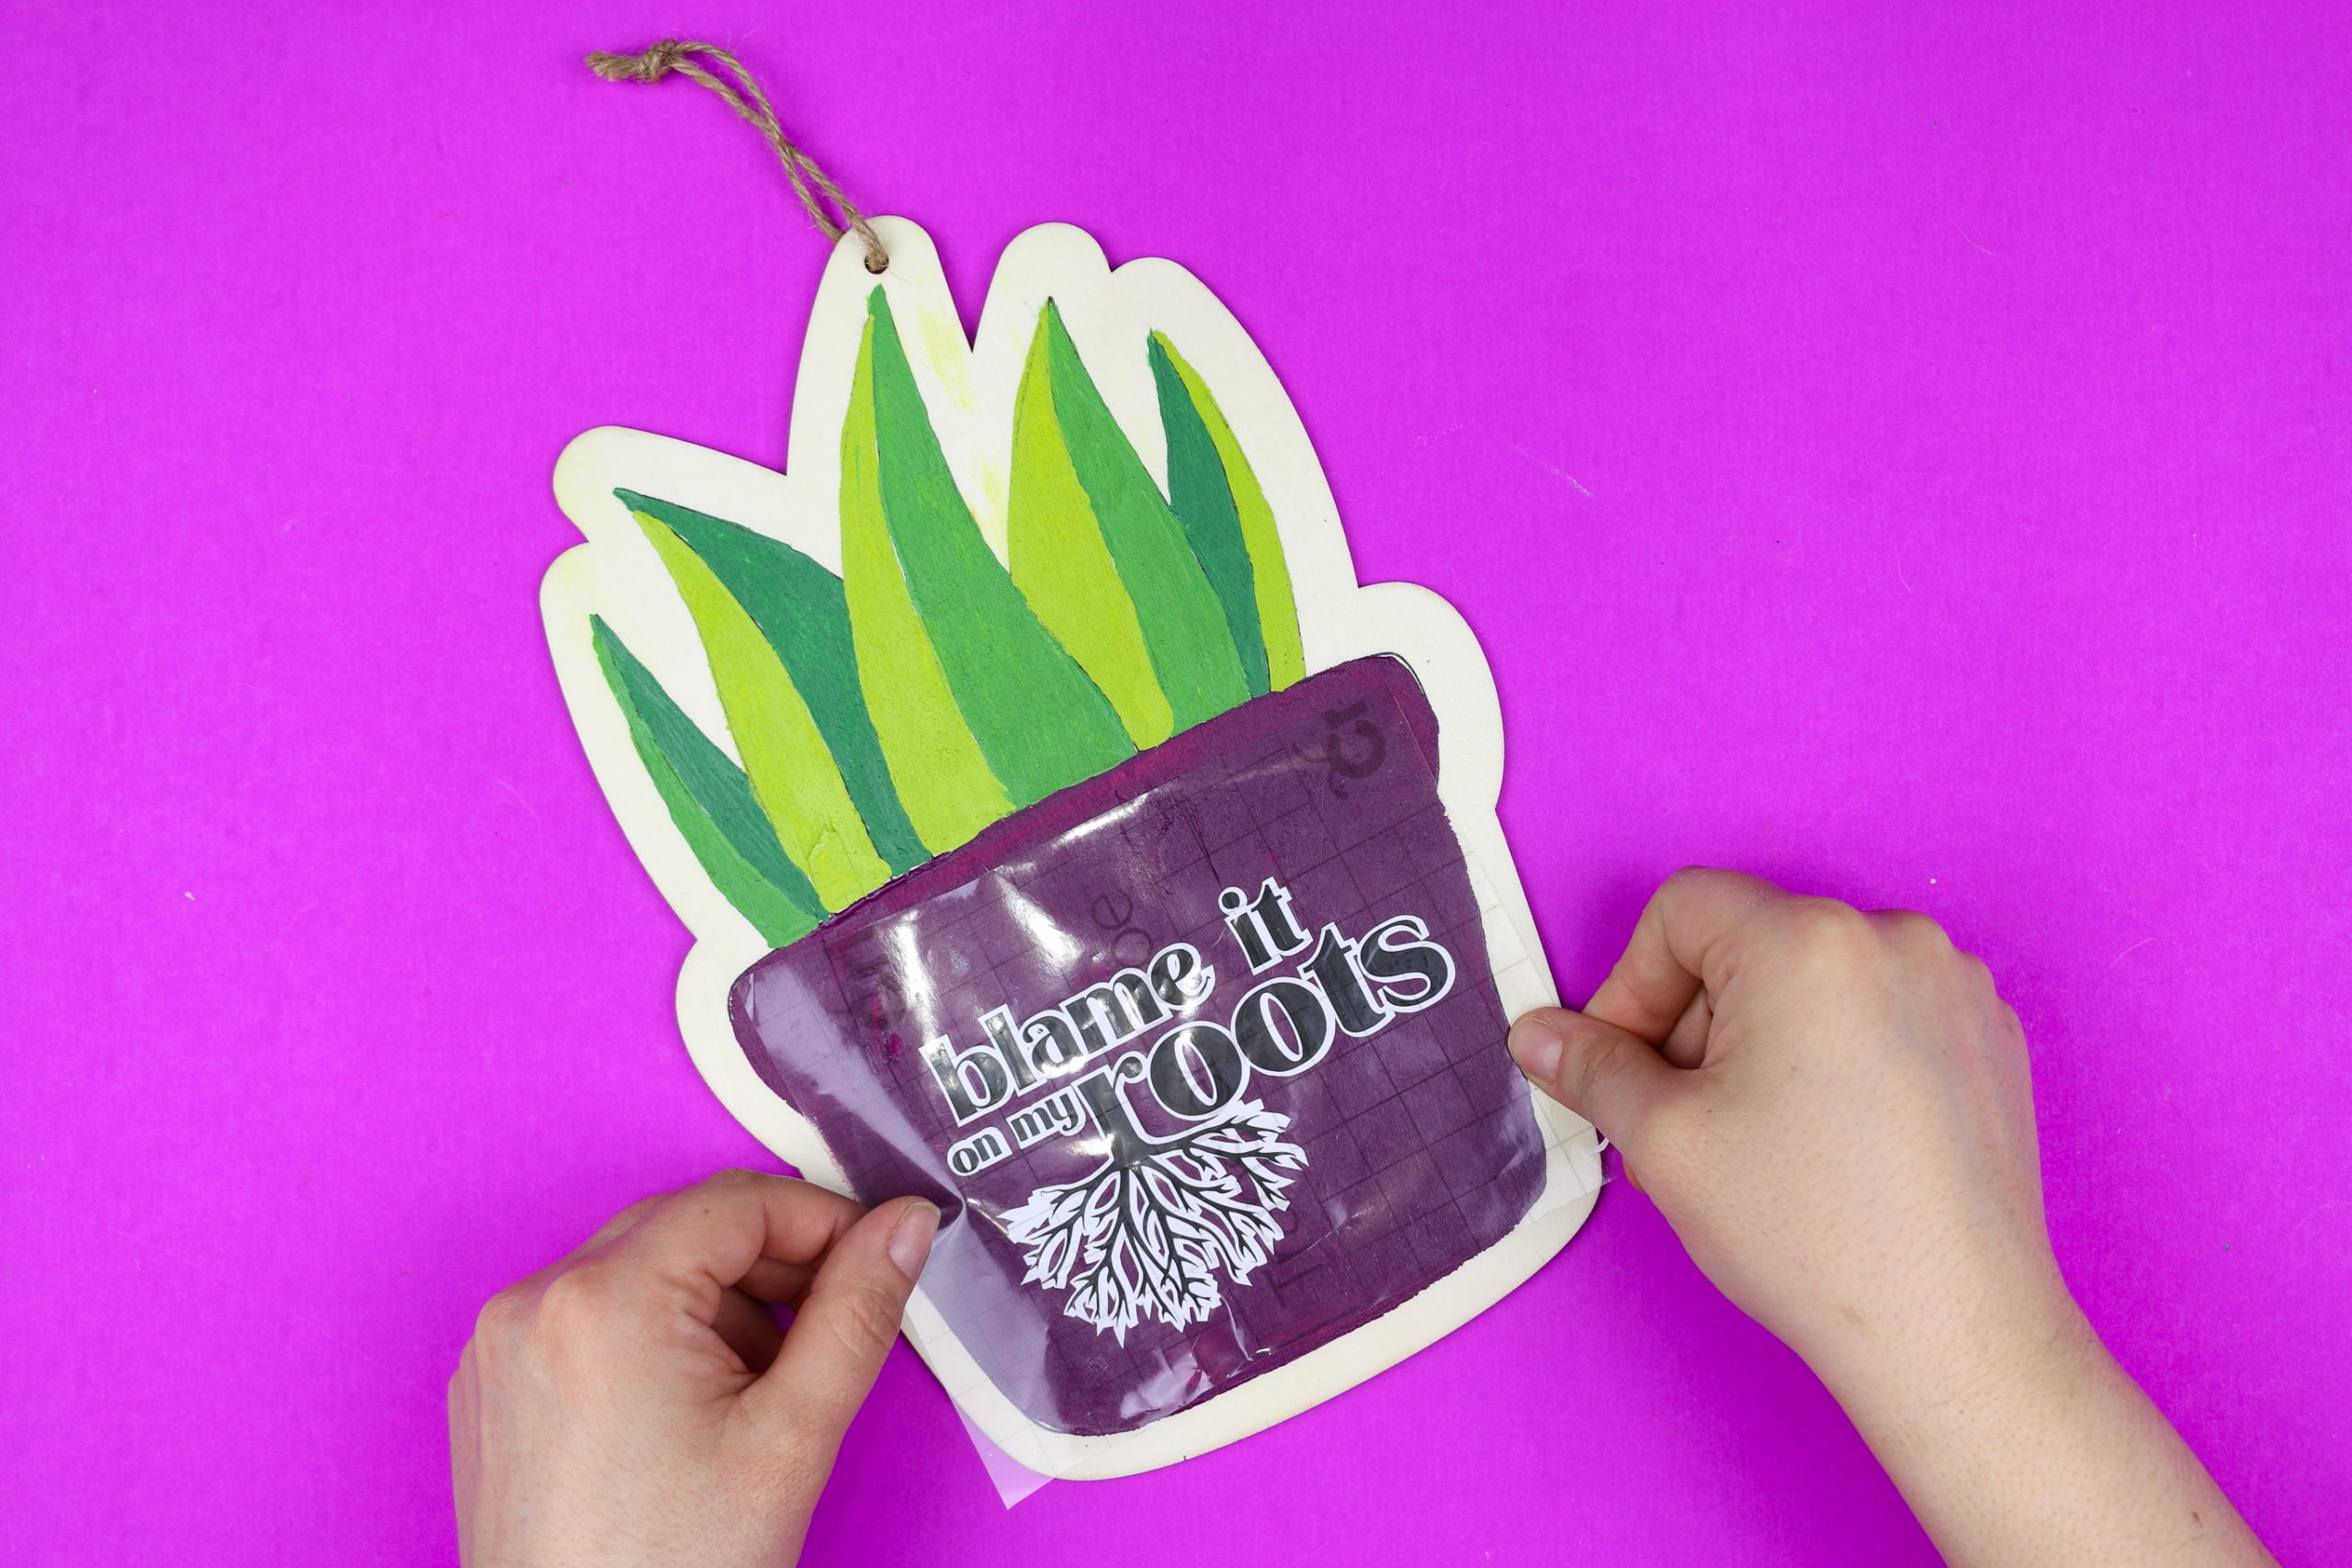
I used transfer tape to layer the black vinyl on top of the offset white vinyl later. I then centered the vinyl layers on my painted sign. I used my Cricut scraper tool to burnish the transfer tape to make sure the vinyl really adhered to the sign.
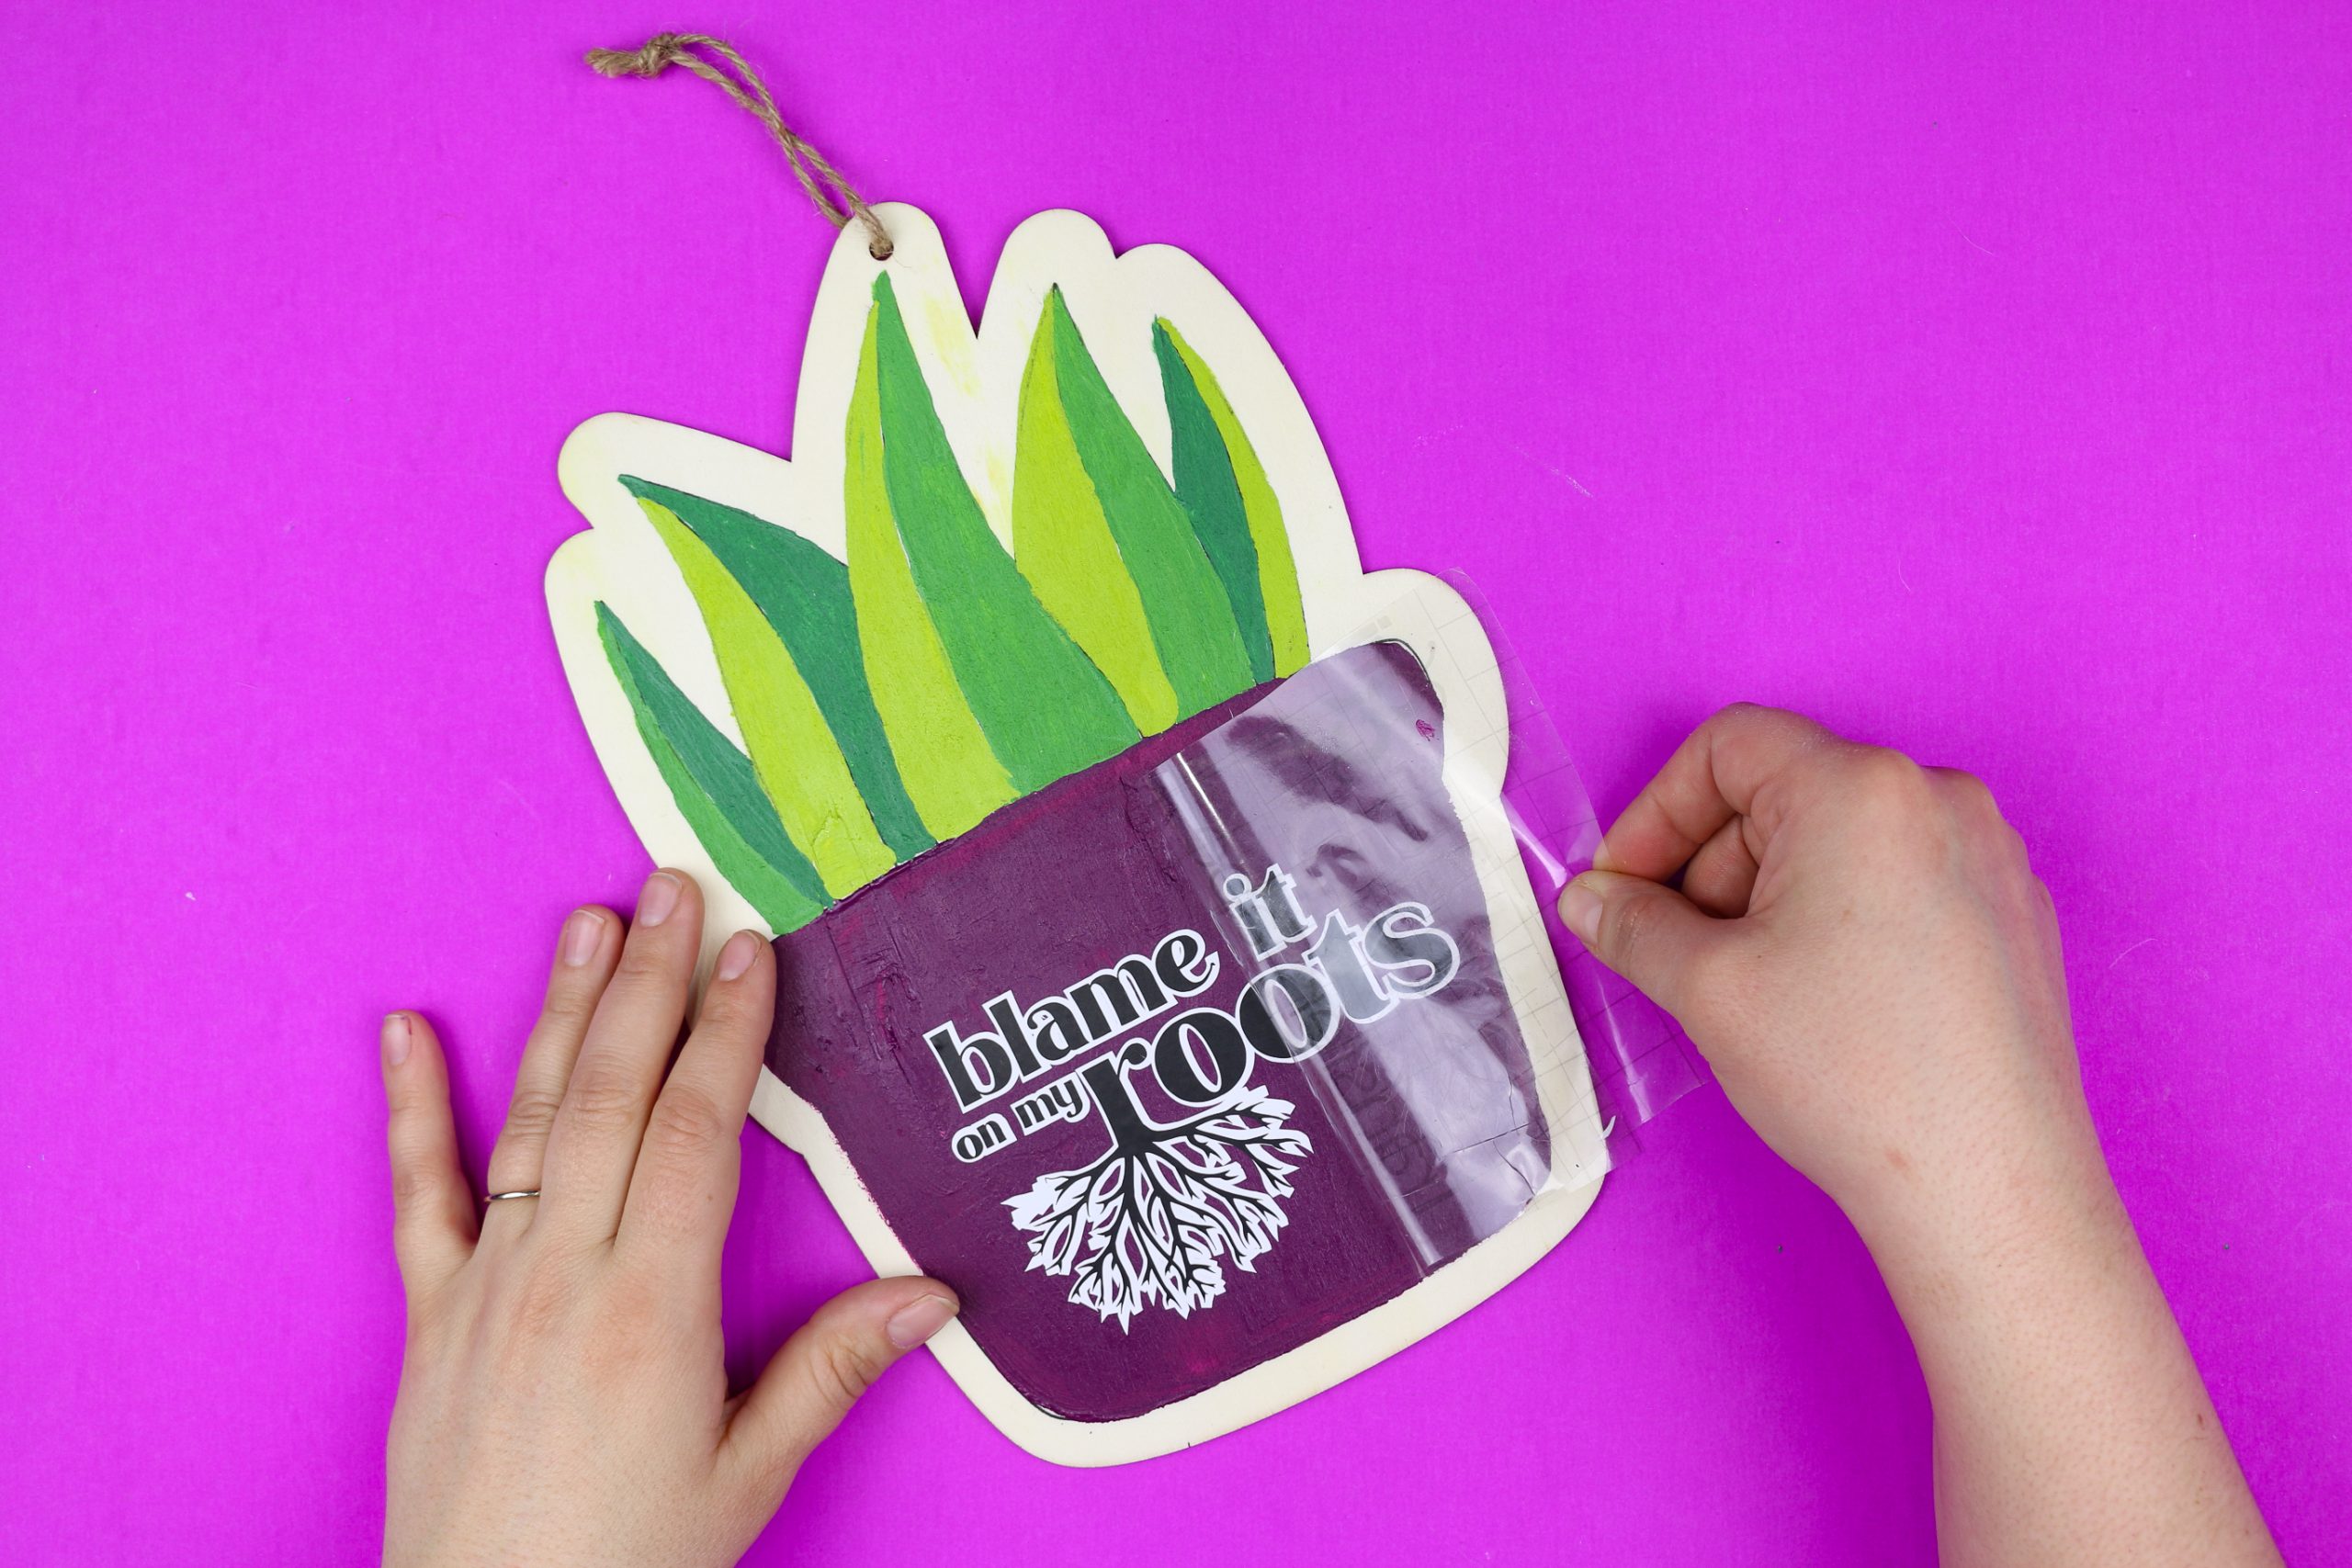
Finally, I carefully peeled away the transfer tape to reveal the vinyl design!
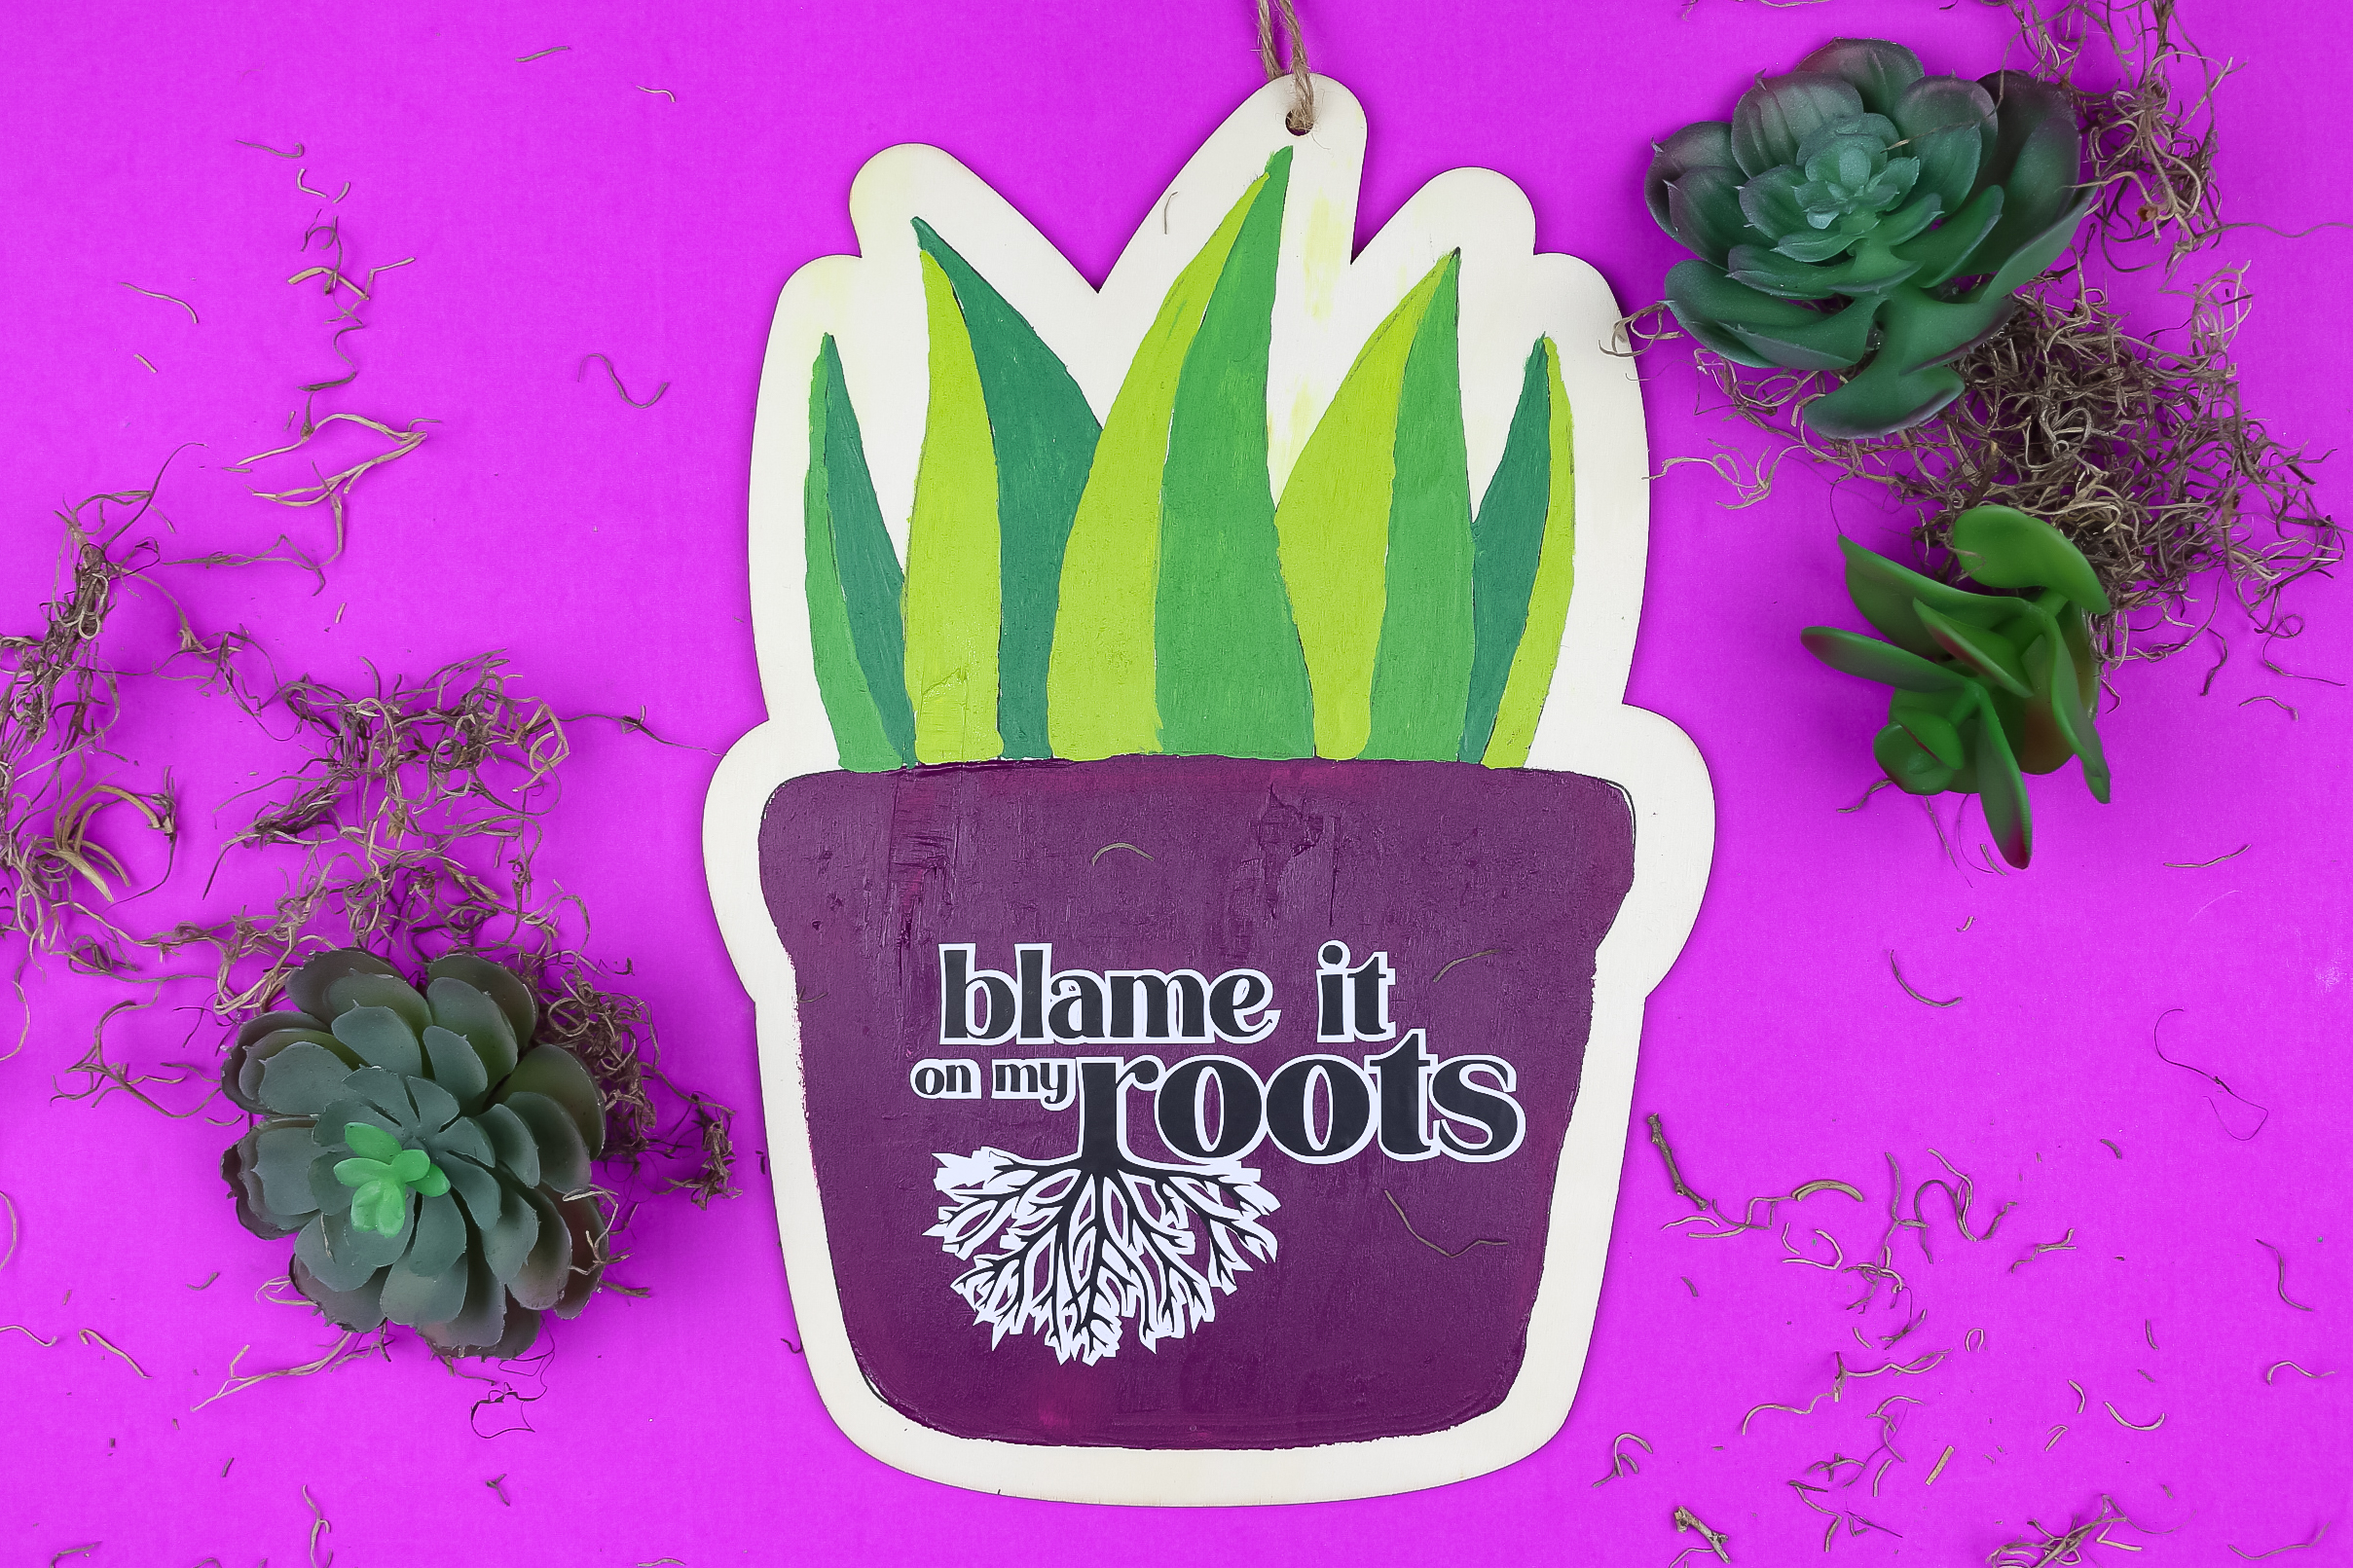
If I were to display this sign outside, I would probably give the whole thing a coat of Outdoor Mod Podge to make it extra durable. If your sign will live indoors, you can definitely skip that step.

