Is it time for pumpkins yet? I sure think so! As soon as my dollar store began stocking fall items, I grabbed up a few pumpkin signs with the idea of creating a custom painted plaid pumpkin sign. I painted buffalo check and pinstripe patterns on the signs with navy and copper paint. It’s not the most traditional fall color palette, but I love the way it looks on our front door.
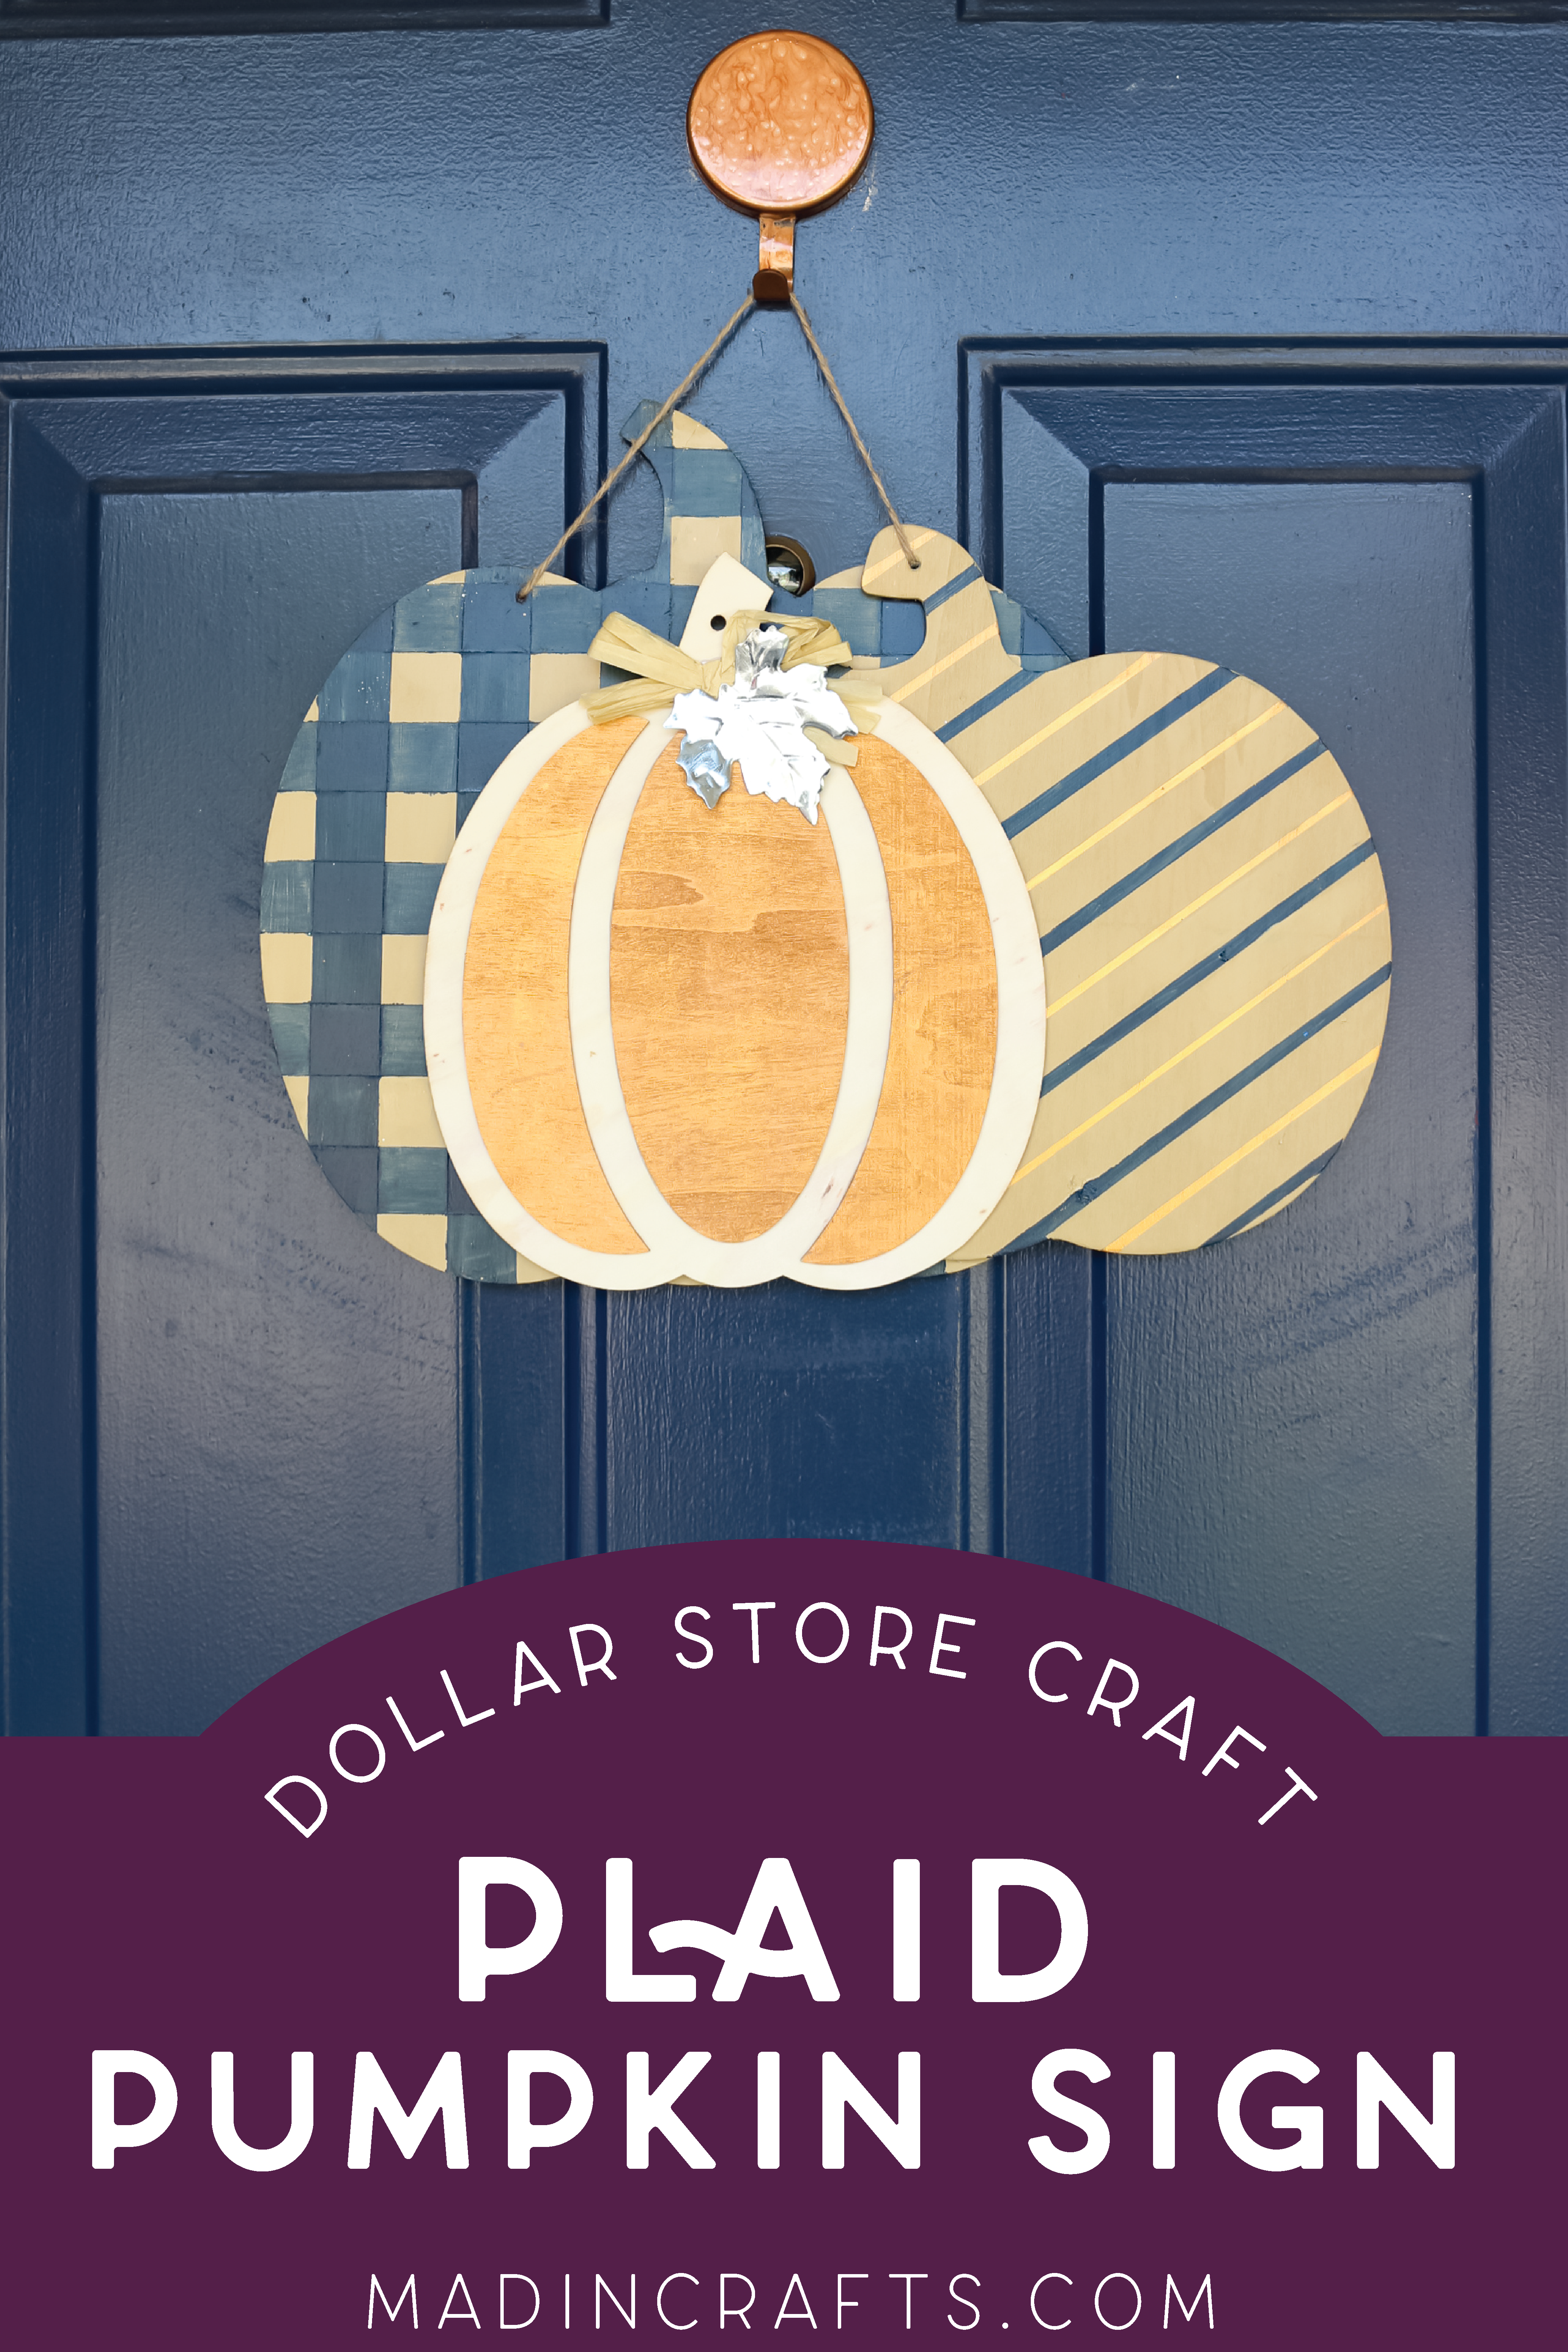
DOLLAR STORE PAINTED PLAID PUMPKIN SIGN
WHAT YOU NEED TO MAKE A PLAID PUMPKIN SIGN
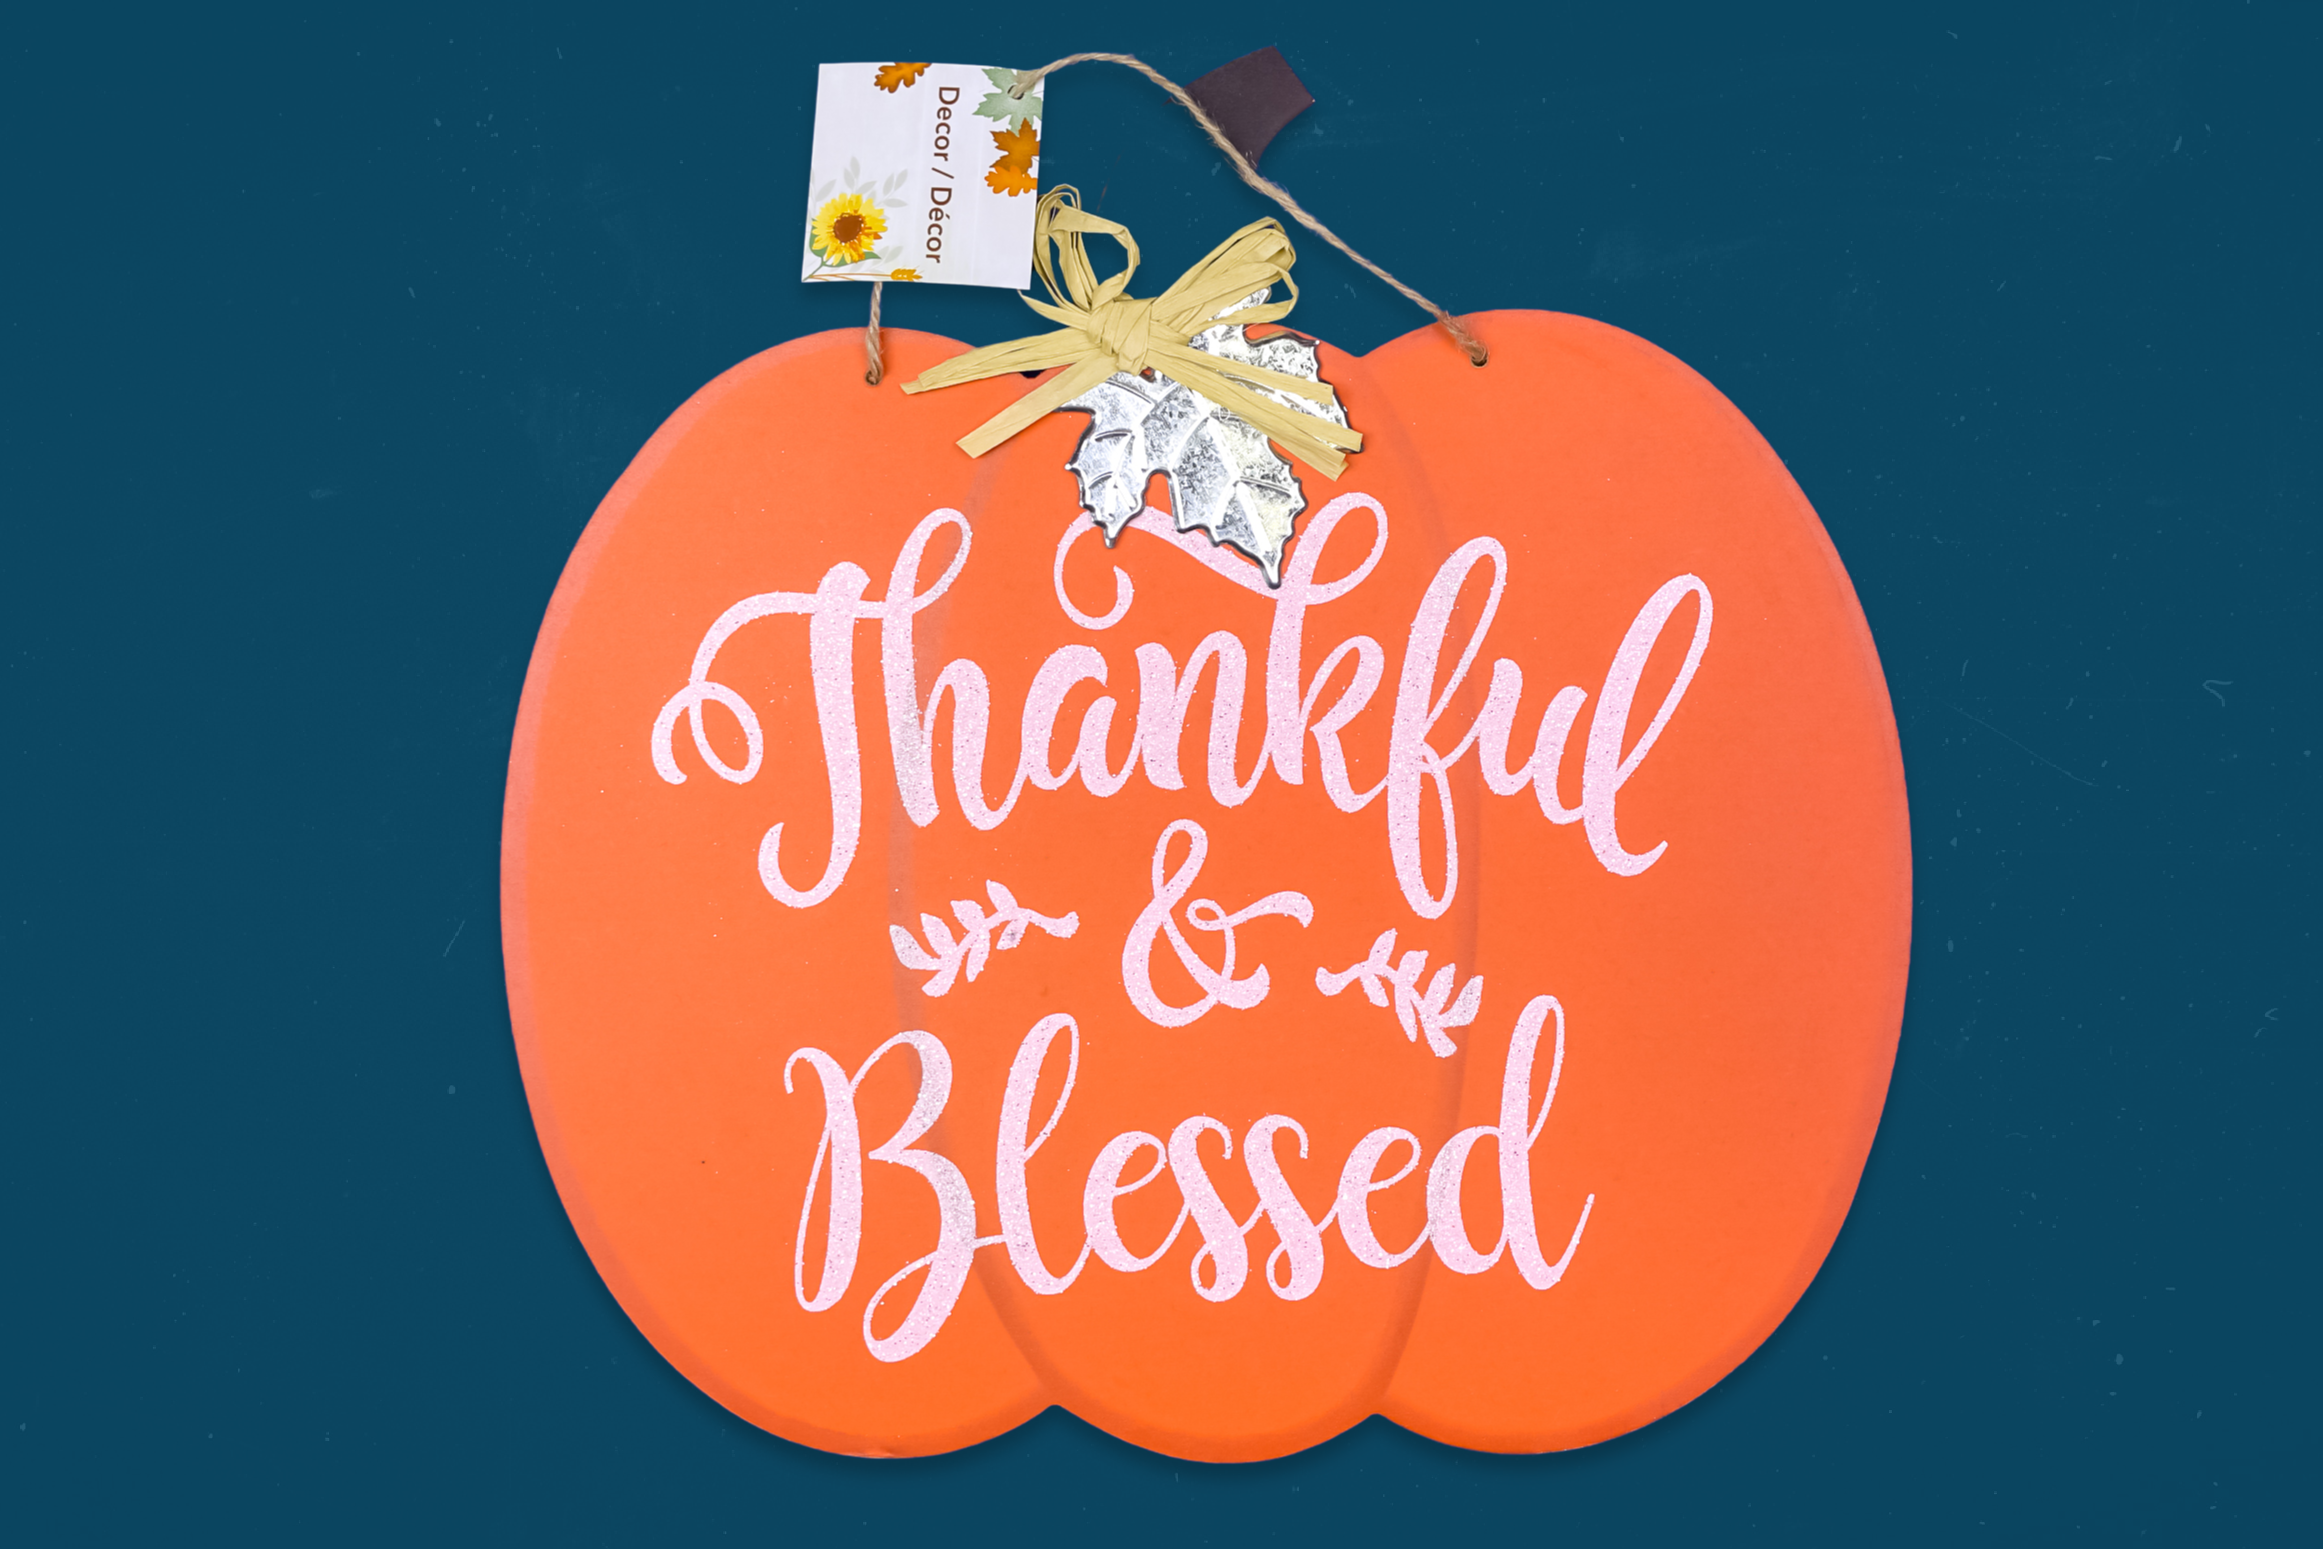
I found a few different sizes of wood and particle board pumpkin shapes at my local dollar store. Don’t rule out signs like the one shown above just because you don’t like the design printed on it. If it is has a shape you like, you can always paint on the back of it!
These are all affiliate links, if you make a purchase (of anything from the site, not just these items) after clicking through, I will earn a small commission. Ads and affiliate links are the way I am able to keep this website running and to offer you free tutorials all year long. Thank you so much for supporting me and Mad in Crafts!

Want to know which craft supplies I always keep in my craft room?
Visit the Mad in Crafts Amazon Storefront to learn more and to buy your own supplies!
PUTTING THE DOLLAR STORE PLAID PUMPKIN SIGN TOGETHER
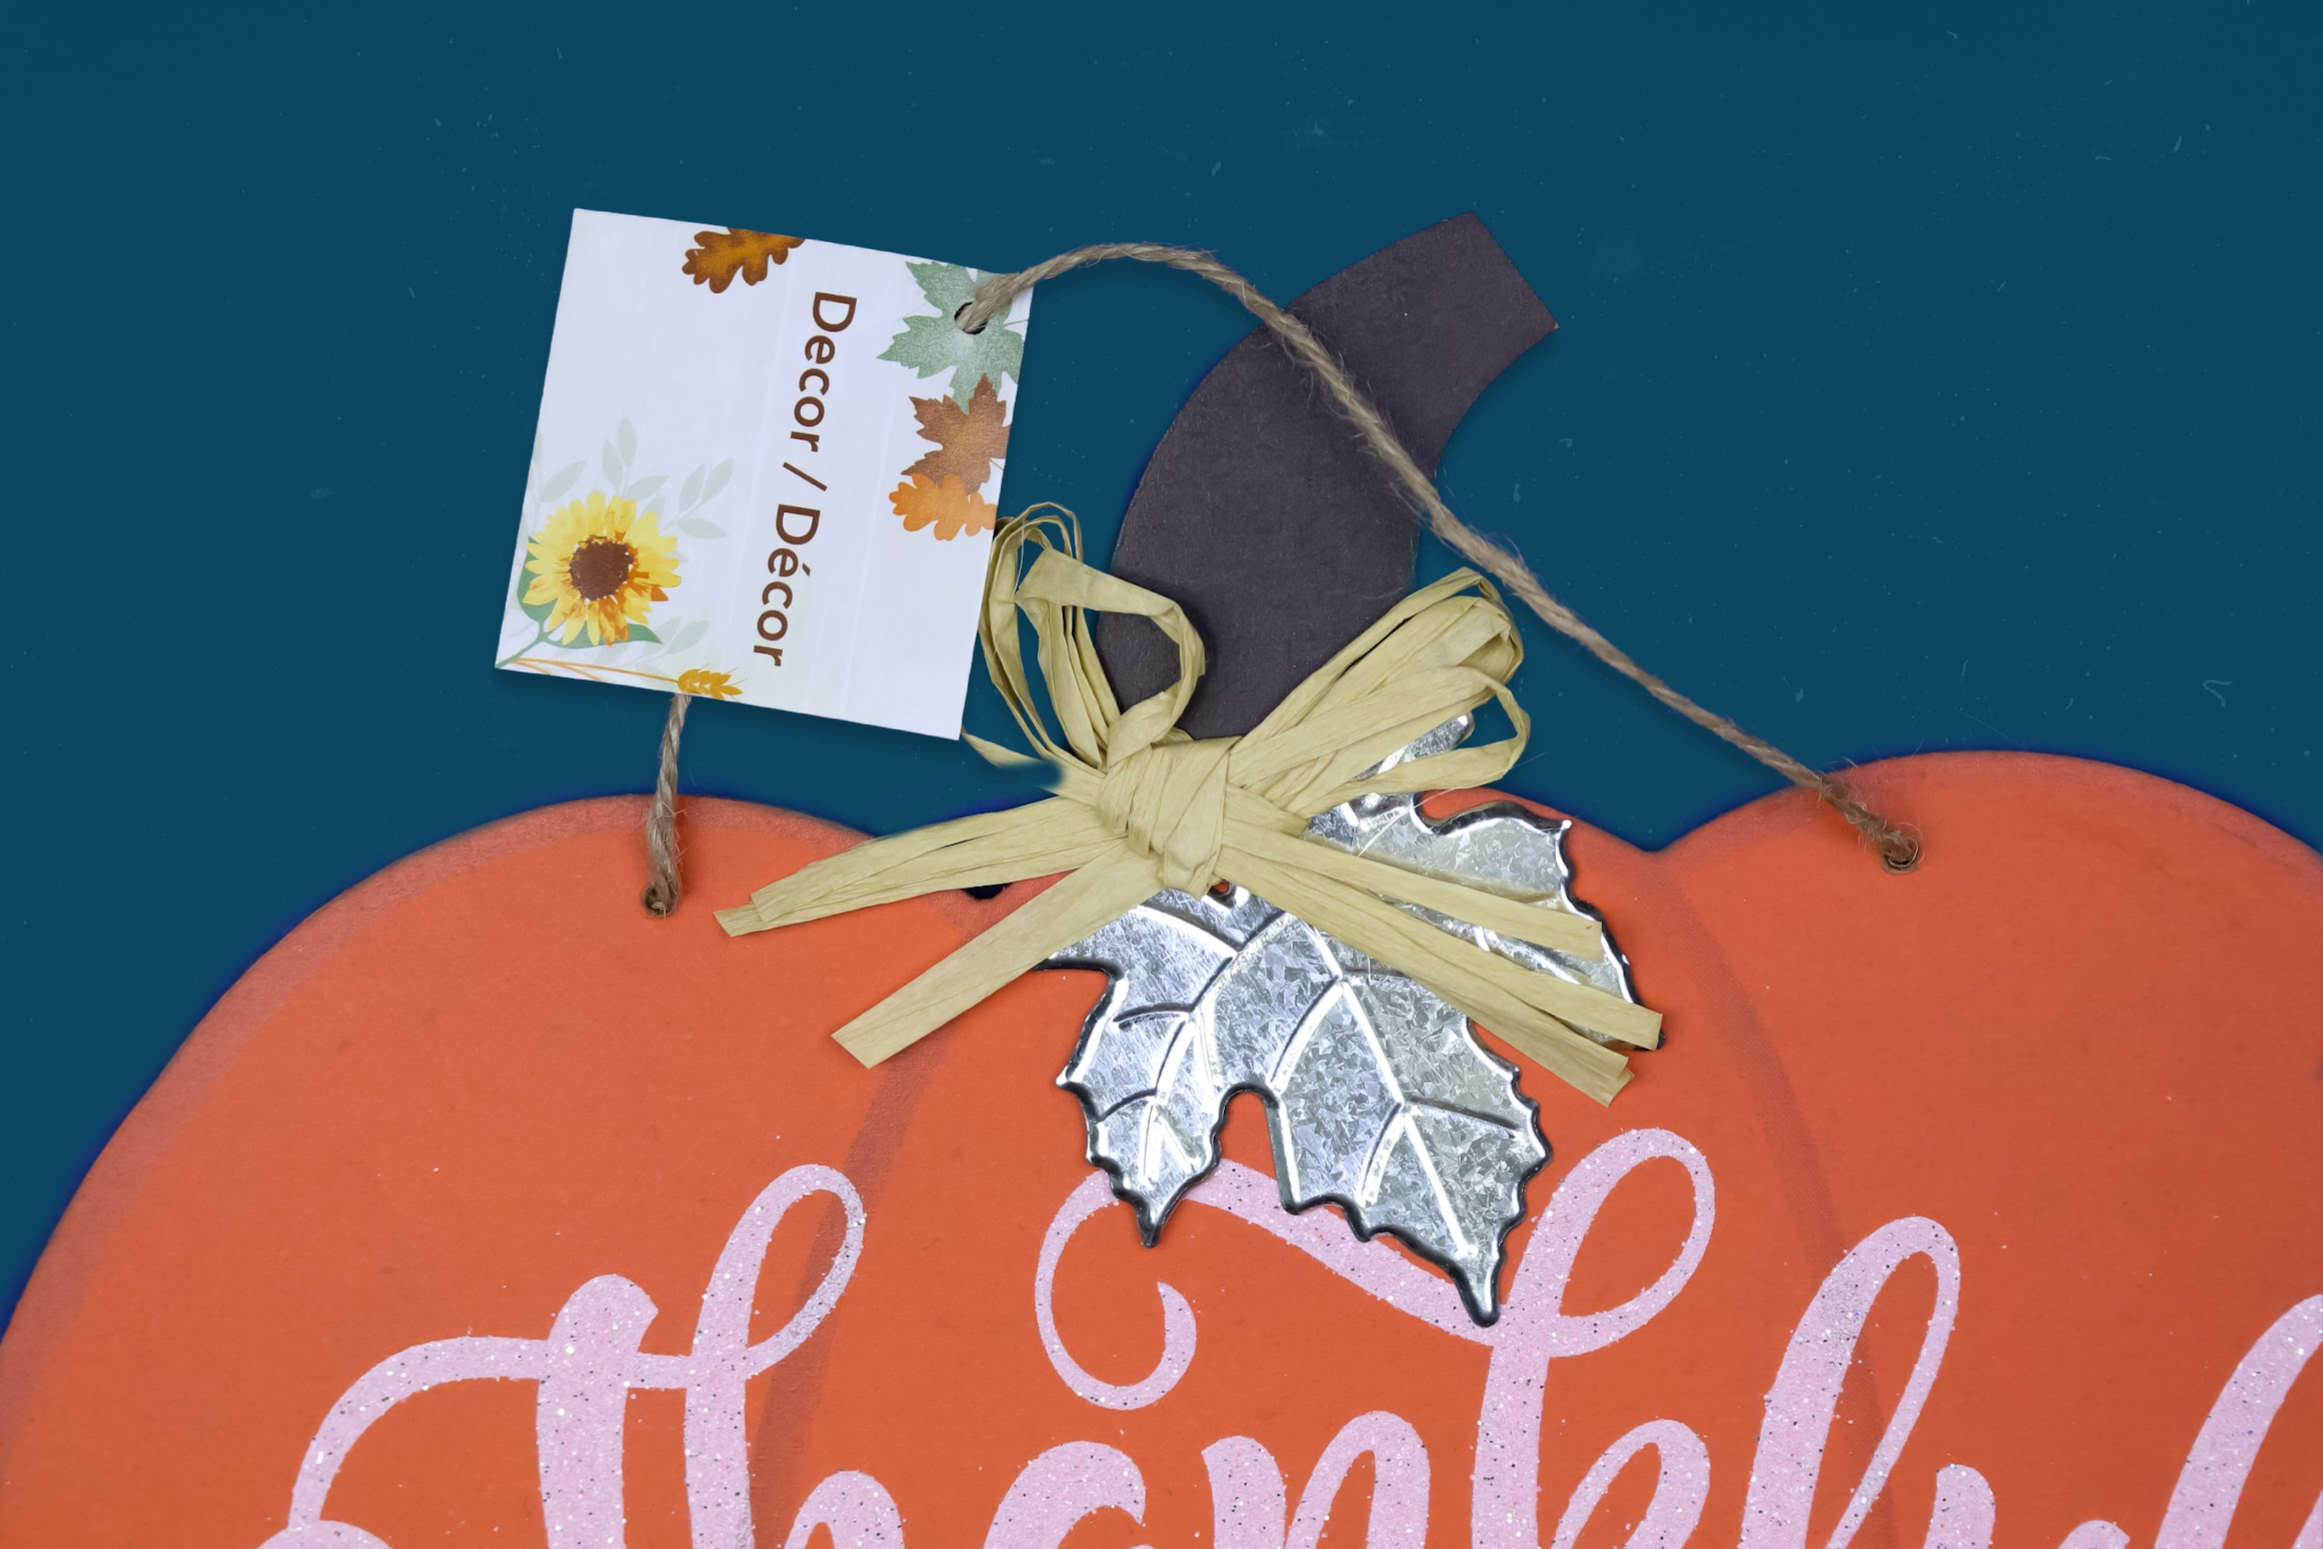
While I didn’t like the design of this pumpkin sign, I did like the raffia bow and the embossed tin leaf.
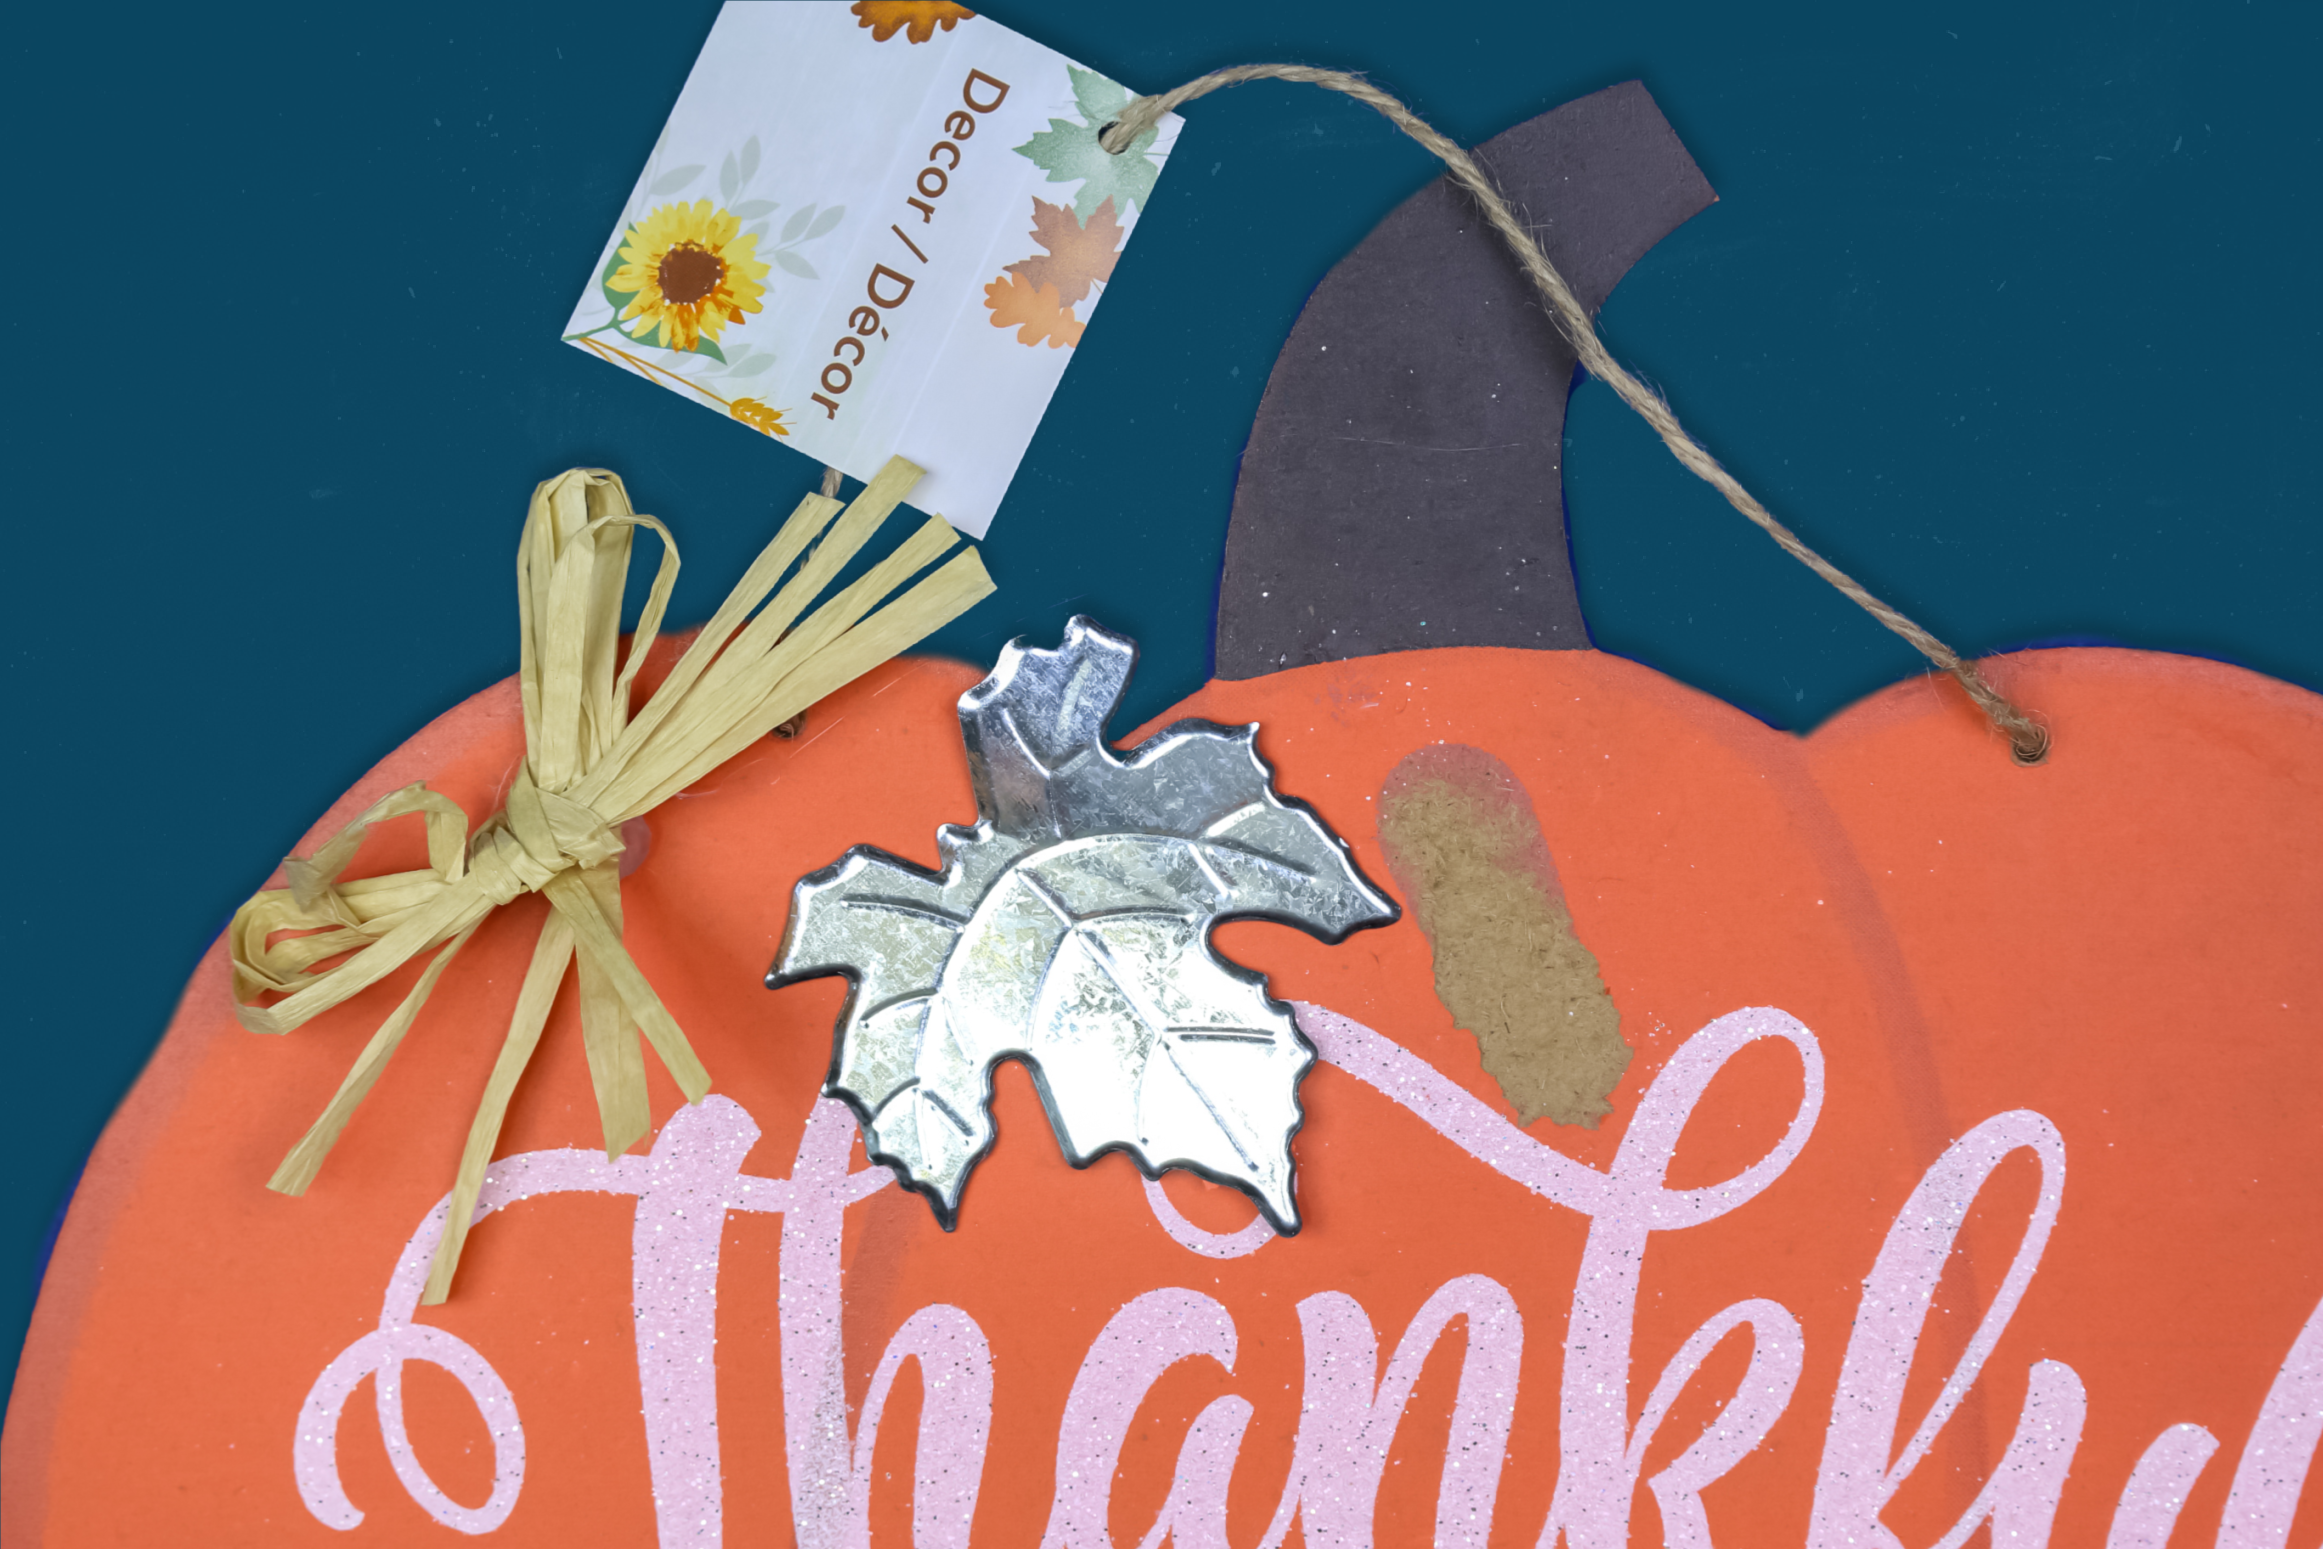
I was able to use the good old dollar store “quality” to my advantage, and I pulled the bow and the leaf right off!
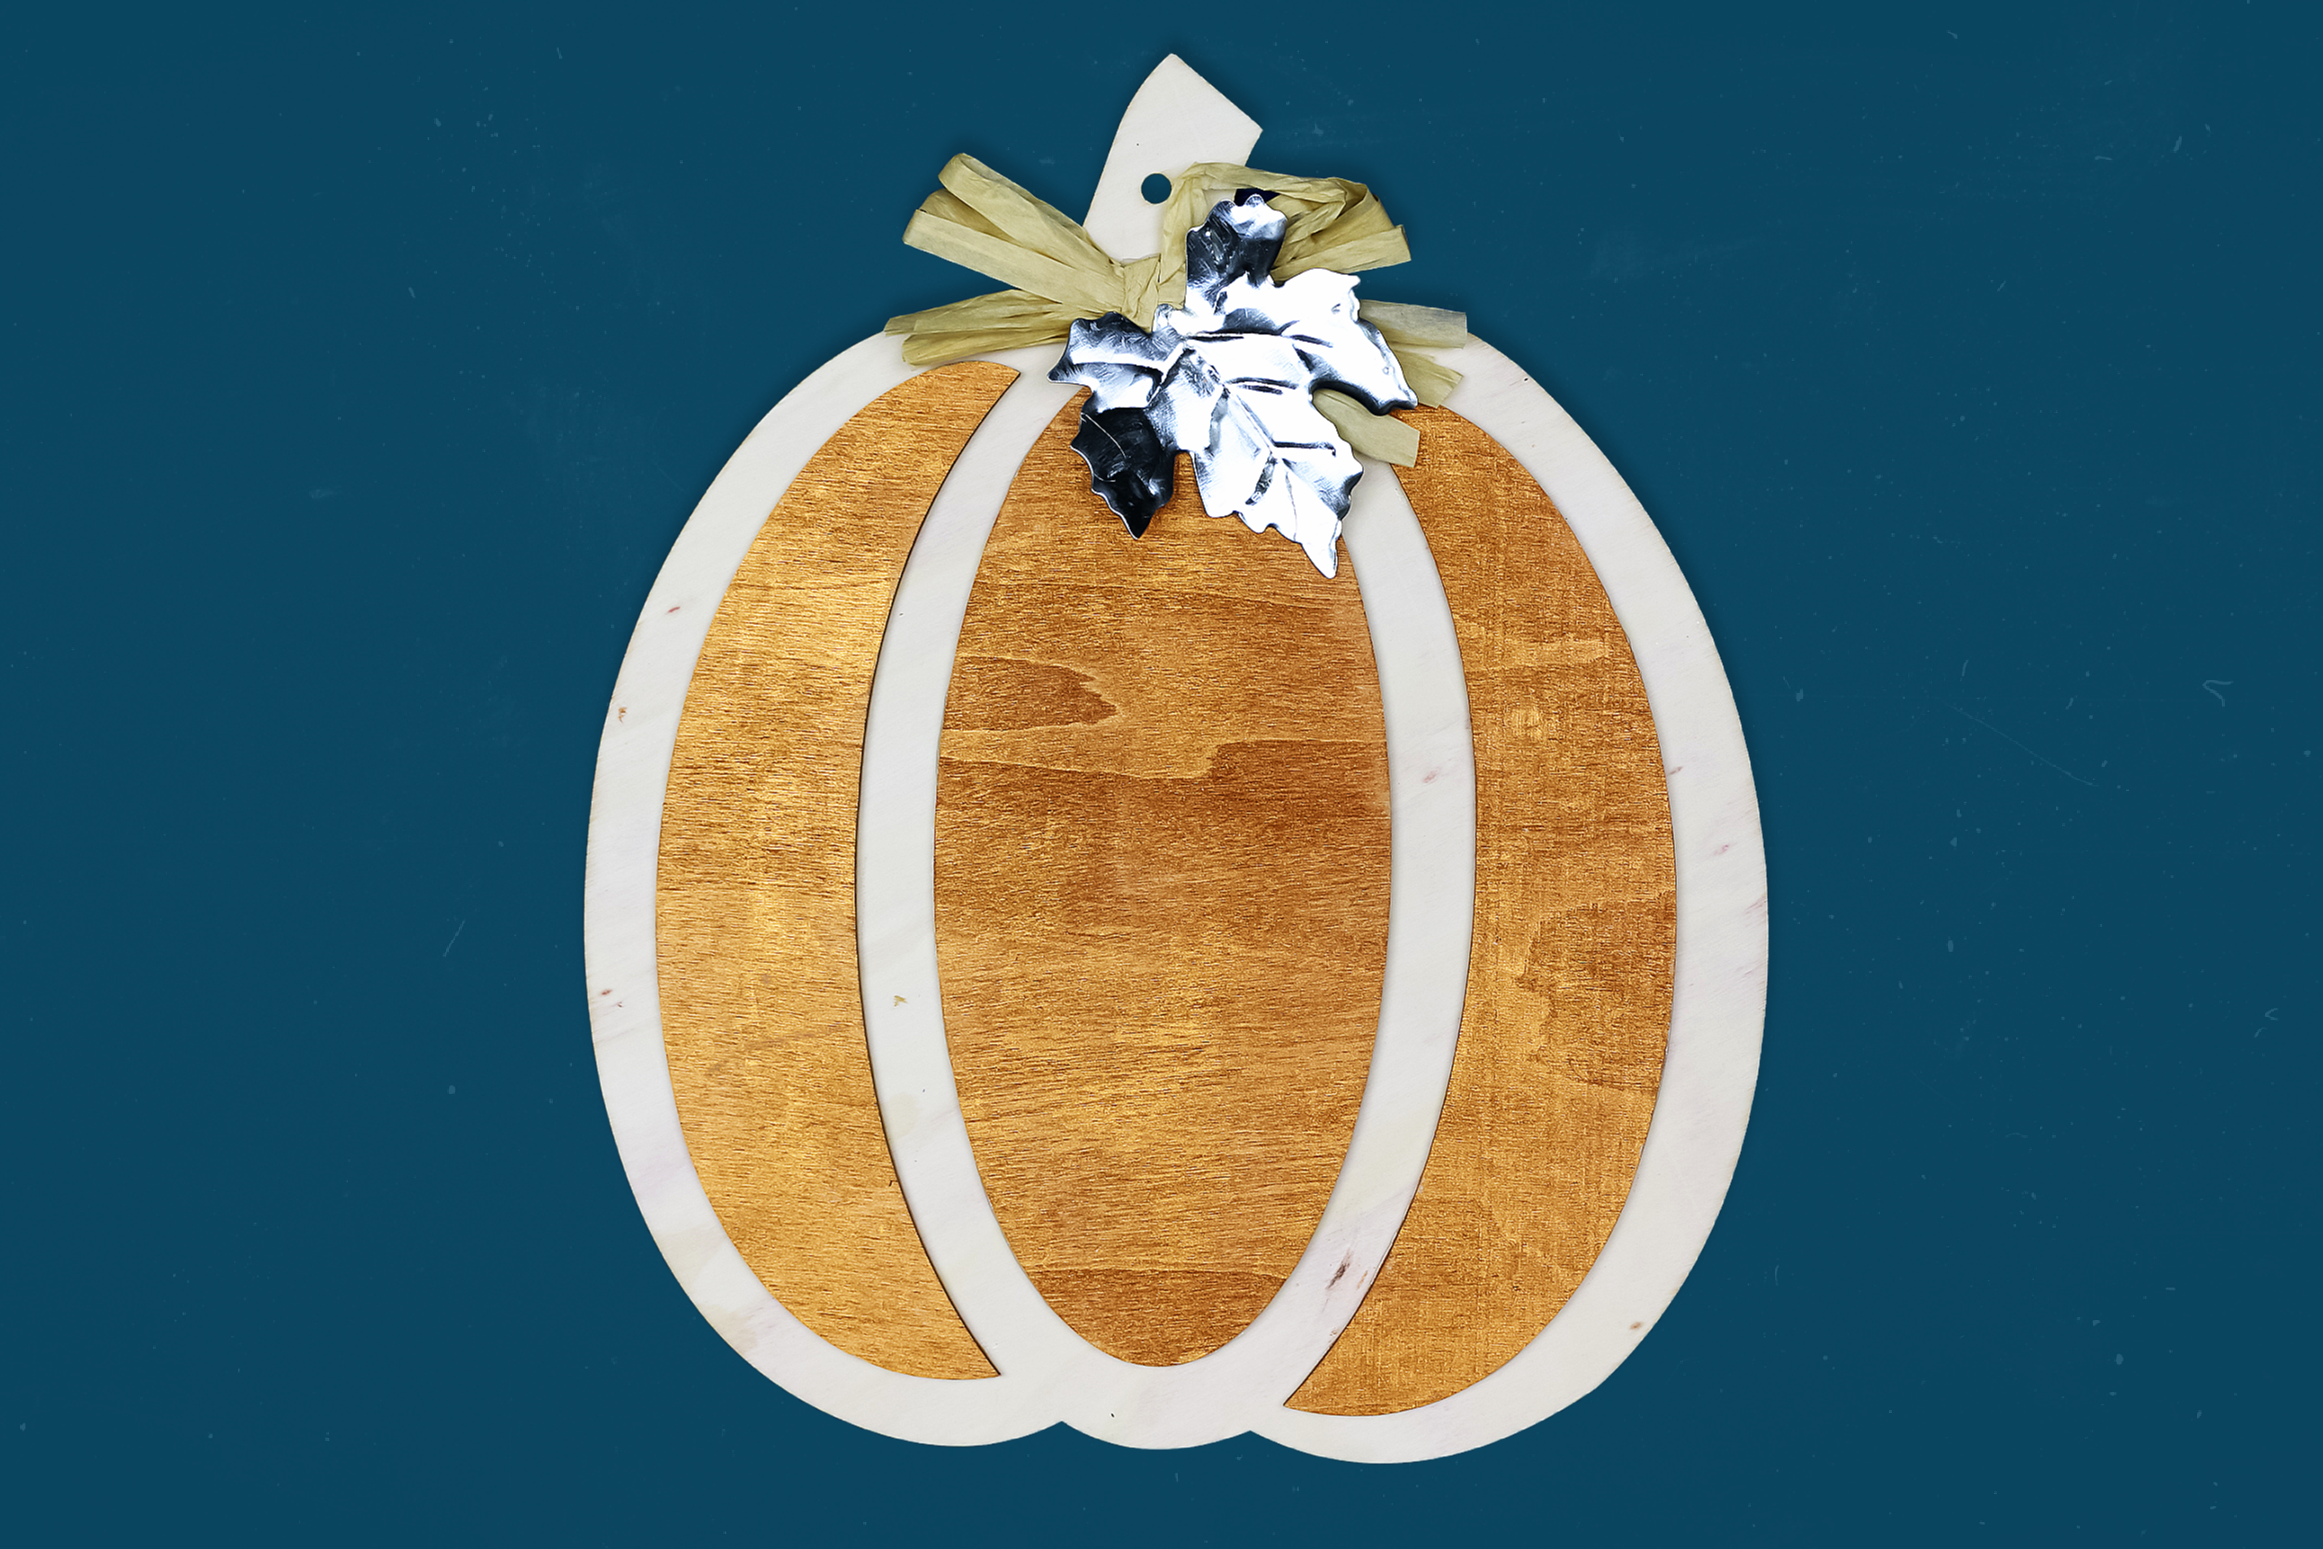
After I had added some copper craft paint to part of this wood pumpkin sign, I hot glued the bow and the leaf to the stem.
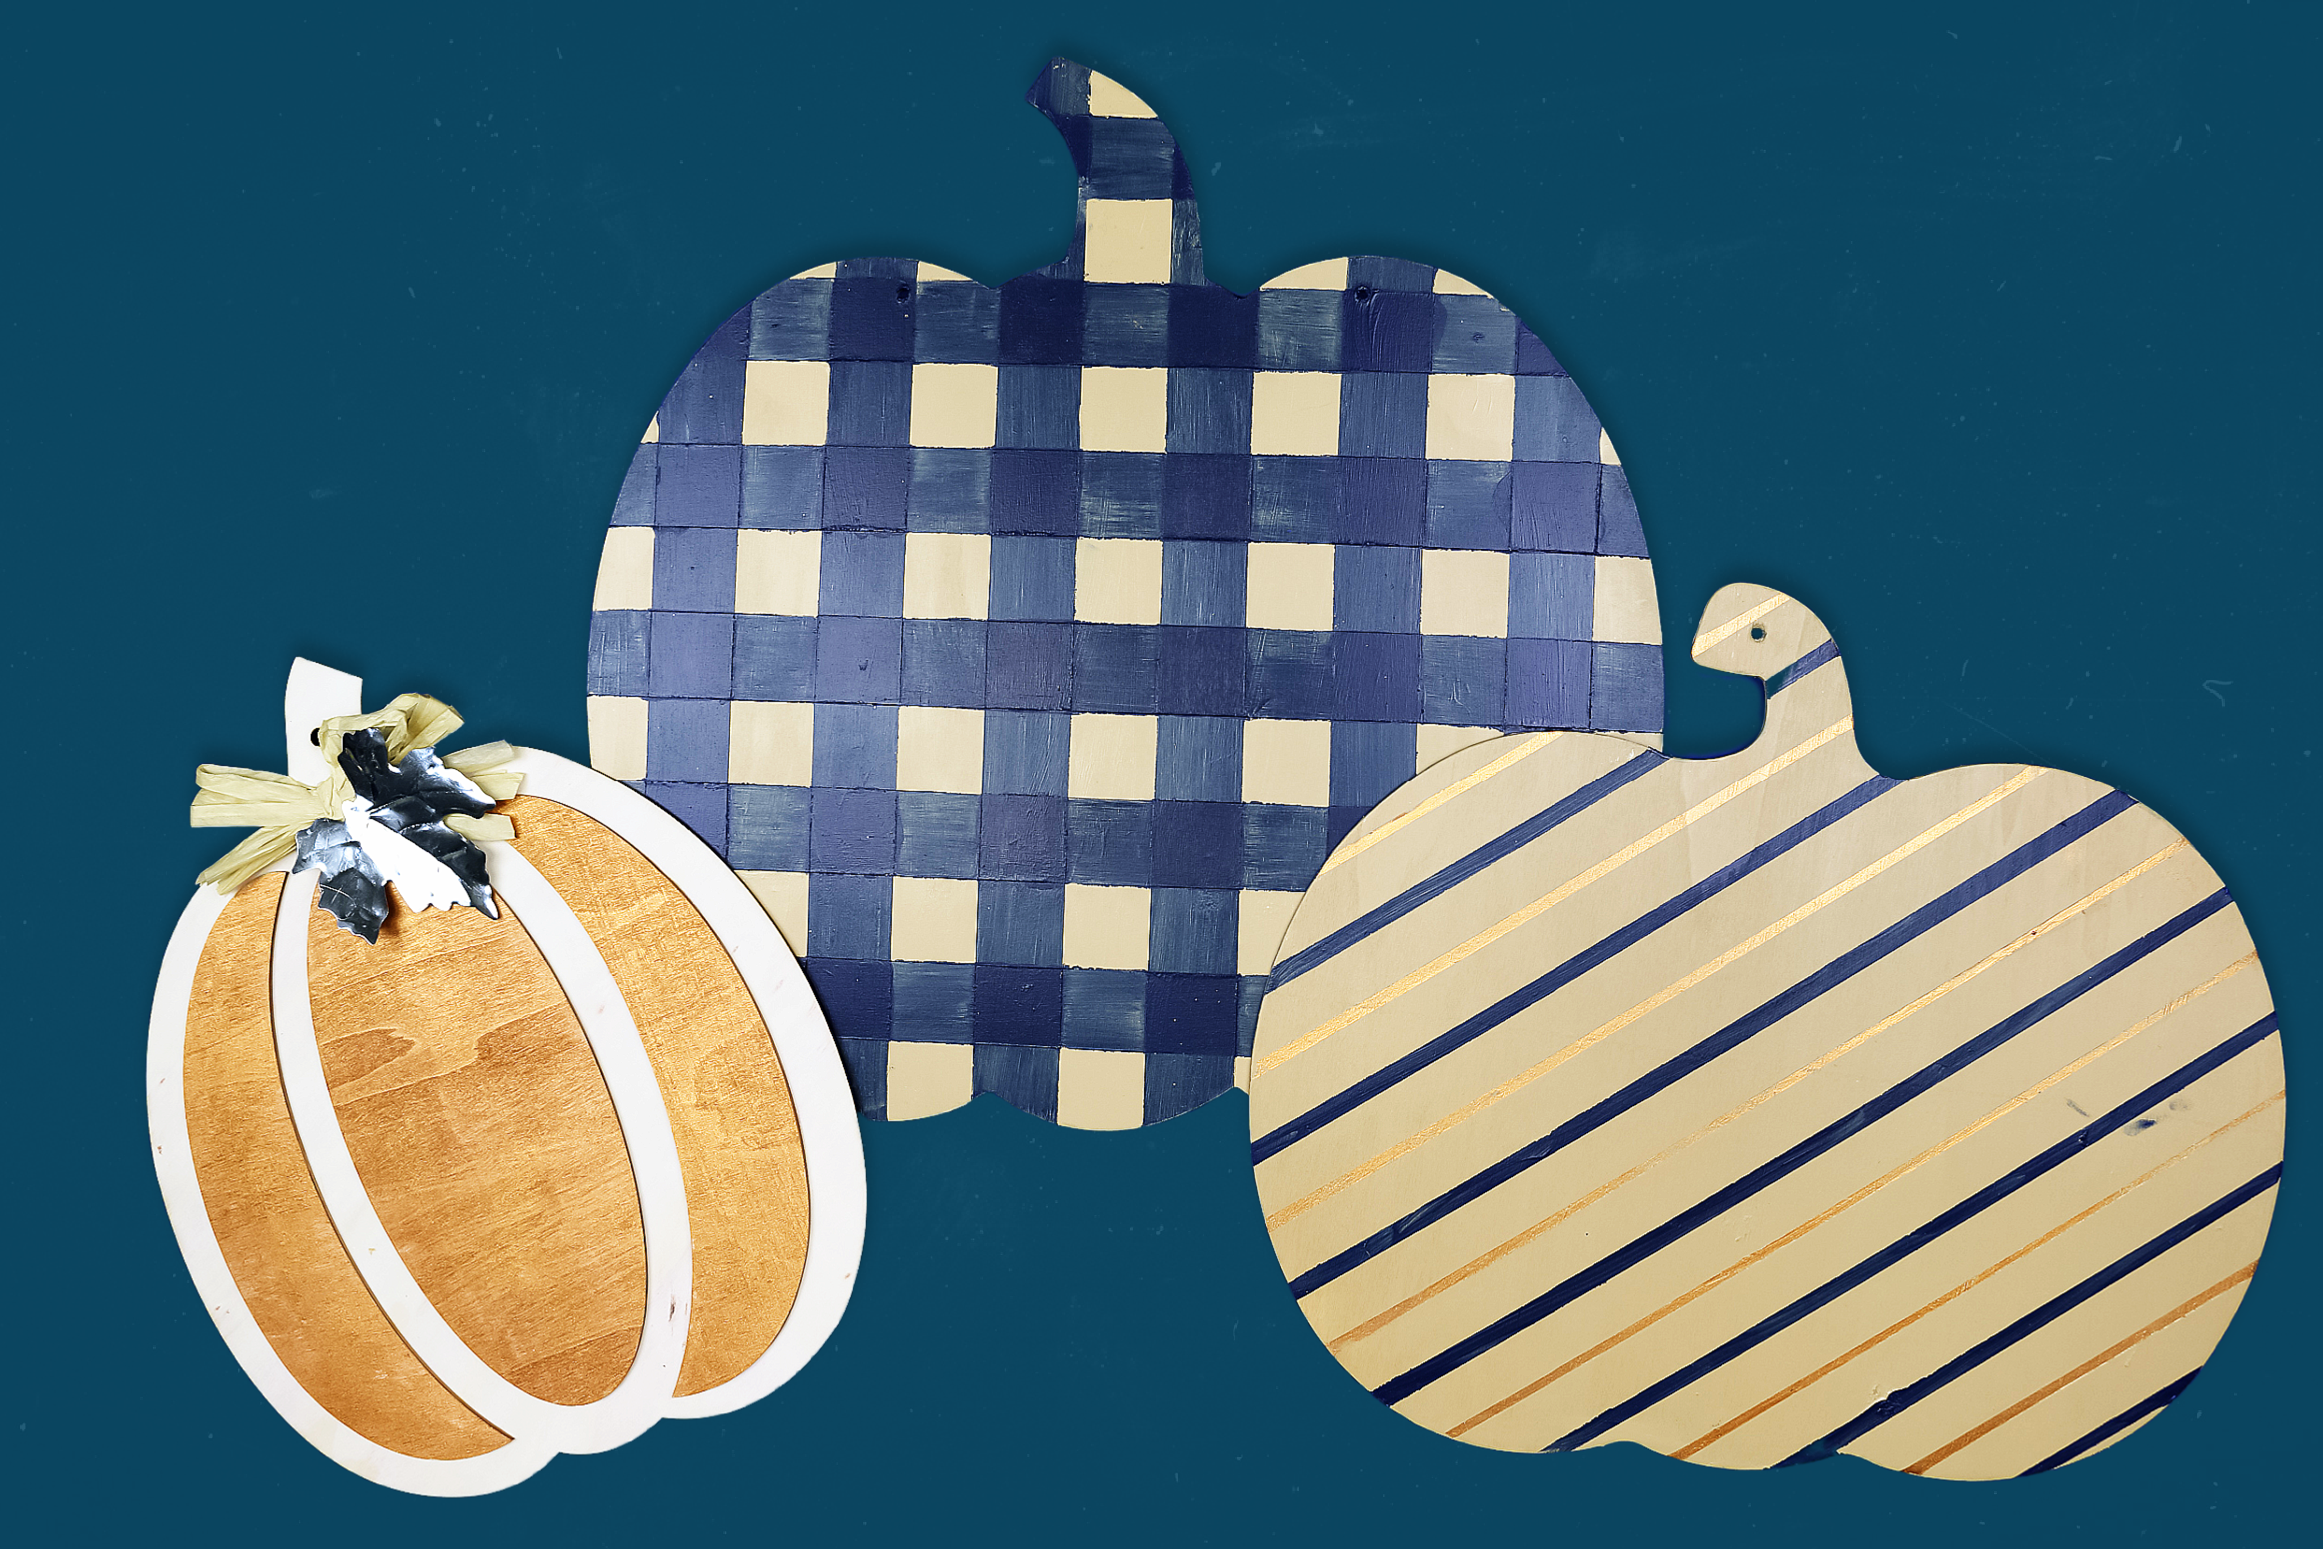
I painted two more dollar store pumpkin signs in coordinating colors. If you would like to know how to create your own painted buffalo check pattern, I wrote the process out below!
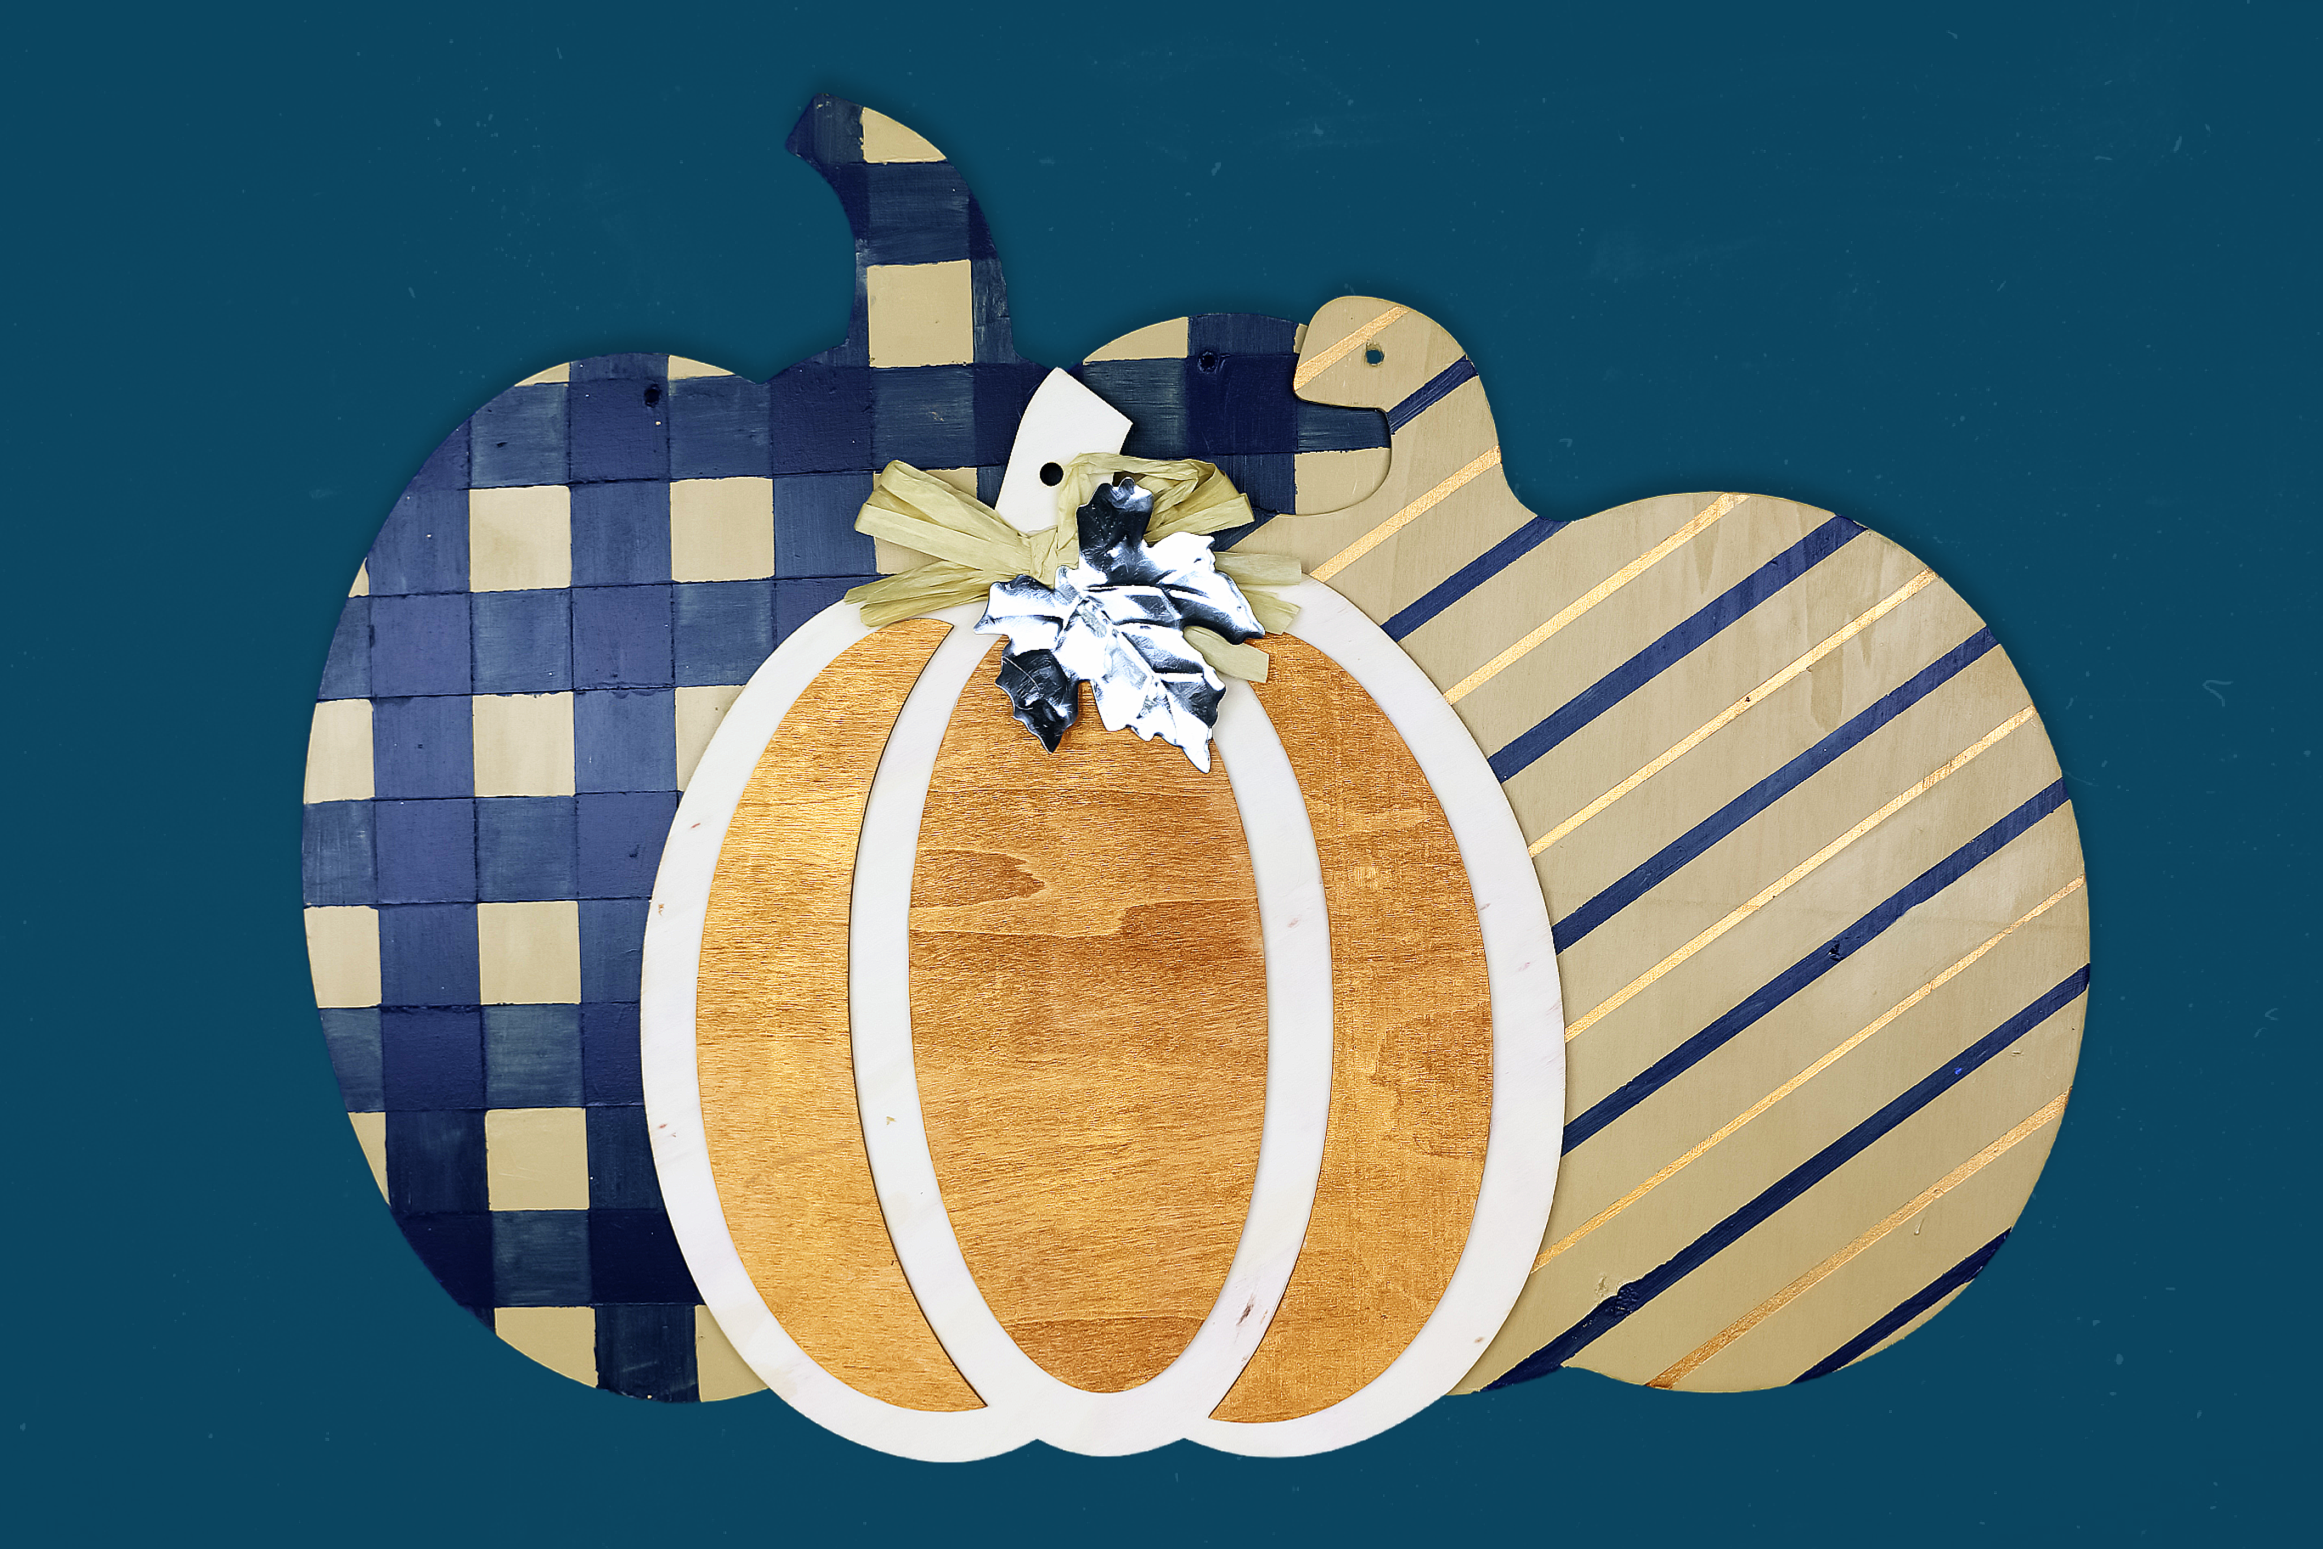
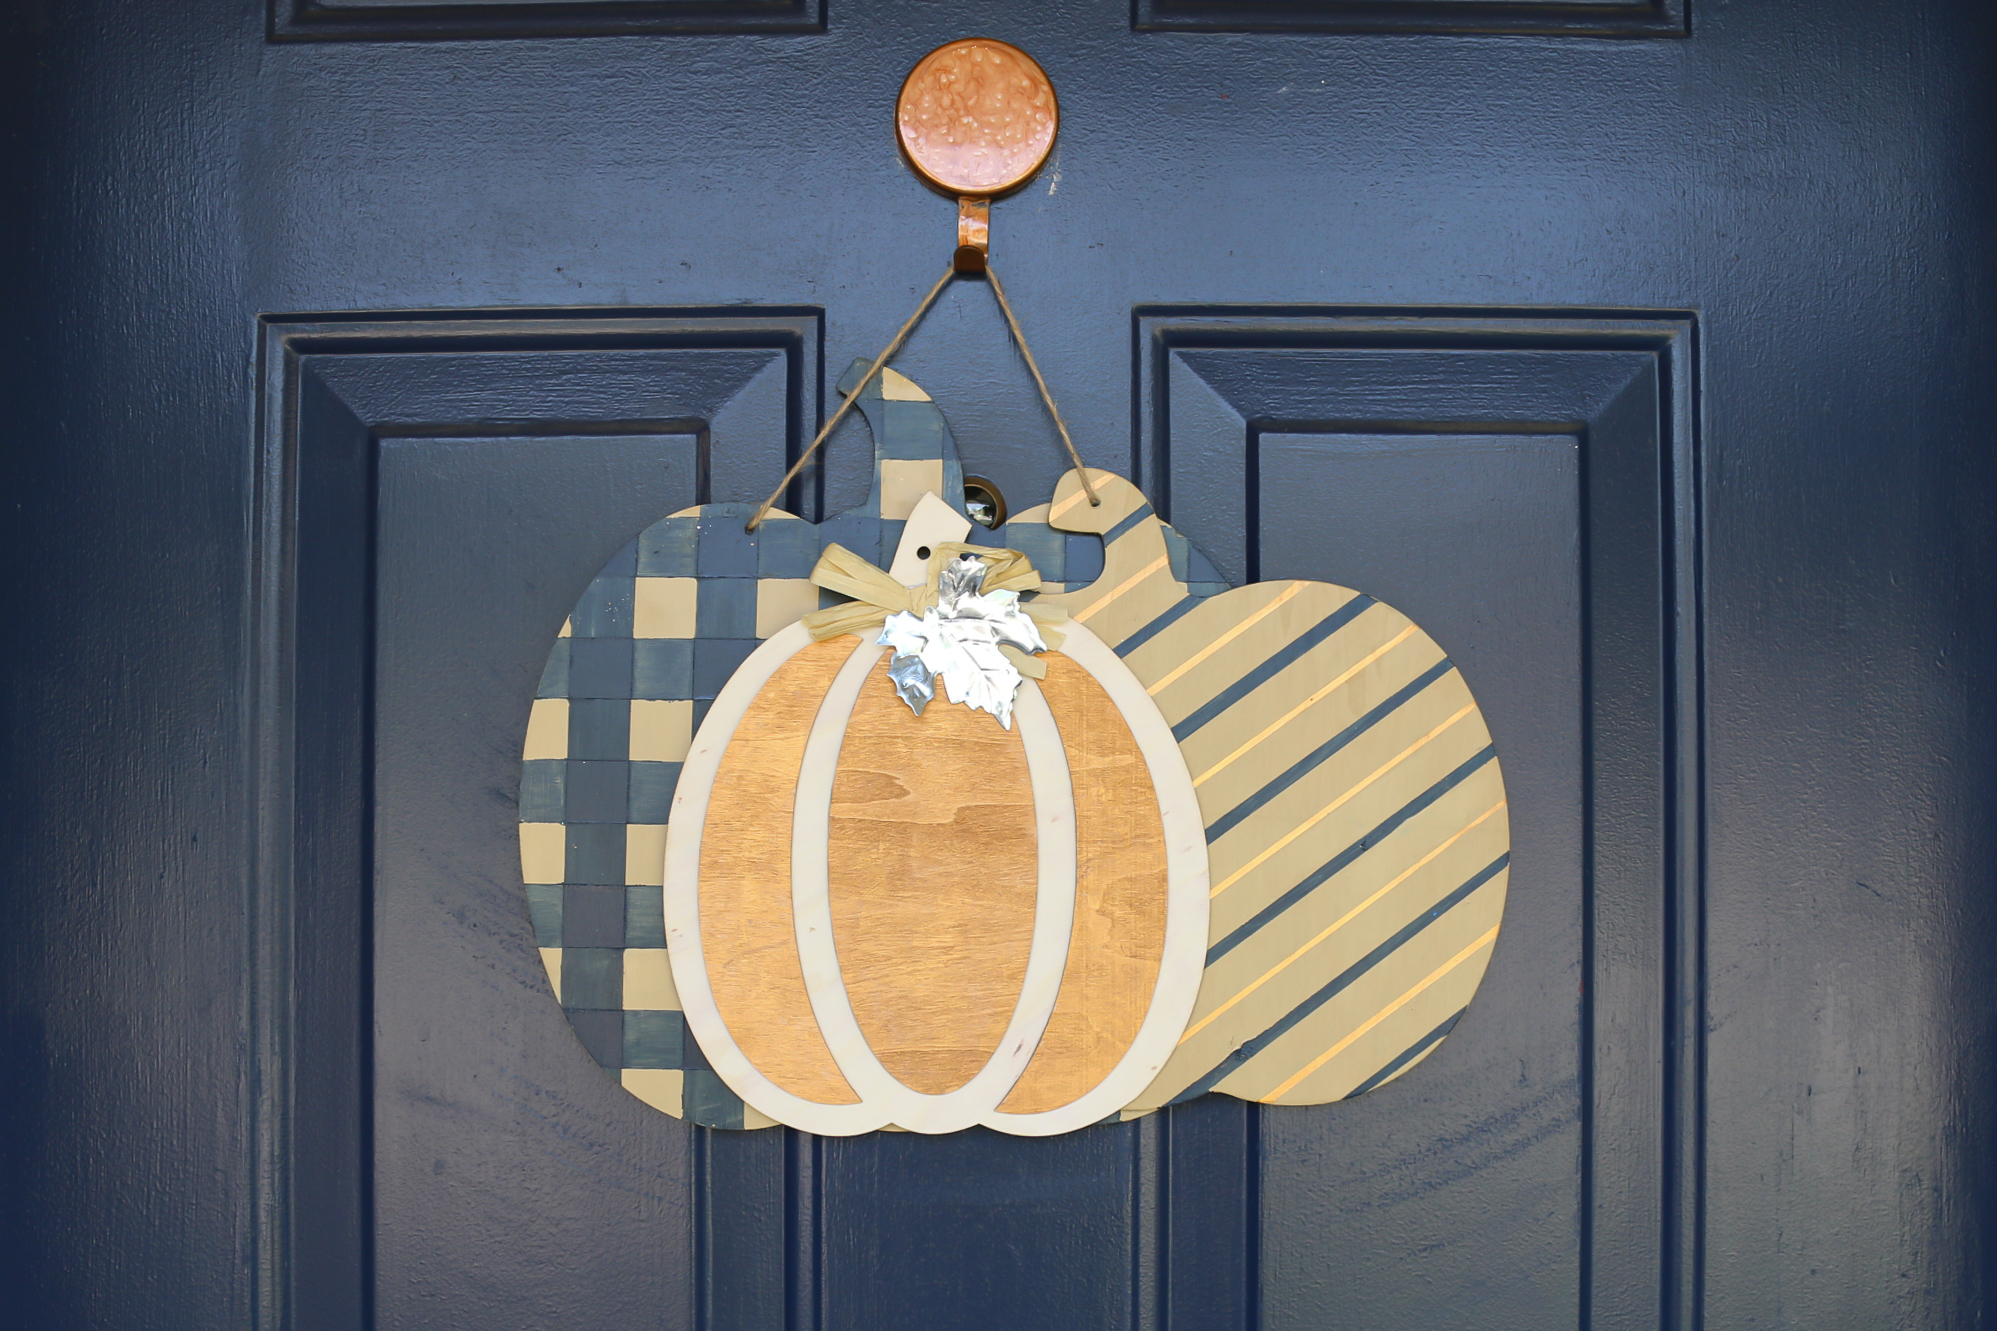
Once the signs were all dry, I layered them in a way that looked nice to my eye. I used high temp hot glue to glue those layers together. Then I added a piece of twine so that I could hang the sign on our front door.
HOW TO PAINT BUFFALO CHECK
Painting buffalo check isn’t hard, but it does take quite a few steps and the patience to let the paint dry between coats. Grab some craft paint and painter’s tape and paint your own buffalo check pattern.
DOLLAR STORE PAINTED PLAID PUMPKIN SIGN
- First, paint the backside of the dollar store pumpkin sign with your base color and let it dry.
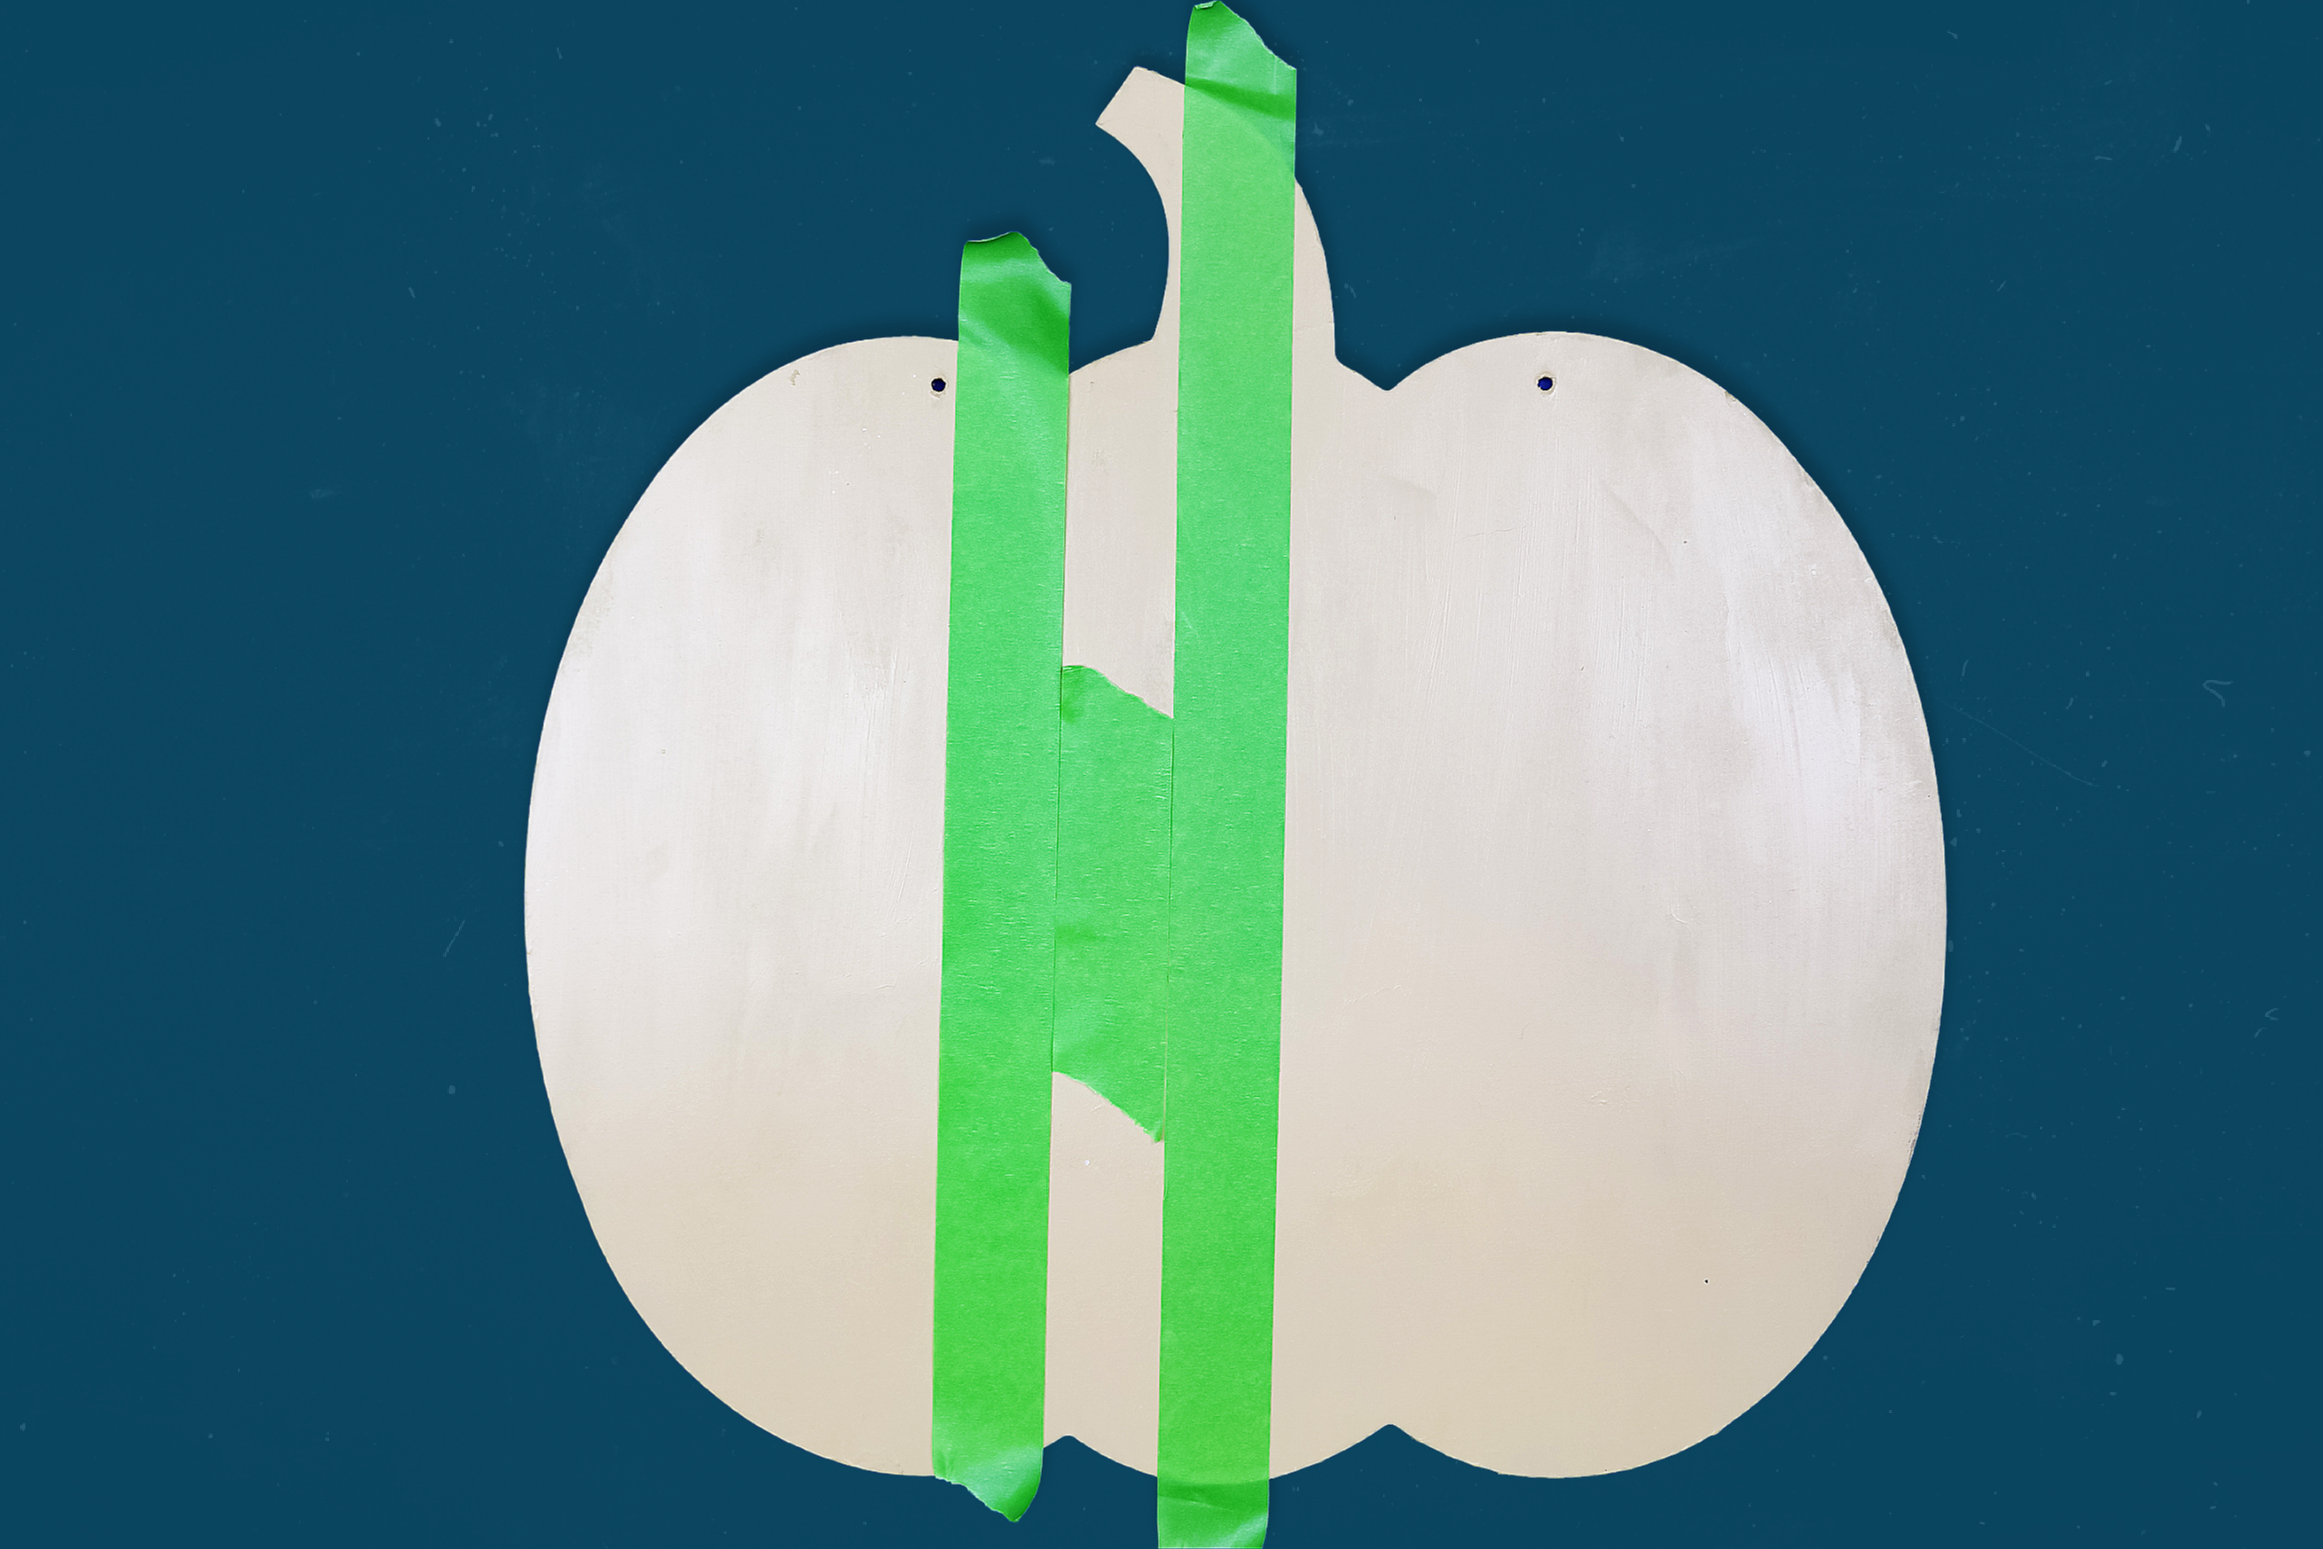
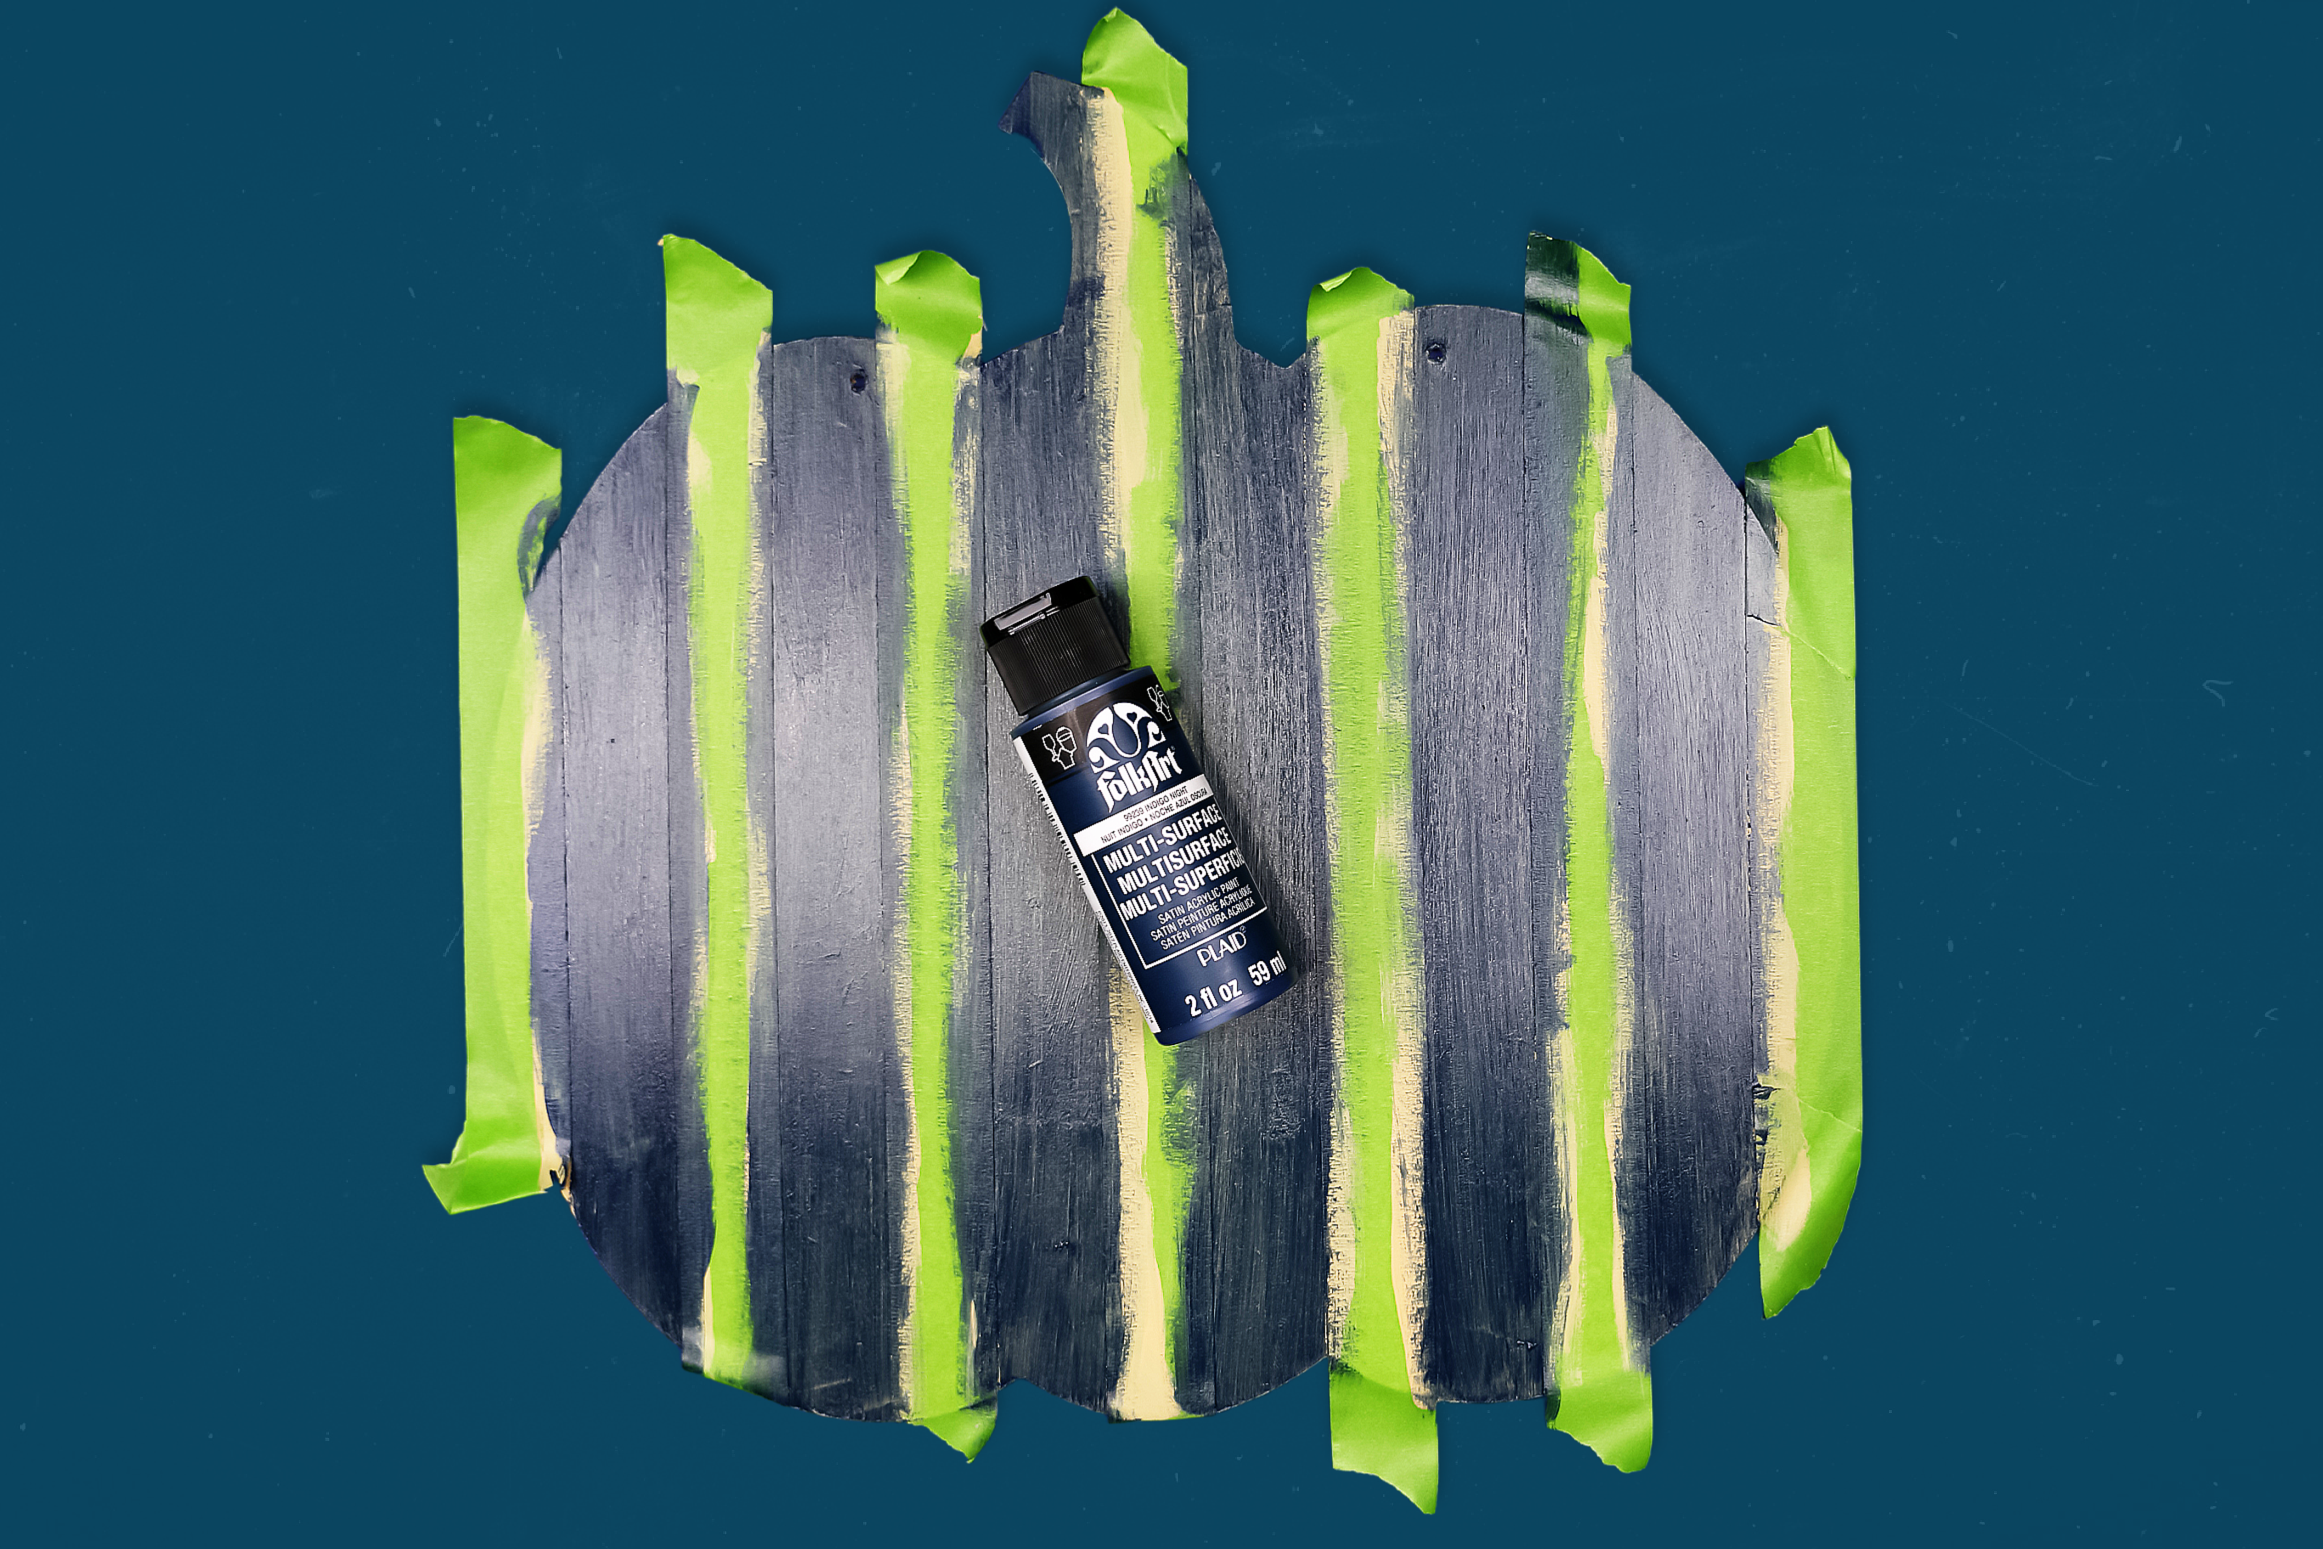
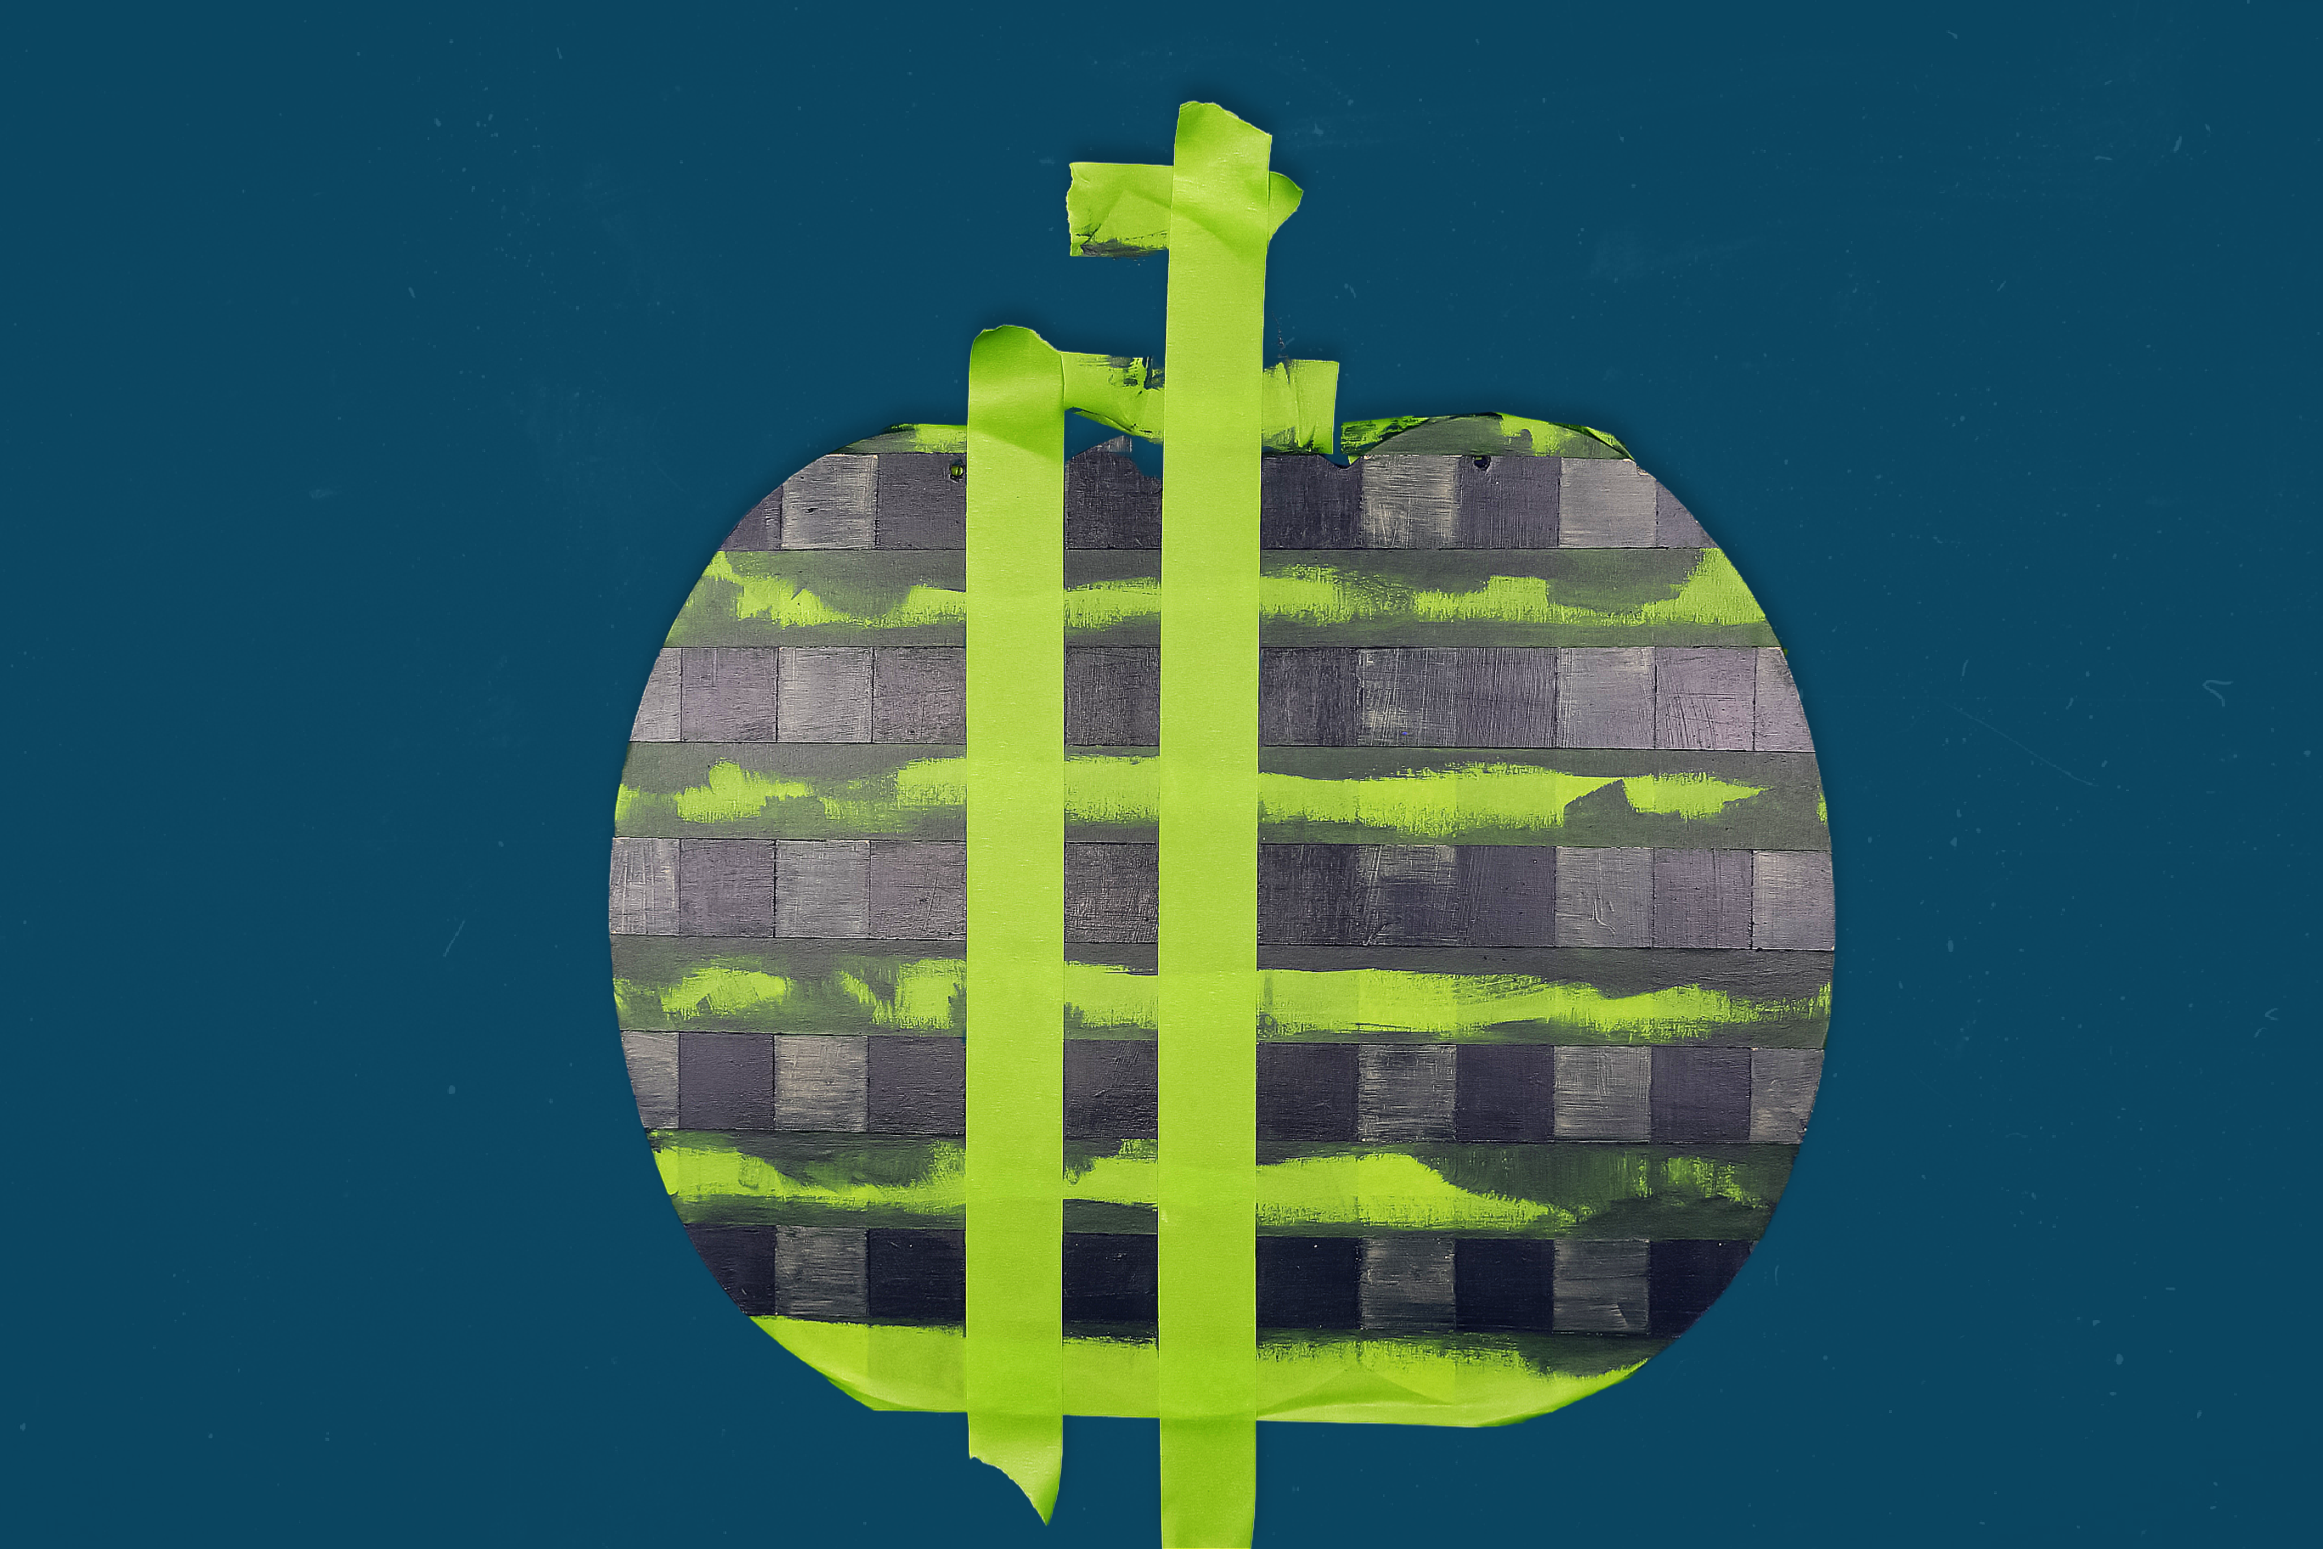
- Place one piece of painter’s tape down the center of the sign. Add a second strip of painter’s tape, using a small scrap piece of painter’s tape as a spacing guide.

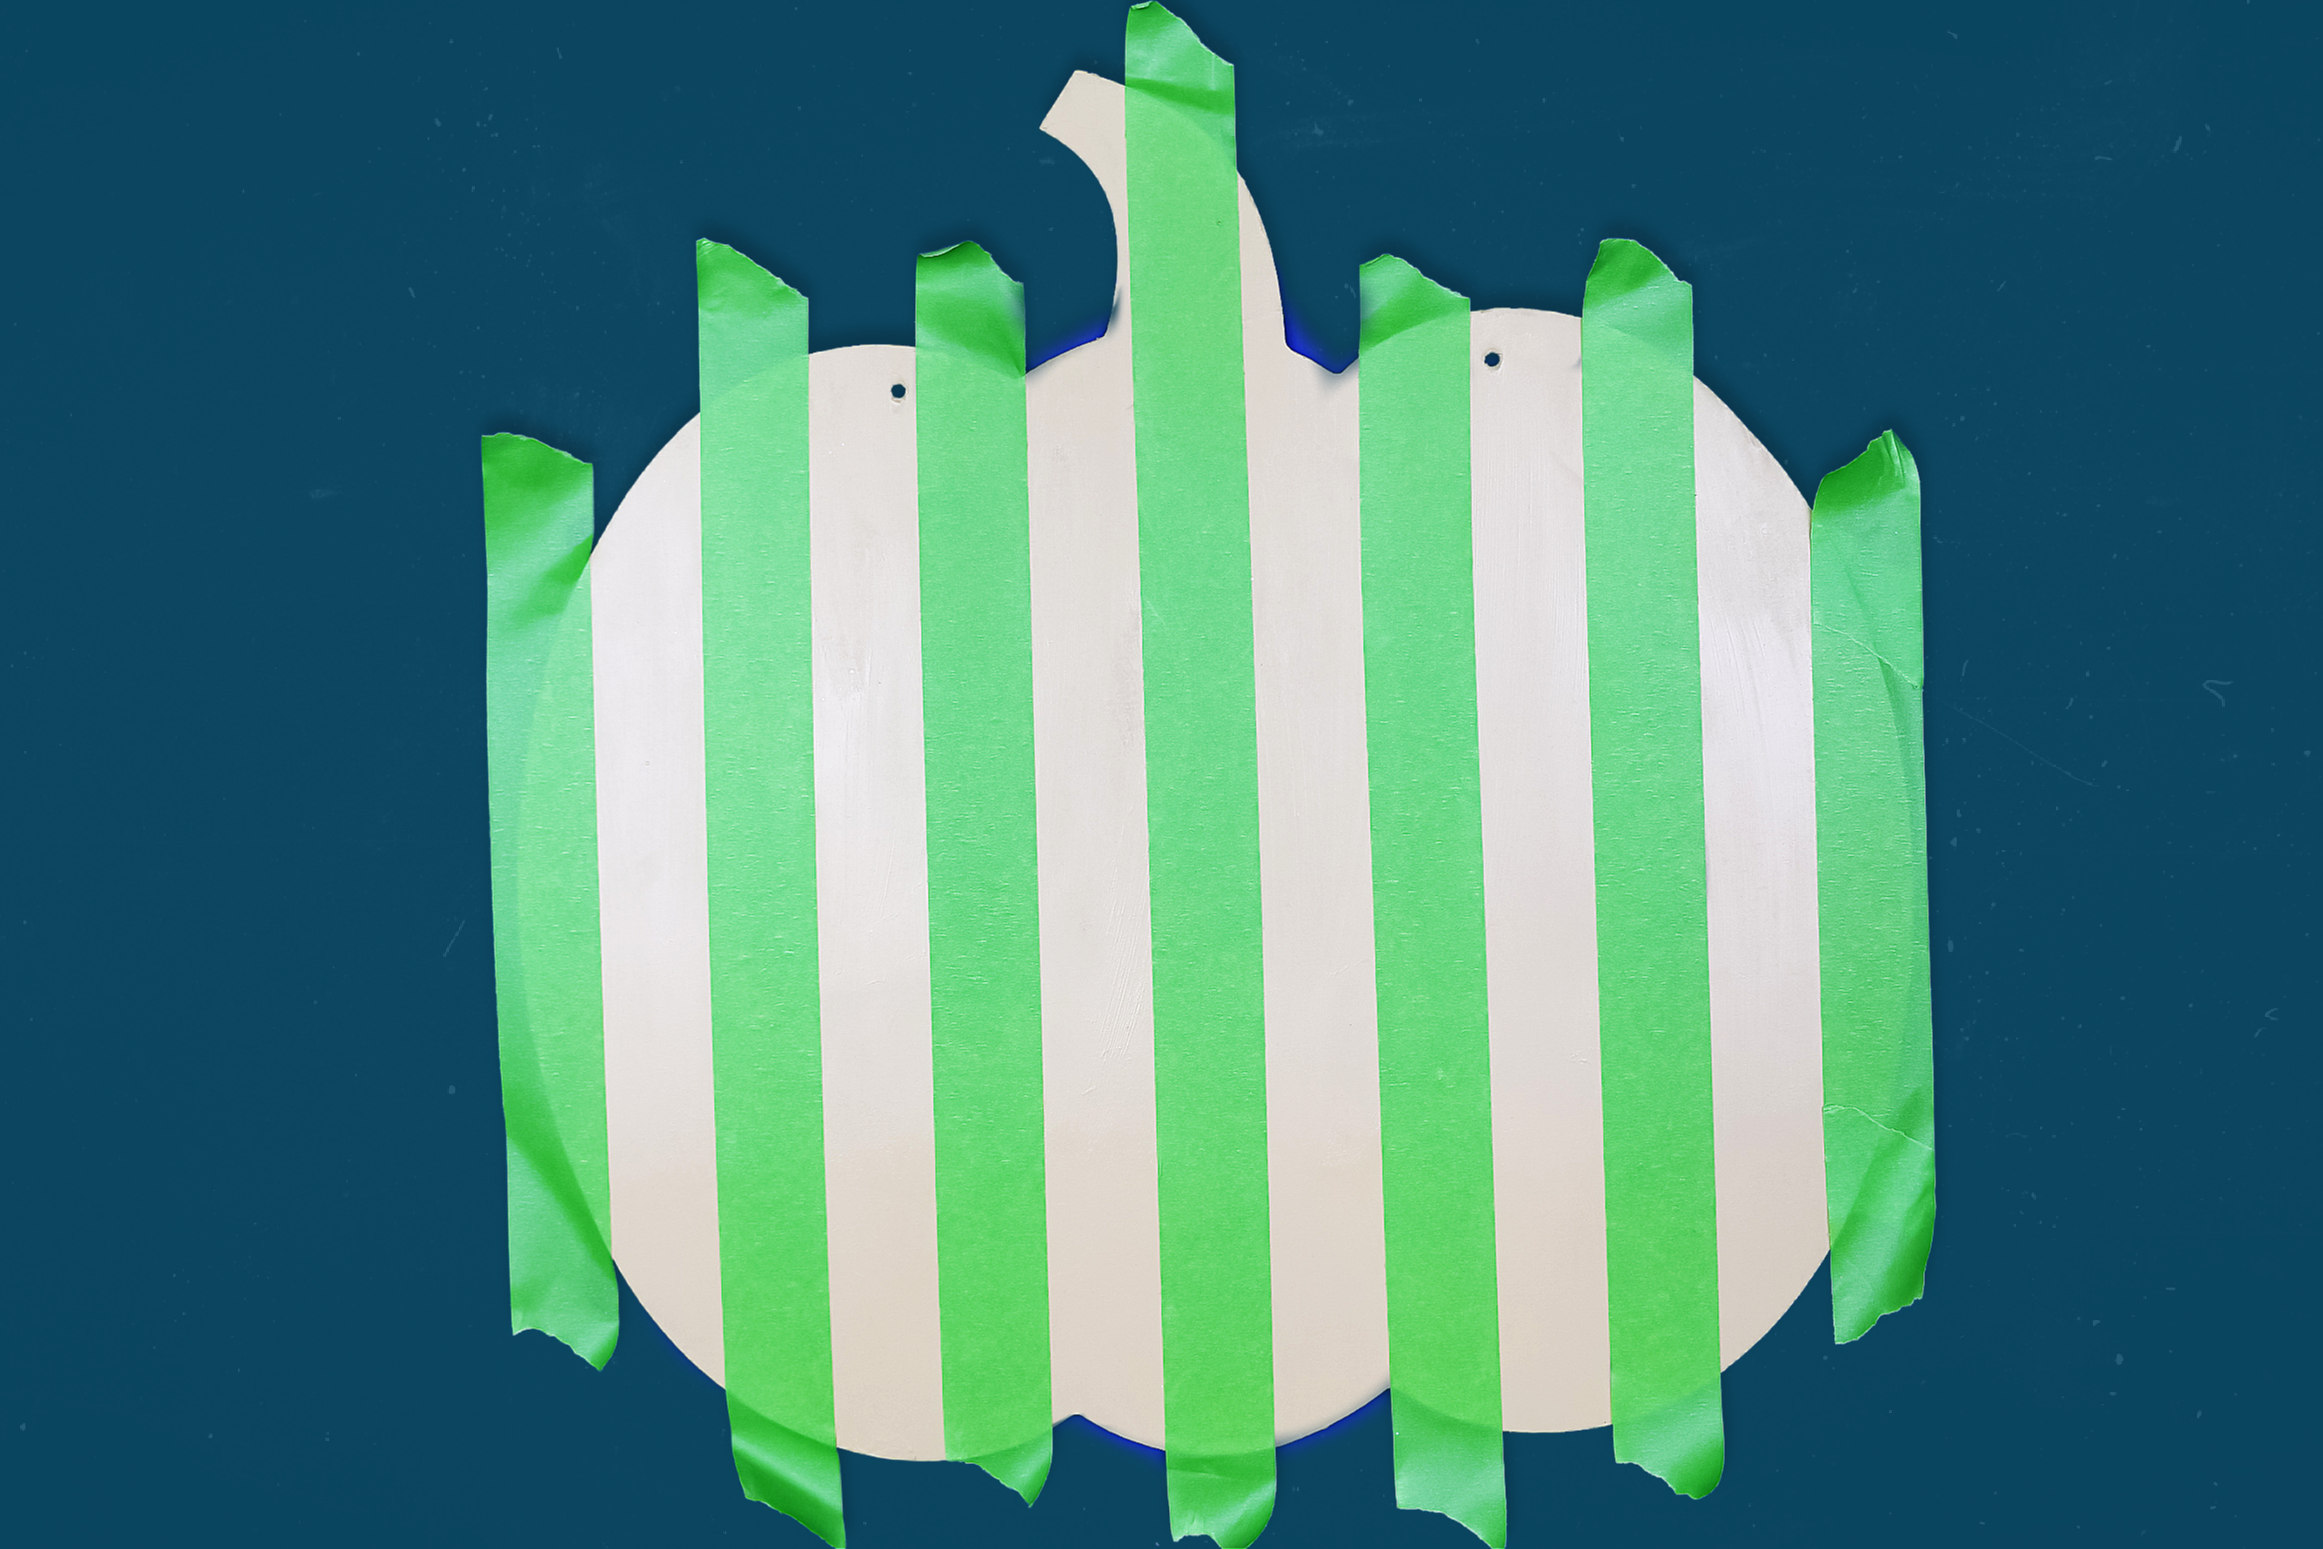
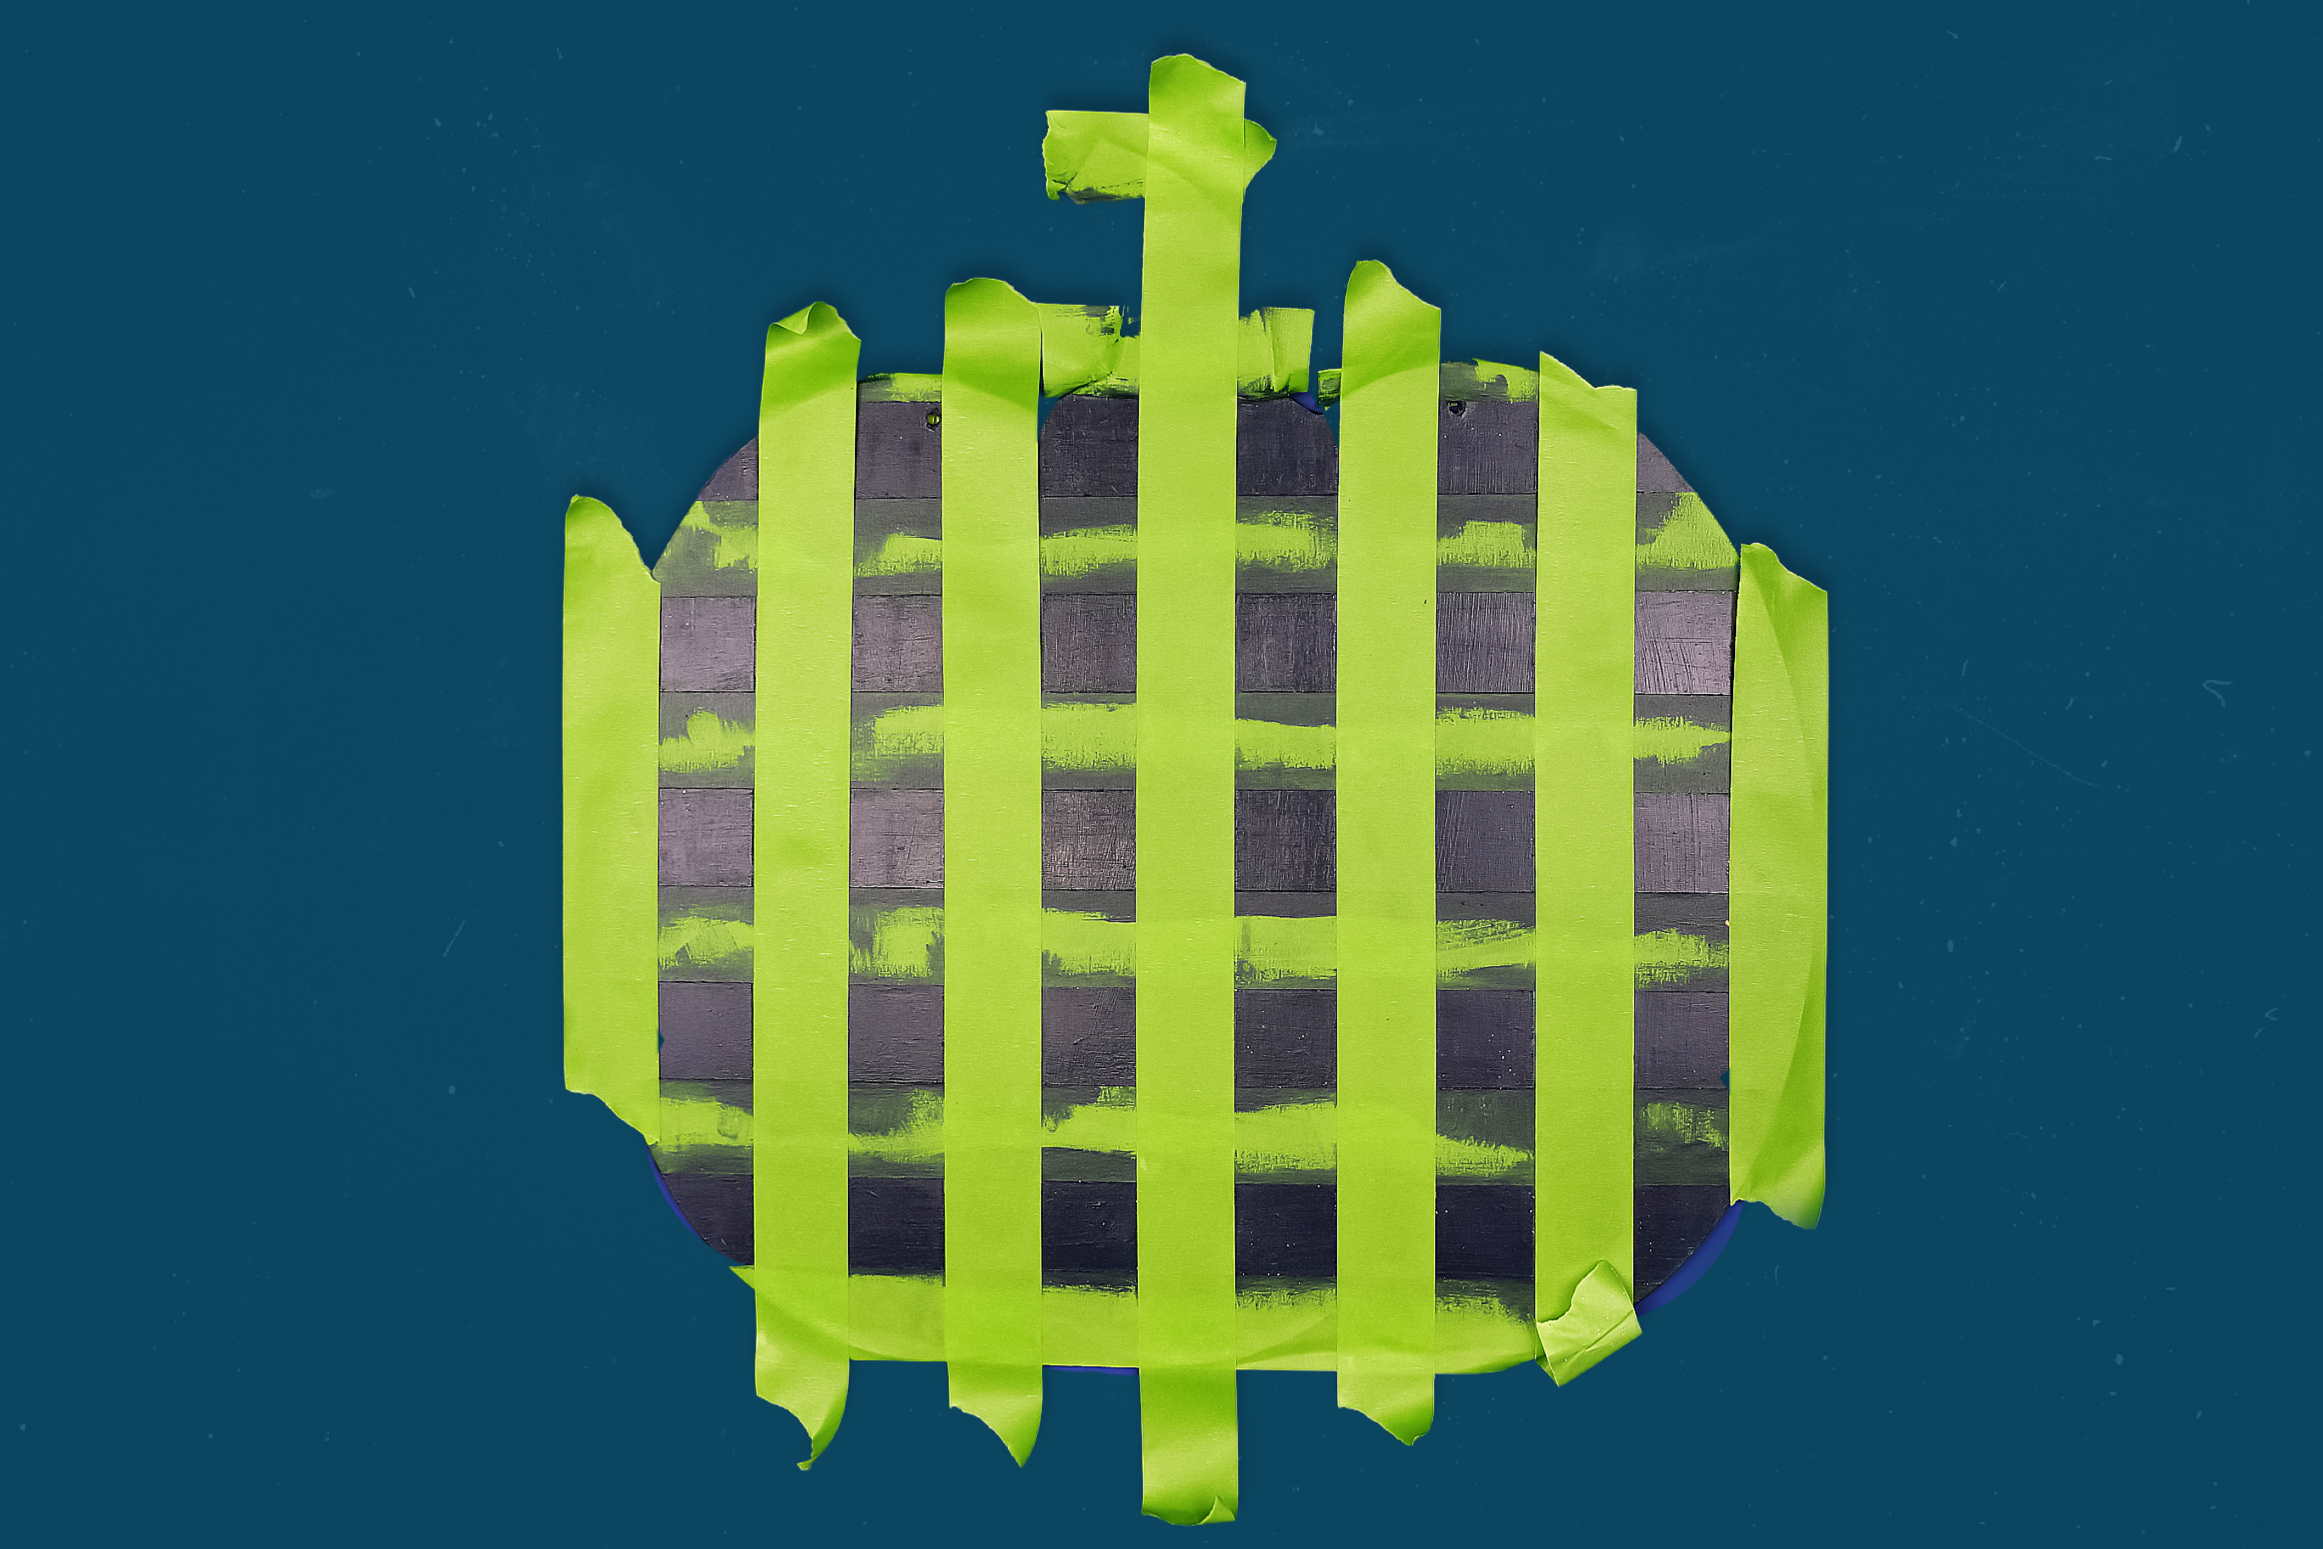
- Create stripes of painter’s tape across the width of the pumpkin.

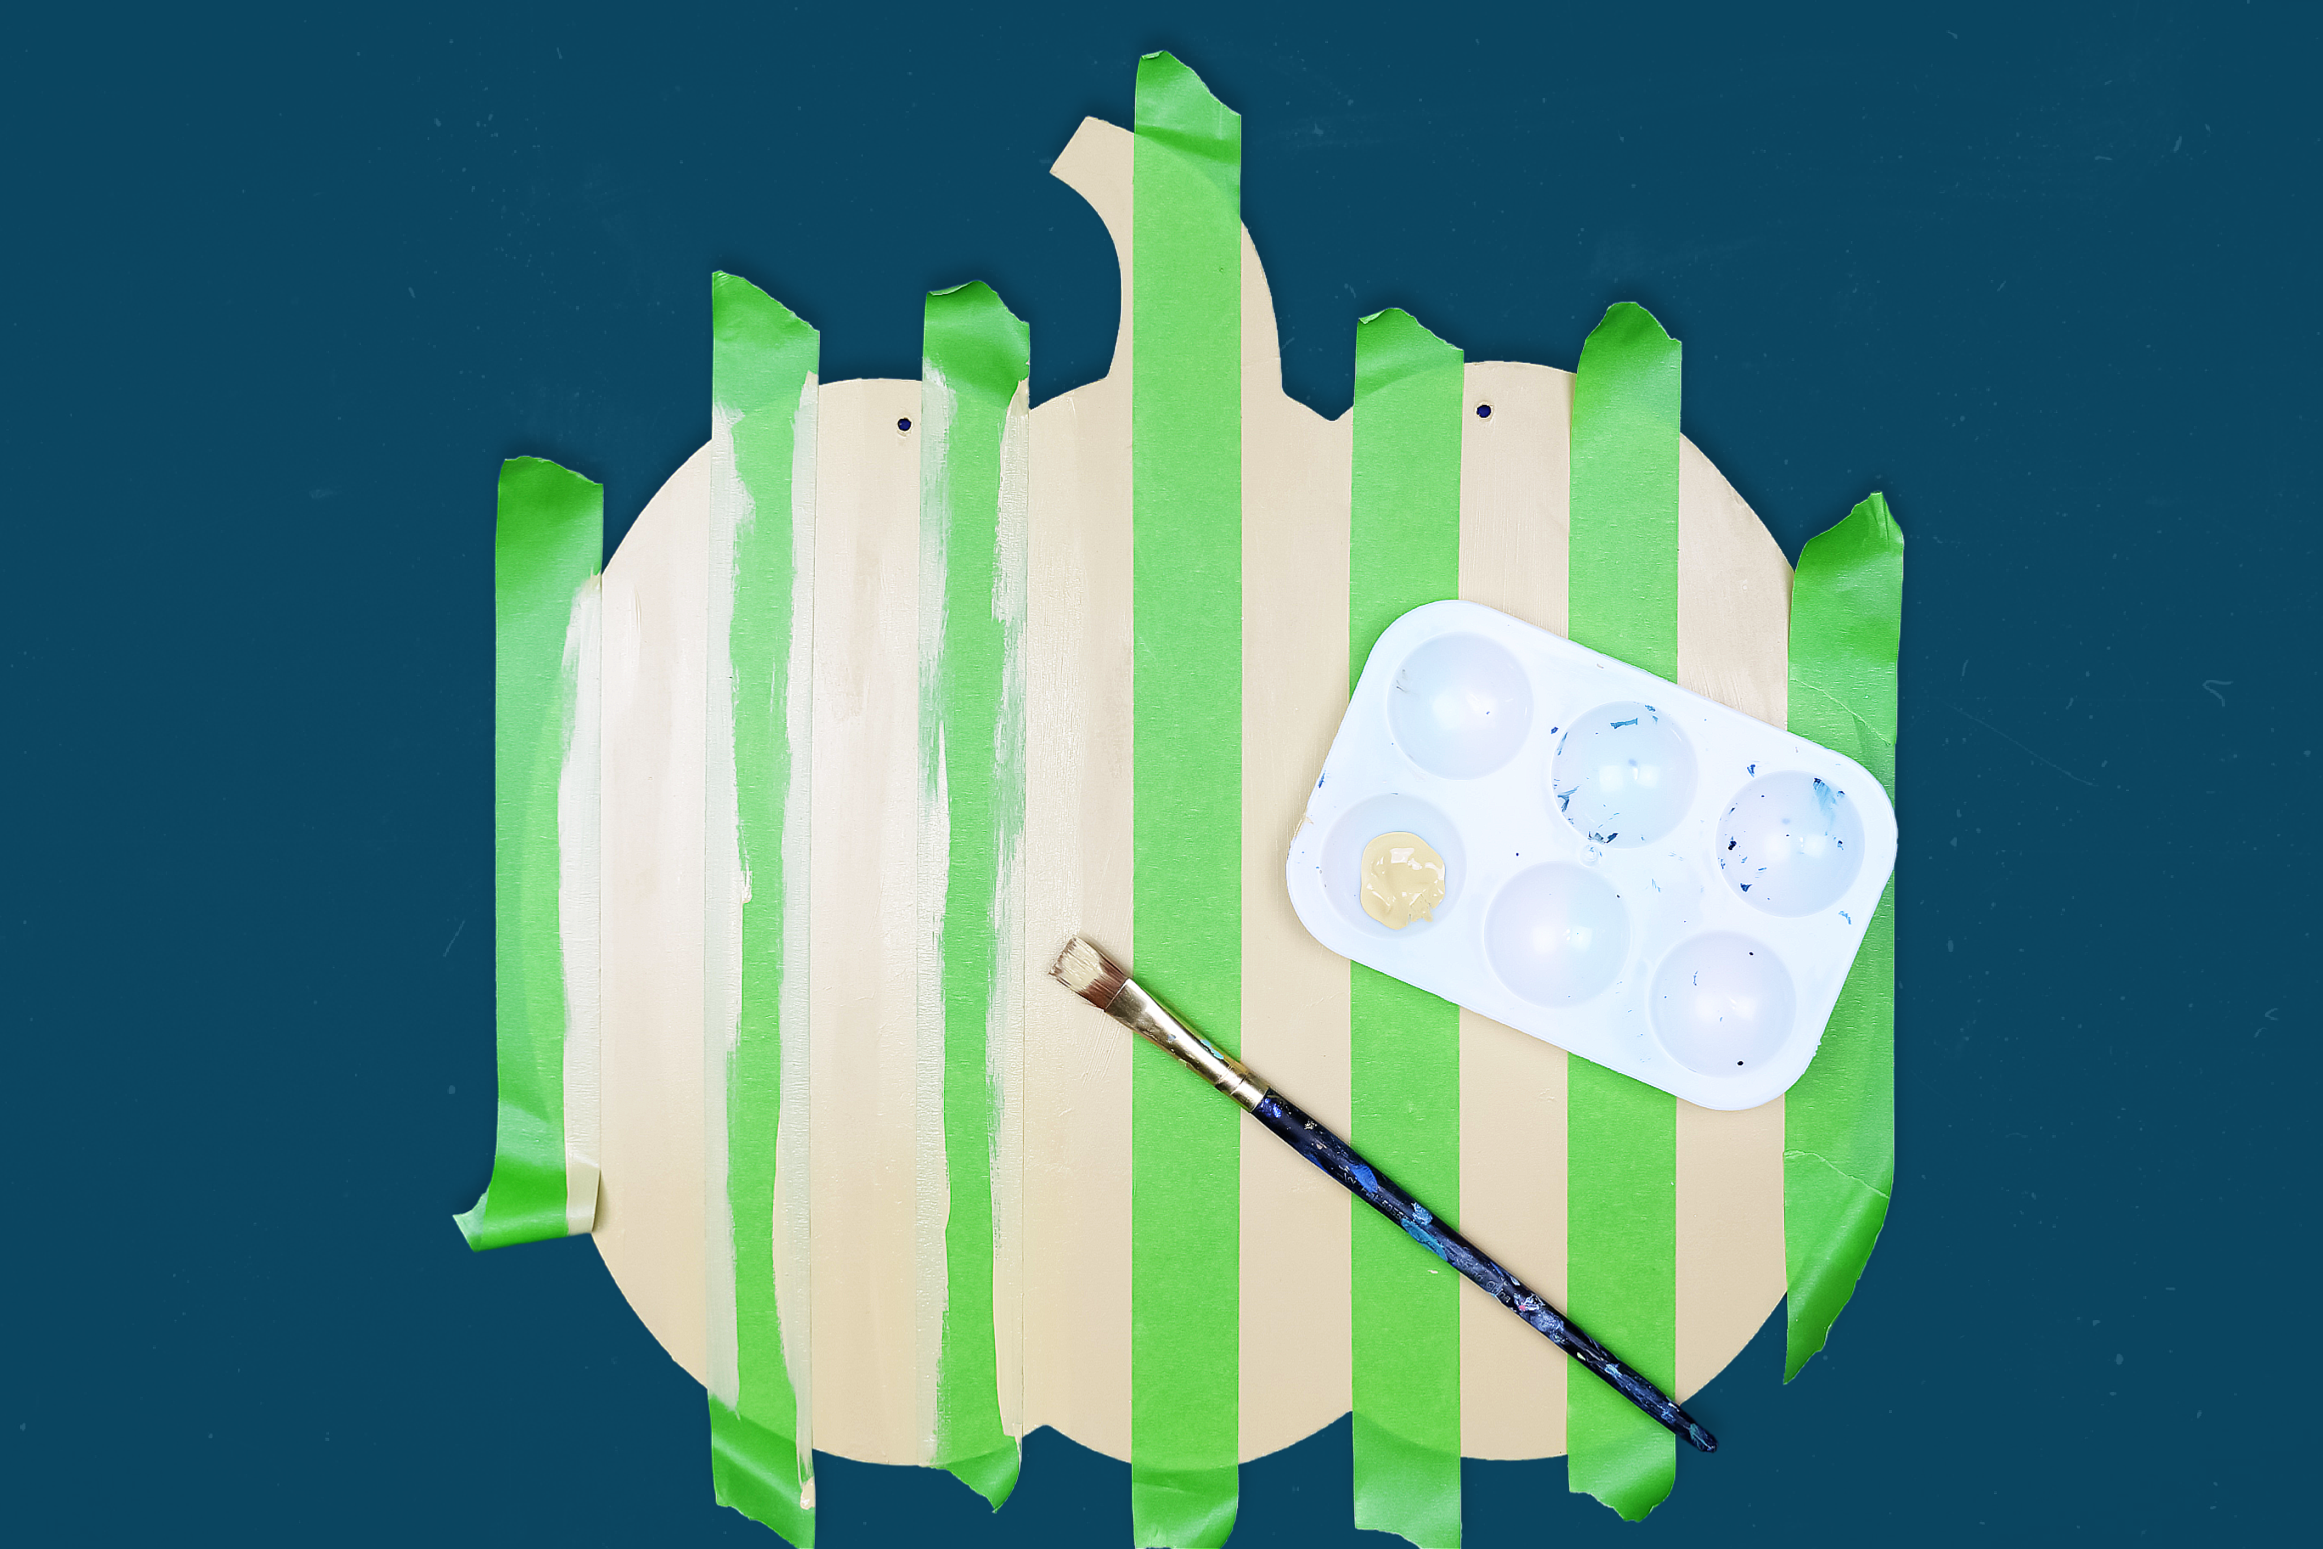
- To make sure your lines are crisp, paint over the edges of the painter’s tape with the base color. Let this paint dry.

- Paint on one thin coat of navy paint. You don’t actually want super full coverage for these stripes, so don’t use too much paint.

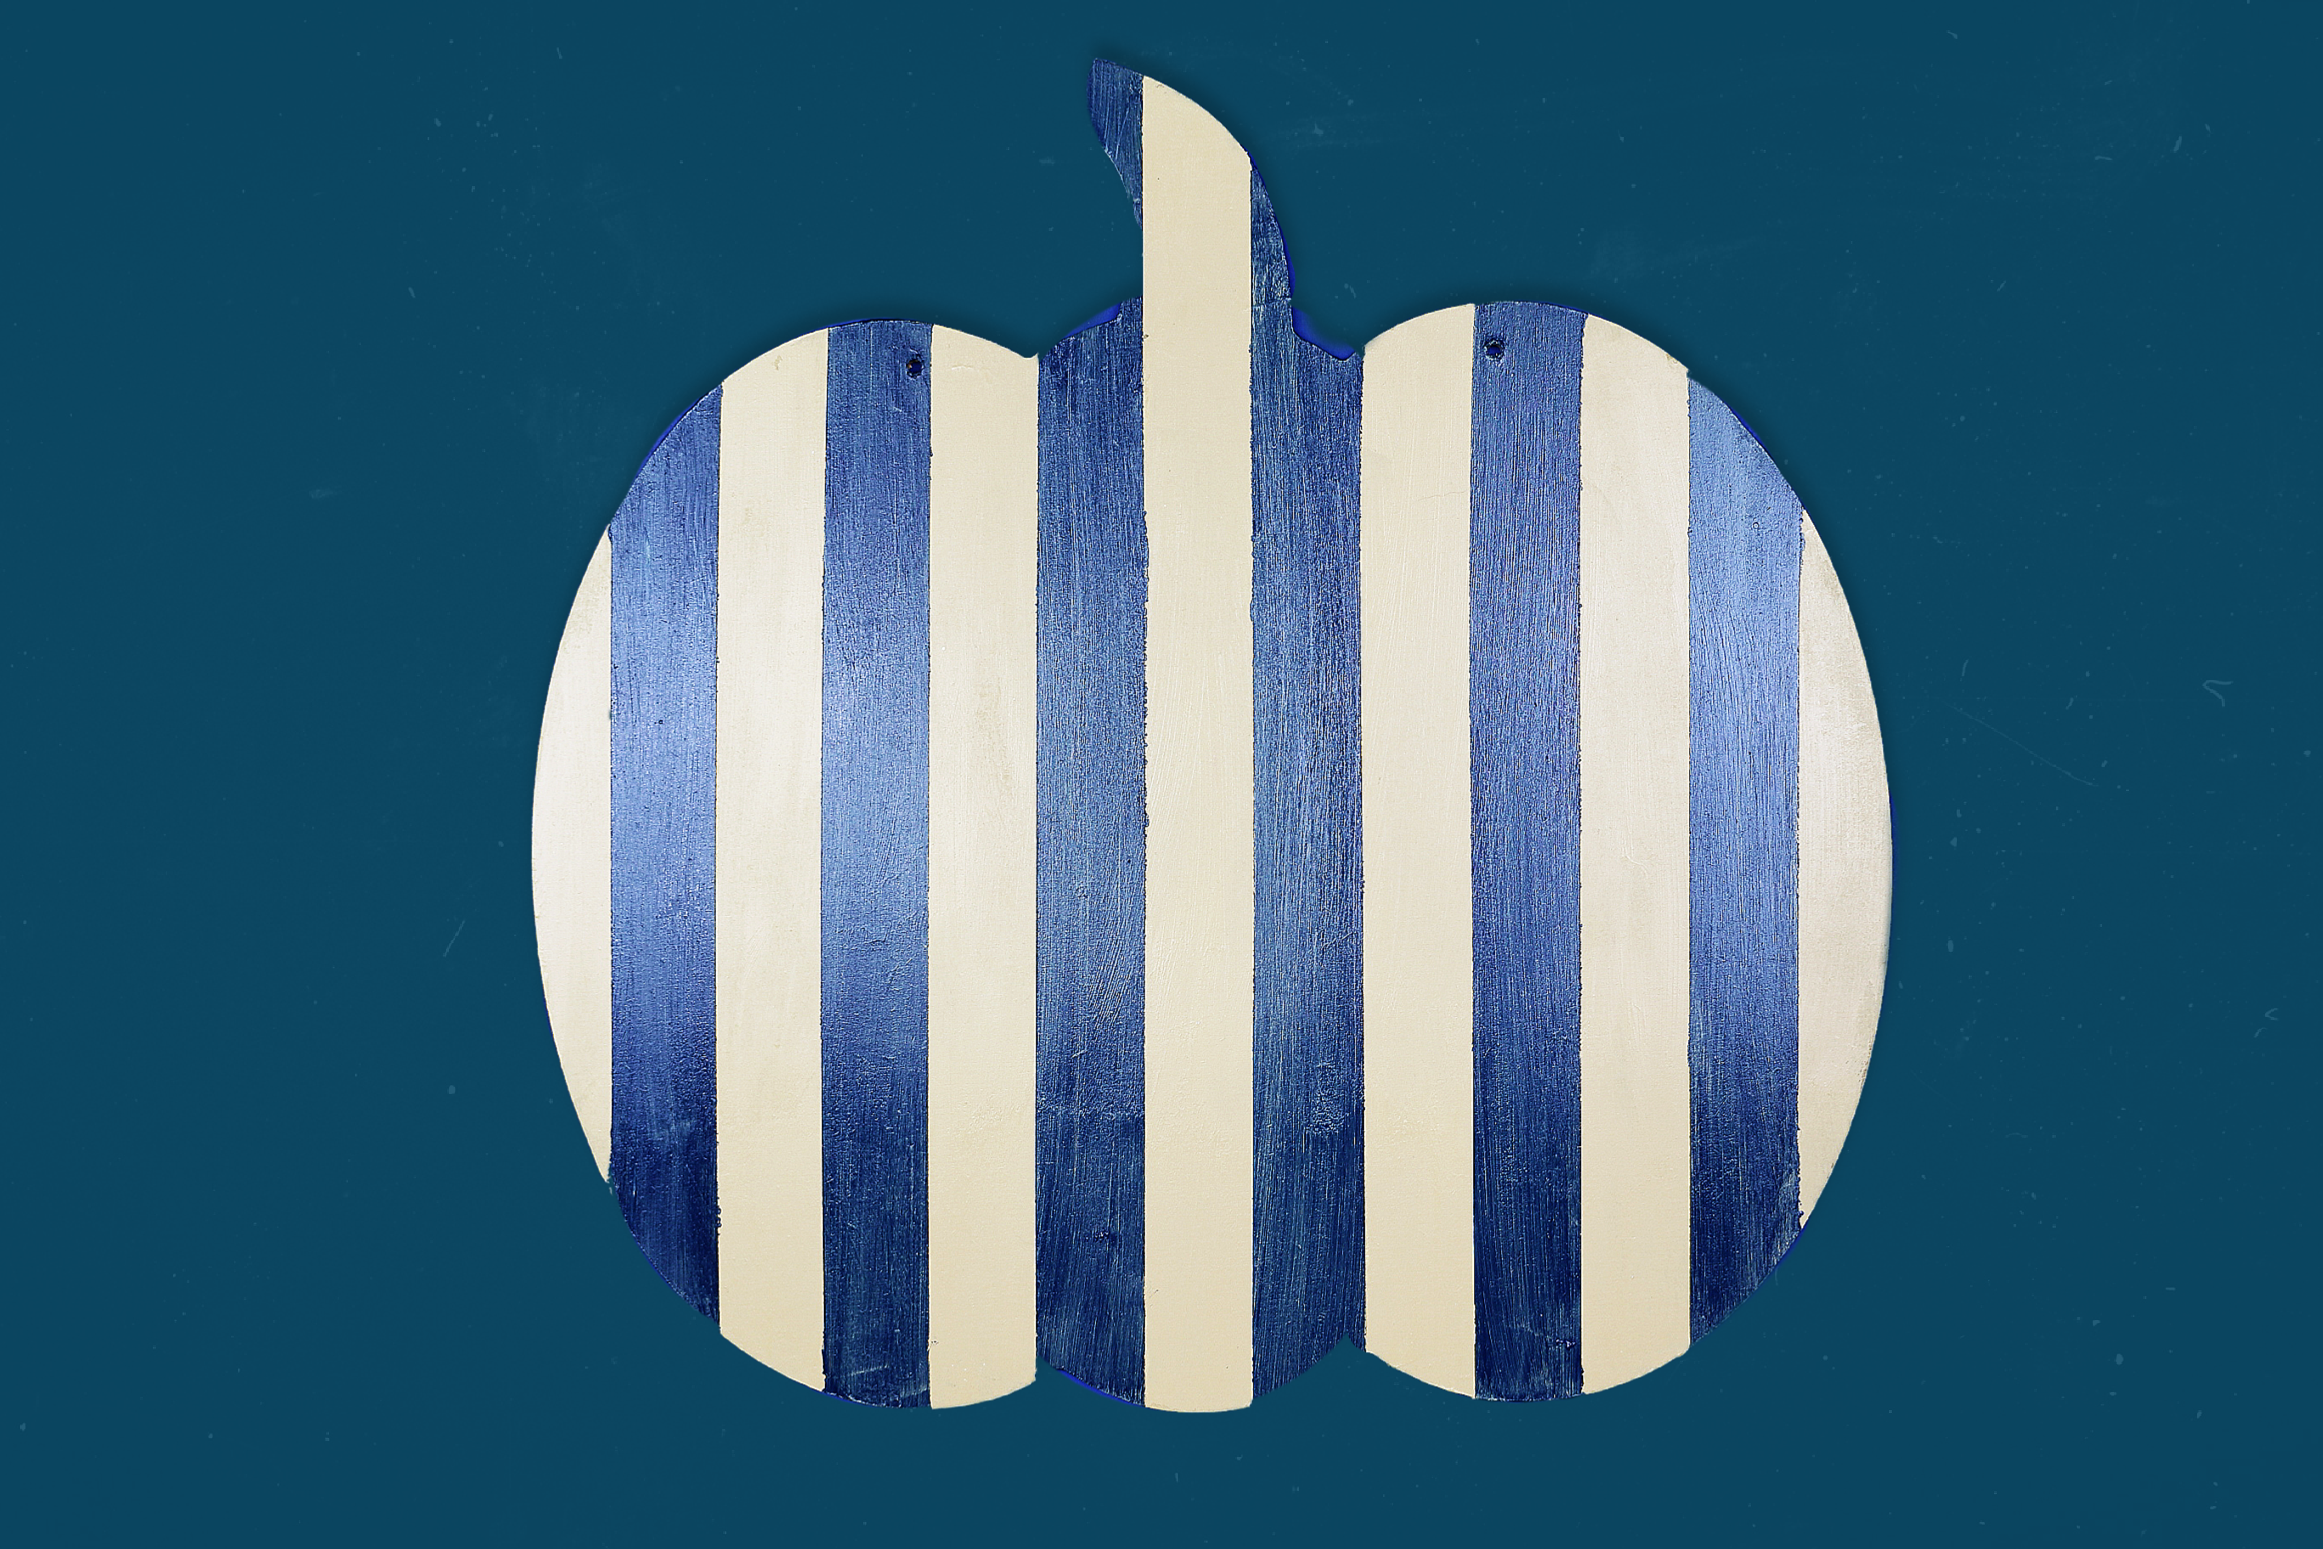
- Remove the painter’s tape and let the paint dry.

- Place strips of painter’s tape running perpendicular to the first stripes. Be sure to use a piece of scrap tape to space the stripes.

- Paint these stripes navy blue. Here, too, you want a thin coat that lets a bit of the base color show through.
(NOTE: As an alternative to doing thin coats of dark paint, you can also lighten your dark paint with a bit of your background color. If you do this, make sure to use the dark color straight from the bottle for step 11.)
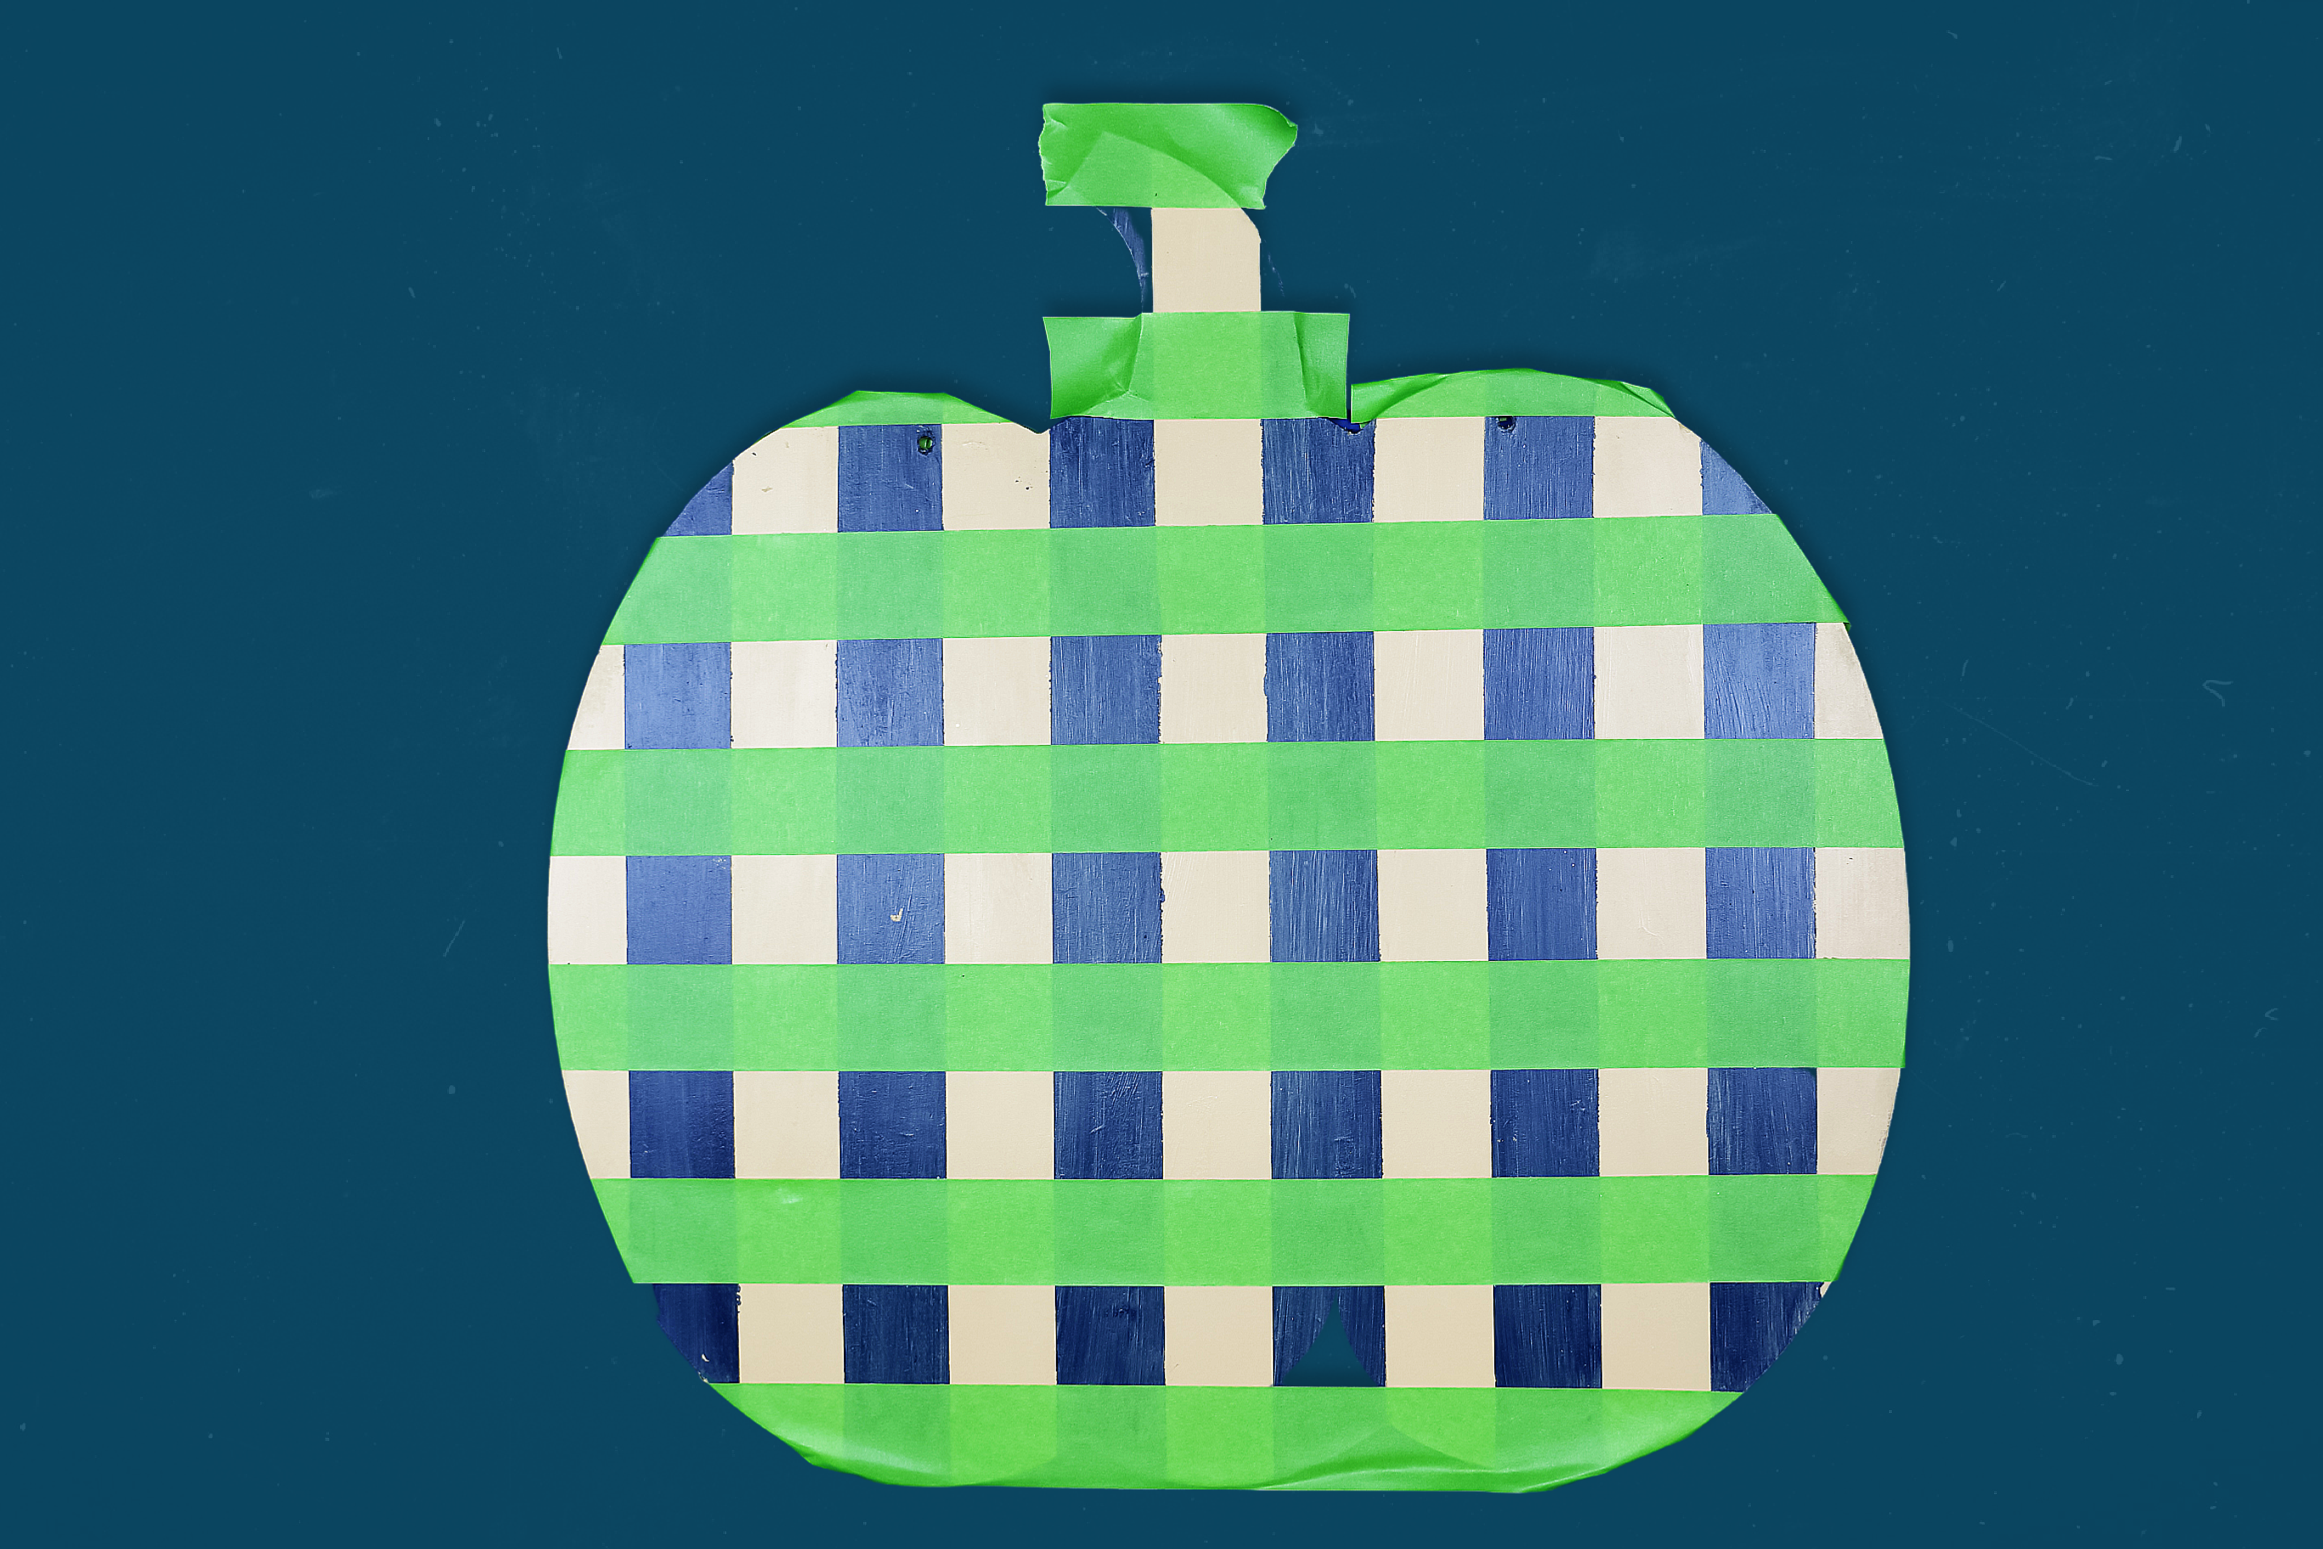
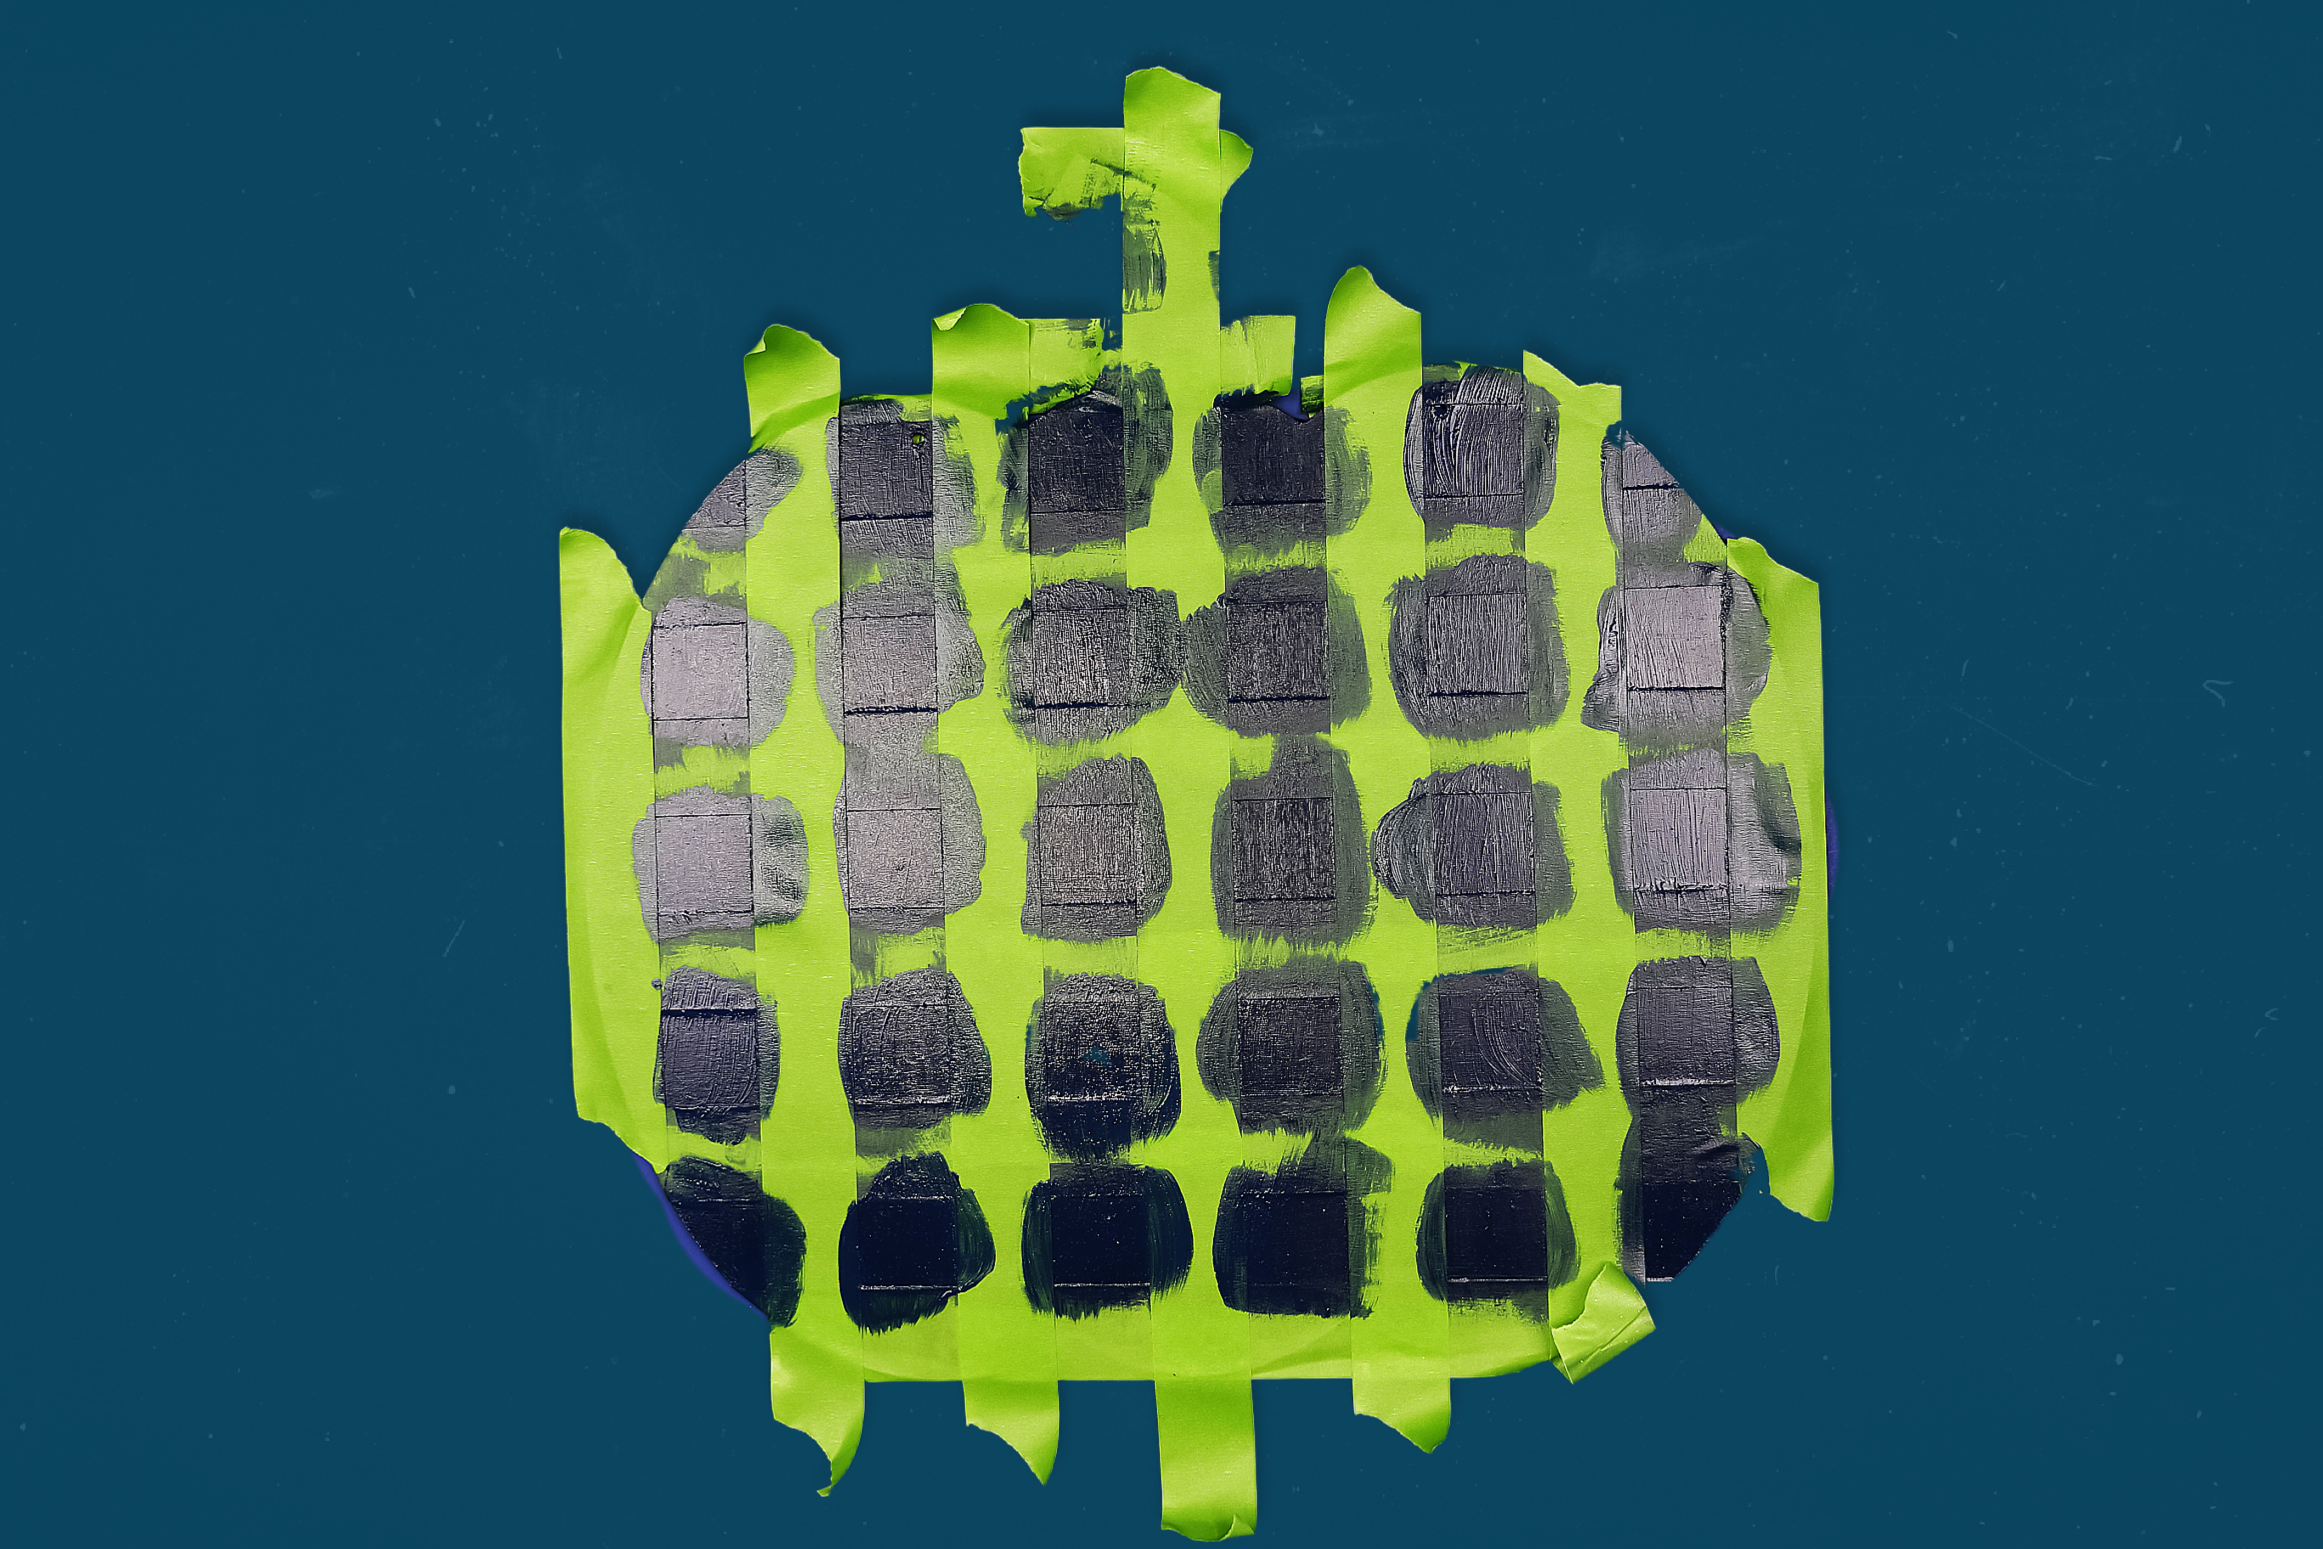
- Let this coat dry and DO NOT REMOVE the painter’s tape. When the paint is dry, place vertical strips of tape where you placed them in steps 2 & 3.

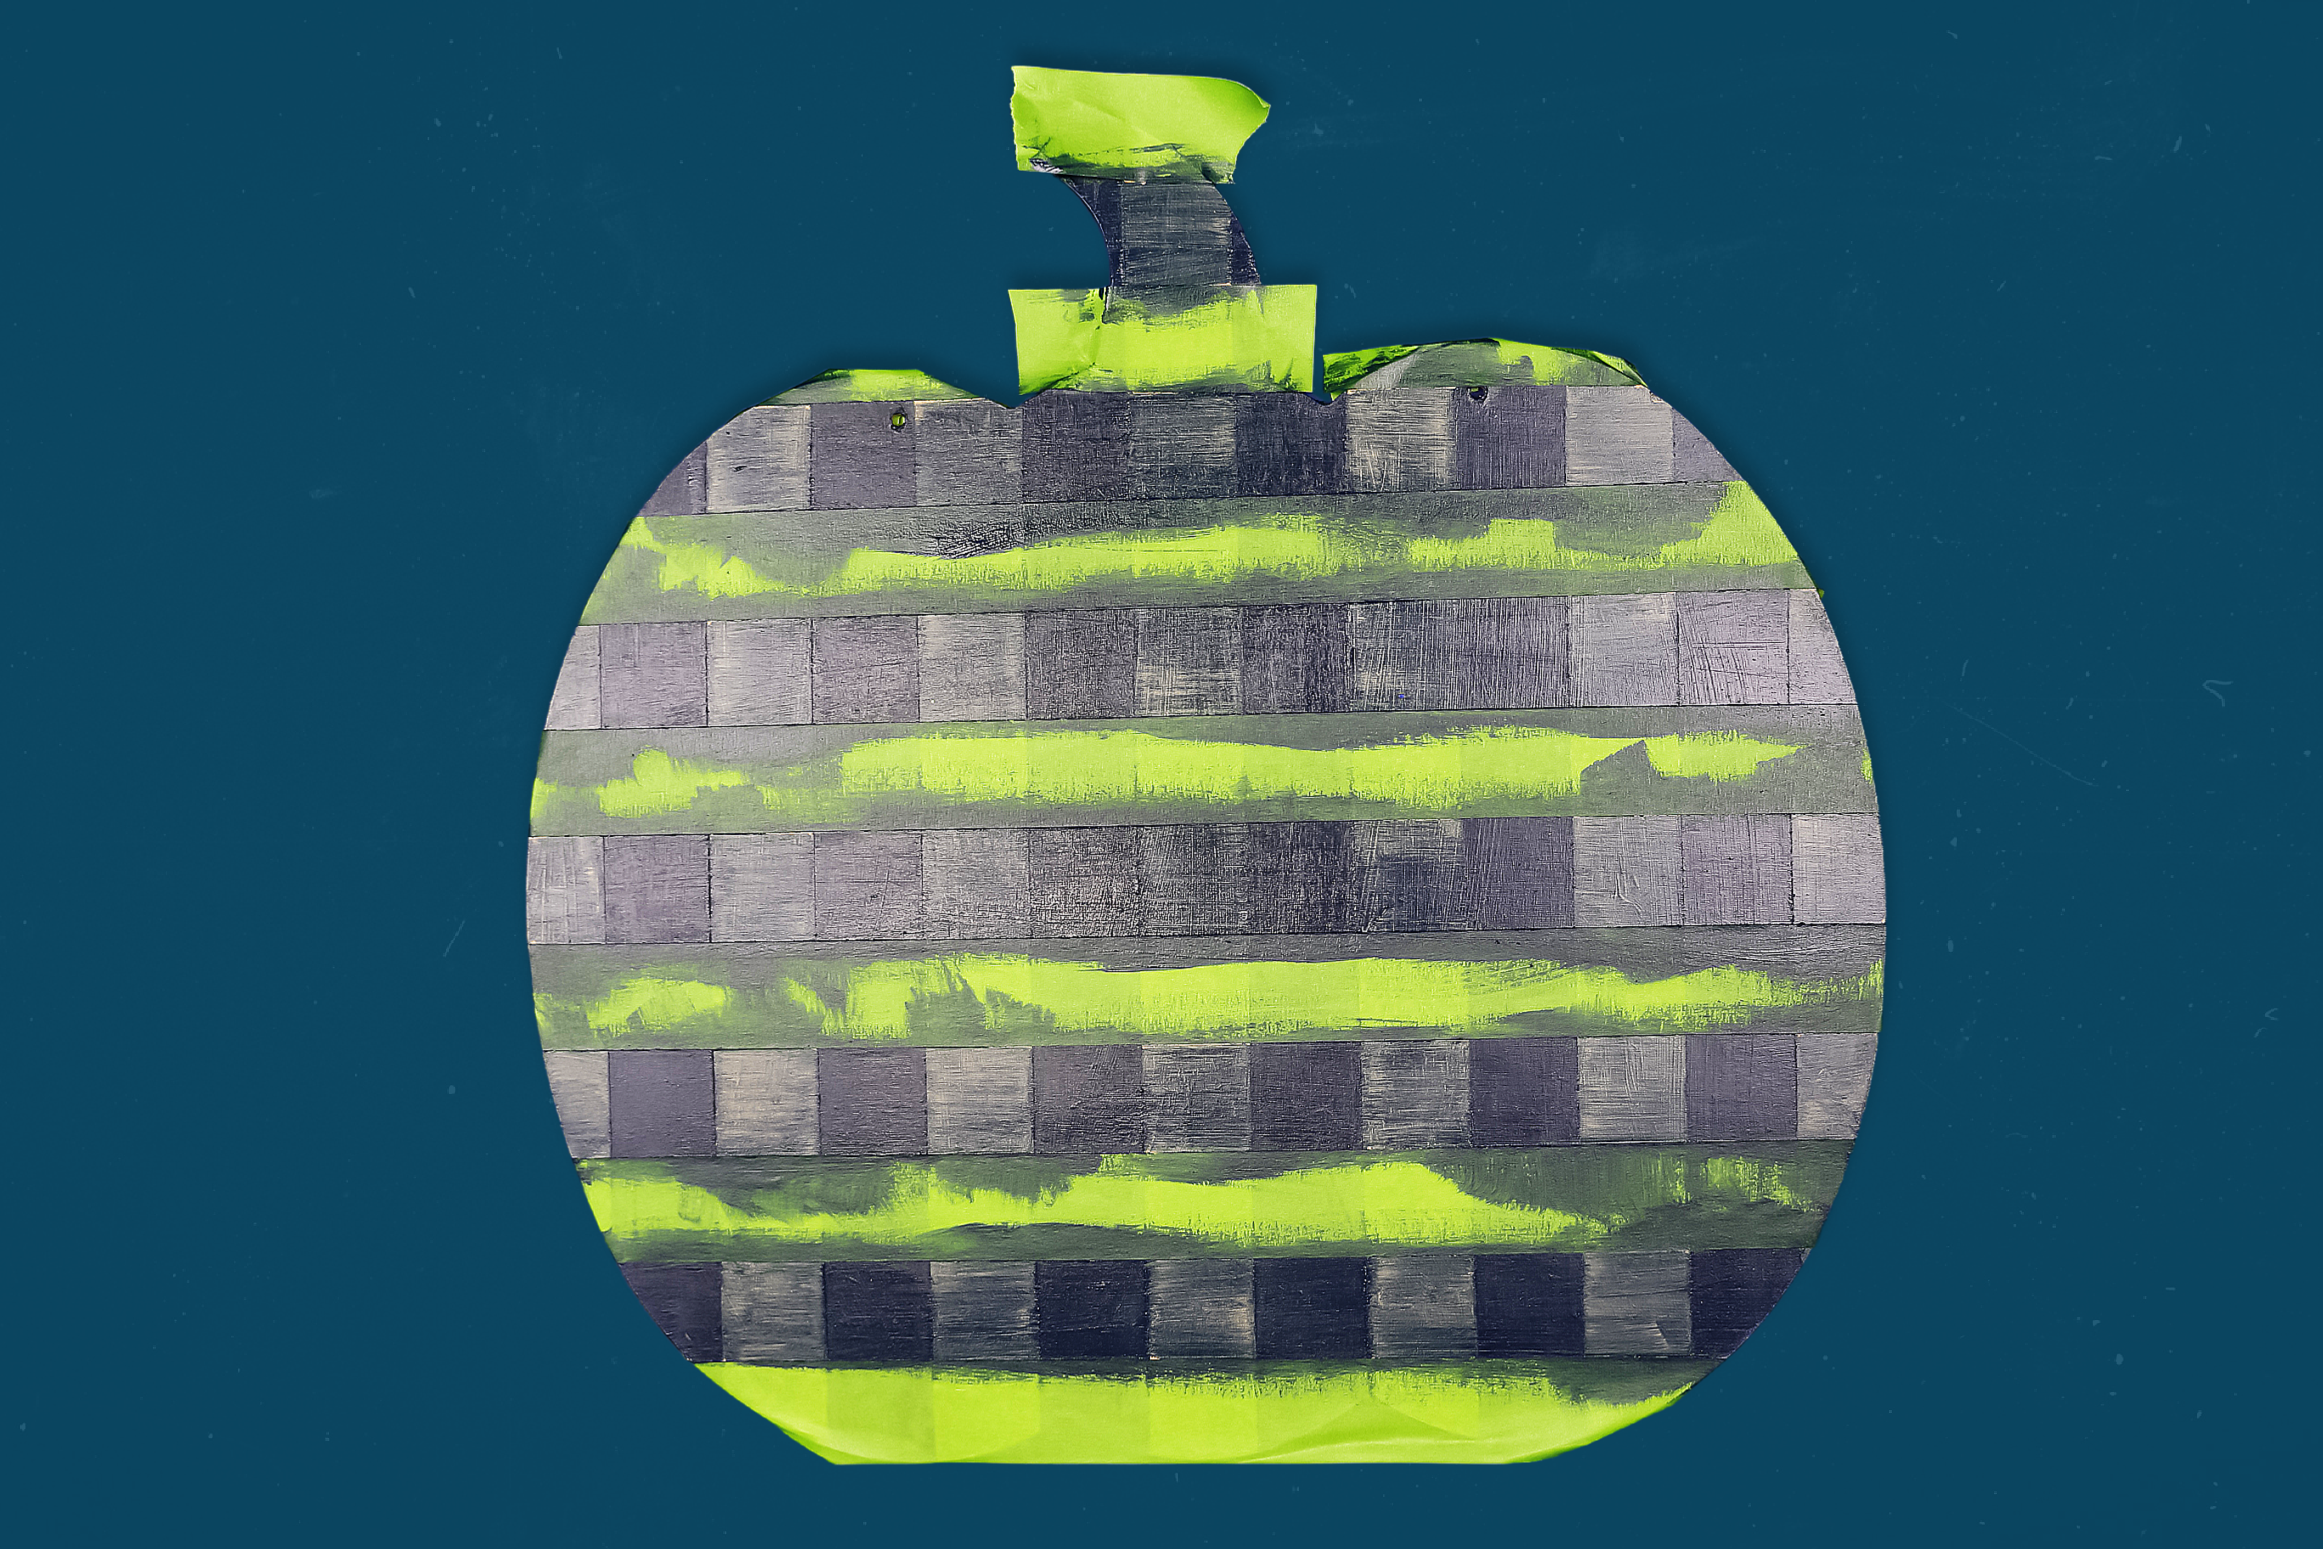
- Continue across the whole sign.

- Add a thicker coat of paint to all these exposed areas.

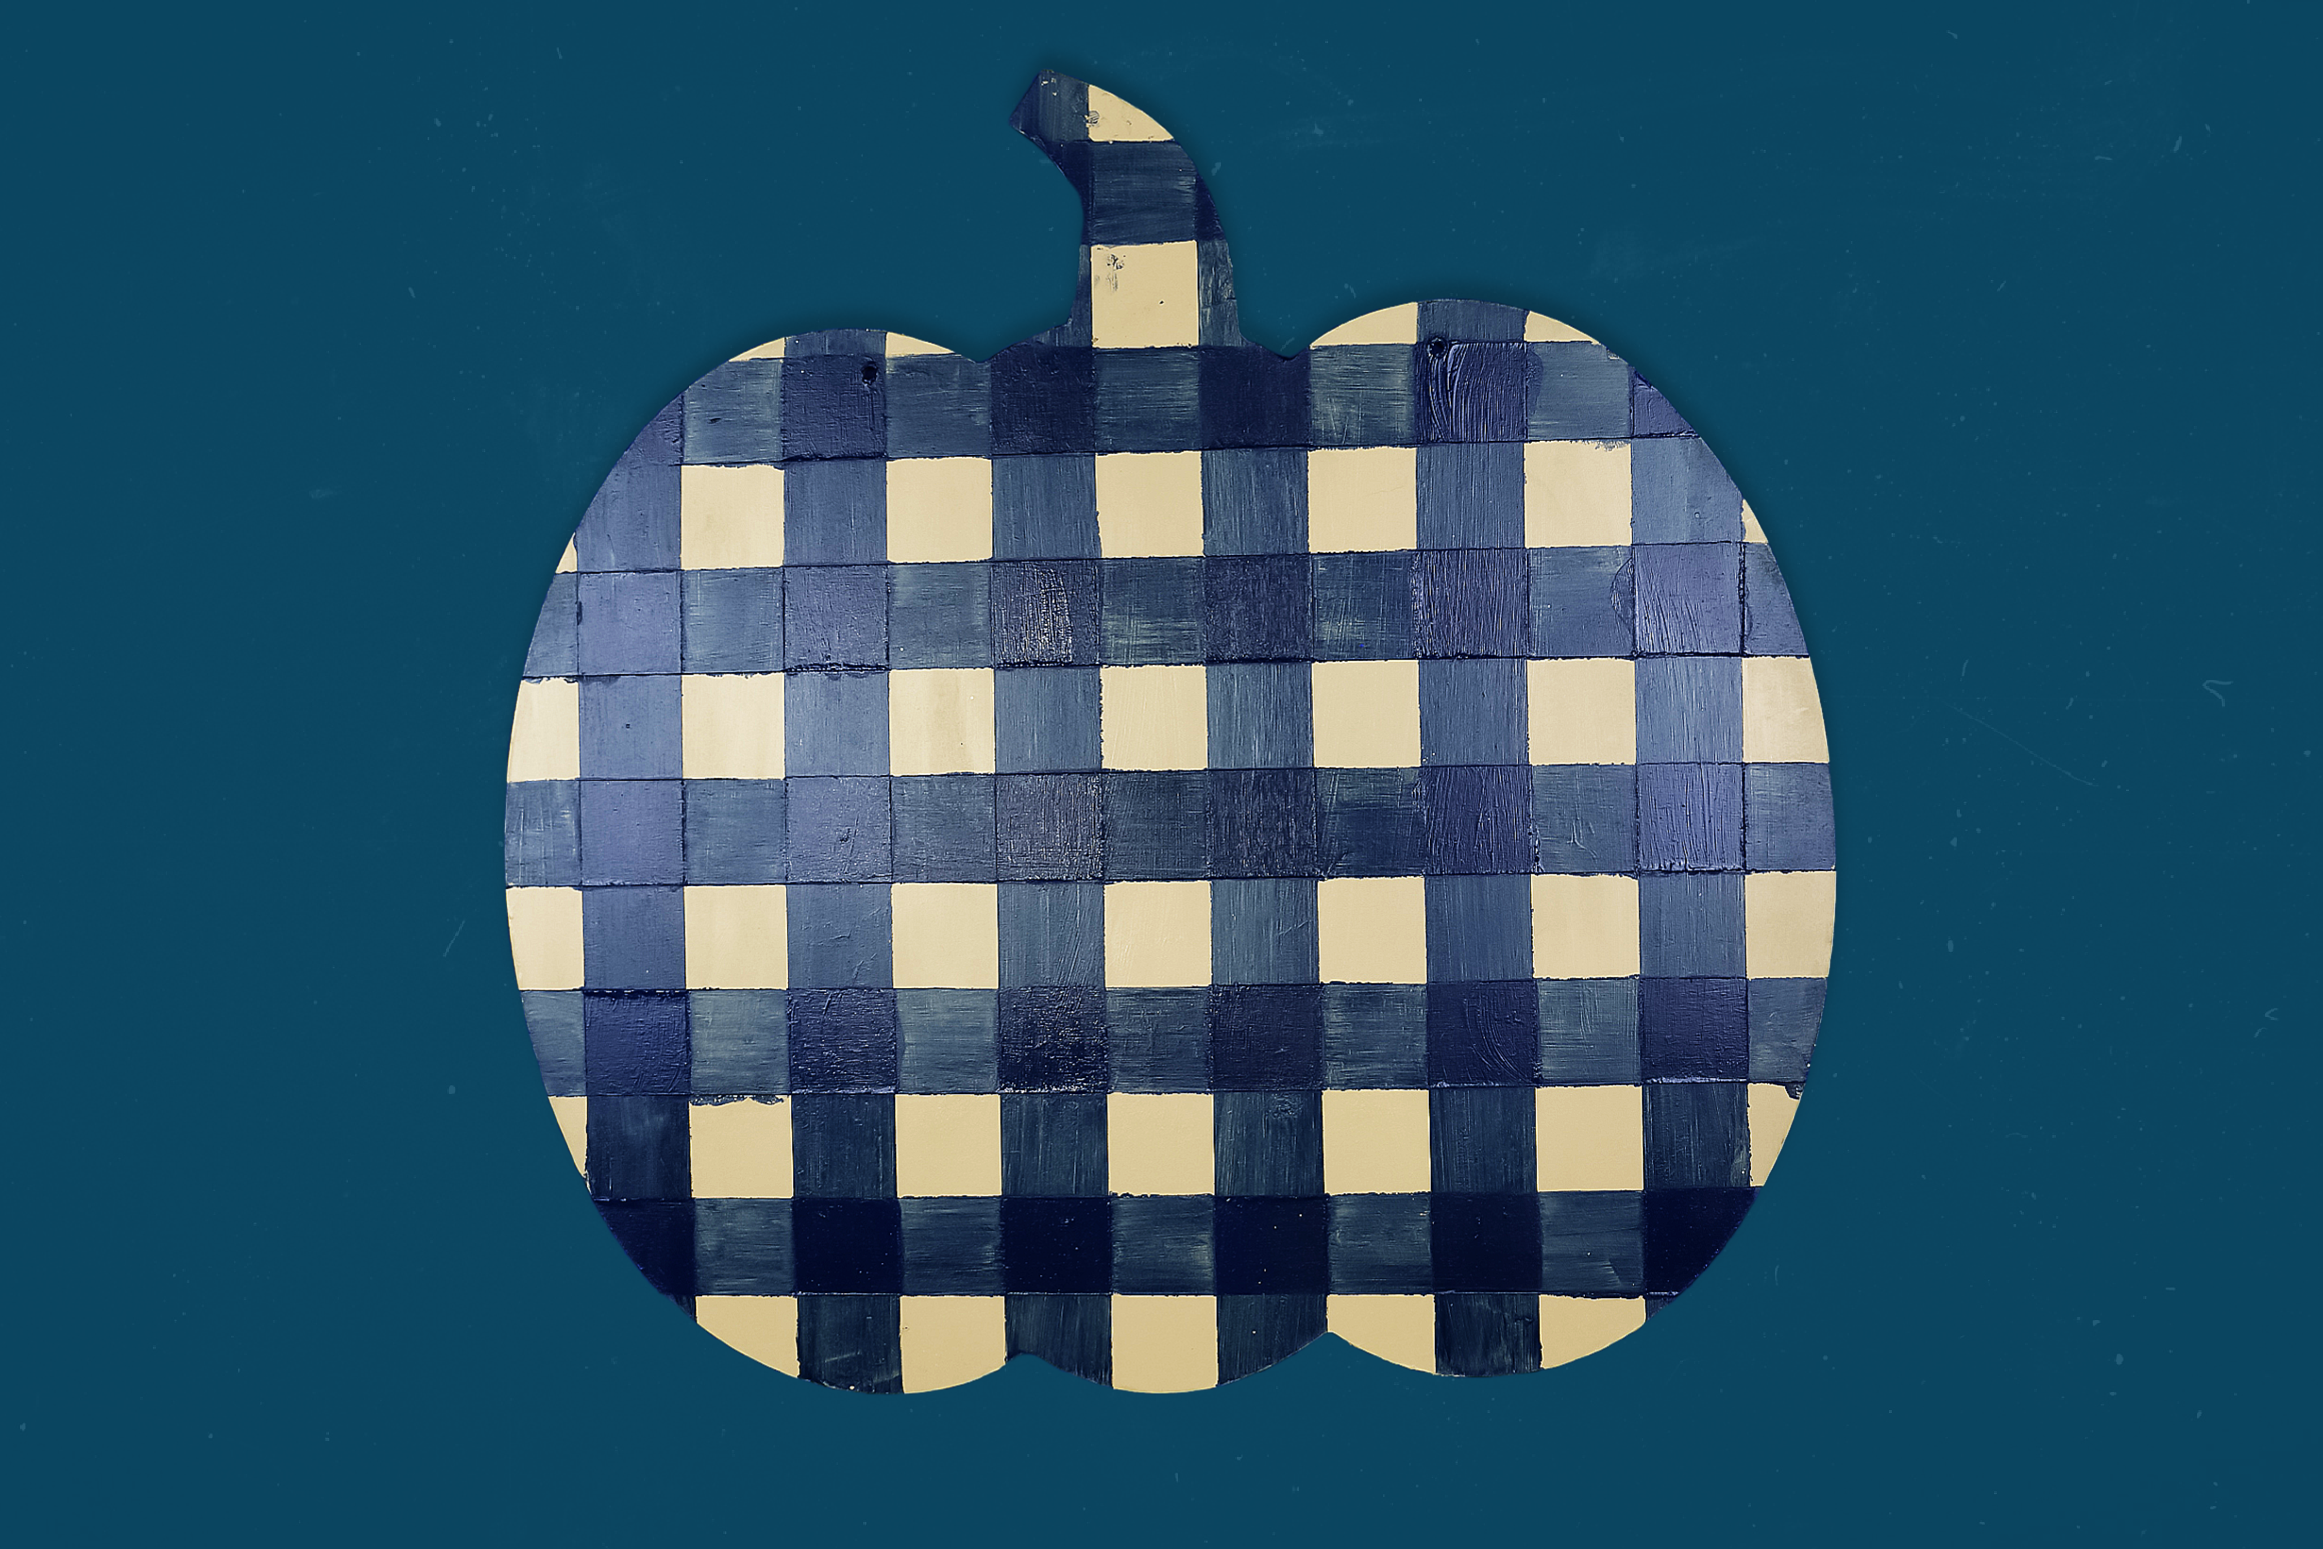
- Carefully remove all the painter’s tape to reveal your buffalo check pattern!

DISPLAYING YOUR PUMPKIN SIGN
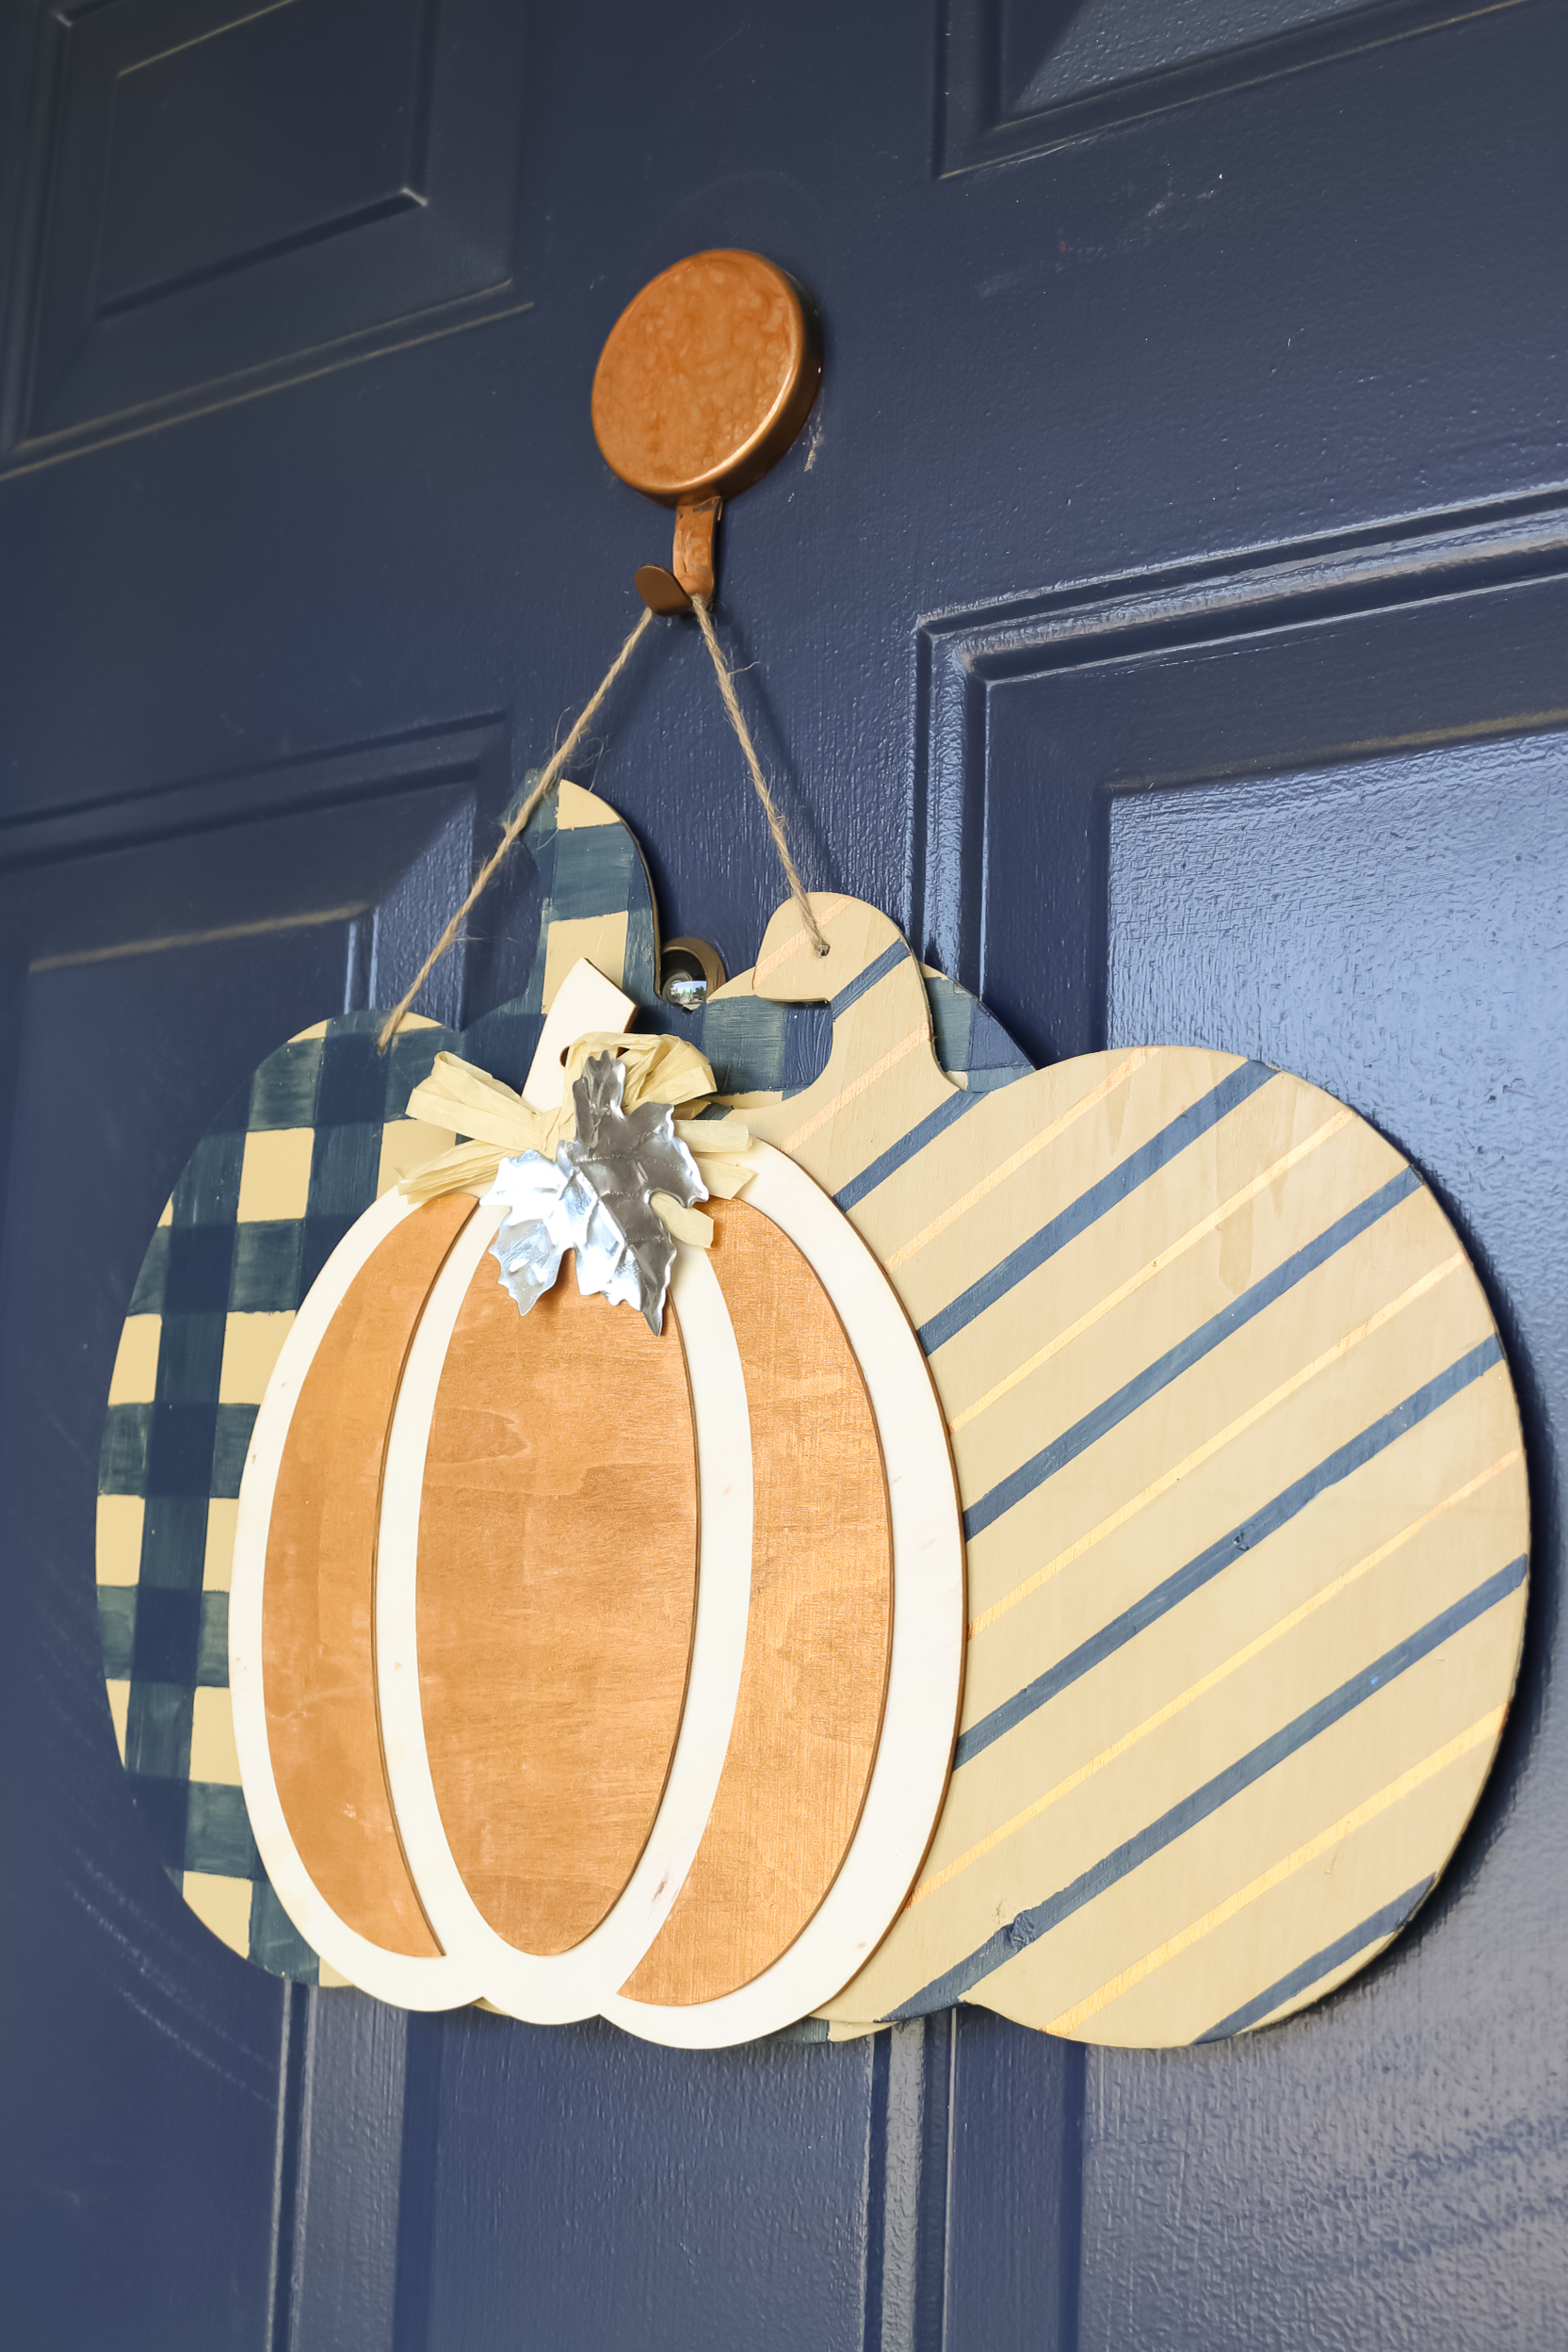
I hung my dollar store plaid pumpkin sign on our front door. You could also prop the sign up on a mantel or hang it on a wall inside your house. This is a fun and low-cost way to add a fall touch to your home!



So many great ideas. Thank you for sharing.
Thank ;you for your ideas.