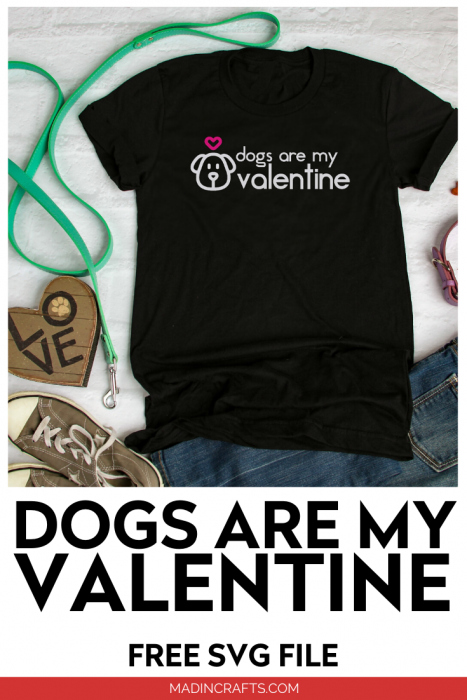
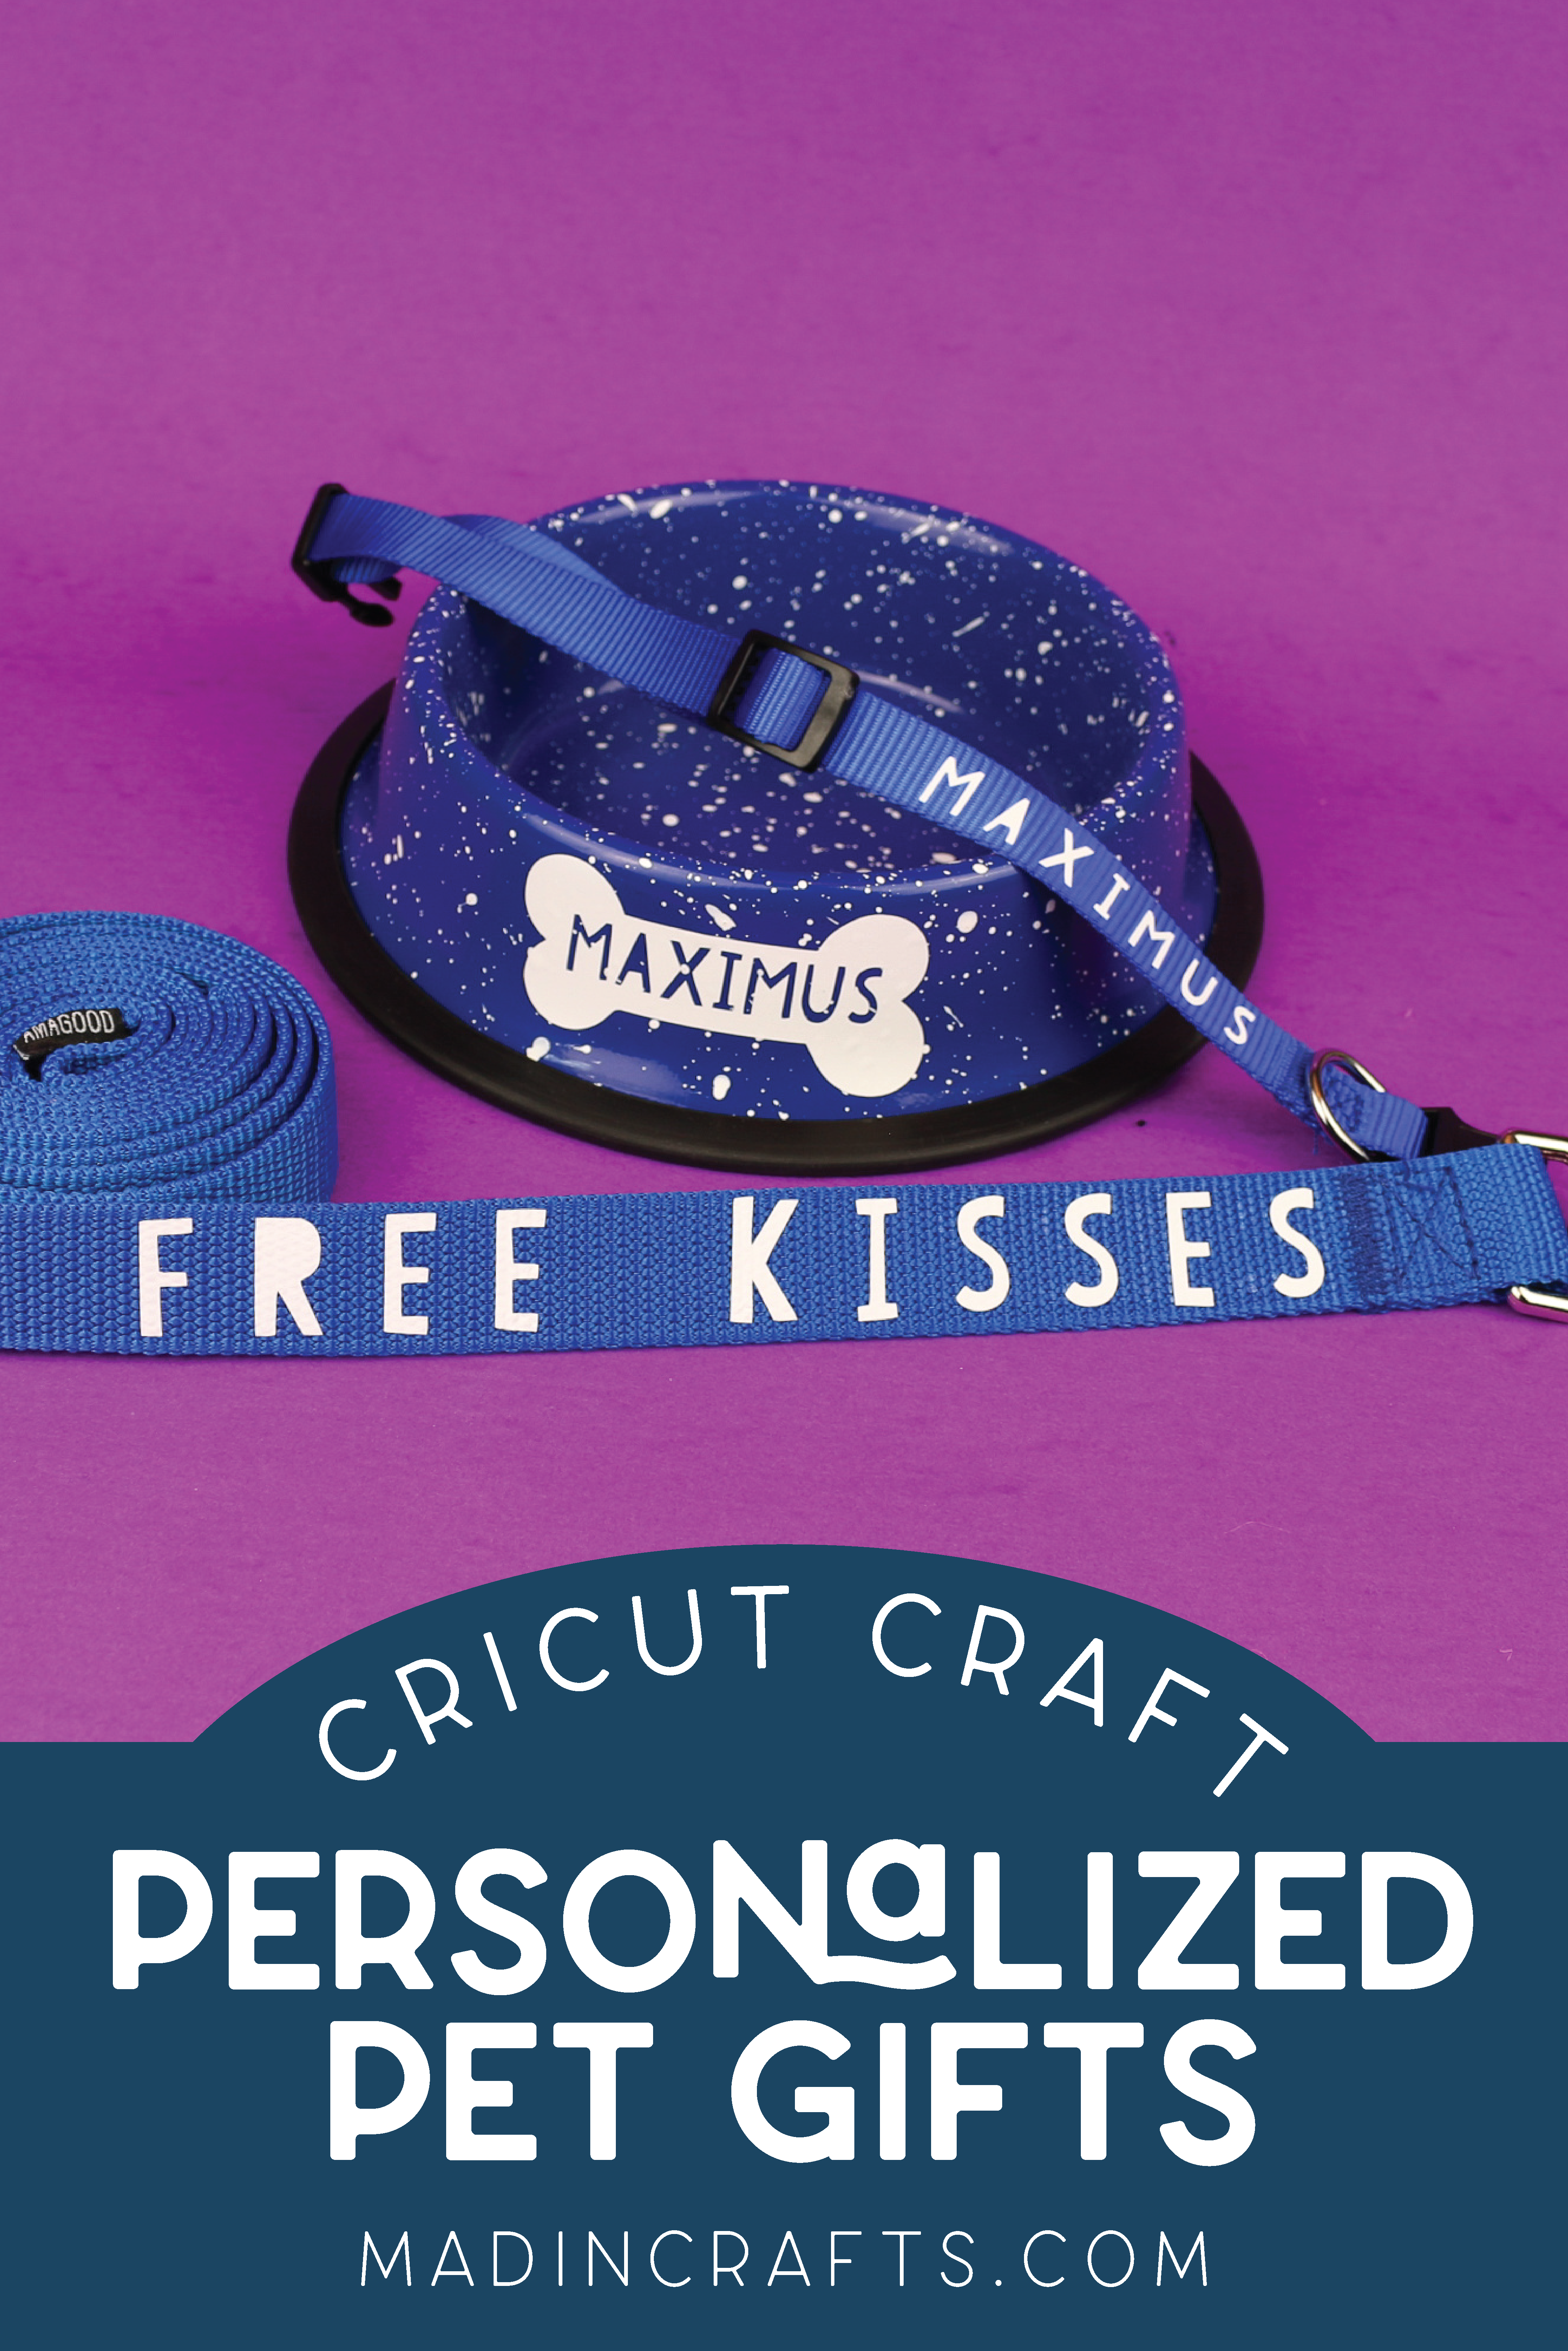
After my parents lost their dog of almost 20 years, my mom said she would never get another dog. Even though my dad desperately wanted another pup, she was firm. Well, as most animal lovers could have guessed, her willpower broke when she spotted an adorable rescue terrier online. They are now the proud owners of a very lively and very lovely dog named Maximus. To welcome him into the family, I made him a personalized pet gift with my Cricut Joy.
PERSONALIZED PET GIFT WITH CRICUT
WHAT YOU NEED TO MAKE A PERSONALIZED PET GIFT
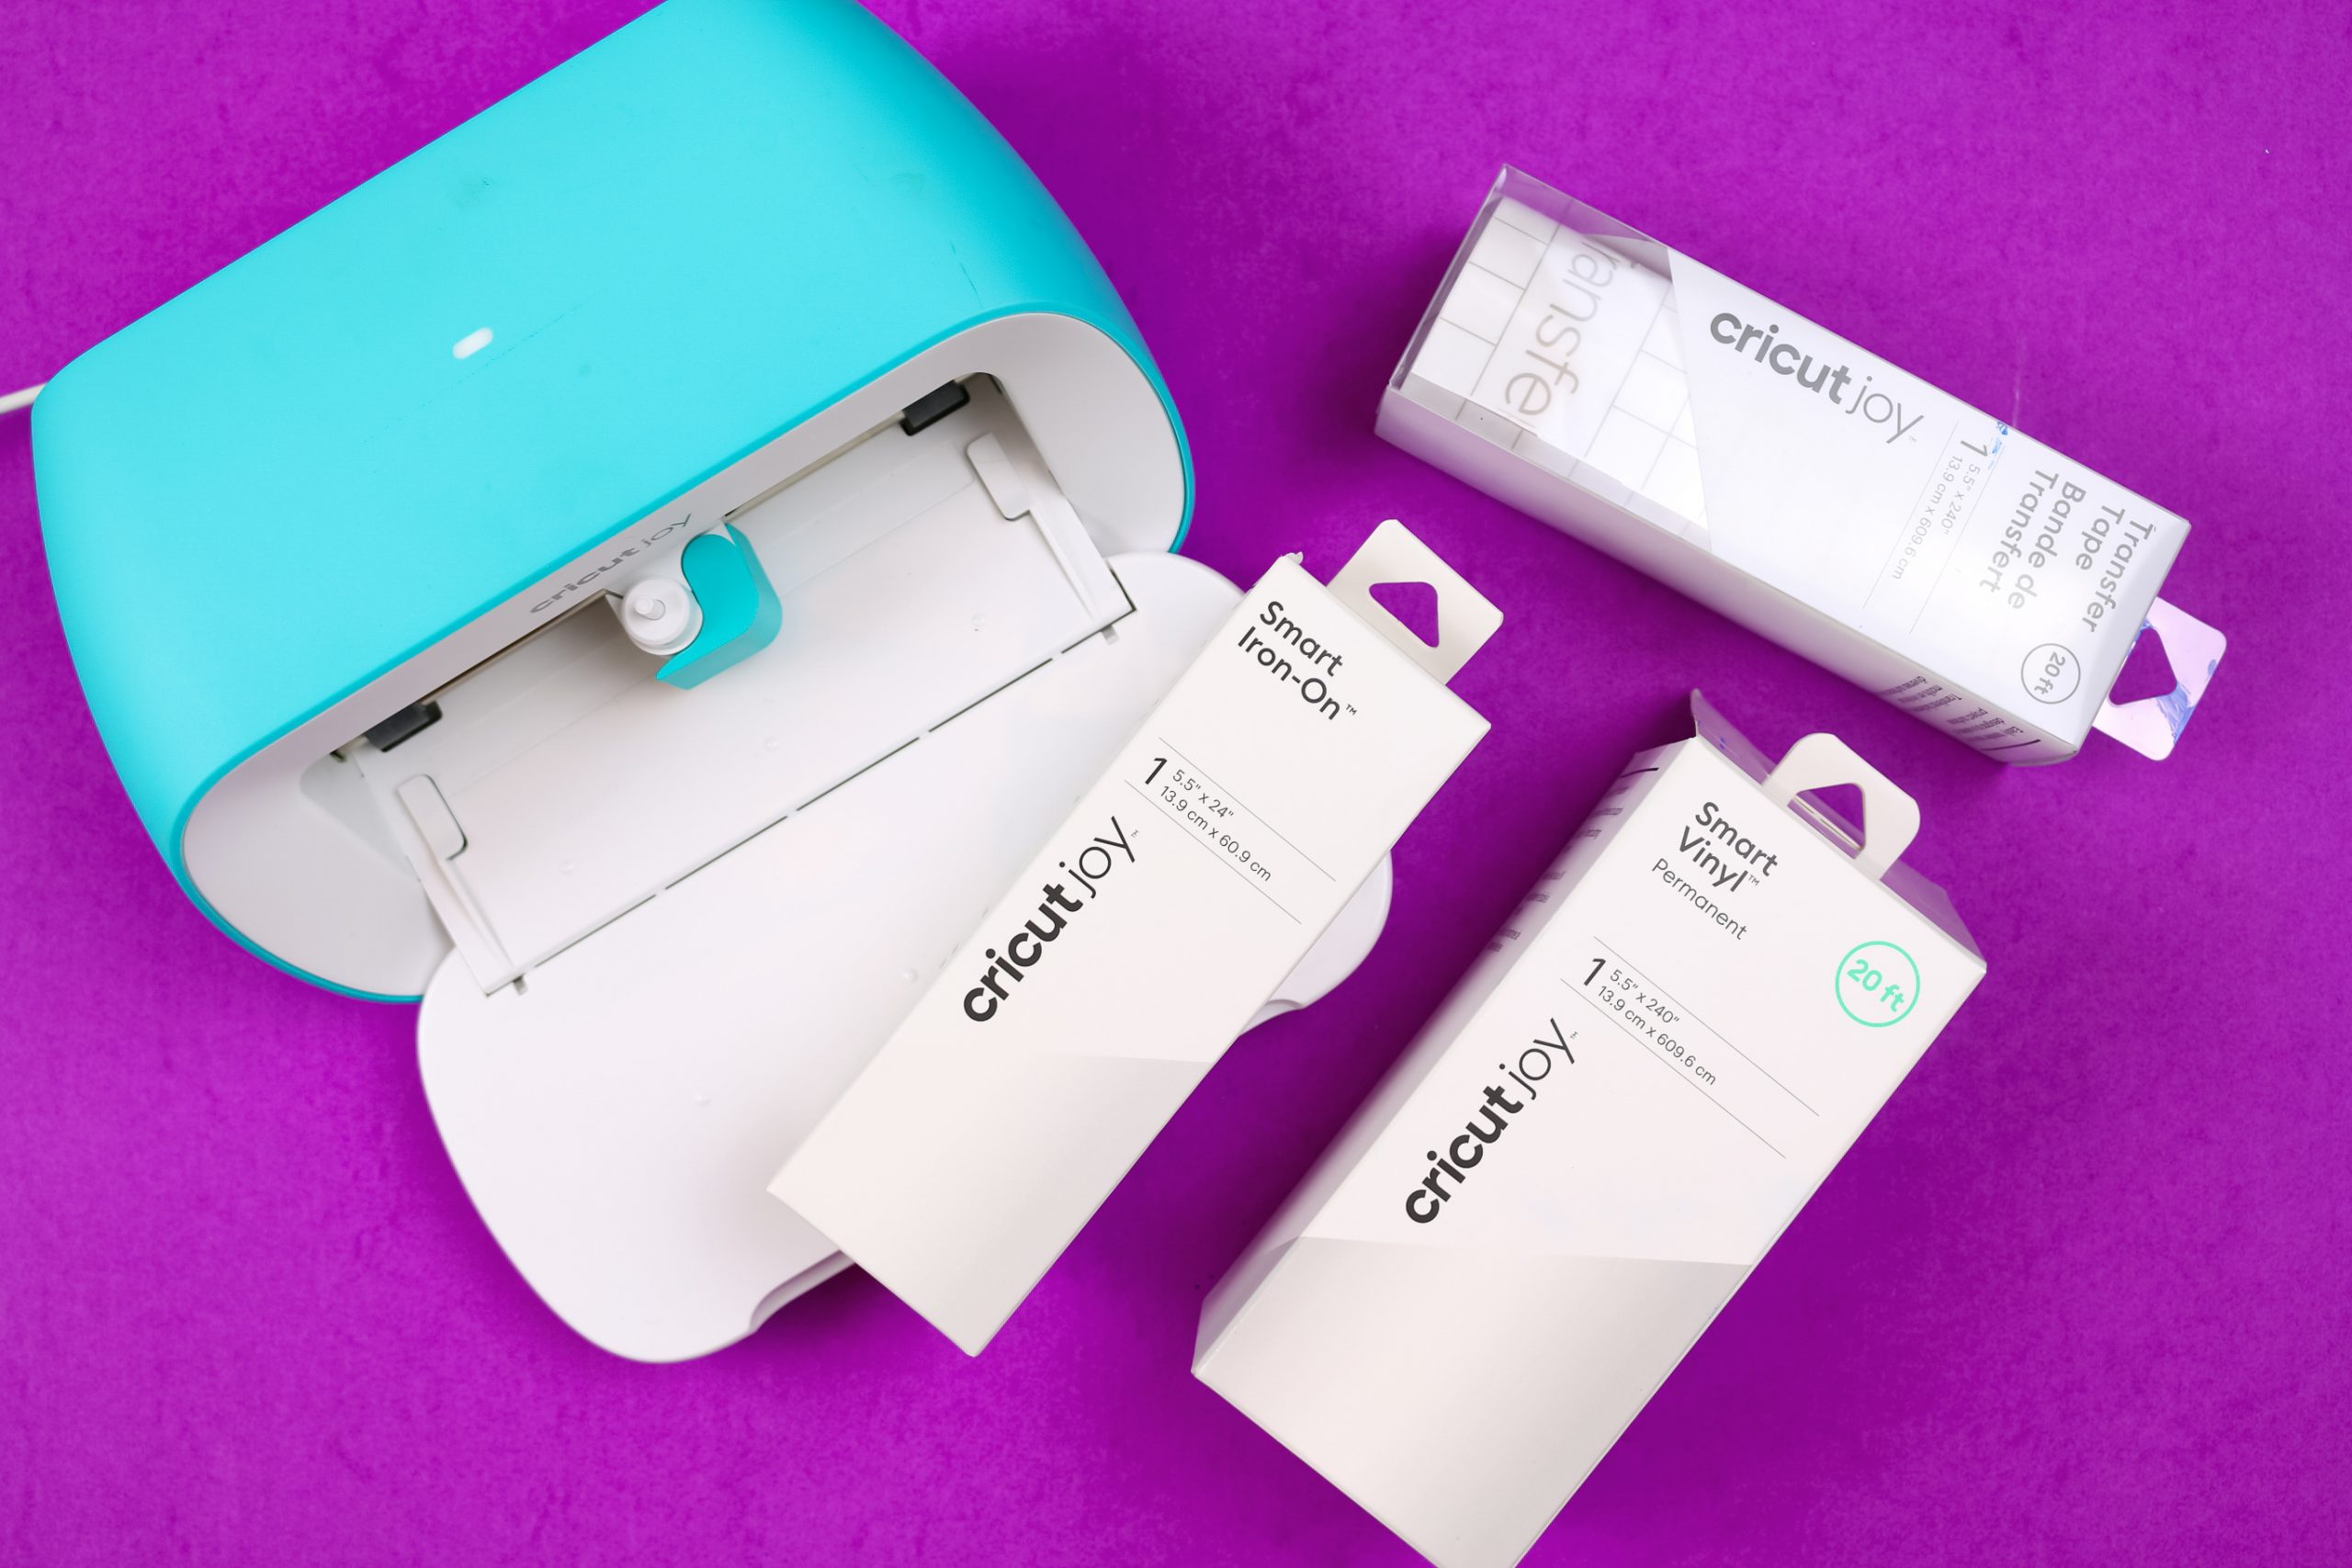
I used my Cricut Joy to cut the vinyl to personalize the pet gifts, but you could also use the Explore or the Maker. I love my Joy for smaller jobs like this though since it’s so easy to pull out!
Thank you to Cricut for sponsoring this post. I was compensated for my work, but all the opinions in this post are 100% my own.
These are all affiliate links, if you make a purchase (of anything from the site, not just these items) after clicking through, I will earn a small commission. Ads and affiliate links are the way I am able to keep this website running and to offer you free tutorials all year long. Thank you so much for supporting me and Mad in Crafts!
HOW TO SLICE A NAME FROM AN IMAGE IN DESIGN SPACE
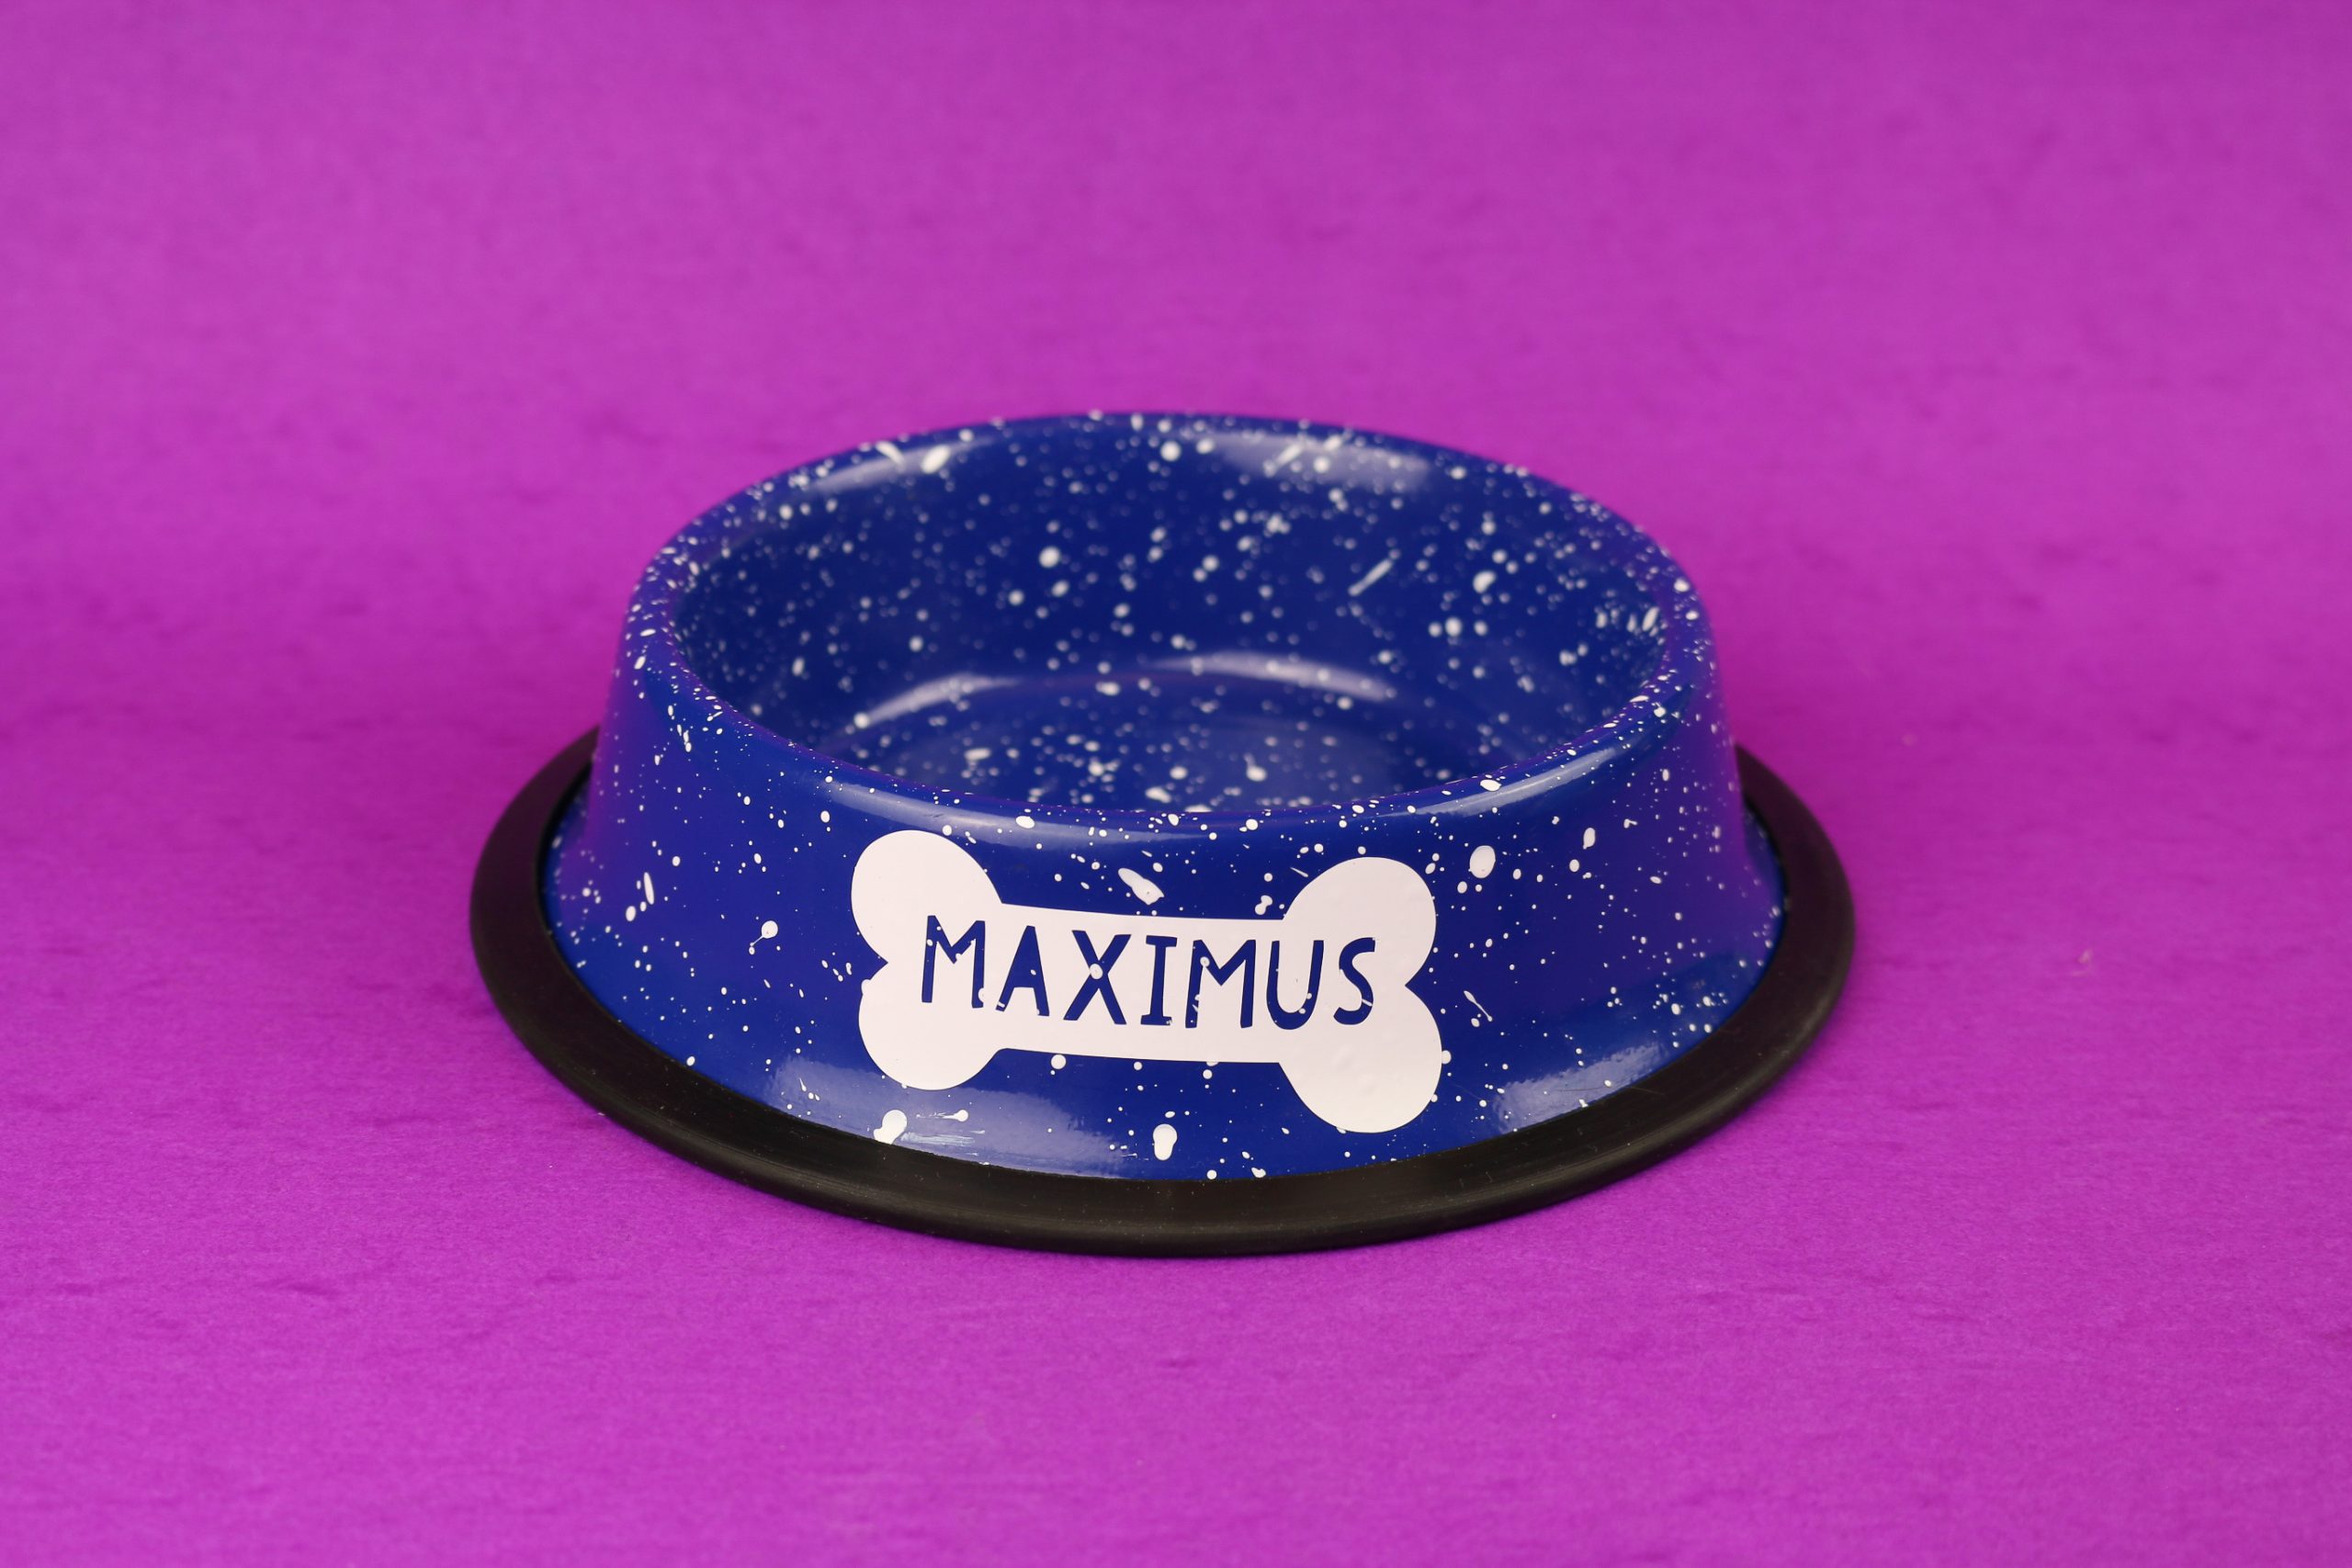
I wanted to add my parents’ dog’s name to the food bowl inside of a bone shape. The slice tool in Design Space makes this easy! You can use this same technique to add names inside of any of the shapes in Design Space.
Slice a Name from an Image in Cricut Design Space
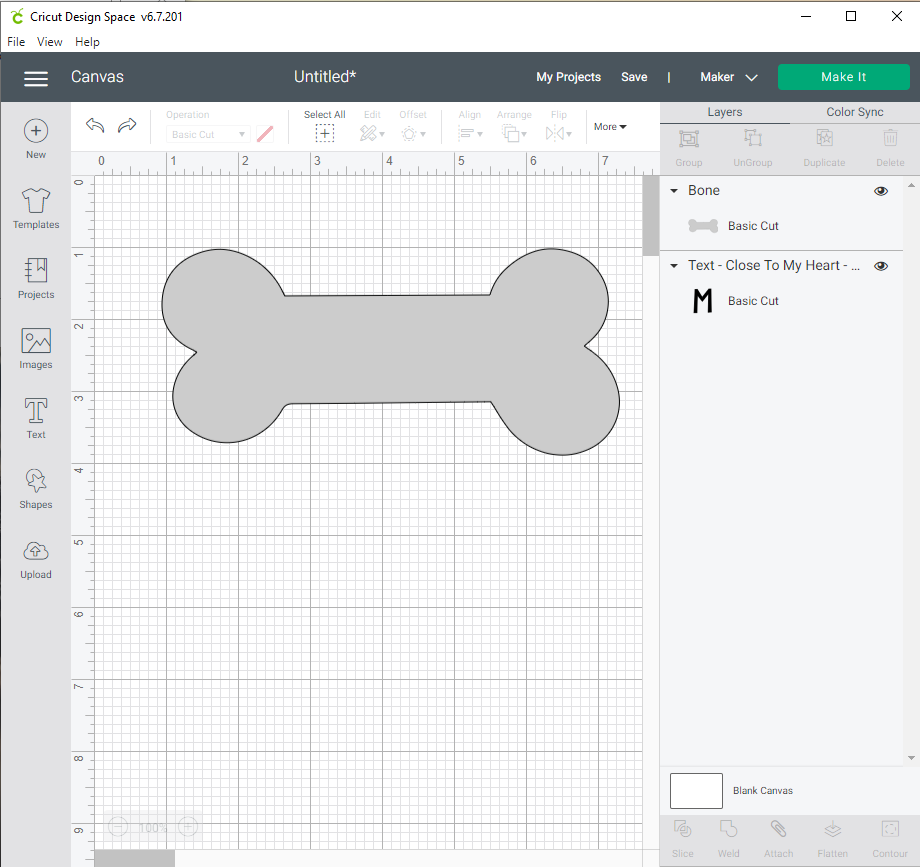
- Insert the image that you want to be the outer shape of the final design into a Design Space canvas.

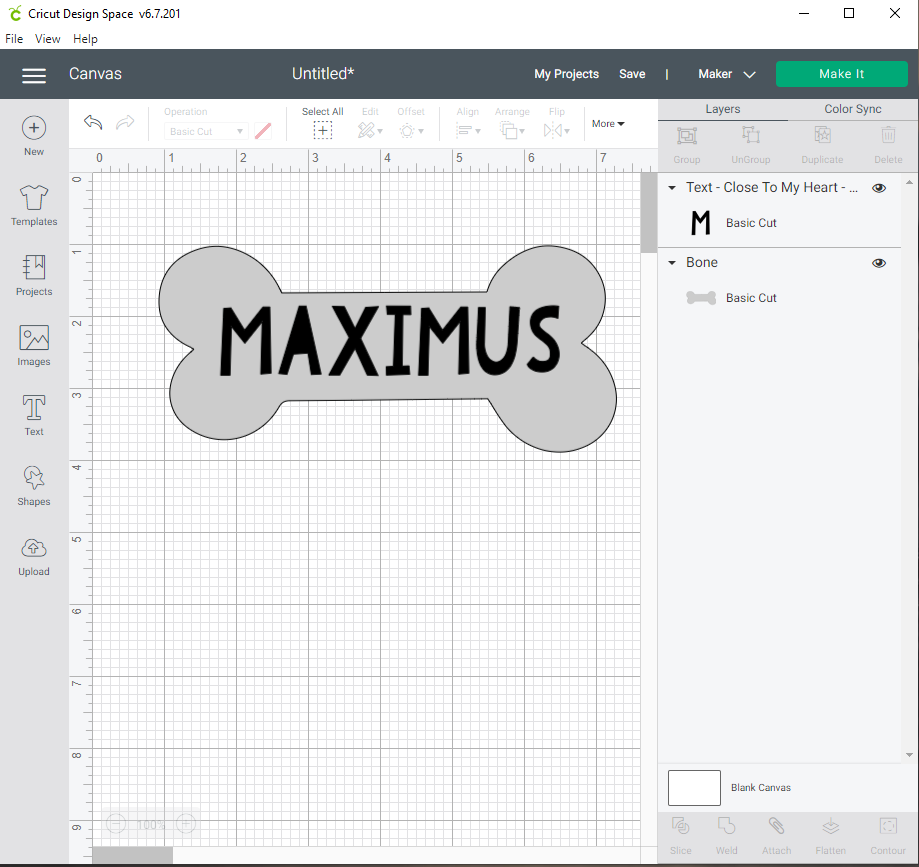
- Use the Text Tool to add a name to the canvas & resize it to fit within the image.

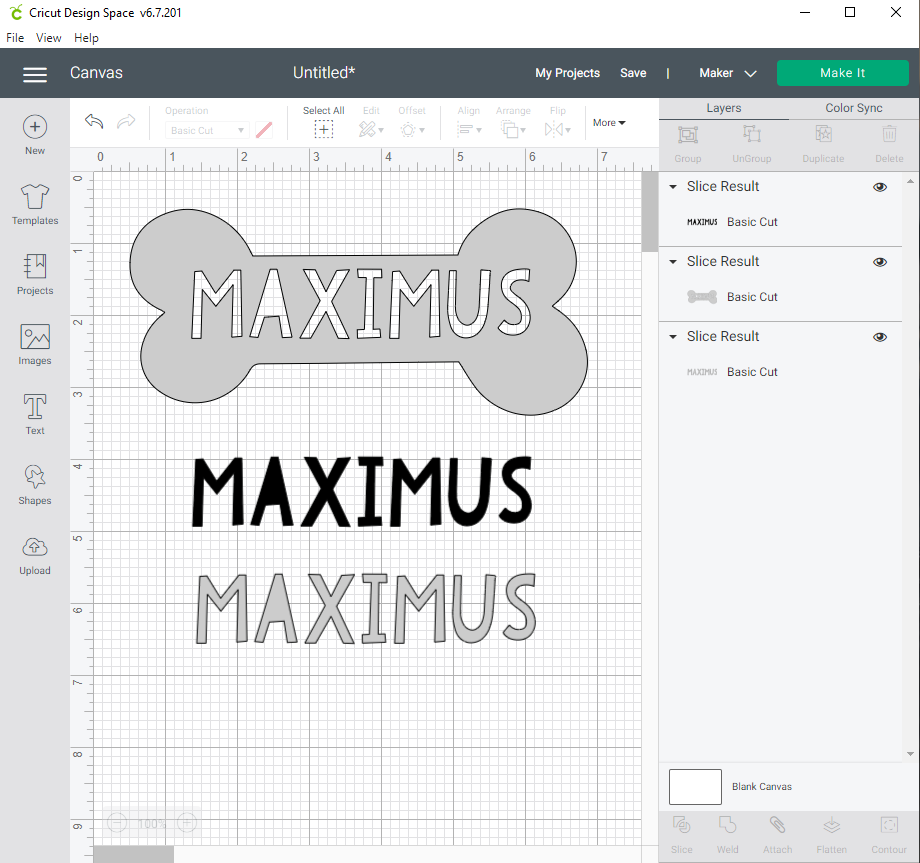
- Select both the image and text layers & click the Slice button from the toolbar.

- Move and delete the unnecessary text elements.
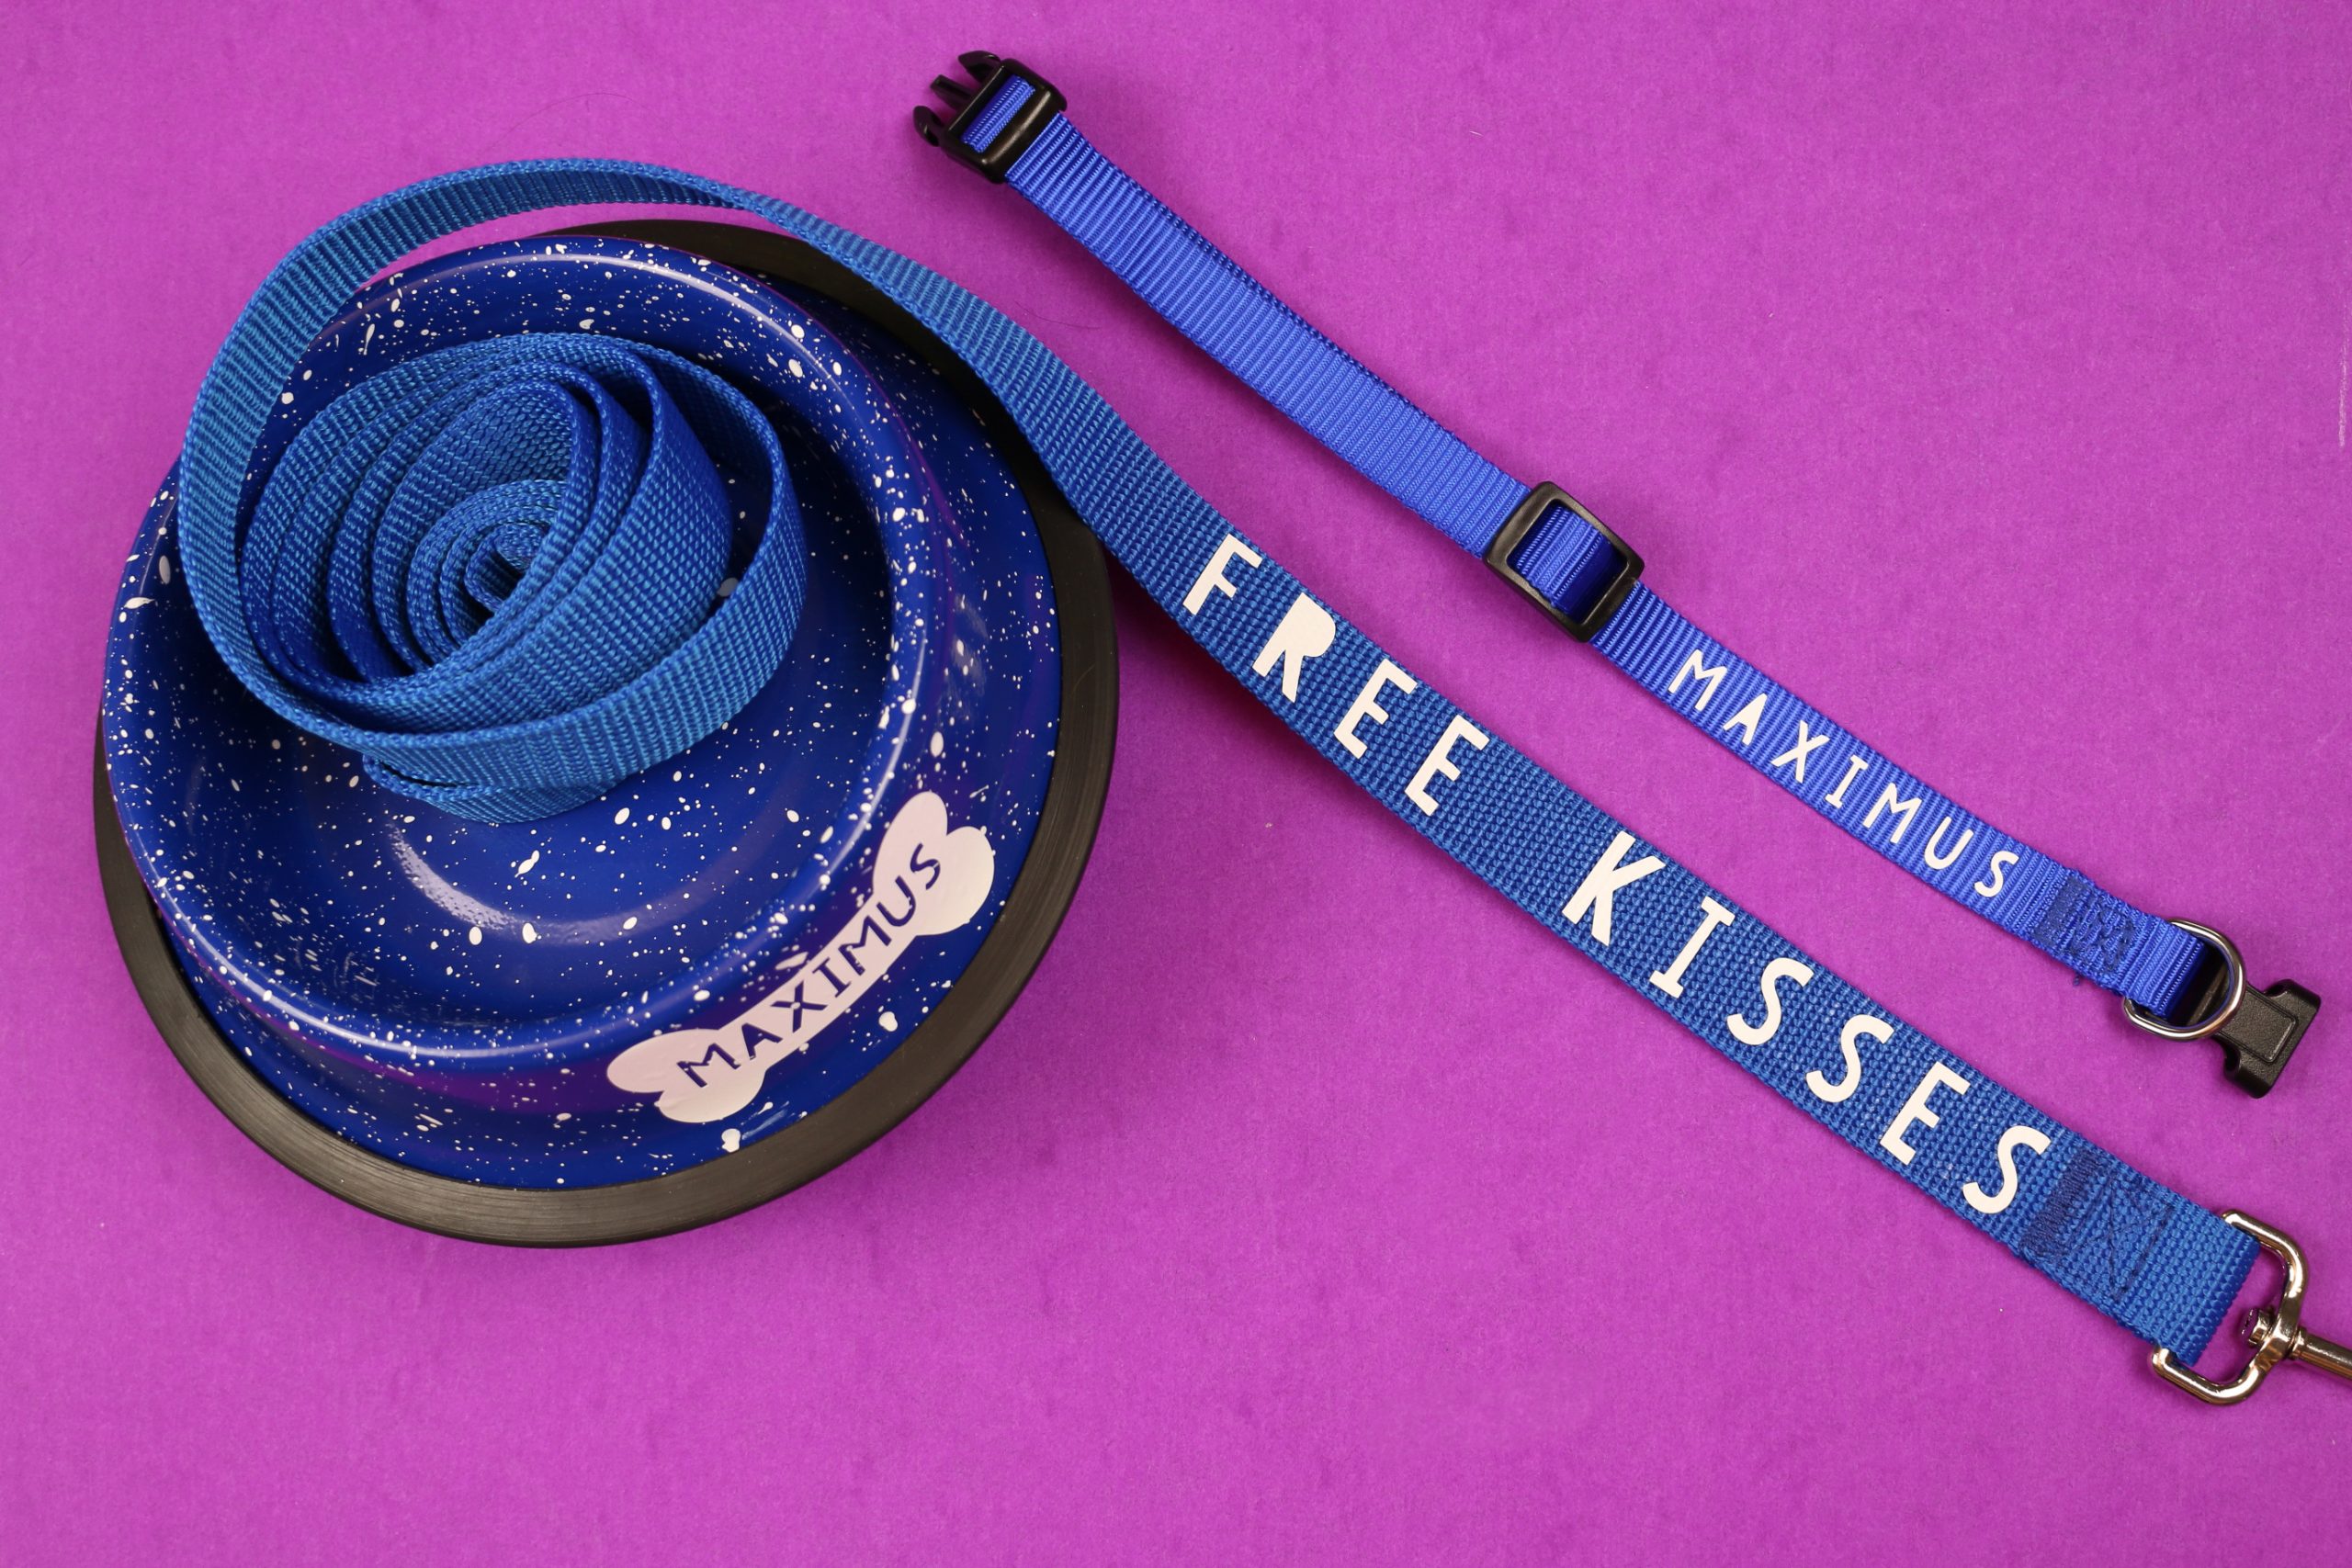
I cut this design out of white permanent vinyl and added it to the dog bowl with transfer tape. Since I used Smart Vinyl, I didn’t even need a cutting mat to cut the vinyl. It took me maybe 10 minutes to personalize the bowl with Max’s name!
ADDING IRON-ON VINYL TO DOG COLLARS AND LEASHES
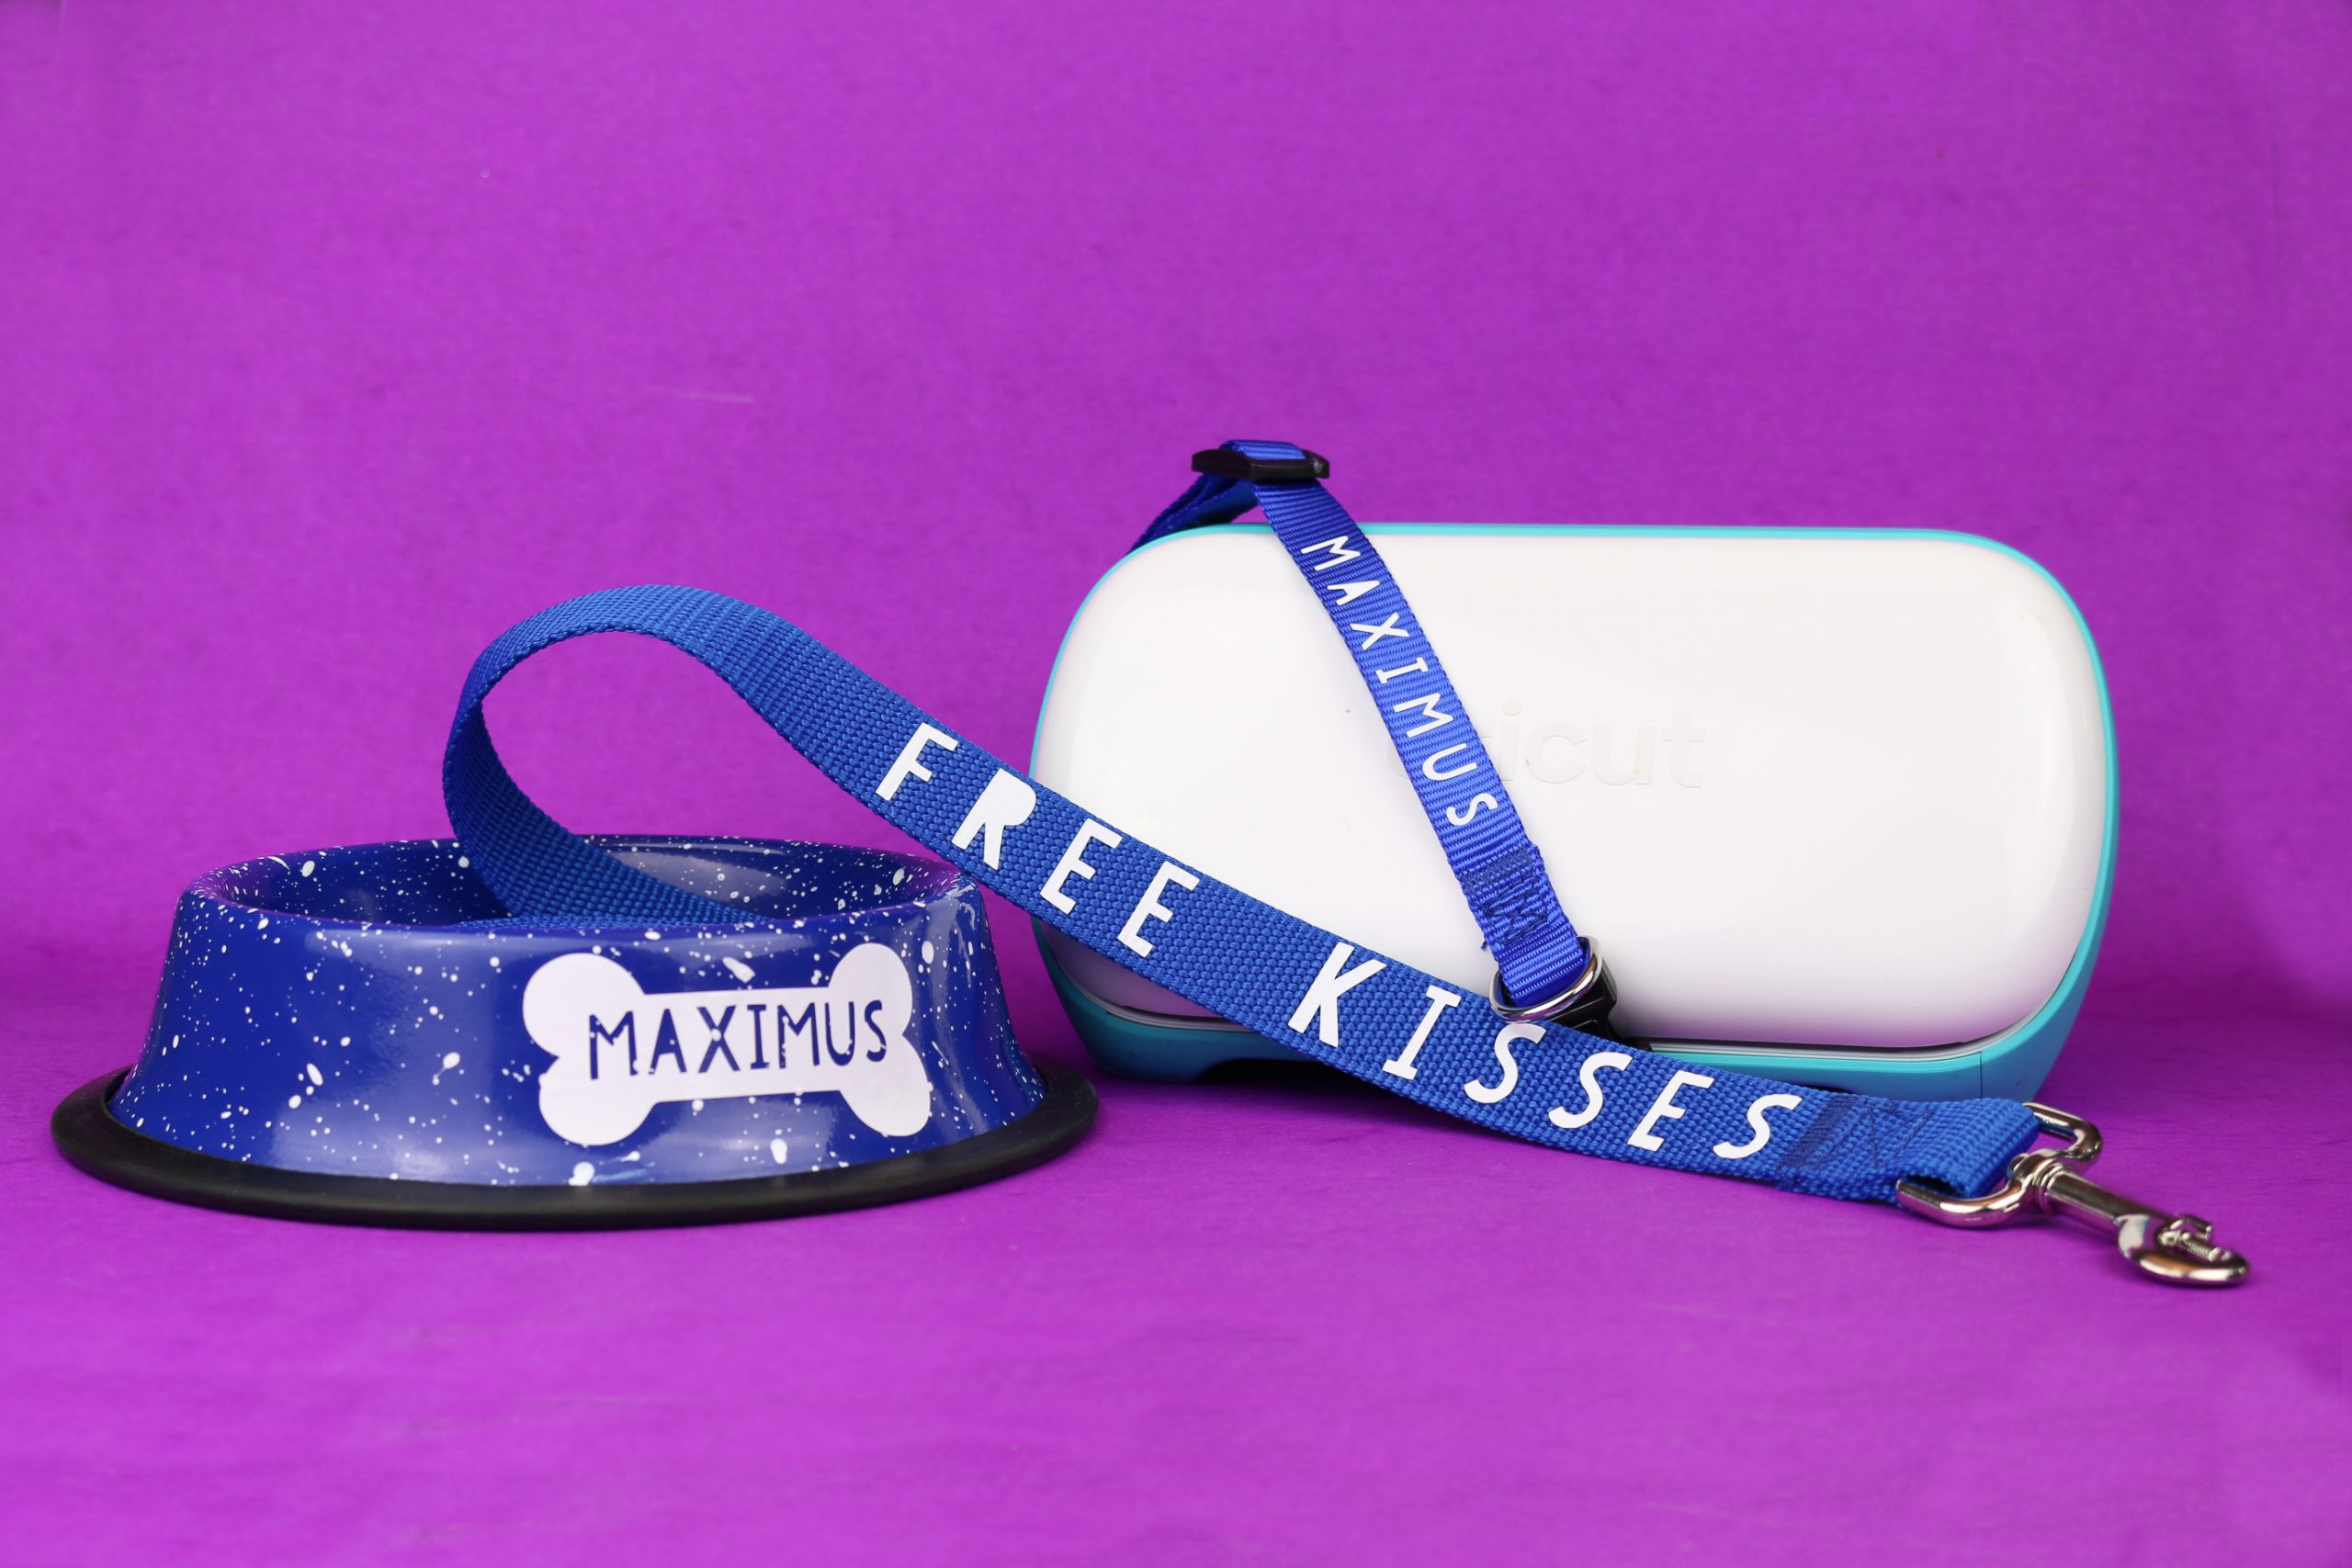
I had never tried to add iron-on vinyl to nylon before, and I was a little wary. It turned out so well! I created a Design Space canvas and used the text tool to create the designs in the correct size for the leash and the collar. (My parents’s dog is a licker, hence the FREE KISSES leash.)
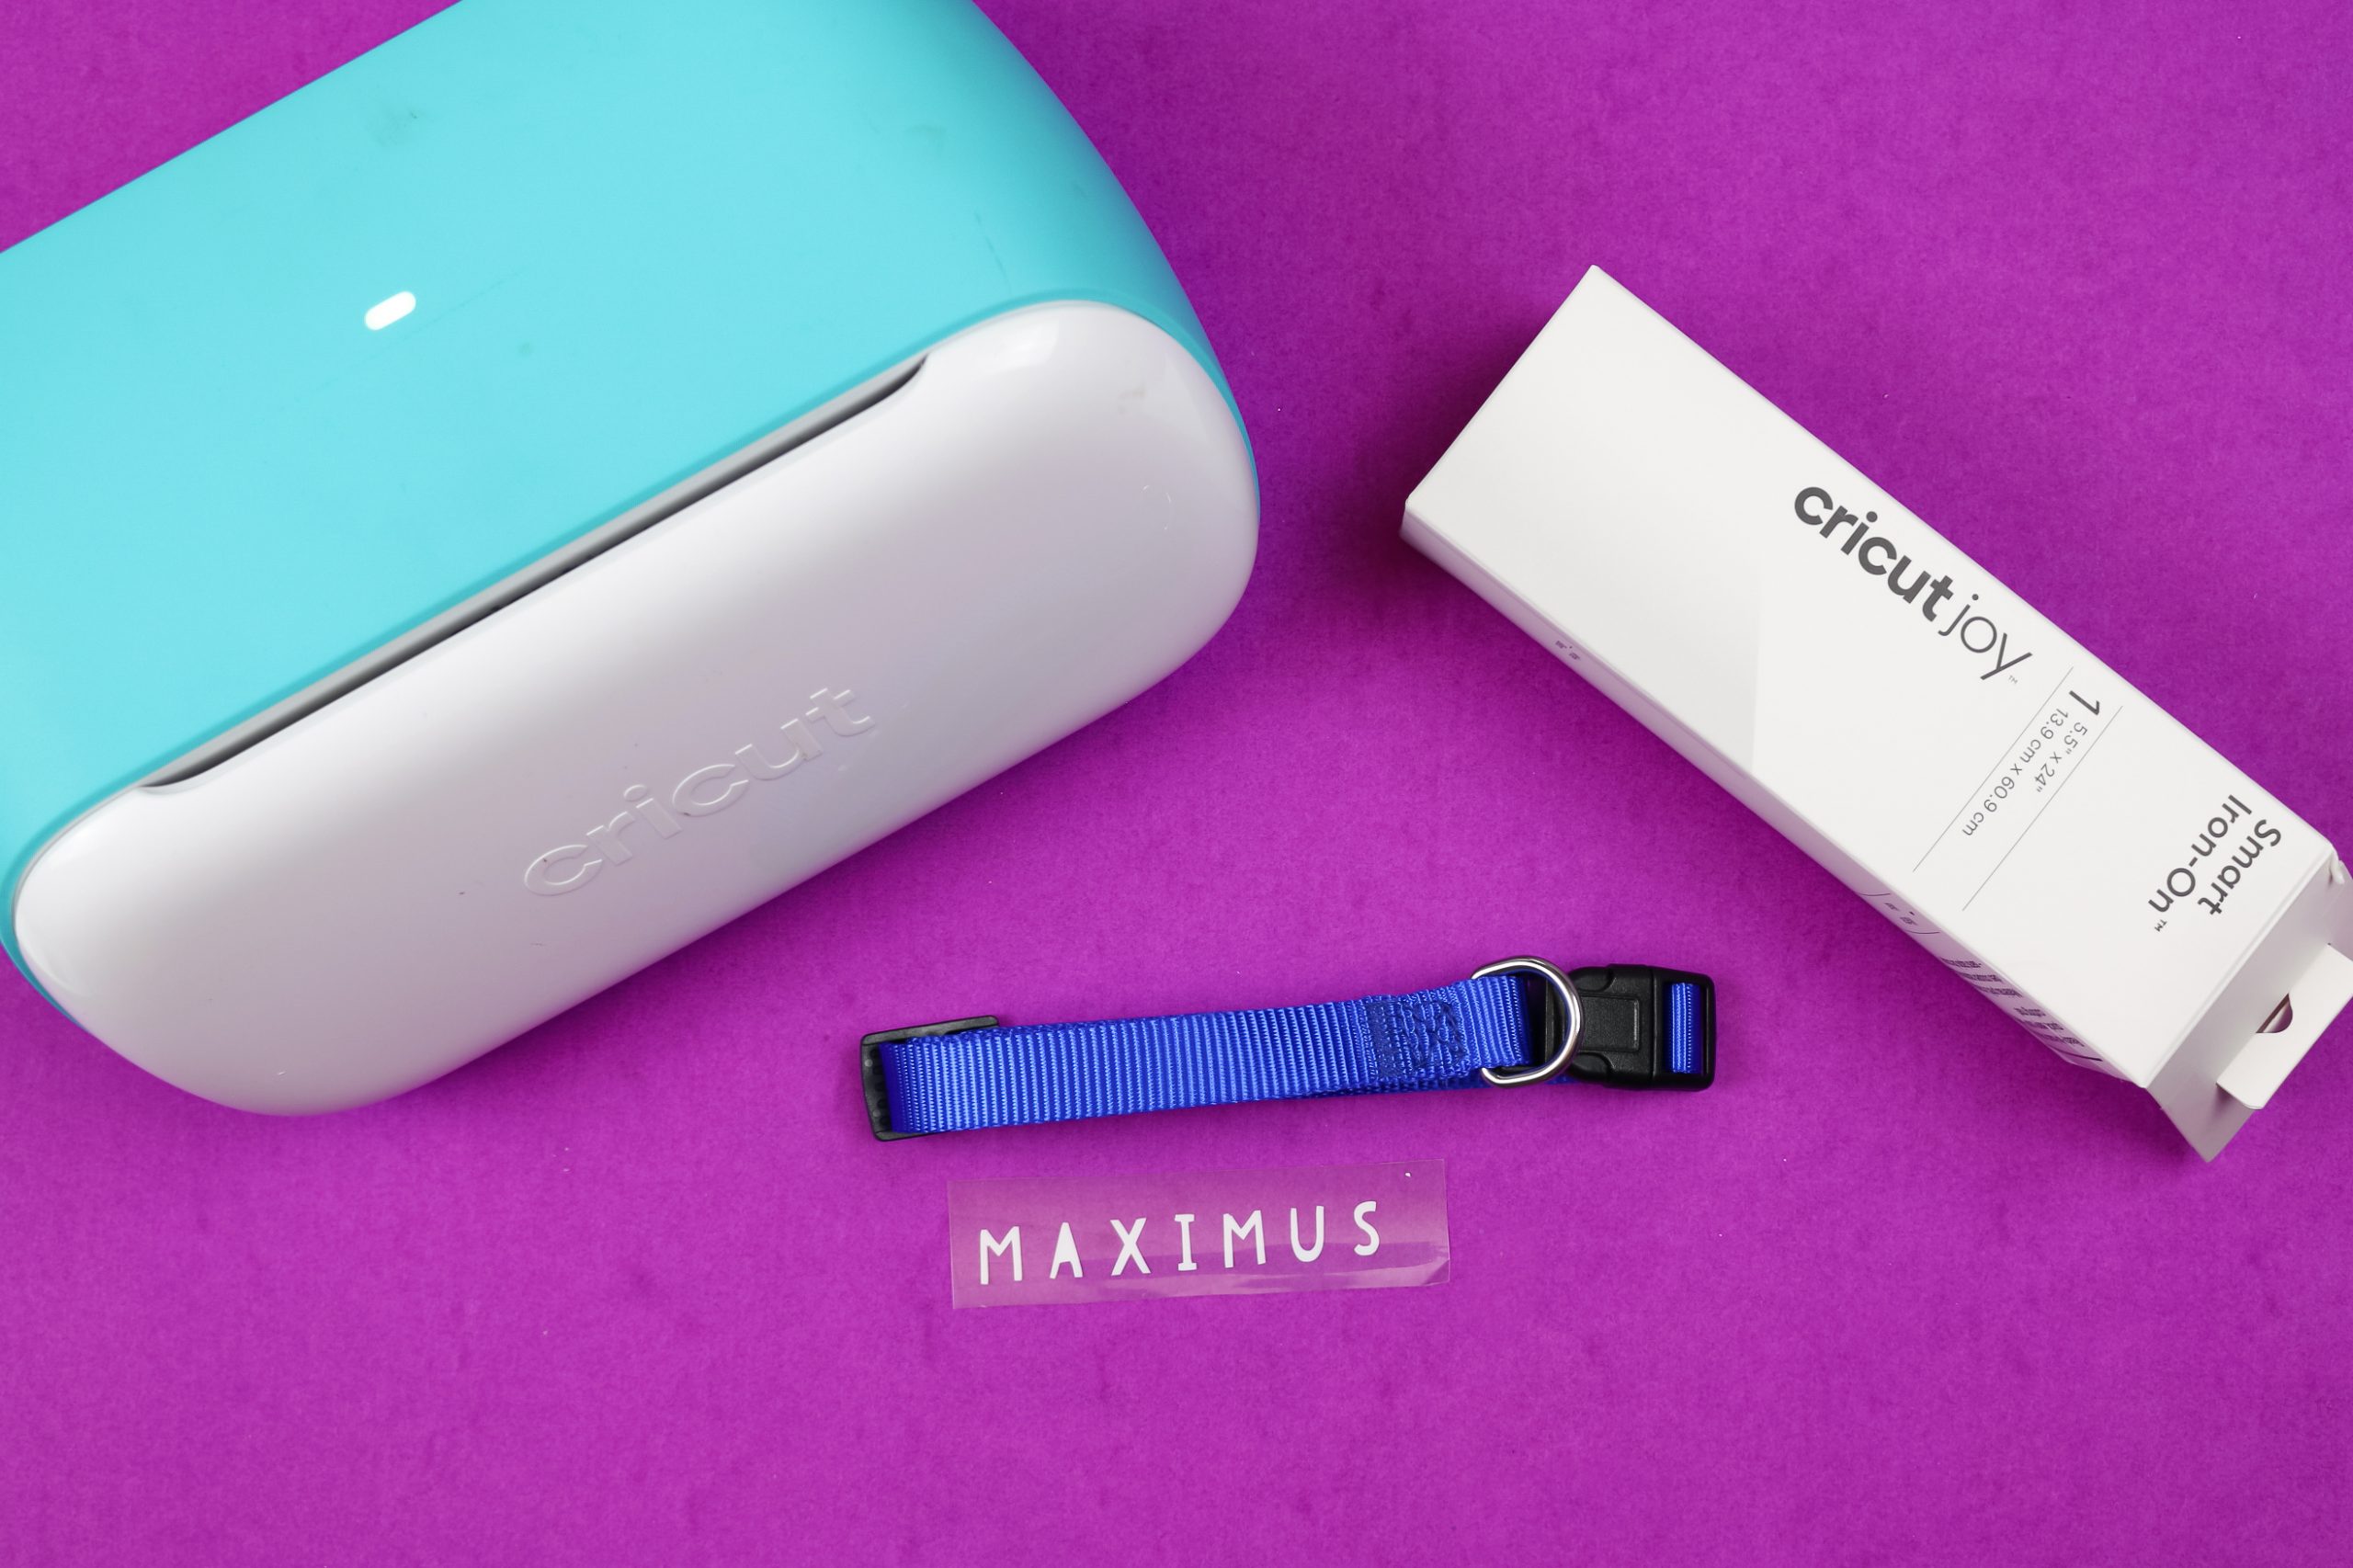
I cut the designs out of Smart Iron-On — remembering to mirror the design at the VERY LAST SECOND as usual.
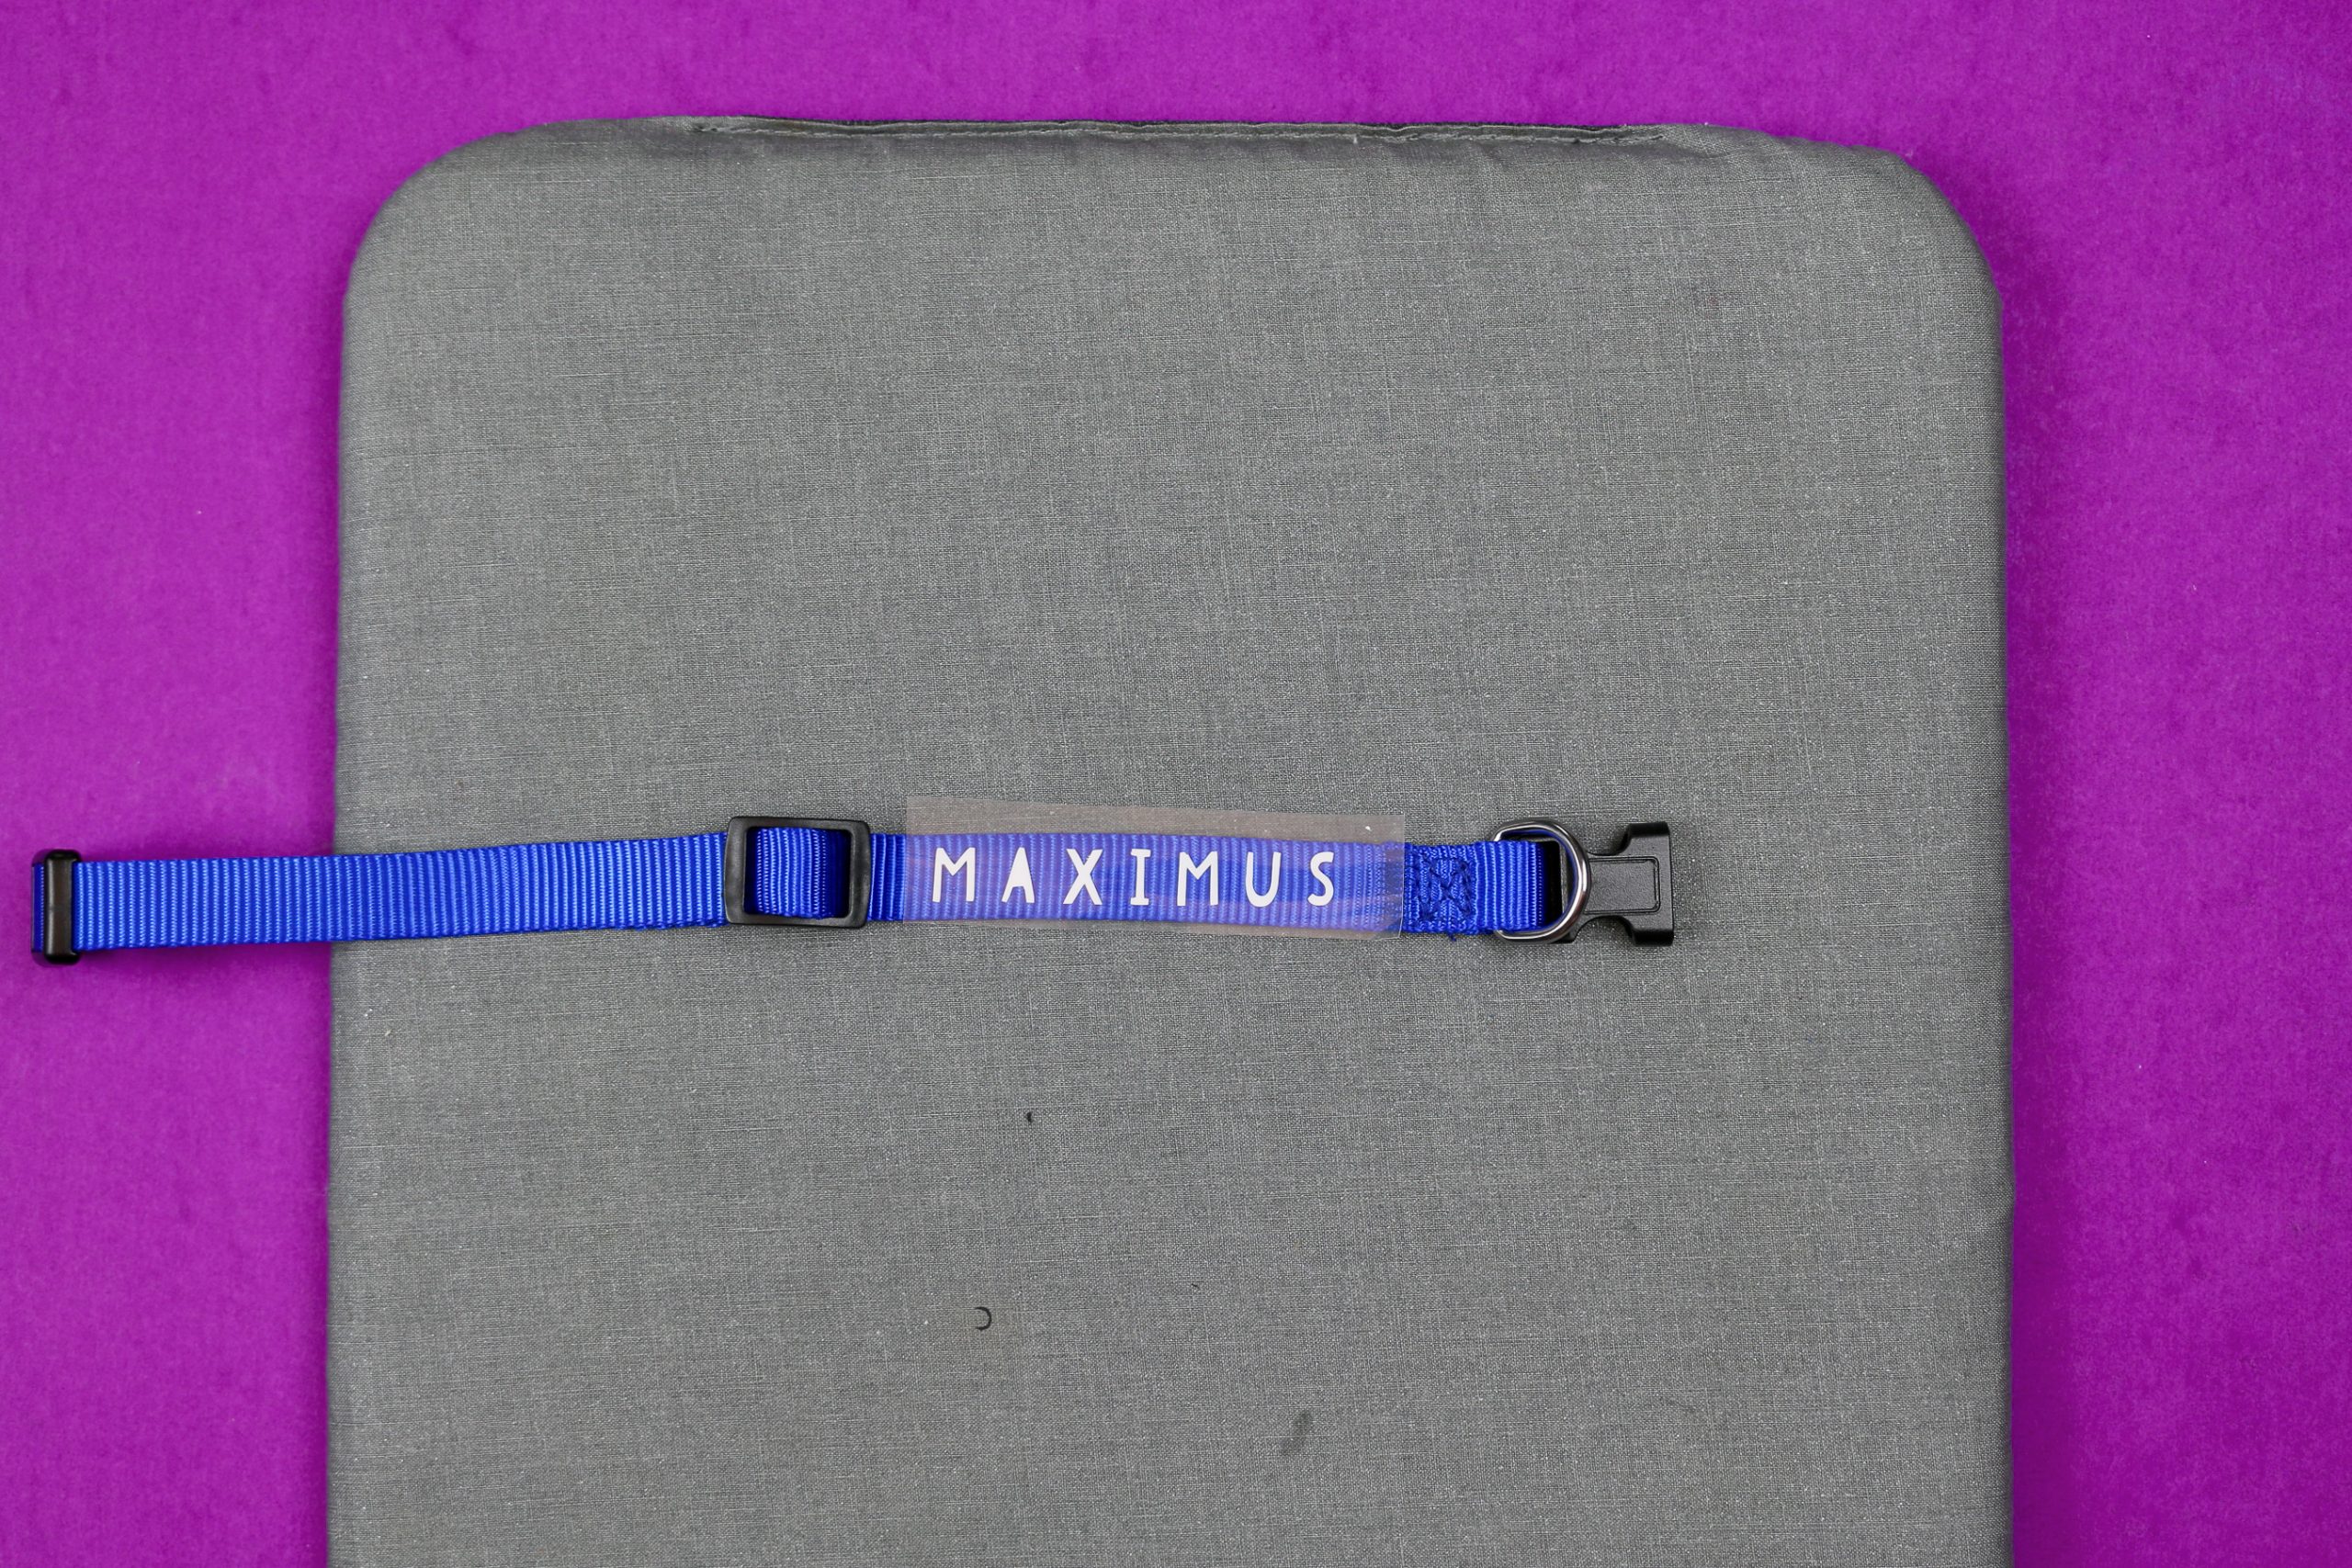
I entered all the pertinent information into the Cricut Heat Guide to find out how long I should press the vinyl with my EasyPress and at what temperature. After I removed the carrier sheet, I did cover it with a pressing cloth and hit it with the EasyPress one more time to make sure the vinyl really adhered to the textured nylon.
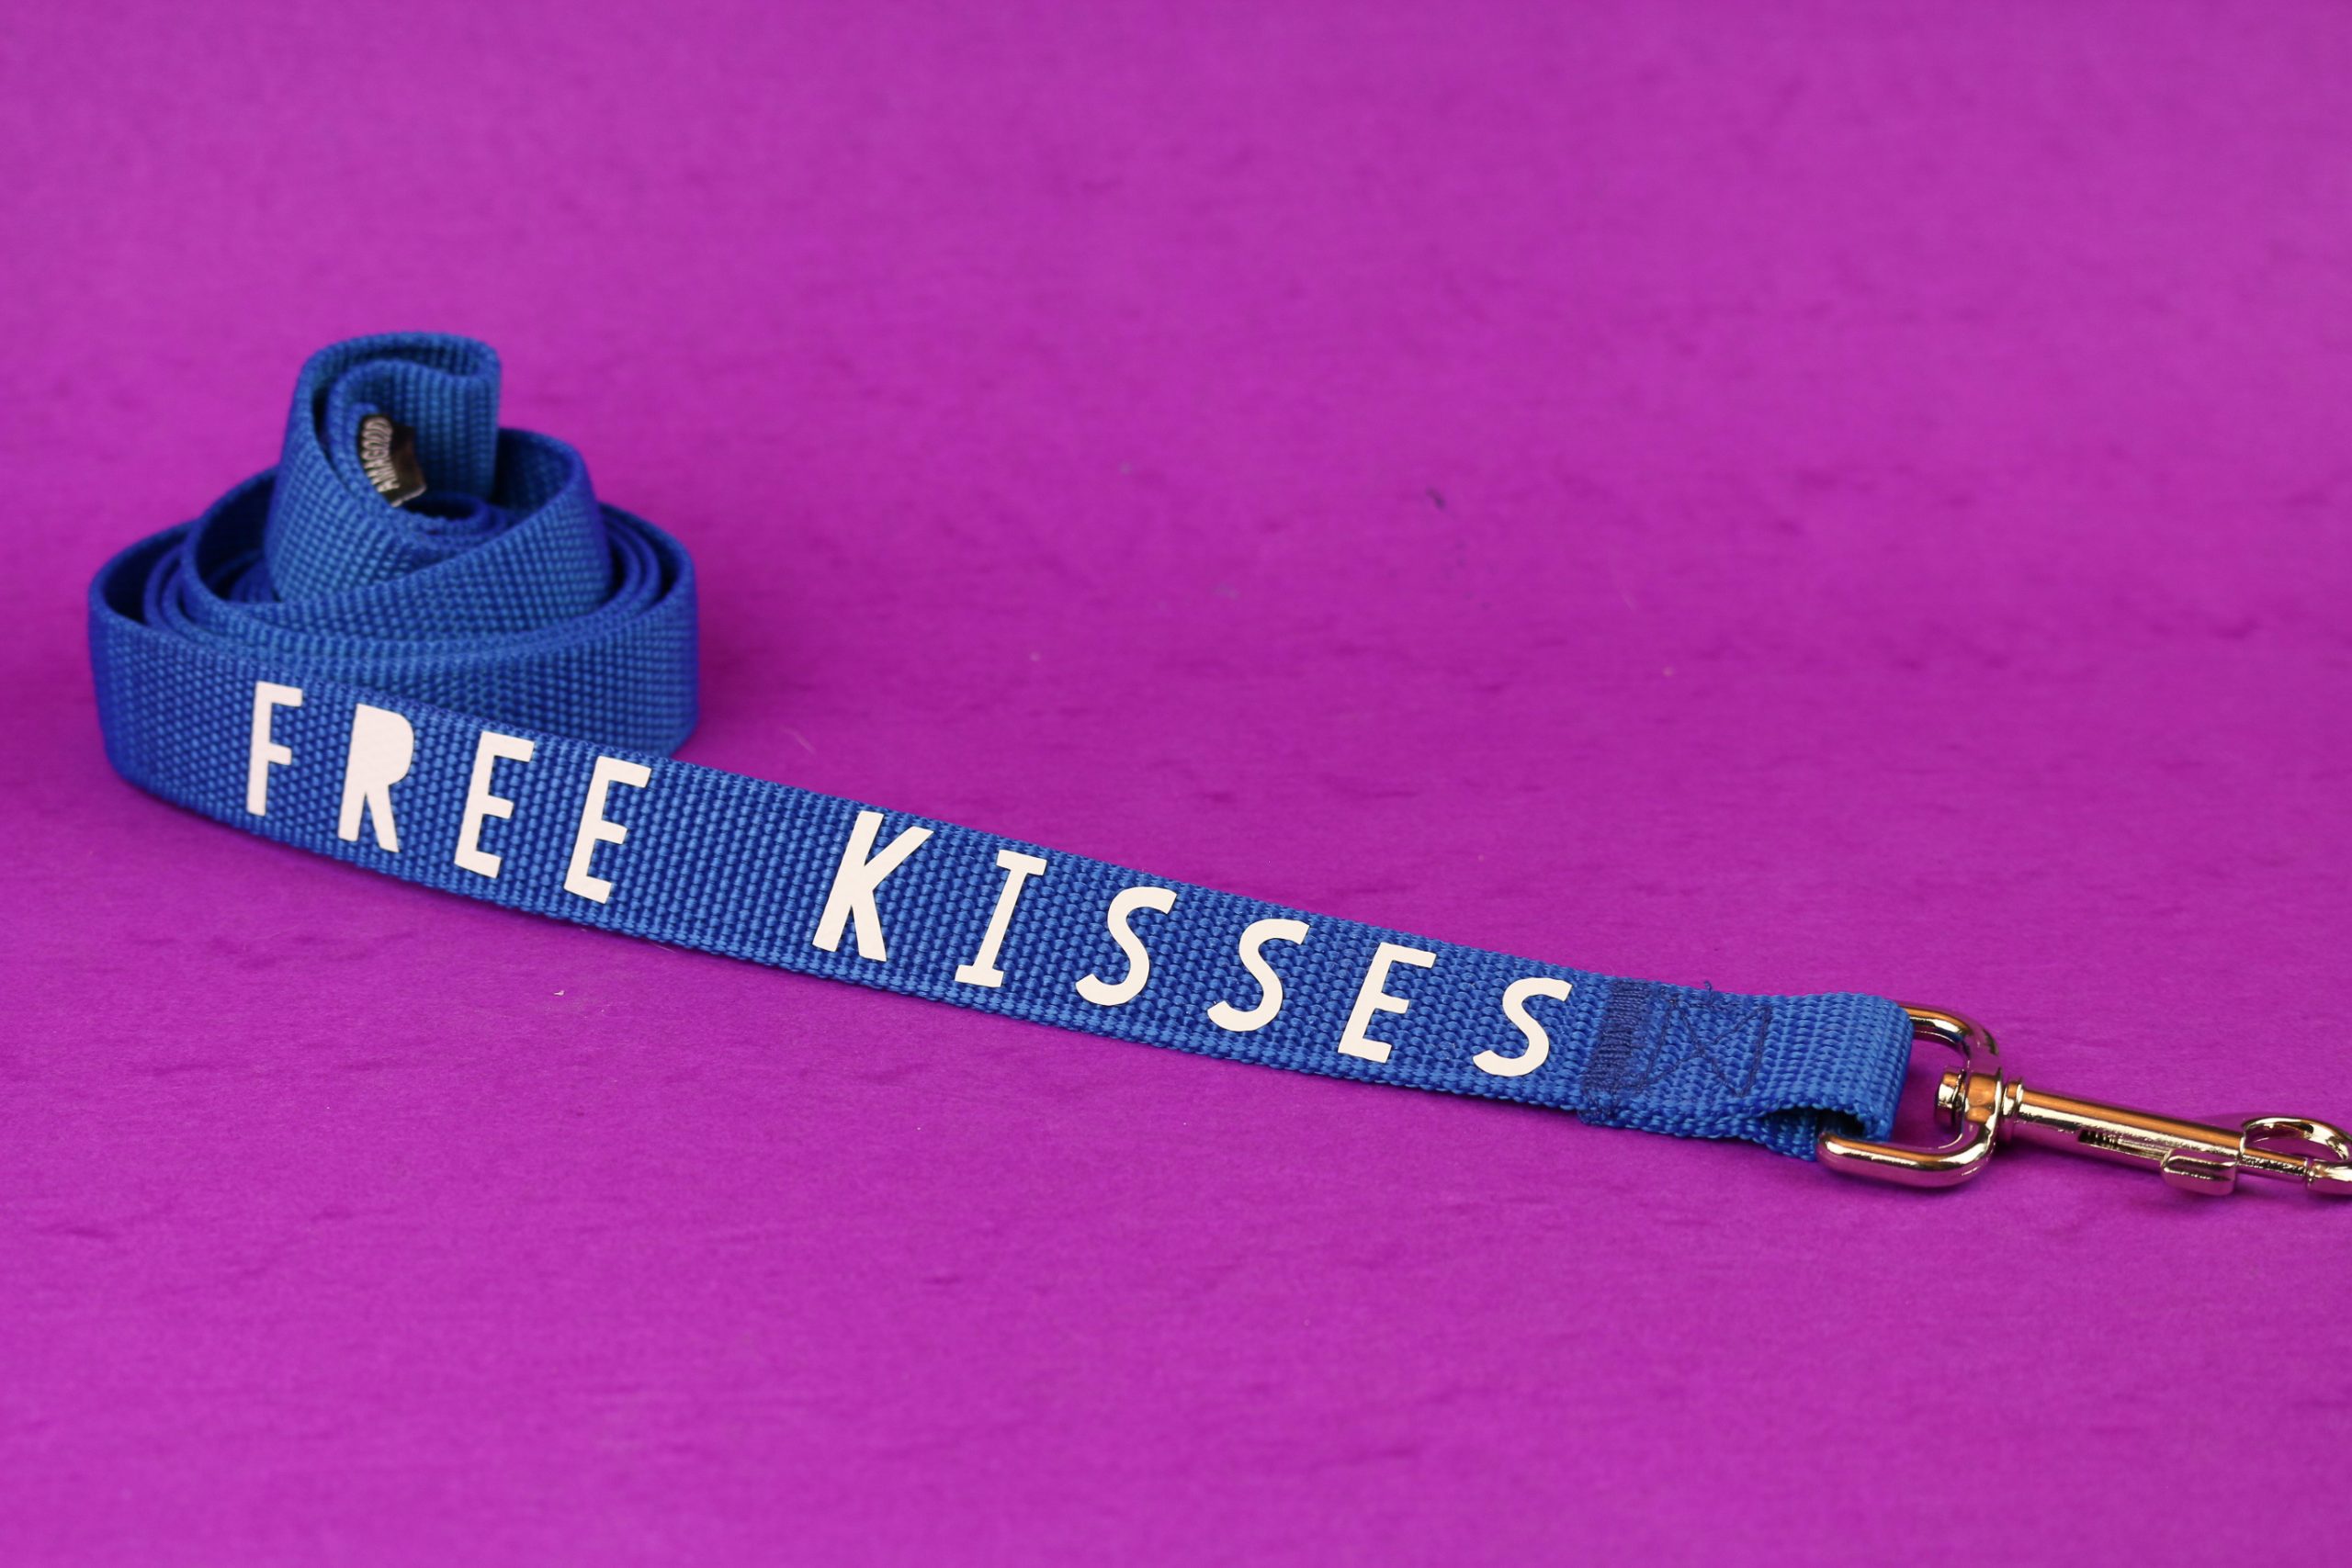
I am really pleased with how all three gifts turned out!
GIVING PERSONALIZED PET GIFTS
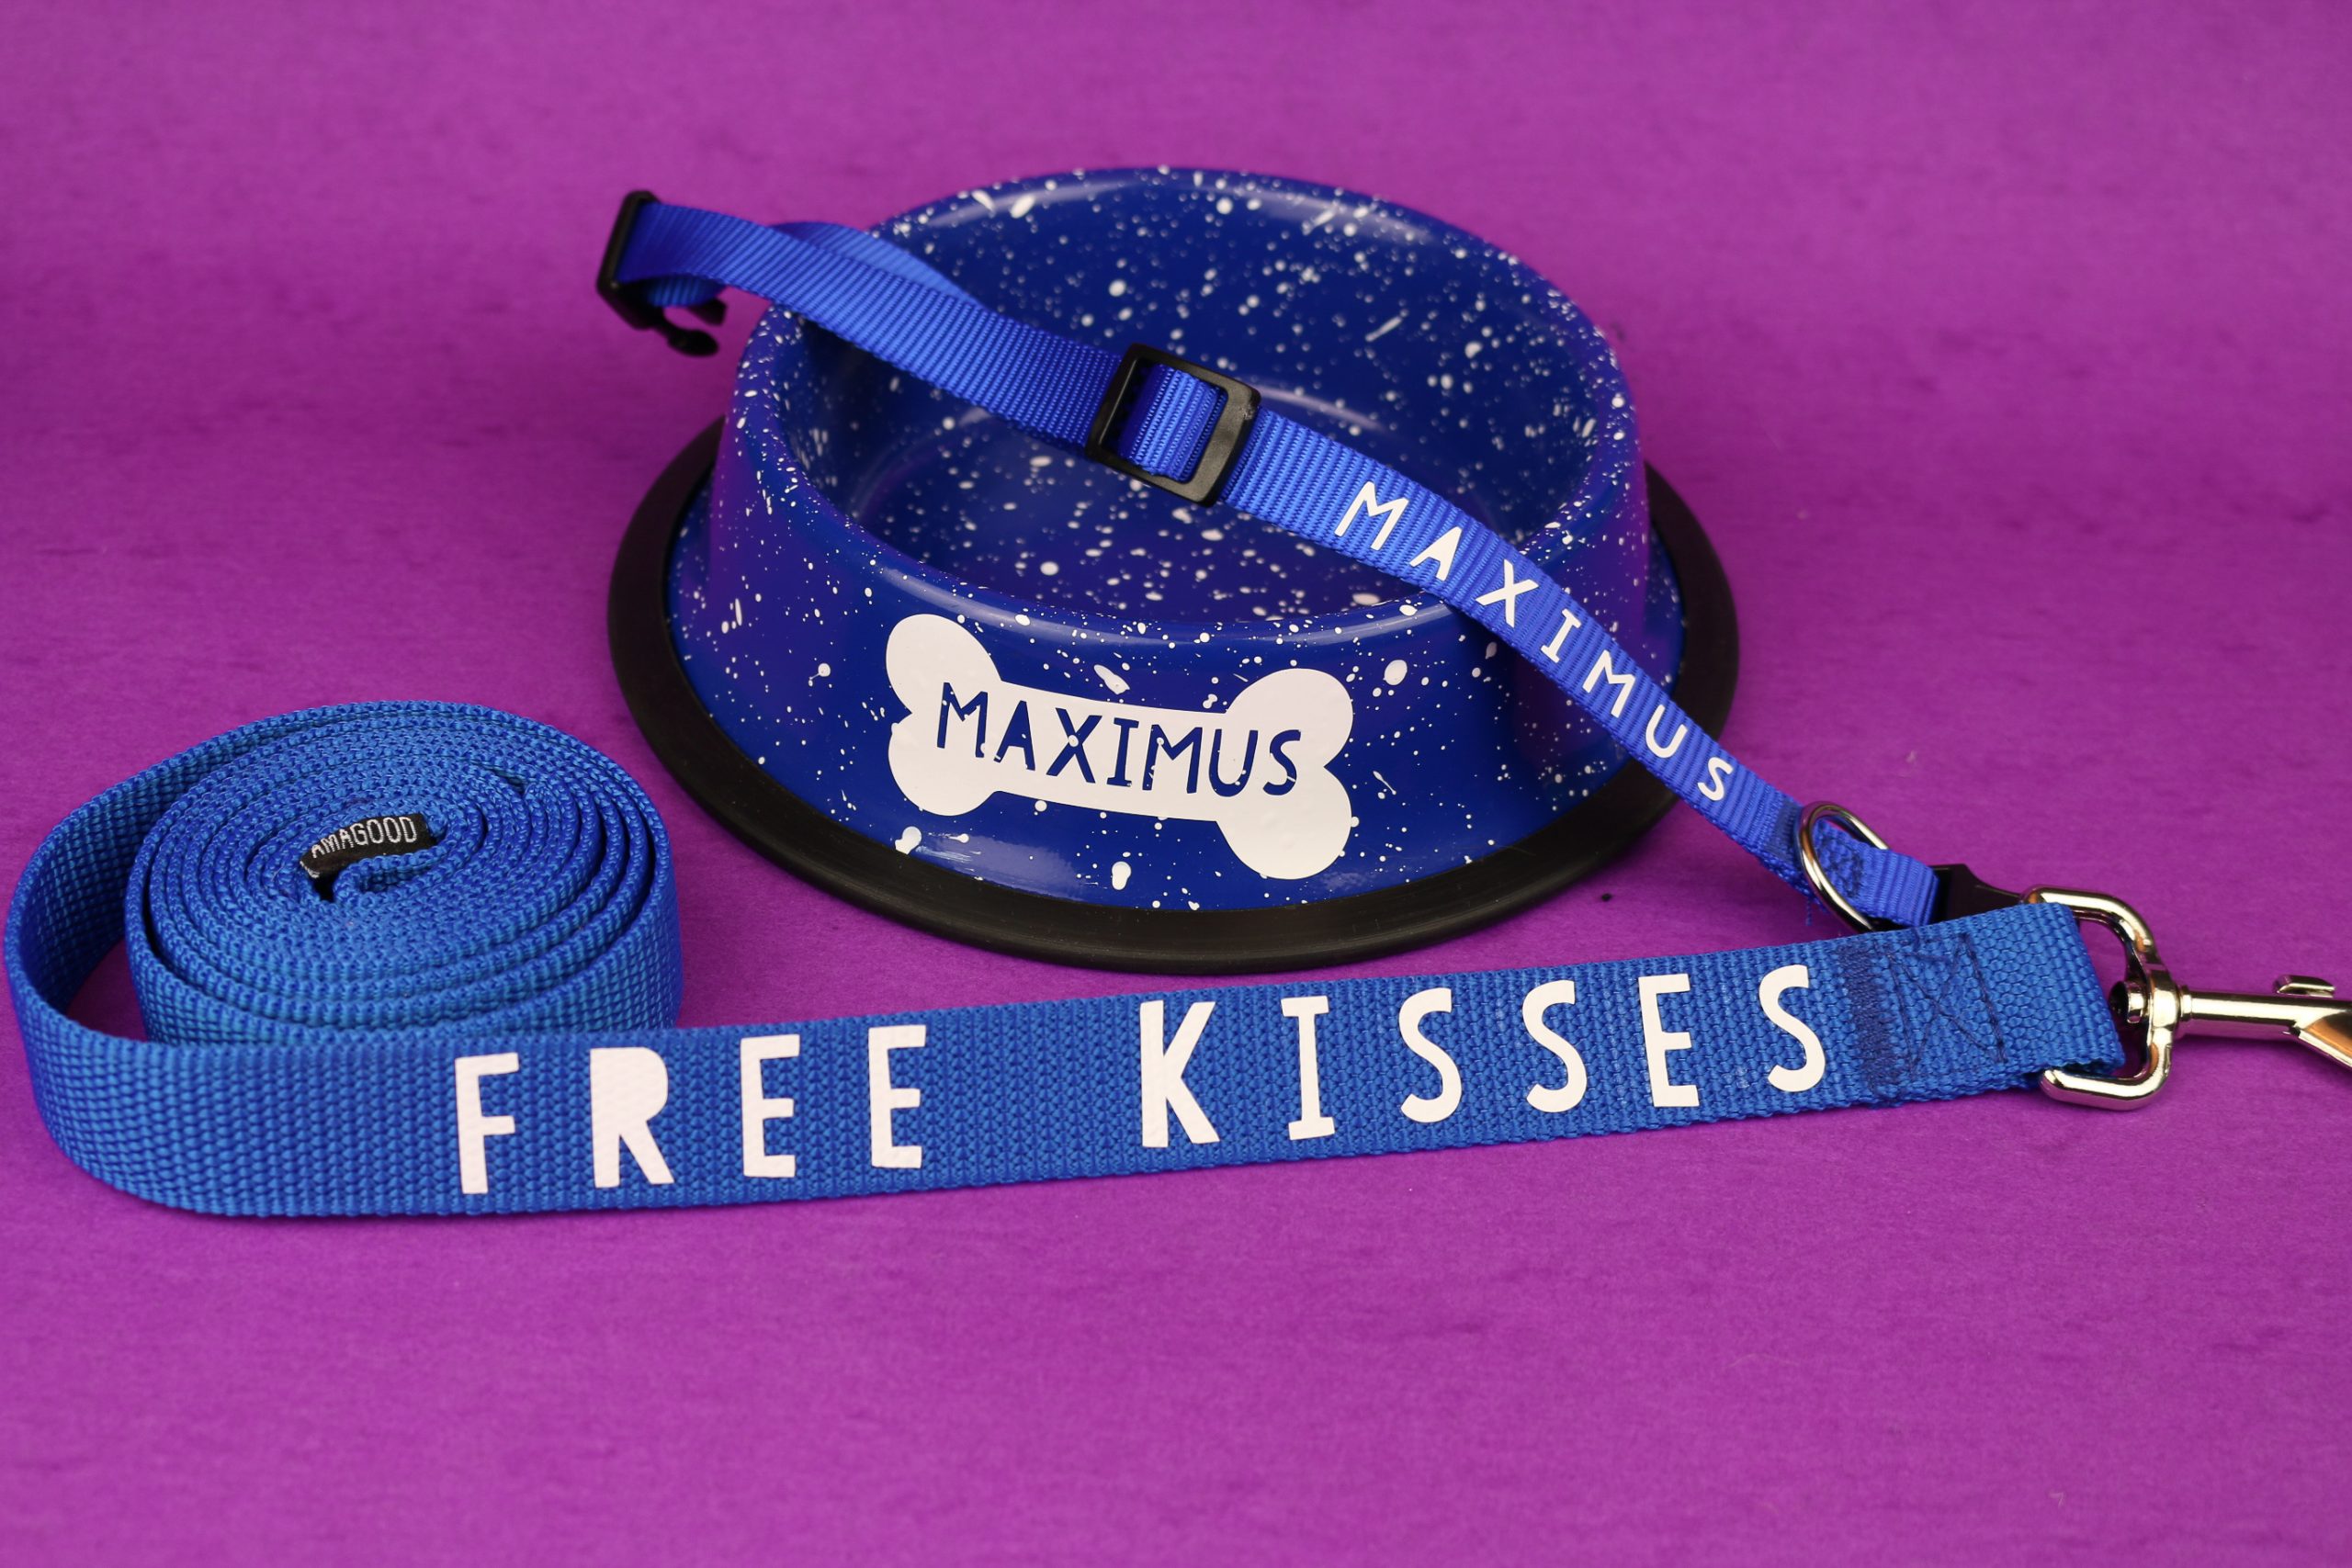
If someone you know has a new pet, I highly recommend creating some personalized gifts for the new fur baby. You don’t have to spend much time or money to give a gift that will be really appreciated by a pet lover.

