Face masks are a part of life in 2020. My kids are back to in-person school, so I need to make sure they have a number of clean masks to wear throughout the week. We spent one too many mornings scrambling to find masks before school, so I decided I needed to create an option for keeping all of our masks organized in one place. I used an inexpensive hanging sign and some removable vinyl to create this quick Cricut Joy mask hanger.
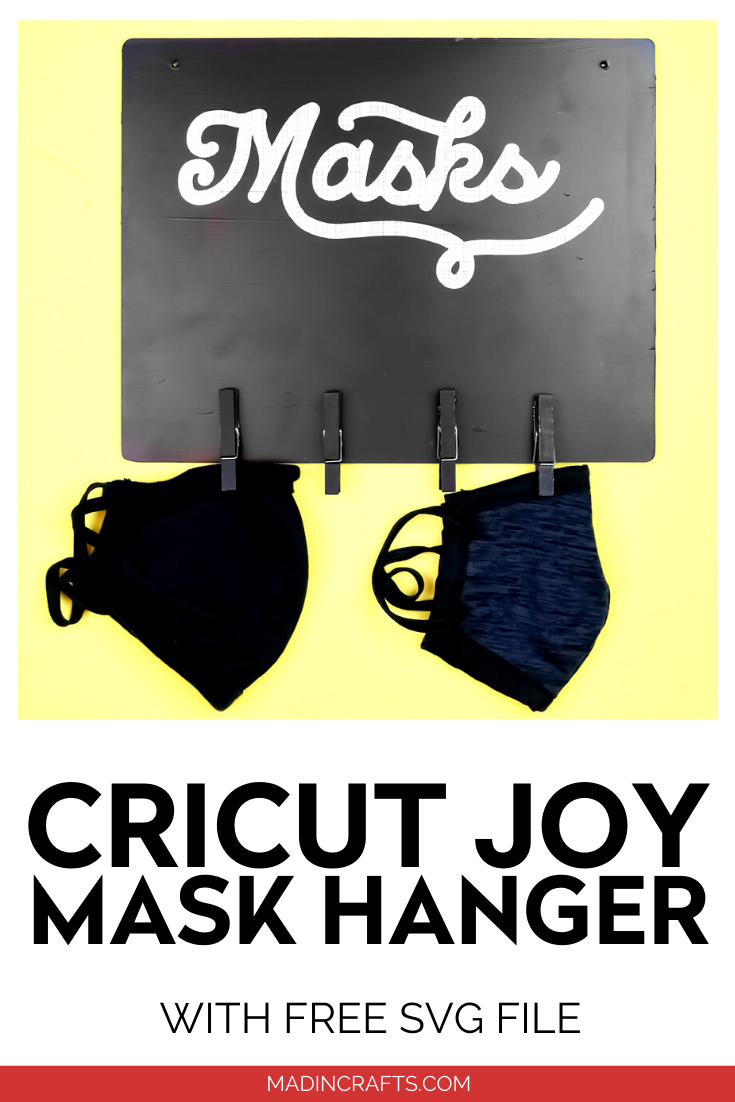
DIY CRICUT JOY MASK HANGER
WHAT YOU NEED TO MAKE A MASK HANGER
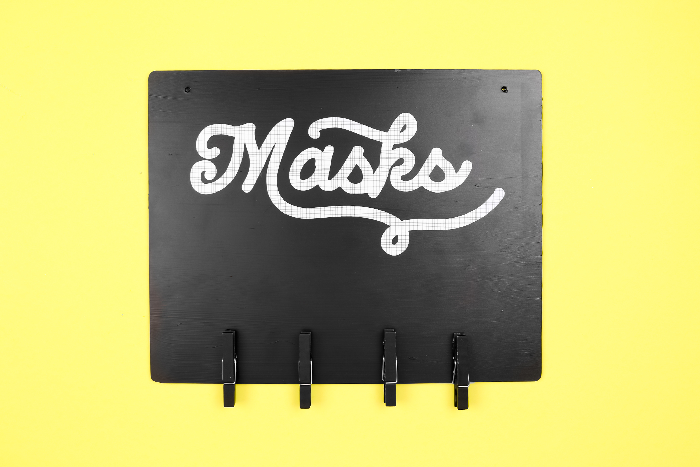
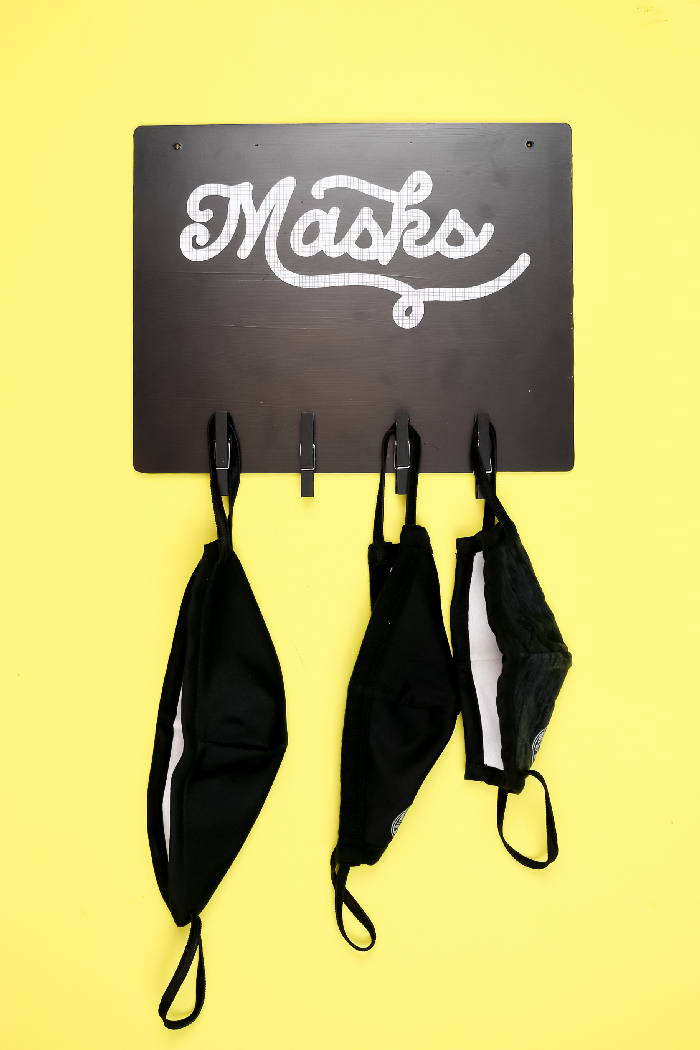
Hopefully this project serves as inspiration for you! You can create a mask holder just like this one, or you can customize it with more clothespins, hooks, or your family members’ names.
These are all affiliate links, if you make a purchase (of anything from these retailers, not just these items) after clicking through, I will earn a small commission. Ads and affiliate links are the way I am able to keep this website running and to offer you free tutorials all year long. Thank you so much for supporting me and Mad in Crafts!
- Hanging sign
- Craft paint
- Paintbrush
- Cricut Joy
- Cricut Joy mat
- Removeable vinyl
- Weeding tools
- Transfer tape
- Clothespins
- Hot glue gun
DOWNLOAD THE FREE SVG FILE
Sign up for my SVG Club below for this free SVG file! As a member of the club, you will receive one new SVG file each month. The SVG file is ready to upload directly into your favorite cutting machine’s design software. Insert the file into a new project, then resize it to fit the project you will be making.
HOW TO MAKE YOUR OWN MASK ORGANIZER
Cricut Joy Mask Hanger
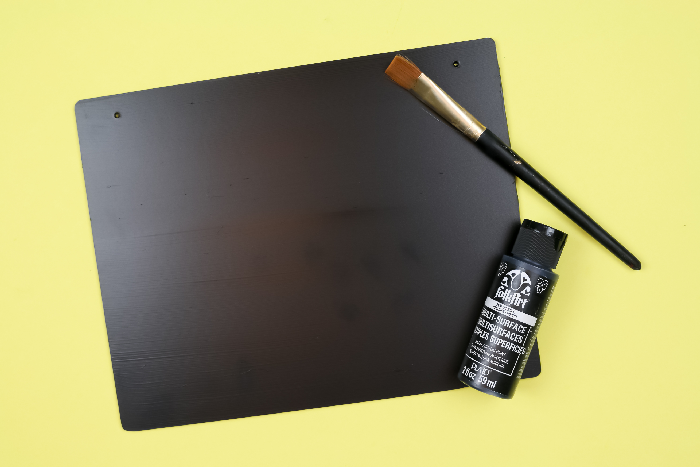
- Start by painting your sign.
I used a hanging sign I had on hand, but you can also buy a holiday sign from the dollar store and paint over it.

- Upload the Masks SVG into Design Space.
If you don’t want to use my SVG, you can also use the Text option in Design Space to create the word.
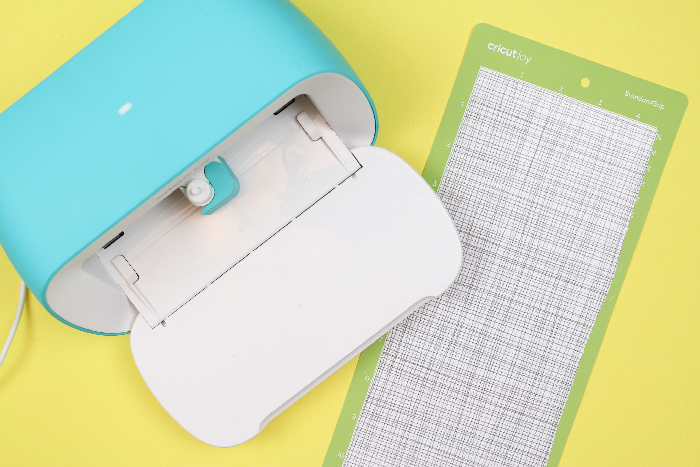
- Place the vinyl on the mat and load it into the machine.

- Resize the design to fit your sign and send it to cut on your Cricut Joy.
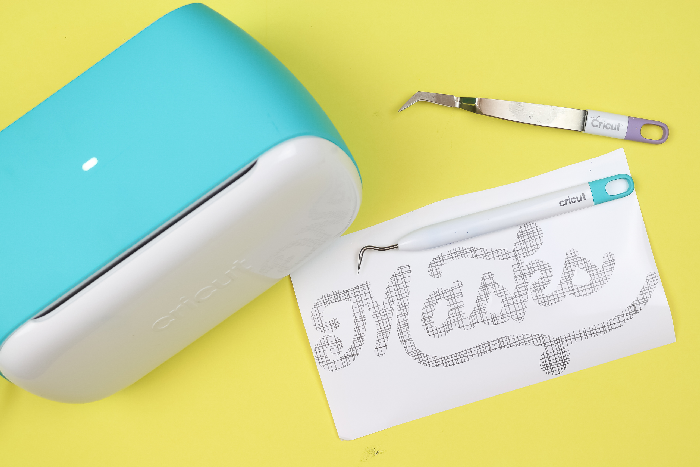
- After the design has cut, weed away the excess vinyl.

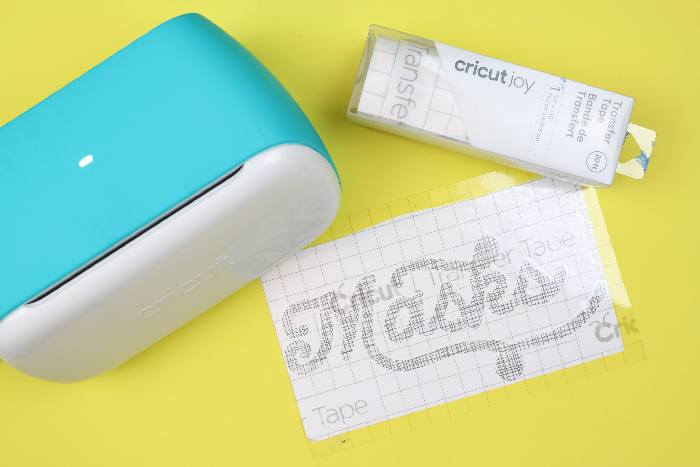
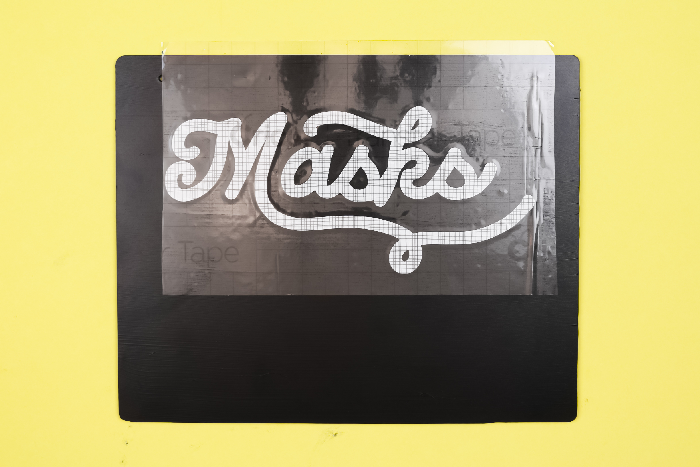
- Place transfer tape onto the weeded design and press down firmly to make sure the vinyl adheres to the transfer tape.

- Position the vinyl on the sign, and press and rub to make sure the vinyl now sticks to your sign.
Remove the transfer tape slowly to make sure neither the vinyl nor any of your paint pulls up with it.

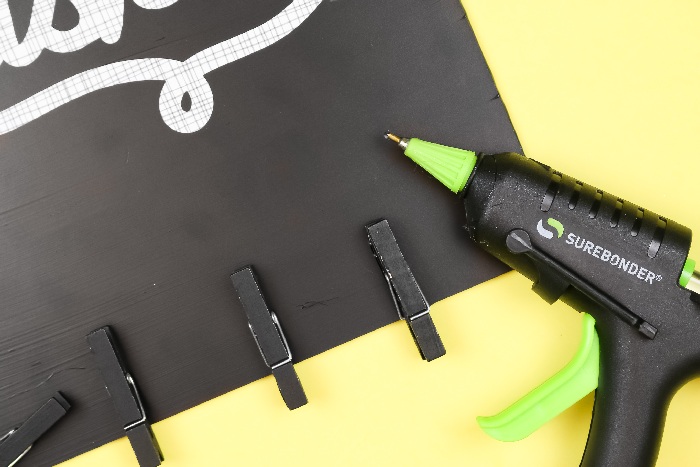
- Use hot glue to add hooks or clothespins to the bottom of the sign.

- Hang and add your masks!

MORE FANTASTIC DOLLAR STORE CRAFTS
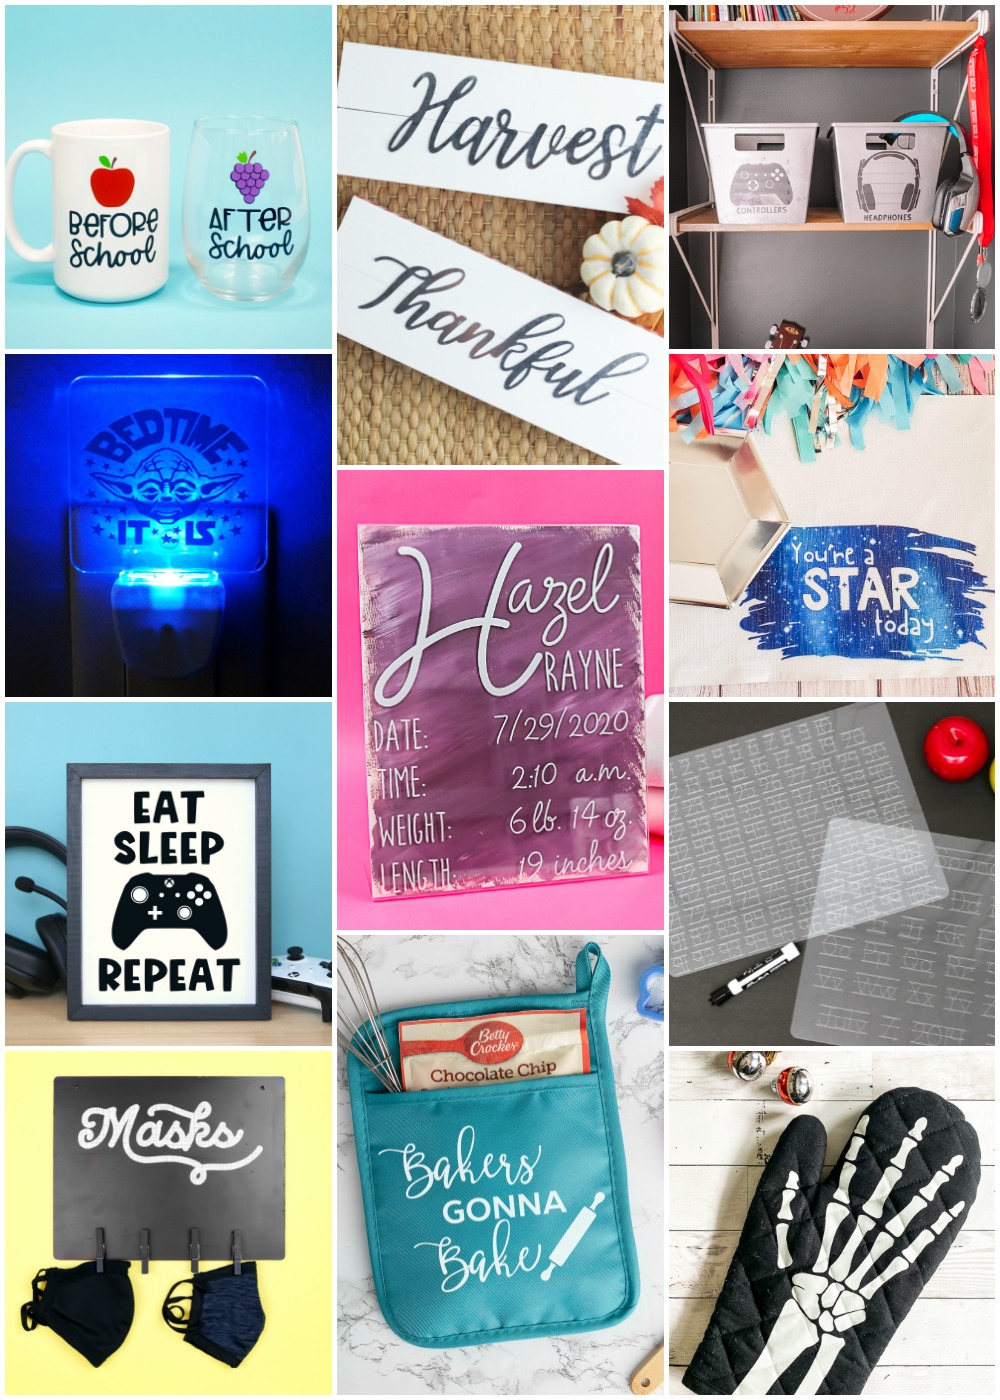
Looking for more fun and inexpensive craft ideas? My blogging friends and I have you covered! Check out all of these great projects for plenty of crafty inspiration.
- Reverse Canvas from Happy Go Lucky
- Dollar Store Fall Sign from Hello Creative Family
- Yoda Night Light from Artsy Fartsy Mama
- Before/After School Mug and Wine Glass from Happiness is Homemade
- Infusible Ink Placemat from Crafting in the Rain
- Skeleton Hand Oven Mitt from Everyday Party Magazine
- Painted Acrylic Sign from The Country Chic Cottage
- Penmanship Tracing Mats from That’s What Che Said
- Potholder Baking Mix Gift Set from Brooklyn Berry Designs
- Gaming Organization Bins
- Hanging Mask Organizer from Mad in Crafts

