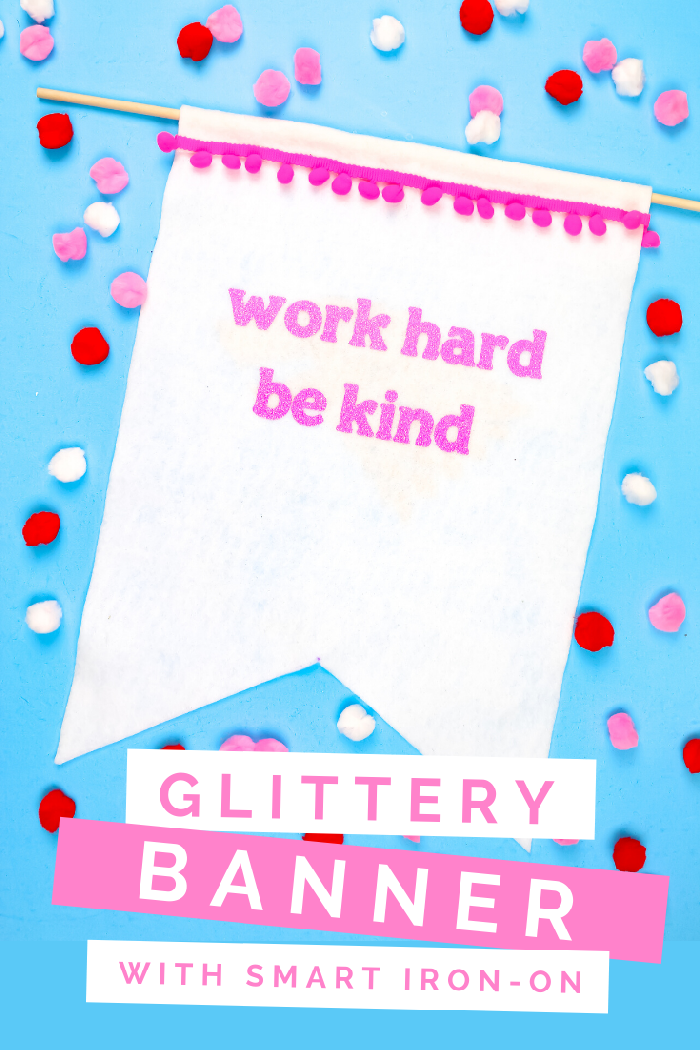
I love letting my kids create their own decor for their bedrooms. Usually this consists of hand-drawn artwork taped to their walls, but with a little bit of help they can also make more involved DIY decor. This DIY Work Hard, Be Nice banner is easy for kids to make with a Cricut Joy, and it’s completely no-sew!
DIY WORK HARD BE NICE BANNER
WHAT YOU NEED TO MAKE A BANNER WITH SMART IRON-ON
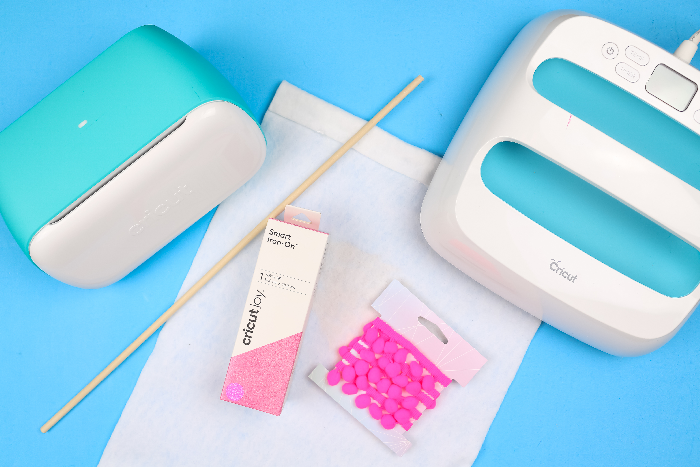
You can make a banner like this with any Cricut machine, but the Joy machine is super kid-friendly. Using Smart Iron-On makes the process even easier!
These are all affiliate links, if you make a purchase (of anything from these retailers, not just these items) after clicking through, I will earn a small commission. Ads and affiliate links are the way I am able to keep this website running and to offer you free tutorials all year long. Thank you so much for supporting me and Mad in Crafts!
- Cricut Joy
- Cricut Joy mat
- Smart Iron-On vinyl
- Wedding tools
- EasyPress or iron
- White felt
- Pom pom trim
- Hot glue gun
- Dowel
Want to know which craft supplies I always keep in my craft room?
Visit the Mad in Crafts Amazon Storefront to learn more and to buy your own supplies!
HOW TO MAKE A NO-SEW FELT BANNER
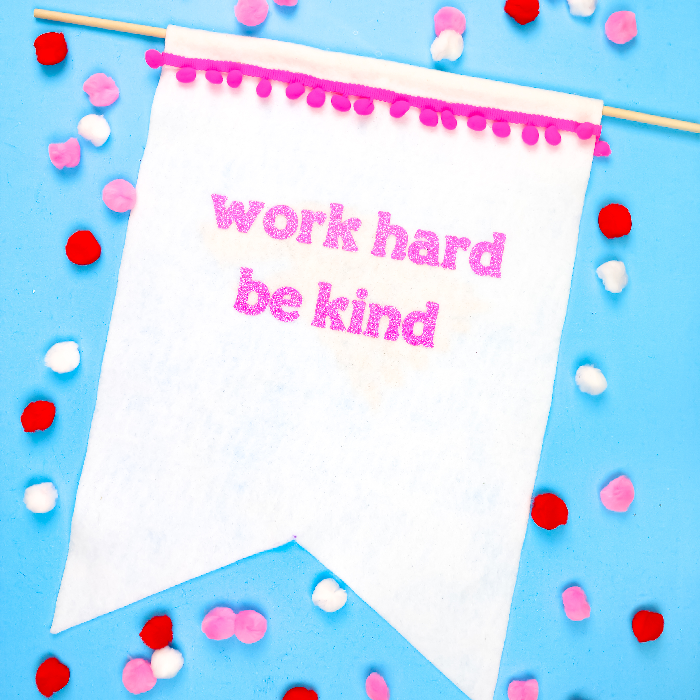
Making the felt banner itself is really simple. You just need a good pair of scissors, measuring tape or ruler, and a hot glue gun! I made a video showing the exact process of making a felt banner so you can see just how to do it.
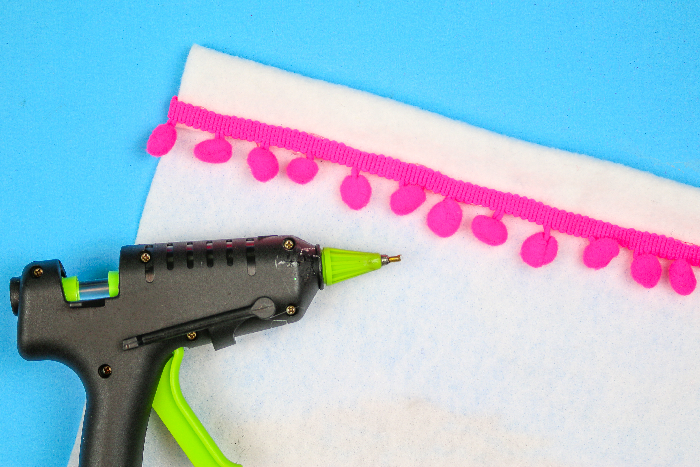
The only addition to that tutorial that I made for this banner was the pink pom pom trim. I cut a length of the trim that was slightly longer than the width of the banner. I used my hot glue gun to add the trim to the fold of the felt, wrapping the excess trim around the edges of the banner for a clean finish. It’s a totally optional step, but it adds a bit of color and movement to the banner.
HOW TO USE SMART IRON-ON
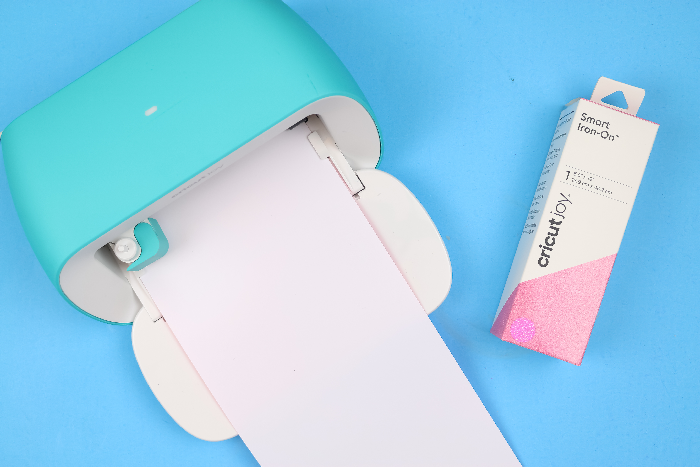
Cricut’s new Smart materials make using the Cricut Joy even easier than normal. I tried out the Smart glitter iron-on for the first time with this project, and it cut and weeded beautifully!
How to Use Smart Iron-On with the Cricut Joy
- Create your design in Design Space.
If you would like to use my design, you can find it here.
- Select Without Mat from the Load Type page.
- In Design Space, select your Cricut Joy machine.
- Select Glitter Smart Iron-on from the materials list.
- Set the design to cut using your Cricut Joy.
DON’T FORGET to mirror the design.
- Load the Smart Vinyl into the Cricut Joy white side up.
It’s hard to get this step wrong because the machine literally won’t accept the vinyl if you insert it incorrectly!
- Click Go and let the Joy cut out the design.
- Unload the mat and weed away any excess vinyl.
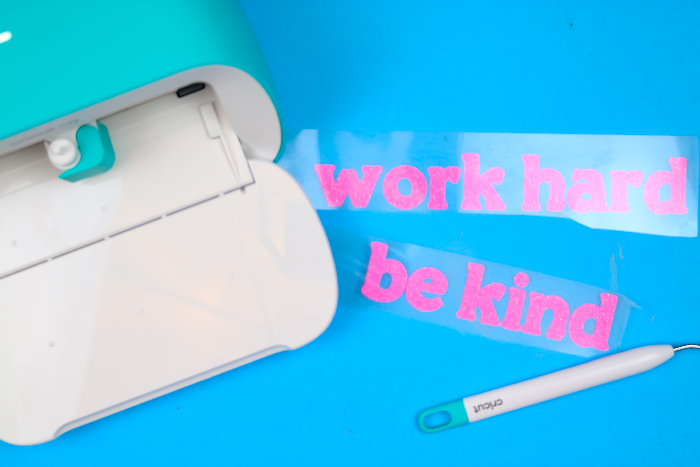
Once you have weeded the vinyl, you should place it on to the banner where you would like it to go. Then use an EasyPress or iron to adhere the vinyl to the felt. I always consult the Cricut Heat Guide before I use iron-on to make sure I have all my settings correct.
MORE FAMILY FUN CRICUT CRAFTS



Leave a Reply