
When I am working, I have a tough time staying away from social media on my phone. Every time I pick up my phone to check what time it is, I end up clicking over to Facebook or Instagram and procrastinating. In an attempt to up my productivity a bit, I made my own analog desk clock so I can check the time at a glance. This dip dyed desk clock helps to keep me focused when I’m working.
DIP DYED DESK CLOCK TUTORIAL
WHAT YOU NEED TO MAKE A DESK CLOCK

You can find all the supplies for this project at your local craft store, but I will include Amazon links below in case you don’t actually have a local craft store! I found my frame at Michaels, but I can’t for the life of me find one online. I linked to a similar wood plaque without a frame cut out. You can always cut a hole for a photo, if needed.
These are all affiliate links, if you make a purchase (of anything from these retailers, not just these items) after clicking through, I will earn a small commission. Ads and affiliate links are the way I am able to keep this website running and to offer you free tutorials all year long. Thank you so much for supporting me and Mad in Crafts!
- Standing wood frame or plaque
- Dye or stain
- Envirotex Lite
- Mixing cup and stir sticks
- Drill
- Clock mechanism
USING POUR-ON RESIN

I love using Envirotex Lite Pour-On to create a polished finish on projects like this. It creates a beautifully reflective surface that makes the finished project look so professional!

I chose to apply the Ultradye to the bottom half of my wood frame to give it the look of dip-dyeing. If you don’t have dye, you could also use watercolors to achieve a similar look. Don’t want to cover up the wood tones of the frame? Use a regular wood stain or skip adding color to the frame altogether. If you do add dye or stain to the frame, be sure to let it dry FULLY before moving on.
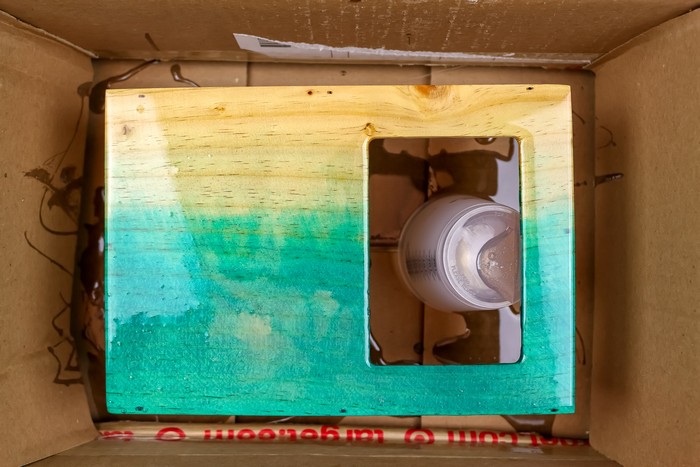
Next, I mixed up four ounces of Envirotex Lite according to the package directions. I elevated the frame on two mixing cups inside of a cardboard box — making sure everything was level. Then I poured the resin over the top of the frame. You may have to use a paintbrush to make sure the sides of the frame are totally coated with the resin. Use a paintbrush you are willing to throw away later. Resin is nearly impossible to wash out of paintbrushes.
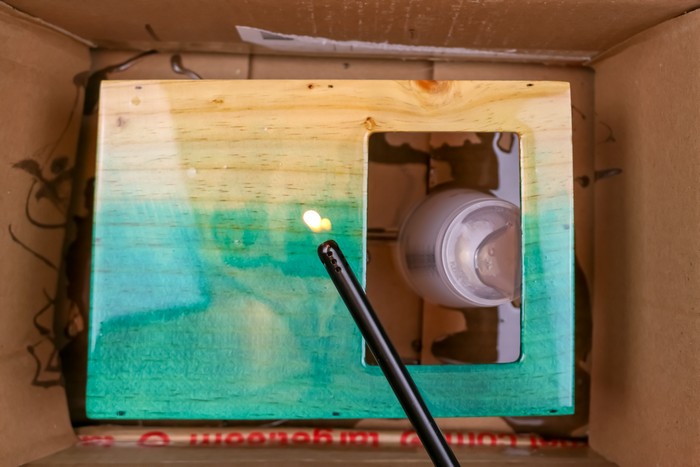
I used a long arm lighter to pop any bubbles that rose to the surface of the resin. Then I covered the box to let the resin cure. I usually let the resin cure anywhere from 12-24 hours just to be safe.
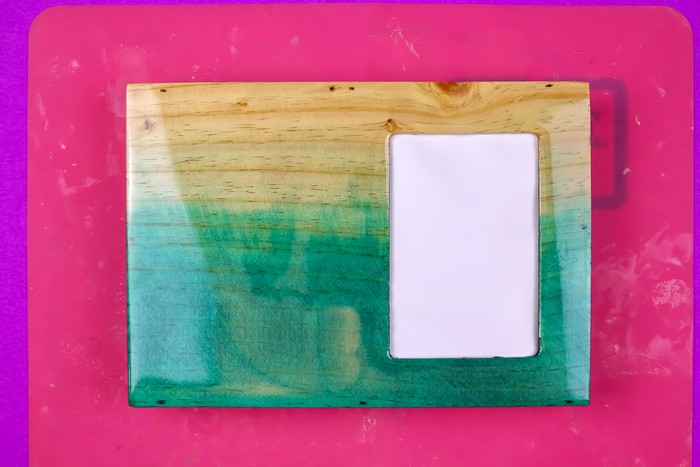
This step is optional but recommended: After the resin has cured for a few hours, carefully remove the frame from the box and set it on a silicone mat. If you allow the resin to fully cure in the box rig, you may have to fight to pry the frame off of the cups it was sitting on. Silicone mats are great to have on hand for resin projects.
TURNING A WOOD FRAME INTO A CLOCK
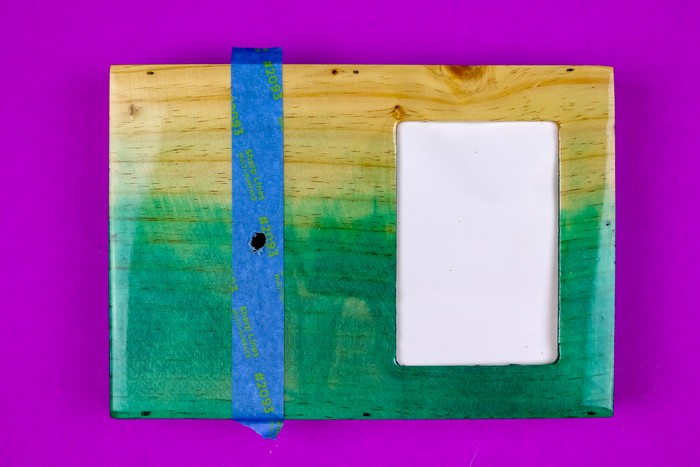
When the resin is fully cured and hard, I drilled a hole in the frame that was large enough to accommodate the clock mechanism I had purchased. I chose to place a piece of painter’s tape over the area where I was drilling to make sure the resin didn’t crack. This might not be necessary, but better safe than sorry.
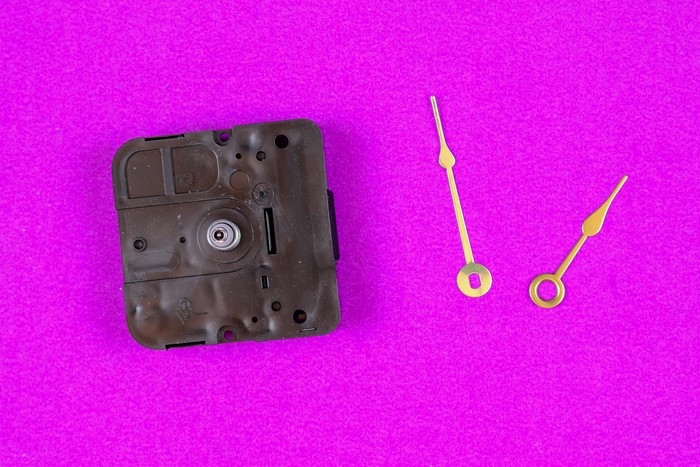
You can find clock kits like this at your local craft store. I found mine in the same aisle as I found the wood frame!
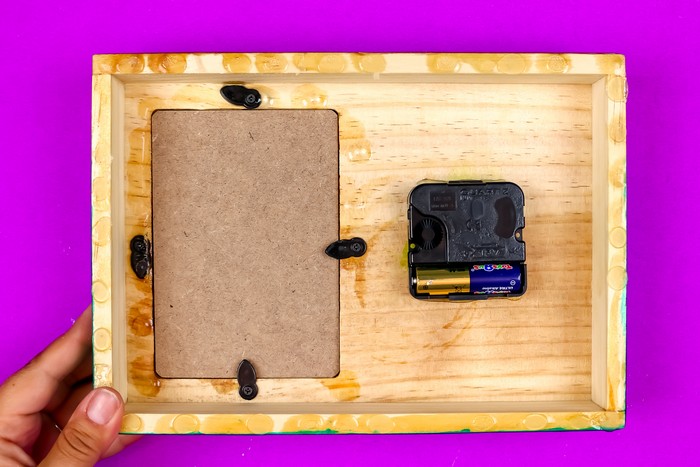
Assemble the clock mechanism according to package directions, add a battery, and set the time!
DIY DESK CLOCK WITH RESIN

You know have a fully functional desk clock that you made yourself! You can choose to add a photo or quote to the frame. Personalize it to match your decor or change it up from season to season! I think this would also make a great holiday gift for teachers, office workers, or anyone who works at a desk.
You might like these other resin projects:

![]()


