As some of you might know, I used to be a high school English teacher. Each year, I sort of dreaded teaching Transcendentalism. Emerson, Thoreau, and their buddies just aren’t my jam. BUT, I do love this particular Emerson quote. I figured it would be a perfect addition to Cricut flowers week, right? I used my Cricut and some foil vinyl to create this rustic gold and wood reverse canvas.
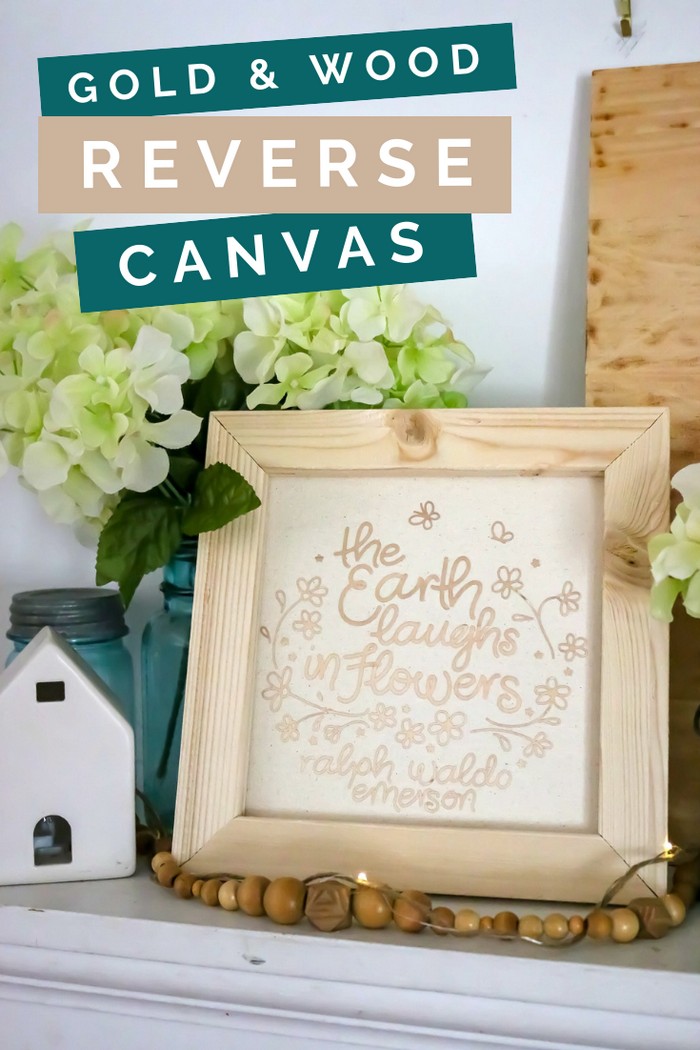
GOLD AND WOOD REVERSE CANVAS
WHAT YOU NEED TO MAKE A REVERSE CANVAS
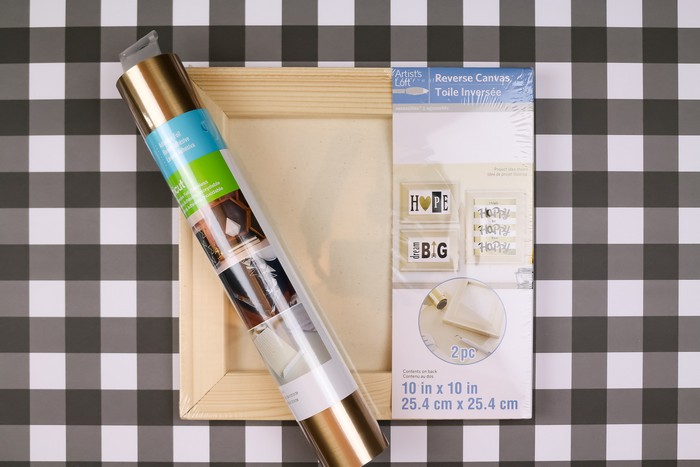
I used adhesive foil to make this project, but you could also use iron-on vinyl. I recommend using foil vinyl because the contrast between the raw wood frame and the metallic finish of the vinyl is so pretty.
These are all affiliate links, if you make a purchase (of anything from these retailers, not just these items) after clicking through, I will earn a small commission. Ads and affiliate links are the way I am able to keep this website running and to offer you free tutorials all year long. Thank you so much for supporting me and Mad in Crafts!
- Reverse canvas (I bought mine at Michael’s, but I can’t find it online. I will update this post if I do)
- Gold stainless foil vinyl
- Cricut
- Strong Grip Cricut mat
- Cricut tools
- Transfer tape
- Hot glue gun
- Mod Podge (optional)

Want to know which craft supplies I always keep in my craft room?
Visit the Mad in Crafts Amazon Storefront to learn more and to buy your own supplies!
CUTTING OUT ADHESIVE FOIL VINYL
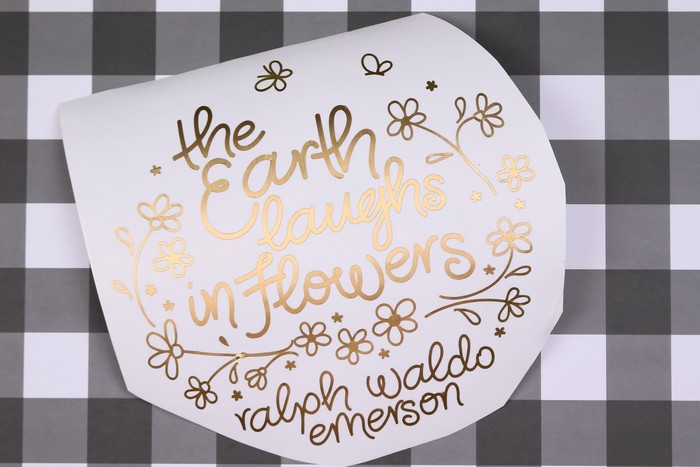
I used my Cricut Maker to cut this design out of gold stainless adhesive foil vinyl. I chose to use a removable vinyl so that I could change this canvas up at a later date. I will give you some options for making this a more permanent design later.
Usually, I am a little scared of my Strong Grip mats, but I highly recommend using one for this material as it is thicker than most vinyl. If you are using a Maker, choose Adhesive Foil for the material. For an Explore machine, set the dial to Custom and choose Adhesive Foil from the list in Design Space.
If you are using adhesive foil, you can cut the file as-is. Don’t forget to mirror the design before cutting, if you choose to use iron-on vinyl! Cut the design and weed out the excess vinyl. It will take a bit of time since this is an intricate cut, so put on a podcast and break out your weeding tools!
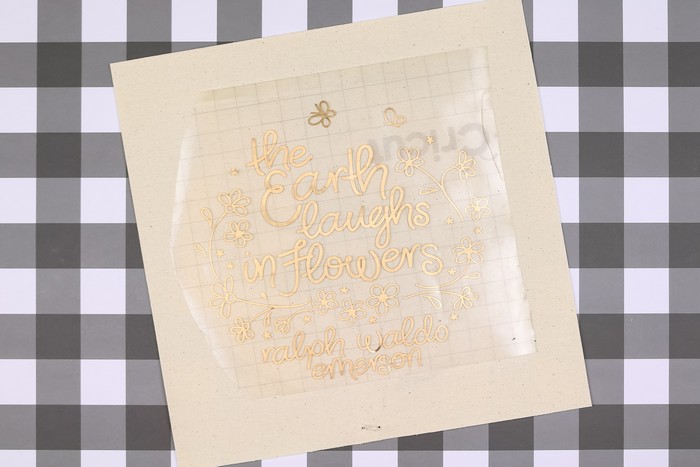
Once the design is weeded, apply some transfer tape and adhere the vinyl to the square canvas backing of the reverse canvas. Work slowly and carefully! The stainless foil is a removable vinyl, so it is not as sticky as permanent vinyl. Press the vinyl down really well to make sure you have good contact between the vinyl and the canvas.
If you are using iron-on for a permanent design, this is where you would use an iron or your EasyPress to add the vinyl to the canvas.
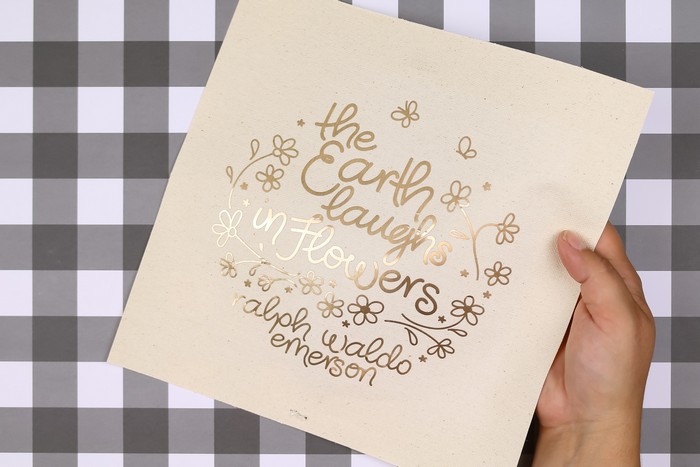
I left the vinyl just like this because I wanted the vinyl to remain removable. If you want to make this stainless foil design permanent, you can add a coat of Mod Podge over the entire canvas at this point. Isn’t that metallic finish beautiful?
ASSEMBLING A REVERSE CANVAS
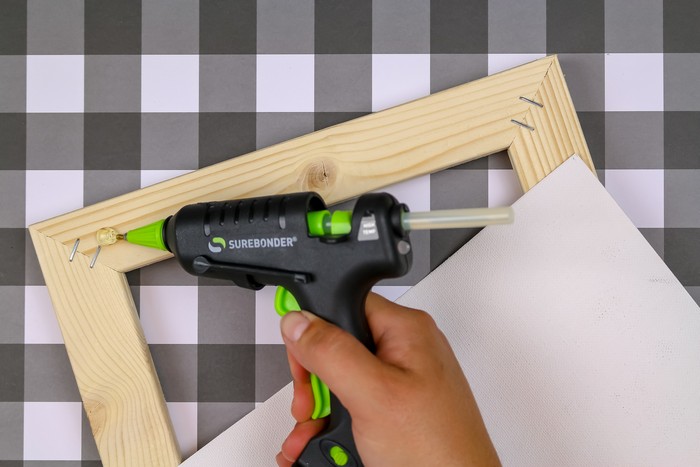
To assemble the reverse canvas, add a bead of hot glue to one edge of the backside of the canvas frame as seen above. Carefully line up the canvas so that the vinyl design shows through the front of the frame and glue in place. Run a bead of glue along the opposite edge of the backside of the frame. Pull the canvas taut and glue in place. Double-check that the design is centered in the frame on the front, then glue the remaining two sides down as well.
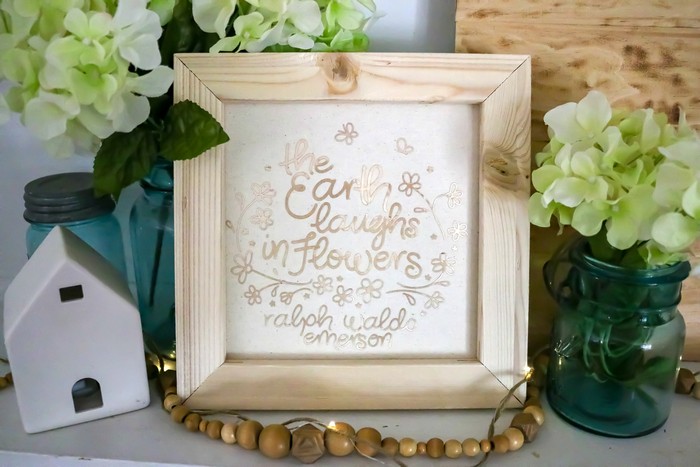
You now have a beautifully framed piece of home decor. Obviously, you can paint or stain the frame before assembling the reverse canvas if you would like. I like the contrast of the rustic raw wood and the metallic vinyl, so I left my frame unfinished.
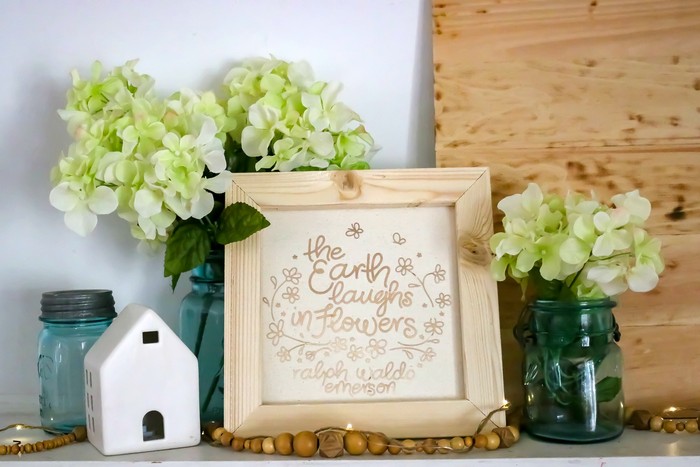
I added my new reverse canvas to a pretty farmhouse-inspired display on our mantel. Be sure to check out all the other Cricut flower DIYs I will be sharing all this week!
CRICUT SUMMER OF FLOWERS

All this week, my crafty friends and I are sharing flowery DIYs that you can make with your Cricut machine. Check out all the beautiful tutorials that have been shared this week. Then scroll to the end of this post for an amazing giveaway!


