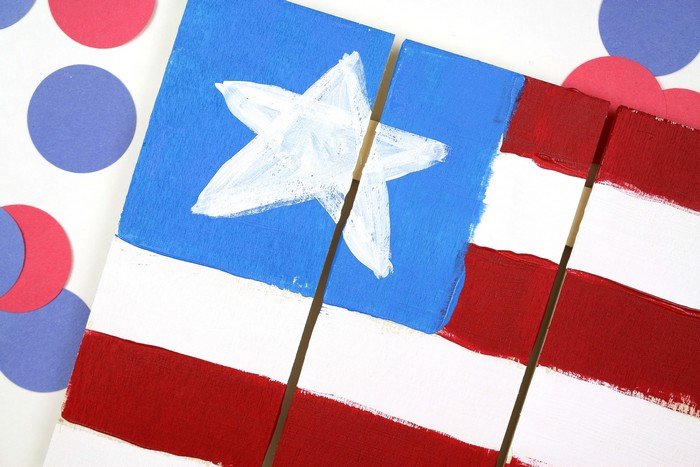
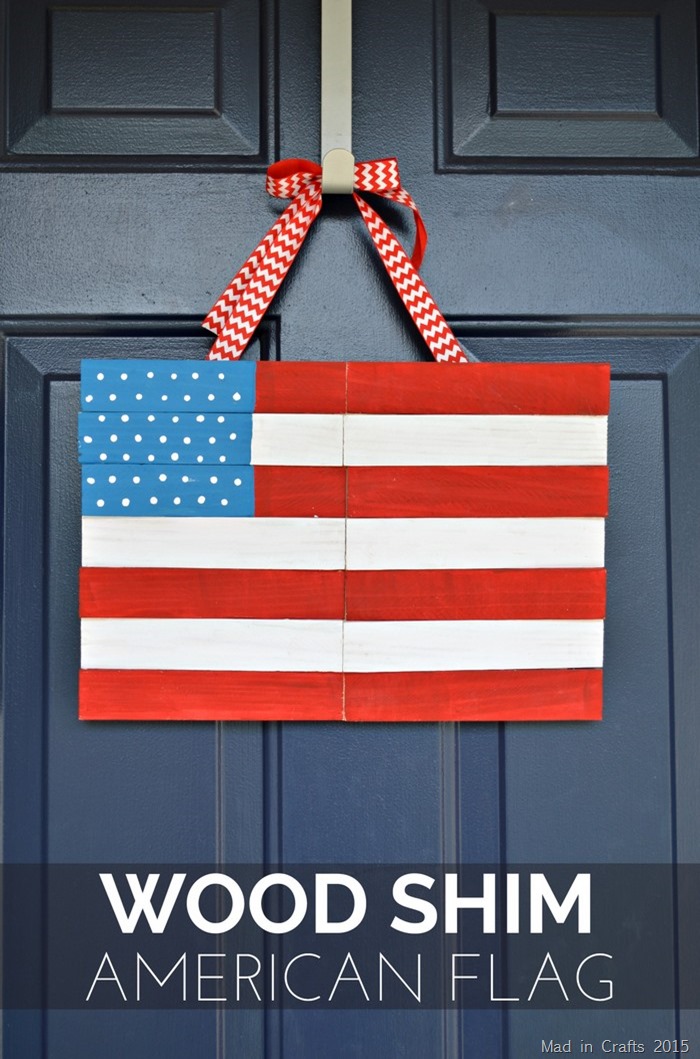
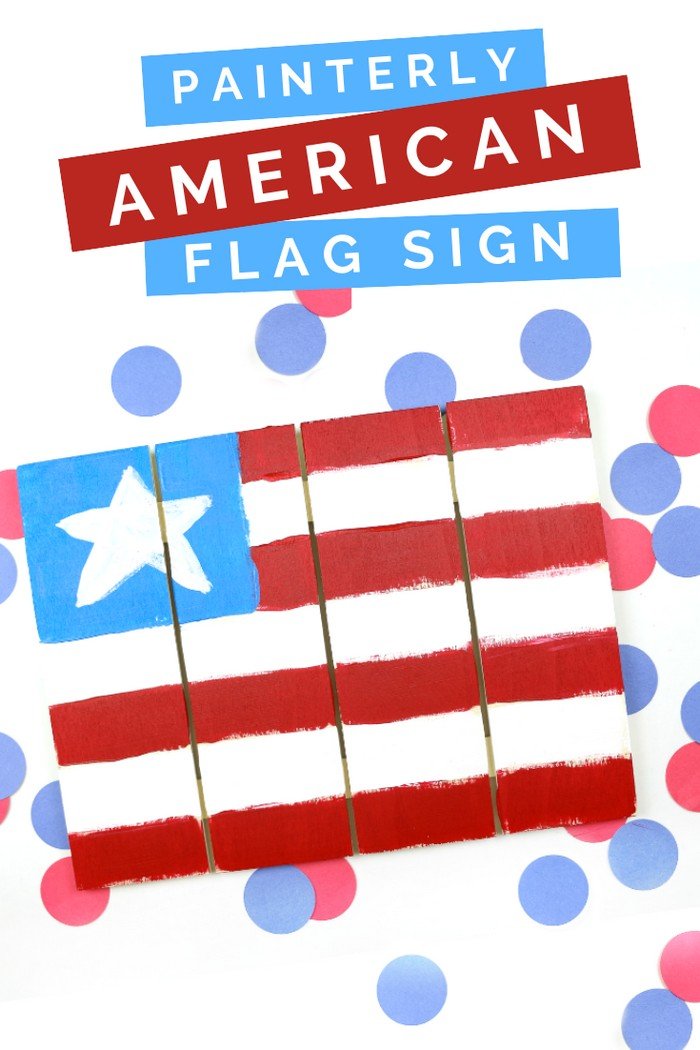
Perfectionists, look away! This project emphasizes rough edges, uneven paint, and bright colors. The resulting American flag sign is perfectly imperfect! Read on to see how you can make this project in about 30 minutes.
PAINTERLY AMERICAN FLAG SIGN
WHAT DOES “PAINTERLY” MEAN
I hate to be a high school sophomore delivering his first informative speech, but… The dictionary defines “painterly” as: characterized by qualities of color, stroke, and texture rather than of line.
In other words, painterly projects focus less on exact, defined lines and more on the texture of the brushstroke. Impressionist artists like Van Gogh and Monet created painterly masterpieces. For our purposes, creating a painterly project means you are allowed leeway in the precision of your lines. Brushstrokes? Good. Fluid lines? Perfect! Areas where the paint is applied more thickly? The make your project look even better!
TIPS FOR PAINTERLY STYLE
View this post on Instagram
Fair warning: I am not an artist! I can give you some down and dirty tips for creating a simple home decor project like this, but I won’t be improving your fine art skills at all. If you are interested in learning how to create simple but beautiful painterly paintings, I HIGHLY RECOMMEND following my friend Amanda Evanston on Instagram. Her IG Stories are full of amazing painting techniques and tips. If you would like to take it a step further, I also recommend her online painting courses. They are extremely reasonable, and helpful for all painting skill levels. She’s amazing. I can’t say enough about her!
That being said, there are a few basic tricks you can use to increase the painterliness of your projects:
- Use big brushes! This will allow you to make more prominent strokes.
- Choose bold colors! Your brushstrokes will be emphasized by the contrast between the colors.
- Don’t skimp on the paint. Load up your brush and let it deposit some “globs” in some places.
- Don’t reload your paint when the paint gets thin. This seems like the opposite of the previous tip, doesn’t it? But when the paint on your brush gets low, you can get some beautiful, rough edges on your brushstrokes.
- Don’t overthink it. Rely a bit on instinct, and slap the paint on there!
WHAT WILL YOU NEED TO MAKE THE FLAG SIGN
I recommend using a multi-surface craft paint for this project, and I will cover why later in the post. I used FolkArt Multi-Surface in Flag Red, Titanium White, and Look at Me Blue for my flag.
These are all affiliate links, if you make a purchase (of anything from these retailers, not just these items) after clicking through, I will earn a small commission. Ads and affiliate links are the way I am able to keep this website running and to offer you free tutorials all year long. Thank you so much for supporting me and Mad in Crafts!
HOW TO MAKE AN AMERICAN FLAG SIGN IN LESS THAN 30 MINUTES
Watch this short video to see how easy it is to make this American flag sign. I have hundreds of creative videos on my YouTube channel, so hop over and subscribe. It’s free!
WHY USE MULTI-SURFACE PAINT
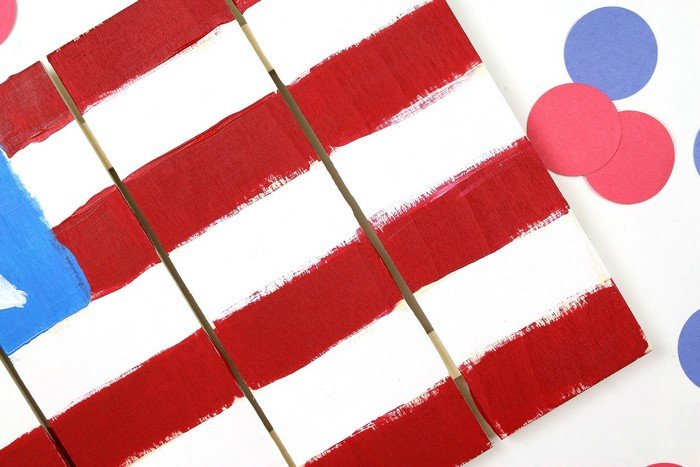
While you can use just about any acrylic paint for this project, I chose to use FolkArt Multi-Surface for a few reasons:
- The line has a huge shade range, so you can customize the exact colors of your project.
- It works on: wood, glass, terra cotta, fabric, plastic, canvas, and more. Your leftover paint will be useable for a ton of future projects!
- The multi-surface has fantastic, self-sealing coverage so you don’t need to worry about applying a clear coat over the finished flag.
- I like how its satin finish helps to emphasize the rough, rustic nature of the project.
- The FolkArt Multi-Surface is outdoor safe, so you can safely hang this flag on your front door!
You might like these other flag DIYs:
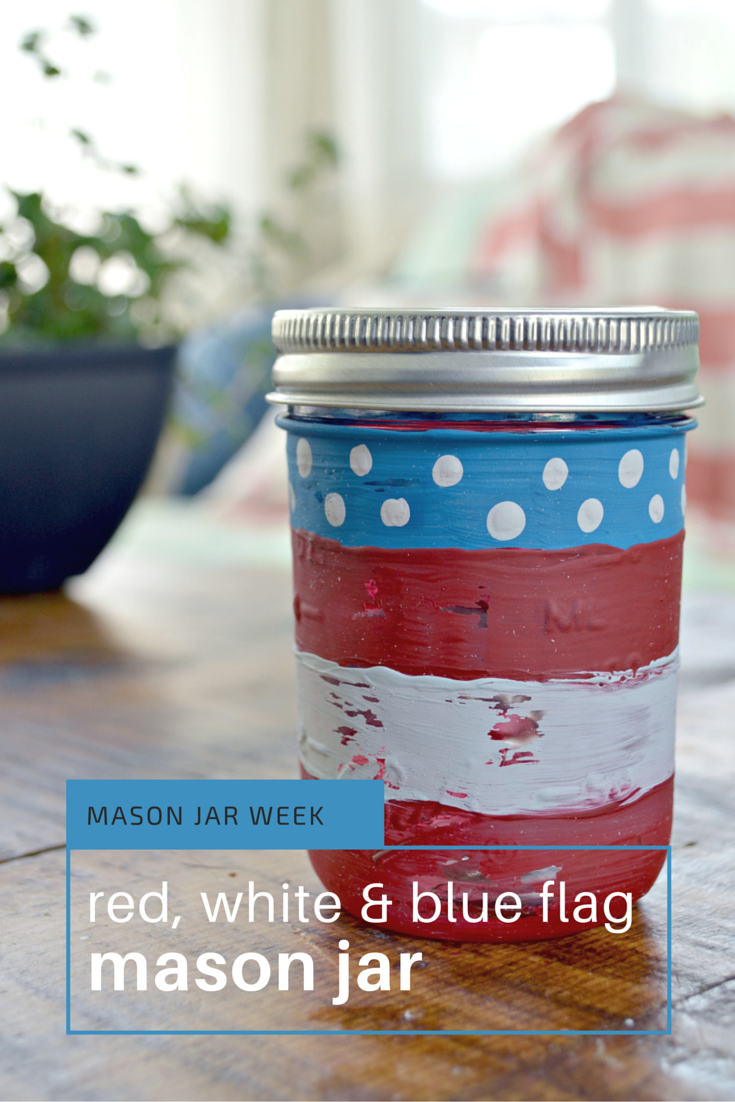
RED, WHITE & BLUE FLAG MASON JAR



Leave a Reply