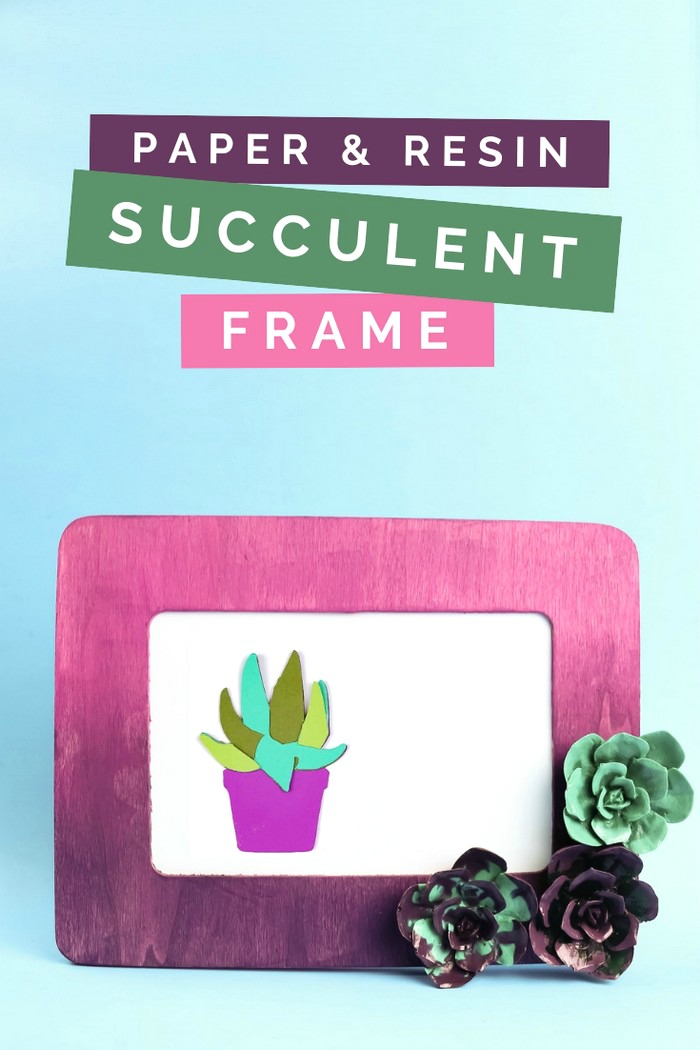
Succulents are still hot in home decor. Even if you don’t have a green thumb, you can still make succulents part of your home decor. I will show you how to make a paper and resin succulent frame that will never need watering! Even though succulents aren’t TECHNICALLY flowers, I still think this pretty project counts as my newest tutorial for Cricut flowers week!
PAPER AND RESIN SUCCULENT FRAME TUTORIAL
WHAT YOU NEED TO MAKE PAPER AND RESIN SUCCULENTS
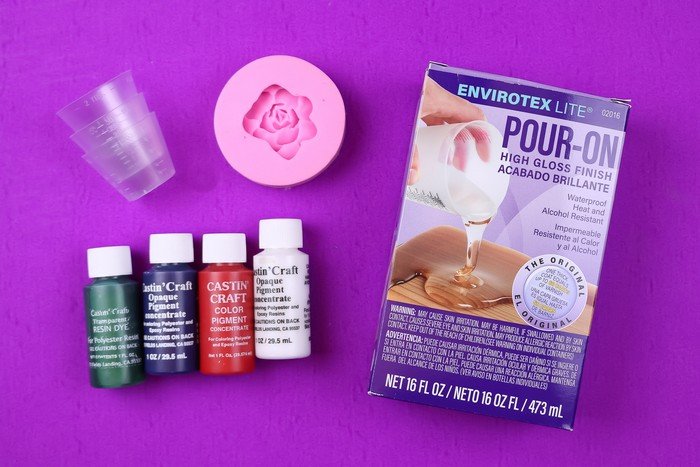
I am showing you two different ways to make faux succulents today: one flat and one dimensional. You can choose to combine them, as I did for my frame, or you can pick just one version to create for your own project. I will share the supplies need to make both versions below.
These are all affiliate links, if you make a purchase (of anything from these retailers, not just these items) after clicking through, I will earn a small commission. Ads and affiliate links are the way I am able to keep this website running and to offer you free tutorials all year long. Thank you so much for supporting me and Mad in Crafts!
- EnviroTex Lite
- Mixing cups and stir sticks
- Resin pigments
- Succulent silicone mold
- Long arm lighter
- Craft frame
- Craft paint
- Hot glue gun
- Hot glue
- Cricut
- Cricut mats
- Cardstock in shades of purple and green
- Craft glue
MAKING THE RESIN SUCCULENTS
![]()
Whenever you work with resin, you want to start by protecting your work surface and putting on a pair of gloves. Mix a very small (1-2 ounces) of resin according to the directions that come with your package of resin. Use the two-step mixing process to make sure the resin and hardener are properly combined. After the resin is mixed, divide the mixed resin among a few small mixing cups. Add Castin’ Cast pigments to dye the resin in whatever colors you would like your succulents to be. I mixed shades of green and purple for my succulents.
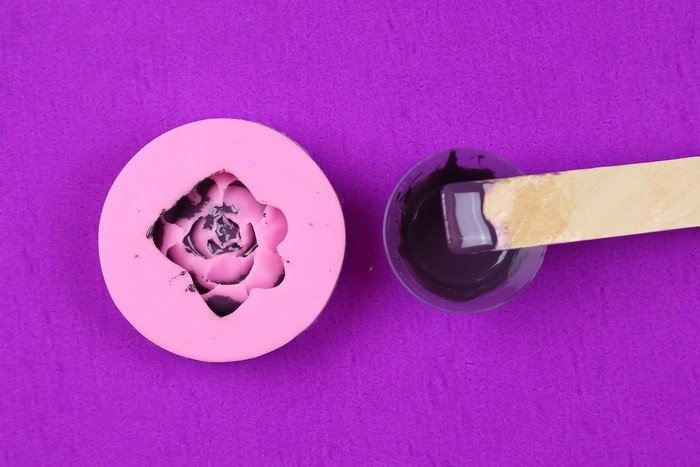
Use a wooden craft stick to drizzle a small amount of the first colored resin into each segment of the mold. This will make the tips of the succulent leaves a different color than the base of the succulents. Tap the mold gently on your work surface so the resin gets into all the nooks and crannies of the mold. This will help prevent bubbles in your final piece.
![]()
Next, fill the mold with the second color of resin. Tap the mold on your work surface again to draw as many bubbles to the surface as possible.
![]()
Use a long arm lighter to gently pop the bubbles that rise to the surface. Cover the mold and let the resin cure completely. Refer to your package directions for cure time.
REMOVING THE RESIN SUCCULENT FROM THE MOLD
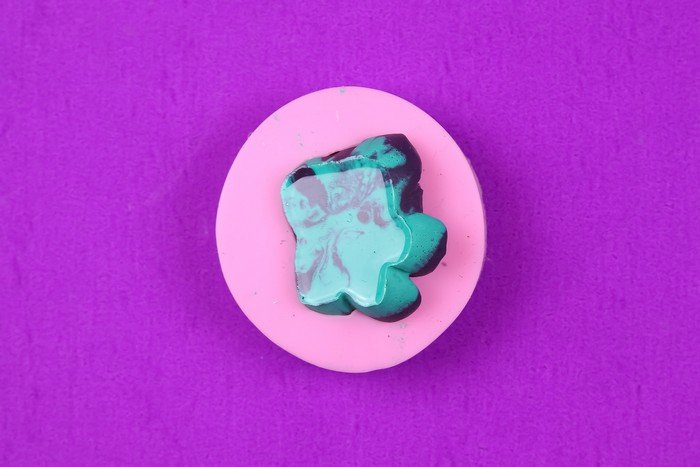
When the resin is cured, stretch the silicone mold a bit and the resin piece should pop right out.
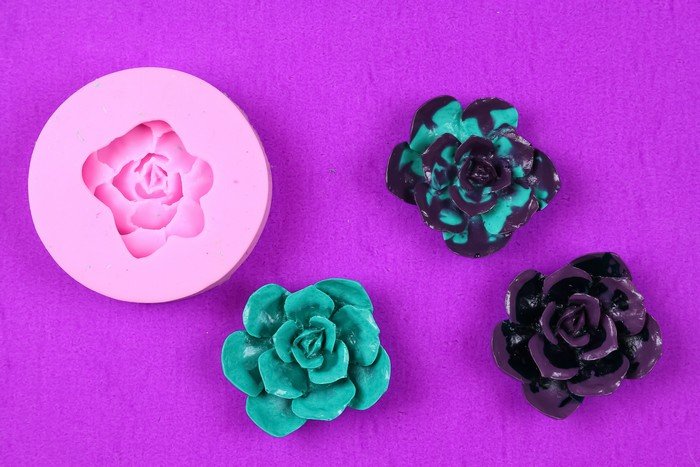
Since the silicone mold is reusable, you can make as many of these resin succulents as you need! Experiment with different resin pigments to create new colors.
Note: Now that you have used this silicone for resin, you don’t want to use it for any food-related projects anymore.
MAKING THE PAPER SUCCULENT

I created a layered Design Space project to make a multicolored paper succulent in a pot. Simply cut the design out of four different colors of cardstock. I used colors that coordinated with my resin succulents, but you can choose whatever colors you like best.
Layer the pieces on top of each other. In the picture above, the piece furthest to the left is the bottom piece and the pieces furthest to the right are the top layer.

Use craft glue to glue the pieces together, and let the glue dry fully before handling.
ASSEMBLING THE PAPER AND RESIN SUCCULENT FRAME
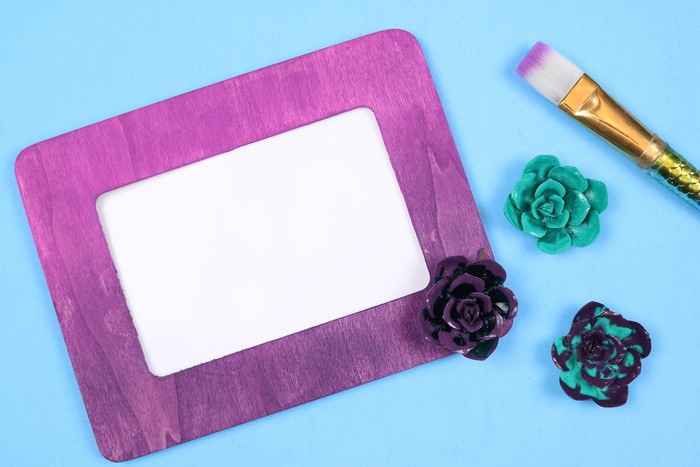
I painted an inexpensive craft wood frame with two shades of purple craft paint, blending the colors into each other to create an ombre. Then I used a high heat glue gun to adhere the resin succulents to the corner of the frame.
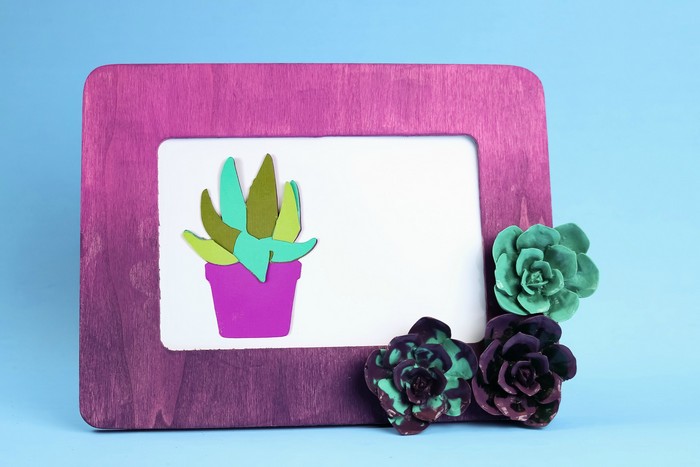
Finally, I glued my paper succulent to a piece of white cardstock and added that to the frame as well. Now I can decorate my home with two kinds of succulents that will never die! Be sure to check out all the other projects for our Cricut Summer of Flowers!
This post originally appeared on Resin Crafts.
CRICUT SUMMER OF FLOWERS

All this week, my crafty friends and I are sharing flowery DIYs that you can make with your Cricut machine. Check out all the beautiful tutorials that have been shared this week. Then scroll to the end of this post for an amazing giveaway!
INFUSIBLE INK GIVEAWAY!
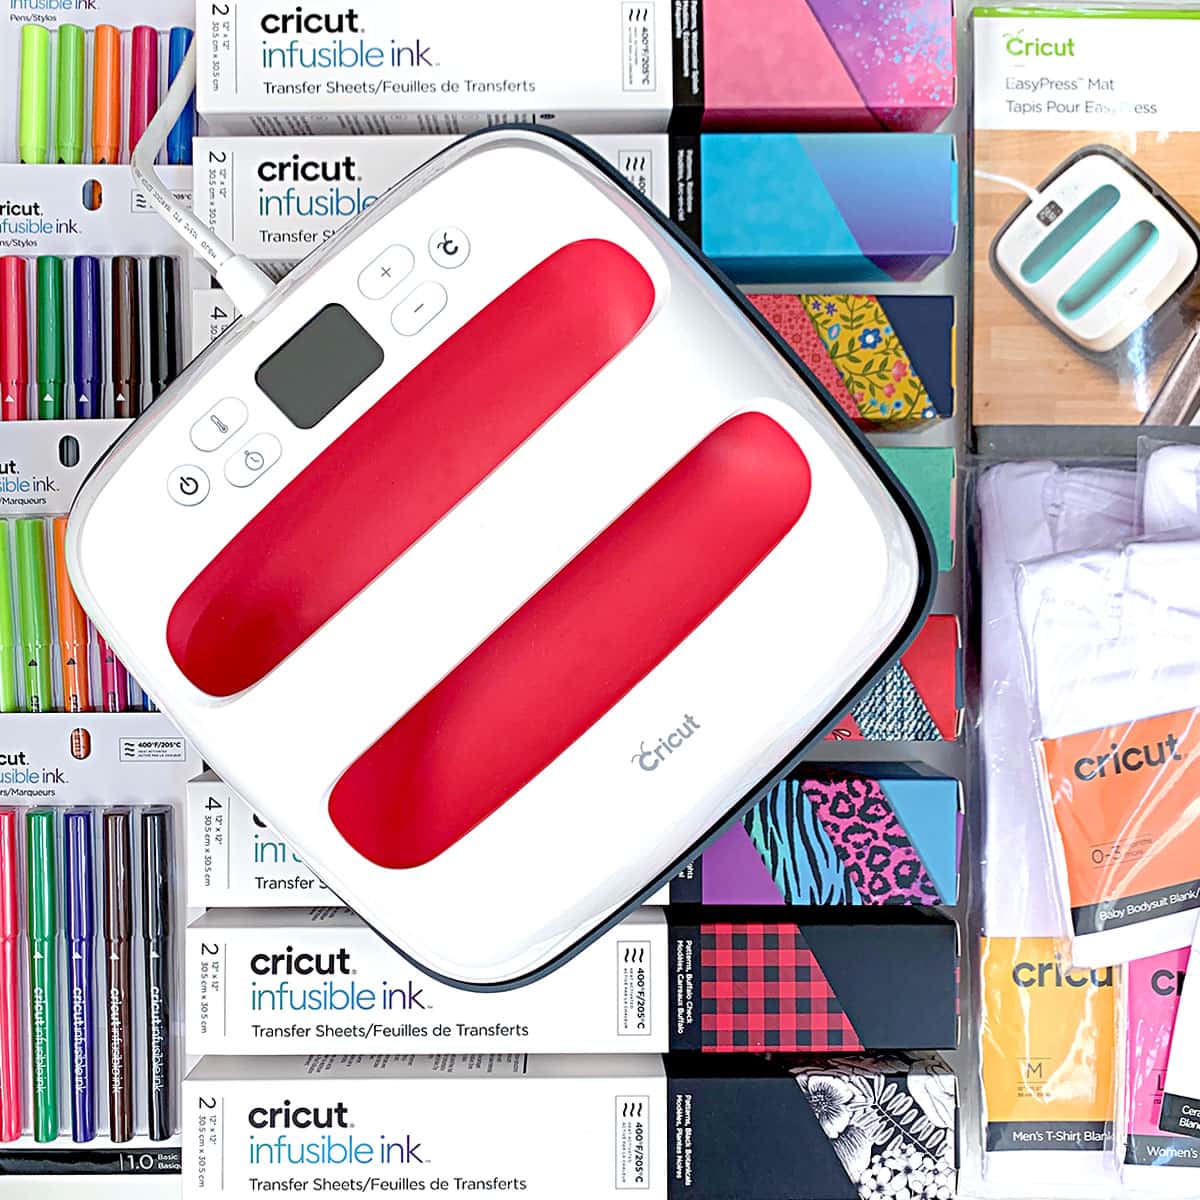
My friends and I are giving one lucky winner an amazing Infusible Ink giveaway prize pack! If you have been wanting to try out these exciting new products, this might be your chance! Use the widget below to enter to win a prize worth over $500, including:
- 1 EasyPress2
- 1 12×12 EasyPress Mat
- 4 Infusible Ink Transfer Sheet Sets (4 packs)
- 4 Infusible Ink Transfer Sheet Sets (2 packs)
- 4 Infusible Ink Pen/Marker Sets
- 2 Infusible Ink Shirts
- 1 Infusible Ink Baby Bodysuit
- 1 Package Infusible Ink Ceramic Coasters
- $$$ gift card!


