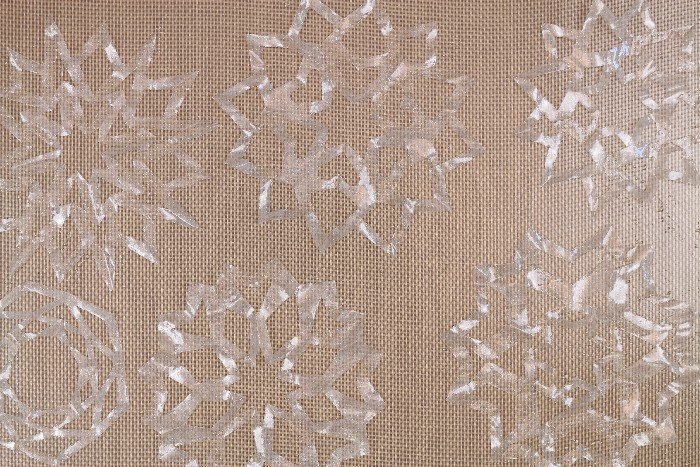
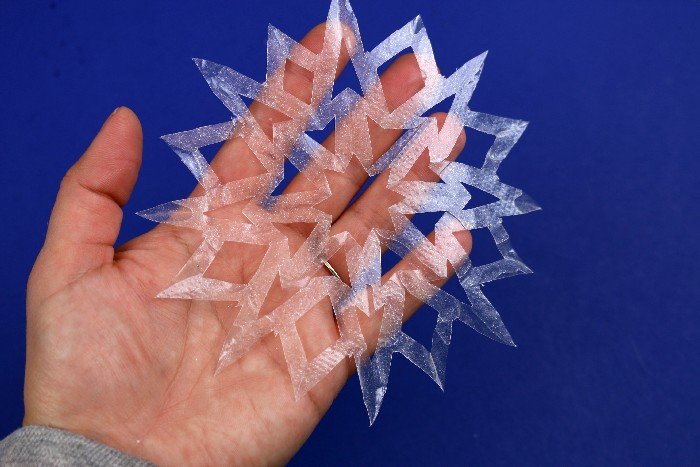
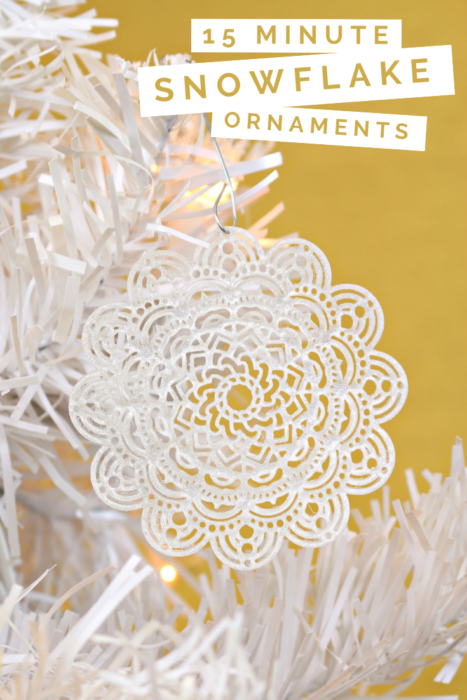
I love coming across new techniques for craft projects. I was doing some research earlier this year, and I came across multiple tutorials for coating paper with resin for multi-media pieces. The results were so beautiful that I wanted to try it out for myself. After a bit of experimentation, I ended up making some beautiful Christmas ornaments from a very basic household item. I discovered that with a very small amount of resin, you can make clear snowflake ornaments with coffee filters!
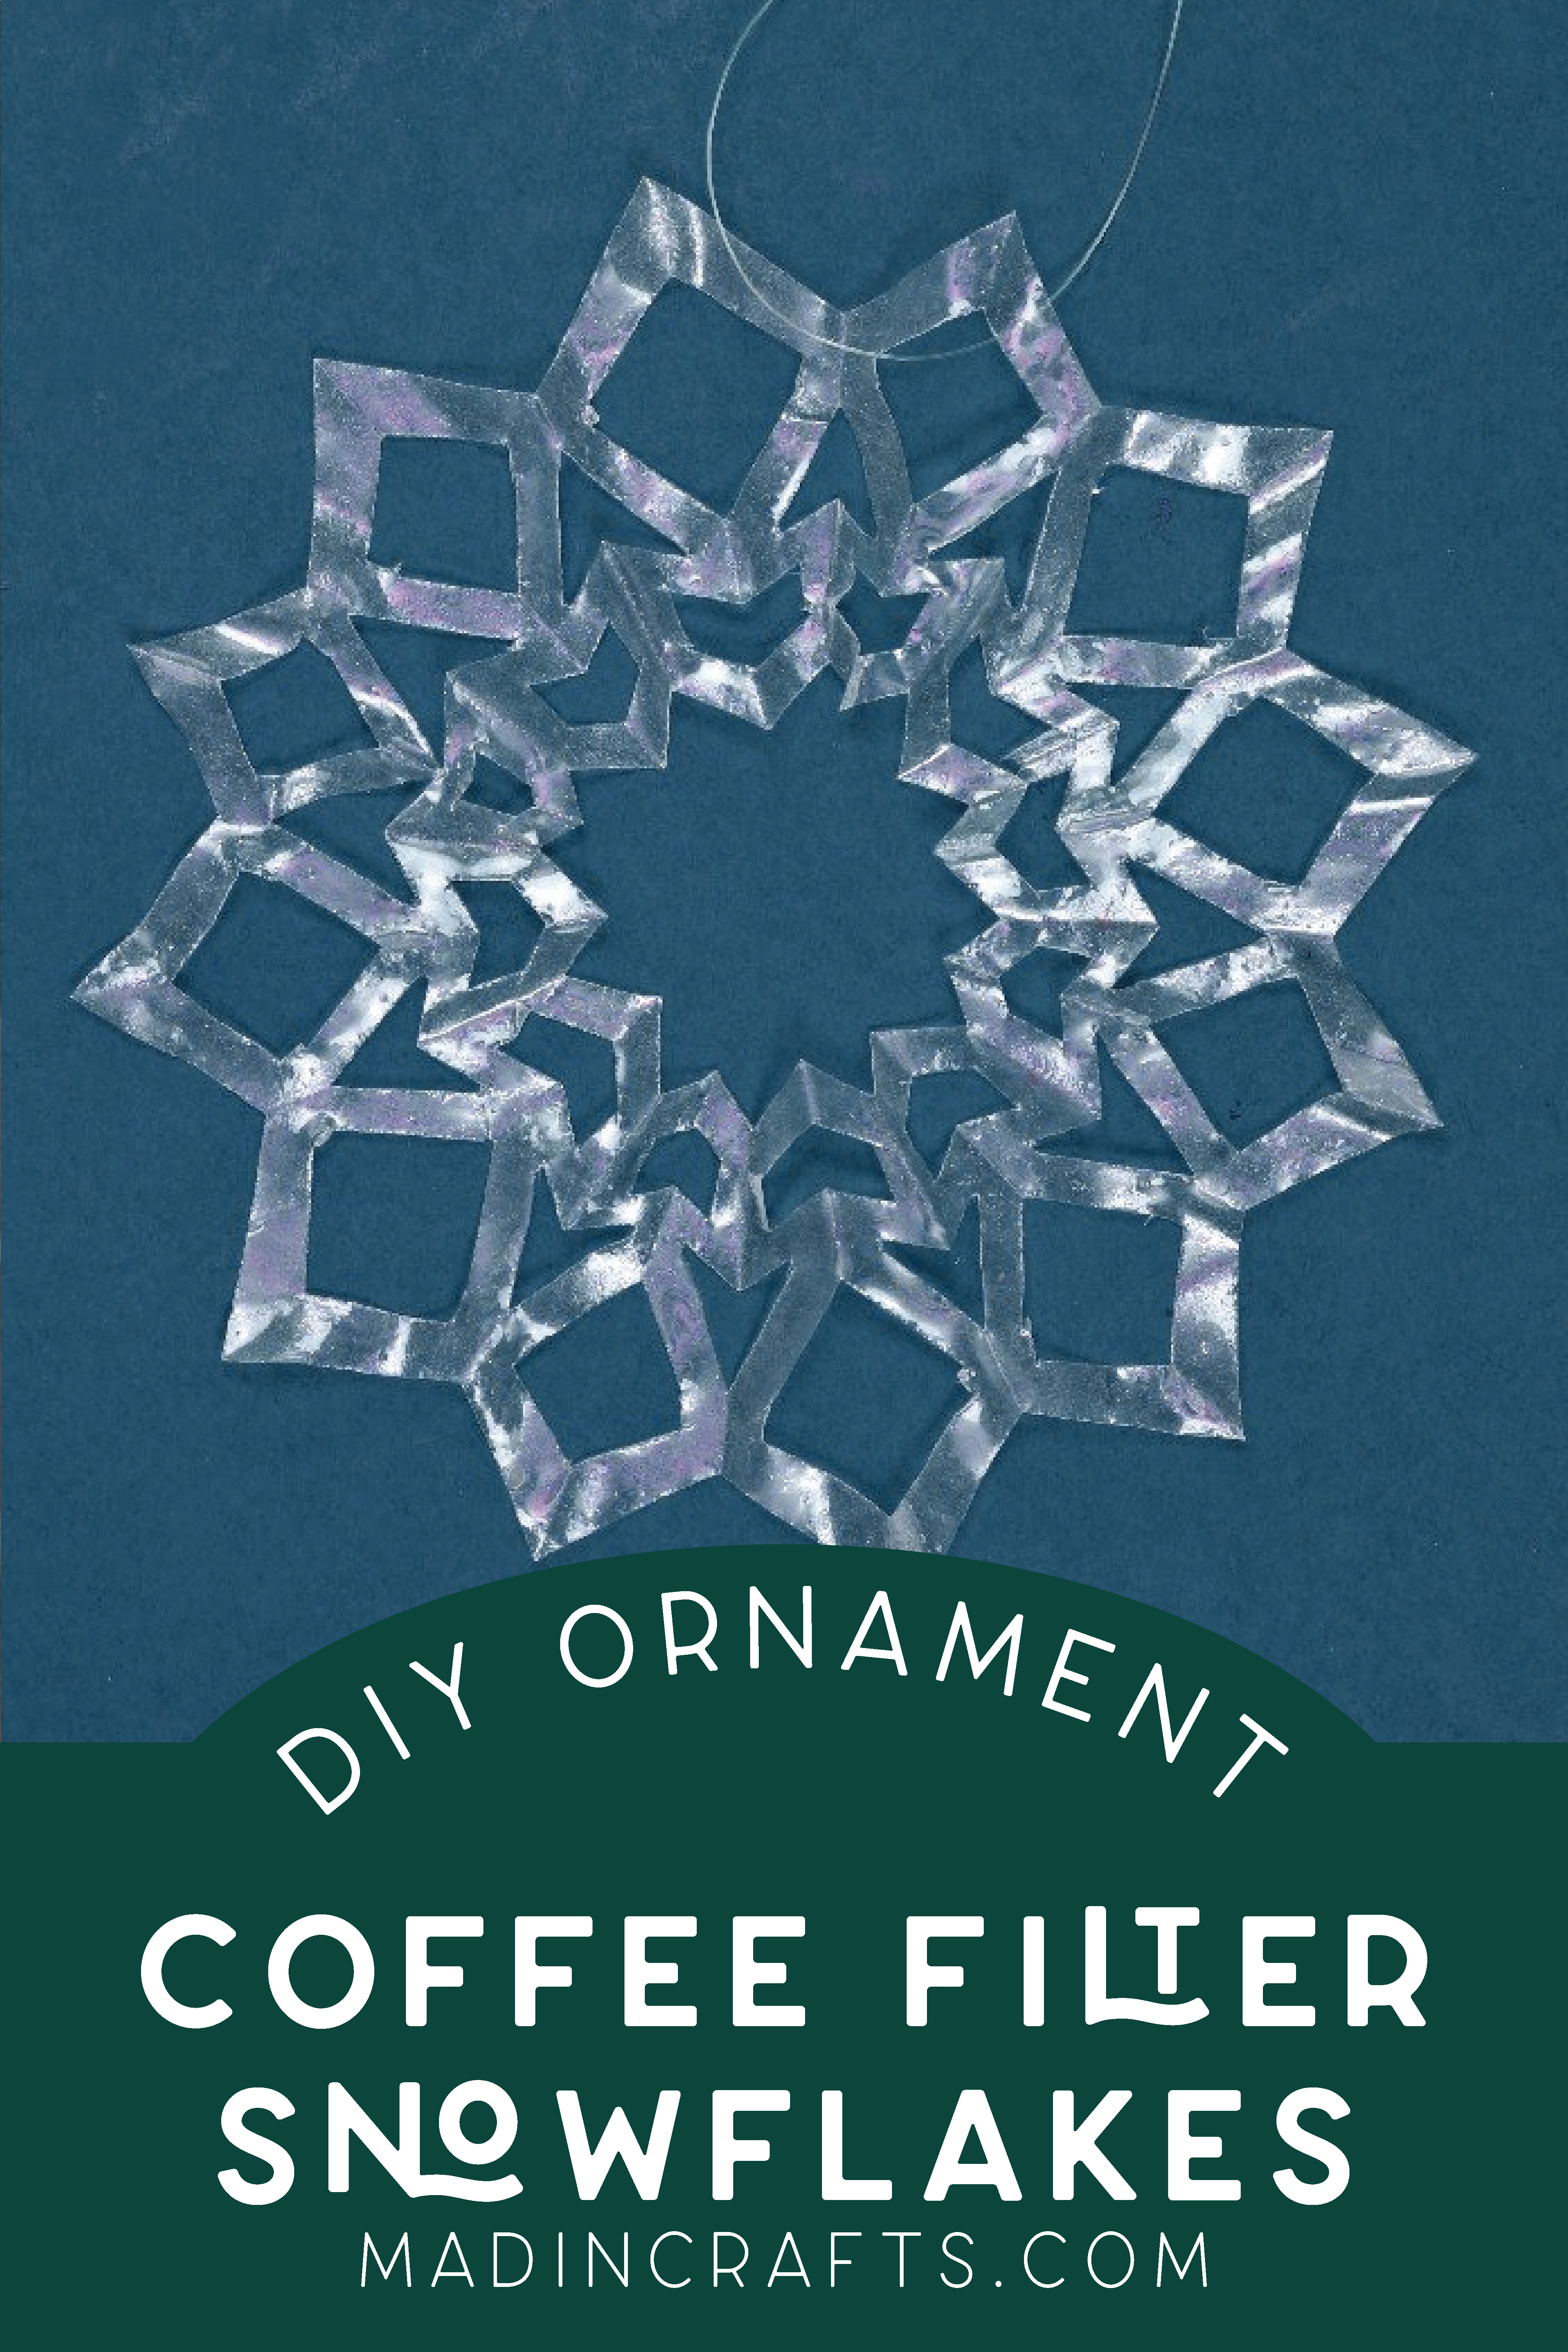
CLEAR SNOWFLAKE ORNAMENTS FROM COFFEE FILTERS
HOW TO PRESERVE PAPER SNOWFLAKES IN RESIN
Resin Coated Coffee Filter Snowflake Ornaments
- Cut coffee filters into snowflakes.
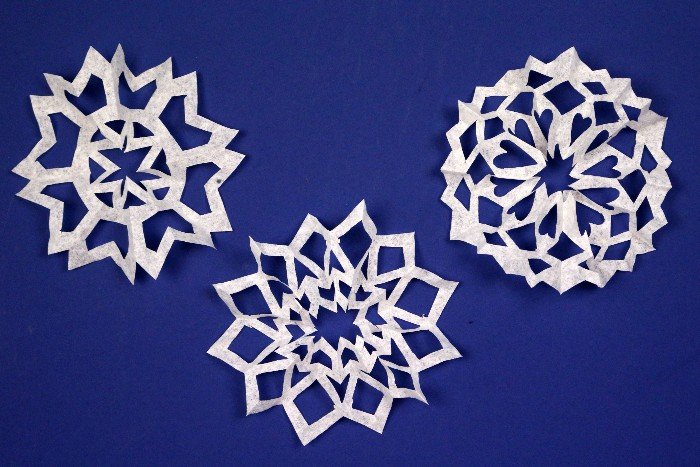
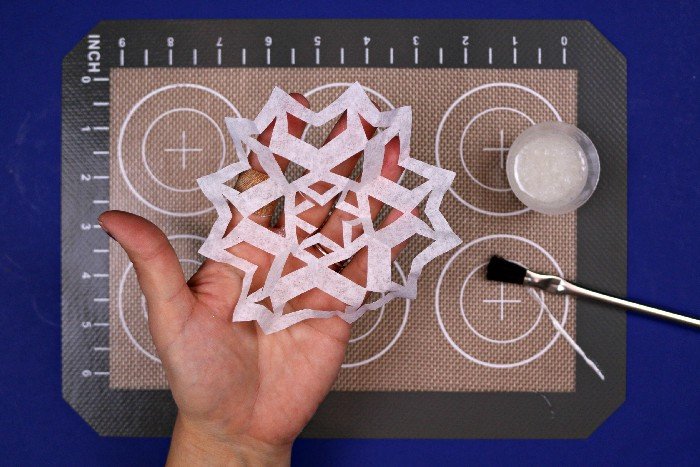
The circular coffee filters are a great base for paper-cut snowflakes. Fold the coffee filters into fourths, sixths, or eighths. Then cut shapes out of the folded filters before unfolding them to reveal your finished snowflakes. The first few snowflakes you create will probably look a little janky until you get the process down. Don’t worry about it! Coffee filters are cheap, so make several. You can choose your favorite finished snowflakes to turn into translucent ornaments.

- Mix a small amount of resin.
Once the snowflakes are all cut out, mix up a small amount of EnviroTex Lite resin. Unless you are making a ton of ornaments, you will probably need less than an ounce of mixed resin total. Mix up a small amount. You can always stir up a second batch later if you need to.
When you are working with resin, it is important to wear gloves to protect your hands. Remember to mix together equal parts of resin and hardener in one cup for two minutes, then transfer the mixture to another cup and stir for another minute. If you would like, you can add a tiny amount of pearl resin pigment to the mixture as well.
- Coat the snowflakes in resin.
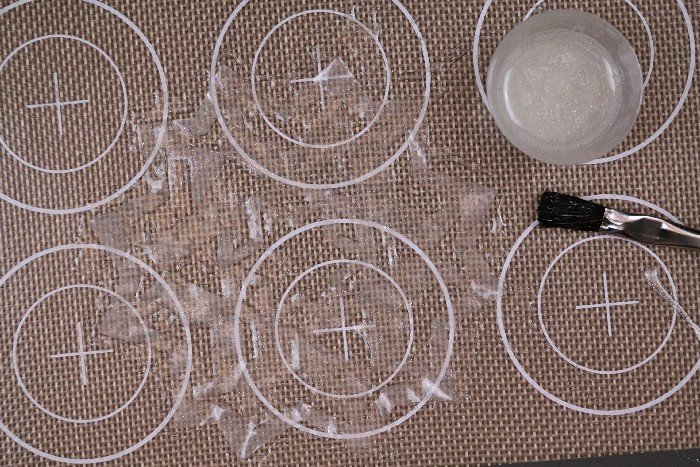
Place one snowflake on a silicone mat (you will need two for this tutorial). Paint the resin onto the coffee filter snowflake until it is fully covered. The coffee filter snowflake will turn from white to clear wherever it has absorbed the resin. After you coat the snowflake, carefully move it to the second silicone mat to cure. Repeat this process for all of your snowflakes.

- Move the snowflakes to a new silicone mat.
It is important to transfer the snowflakes from one silicone mat to the other so that the open spaces within the snowflakes do not fill up with resin.

- Let the snowflakes cure overnight.
Once the snowflakes are on the second mat, LEAVE THEM ALONE until they fully cure. The uncured snowflakes are very thin and very sticky. Once they are fully cured, you will be able to easily peel them off of the silicone mat. But do not try to mess with them before they are cured or you risk ruining them. After you have removed the cured resin snowflakes from the mat, you can peel or scrape any residual resin off of the mats and discard it.

HANGING THE RESIN SNOWFLAKE ORNAMENTS
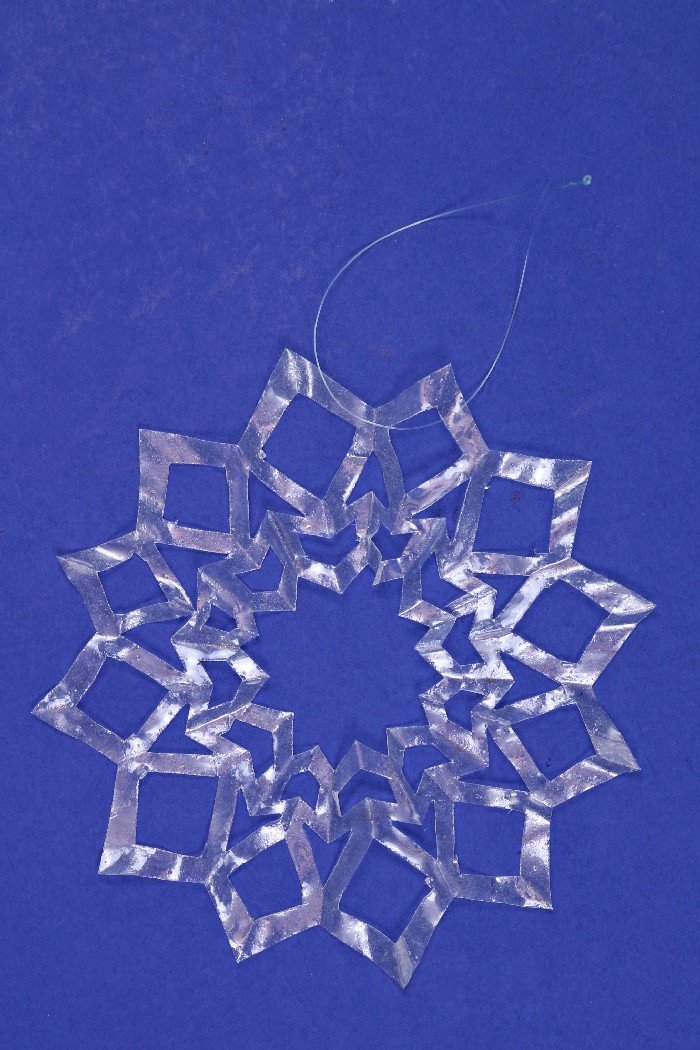
These crystal clear snowflakes look icy and delicate but are actually quite durable. The resin-coated paper should last quite a while, so these are ornaments you can enjoy from year to year.
I suggest using a bit of monofilament to hang the snowflakes to add to the illusion of transparency.
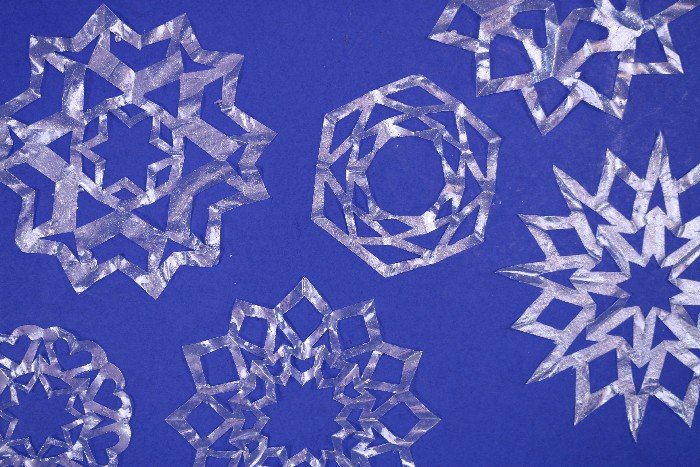
These snowflakes are so fun to make that you may find yourself making dozens of them. This is also a great way to preserve snowflakes that your children have created!
WHAT YOU NEED TO MAKE COFFEE FILTER SNOWFLAKES
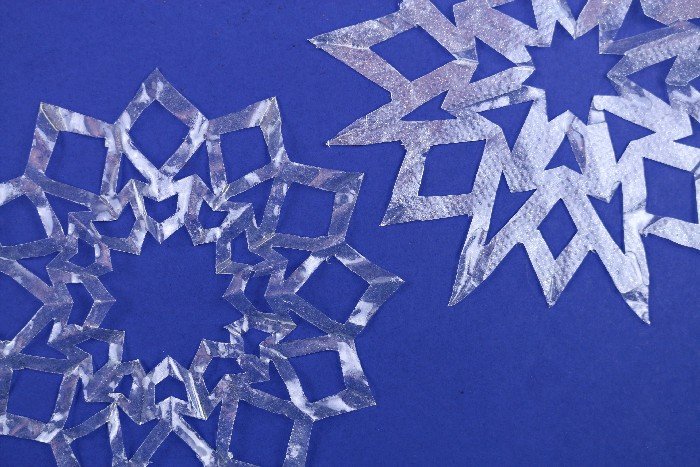
I created a few snowflakes with the pearl pigment and a few without it. I made the snowflake on the left without the pigment, and the one on the right with the pigment. You can just barely see the extra sparkle that the pigment adds to that snowflake. These are pretty decorations that could stay up in your home all winter long!
These are all affiliate links, if you make a purchase (of anything from these retailers, not just these items) after clicking through, I will earn a small commission. Ads and affiliate links are the way I am able to keep this website running and to offer you free tutorials all year long. Thank you so much for supporting me and Mad in Crafts!
- EnviroTex Lite
- Pearl resin pigment (optional)
- Mixing cups
- Stir sticks
- Paintbrushes
- Coffee filters
- Scissors
- 2 silicone mats

You might like these other snowflake DIYs:

