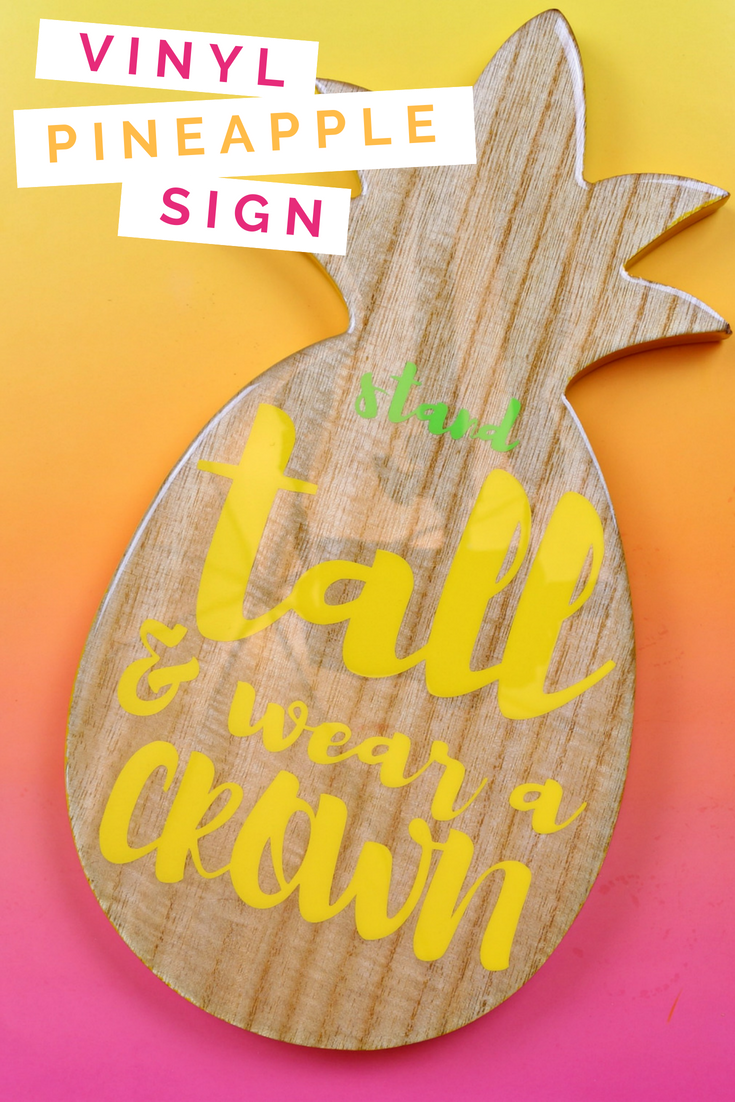
It is crazy to me that I finally feel like we are in the full swing of summer around here, and some of you have kids going back to school already! Keep those summer vibes going all year round with this adorable personalized pineapple sign. I cut adhesive vinyl with my Cricut, and then used pour-on resin to keep that vinyl protected.
PERSONALIZED PINEAPPLE SIGN USING VINYL AND RESIN
WHAT YOU NEED TO MAKE A PINEAPPLE SIGN
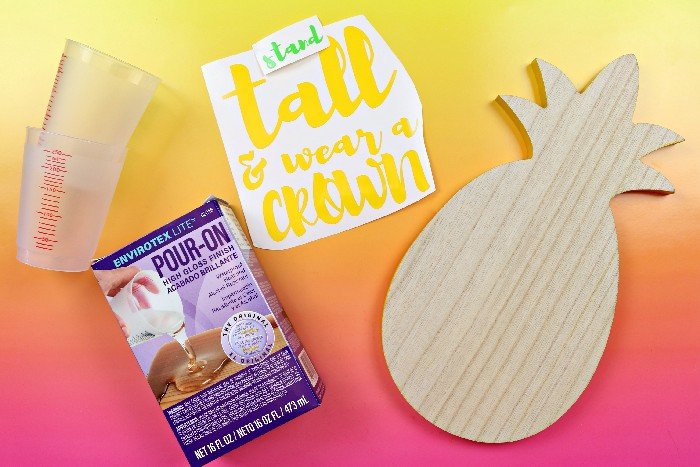
I found a cute pineapple cutting board in the Target dollar area early in the summer. If you luck out, you may still be able to find one there. I will put other online options in the supplies list at the end of the post. If you can’t find a pineapple cutting board you can apply the vinyl to any other wood shape, and the project would still work out.
These are all affiliate links, if you make a purchase (of anything from these retailers, not just these items) after clicking through, I will earn a small commission. Ads and affiliate links are the way I am able to keep this website running and to offer you free tutorials all year long. Thank you so much for supporting me and Mad in Crafts!
- EnviroTex Lite
- Pineapple cutting board
- Wooden sign
- Cricut
- Adhesive vinyl
- Transfer tape
- Gloves
- Two cups
- Stir sticks
- Paintbrushes
CREATING A VINYL SIGN
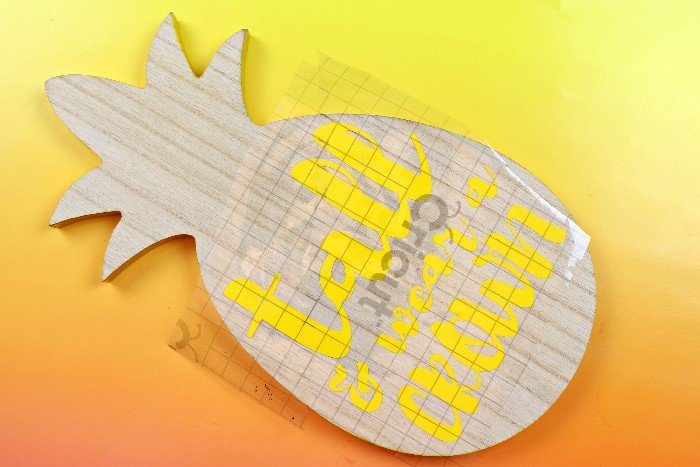
Begin by loading this design into Cricut Design space and cutting it out of adhesive vinyl. Weed out an excess vinyl and use transfer tape to adhere the design to the cutting board. Press the vinyl down firmly to remove any air bubbles.
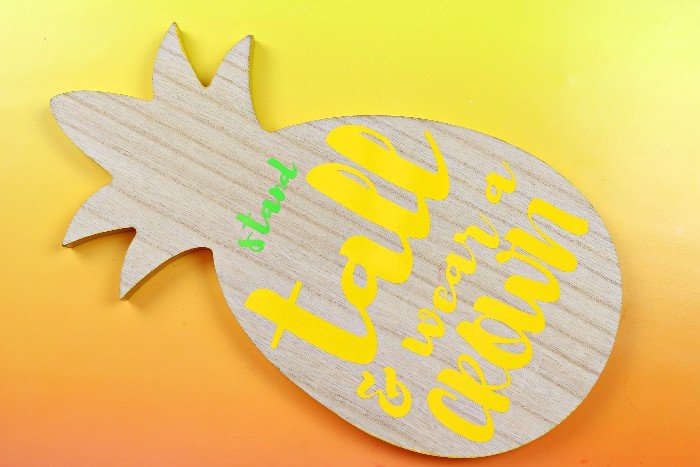
You could actually stop this project right here and have a finished product. If you want to protect the sign for years to come, I recommend coating the sign with resin. You can seal the vinyl of your sign under a layer of glossy resin for a polished, long-lasting finish.
HOW TO PROTECT VINYL WITH RESIN
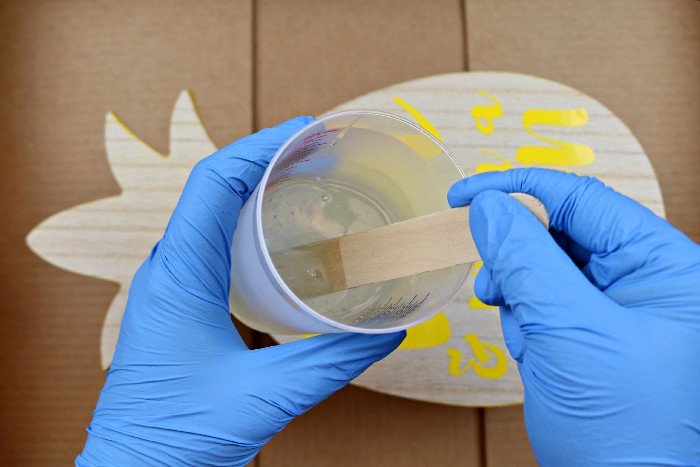
Put on a pair of disposable gloves (I get mine at the dollar store). Mix 4 ounces of EnviroTex Lite together, using the two-cup method written in the package directions. For this method, you will add 2 ounces each of resin and hardener to a cup, and stir it well for two minutes. After the two minutes are up, carefully pour the mixture into a second cup and stir for an additional minute. This ensures that the resin and hardener are fully combined.
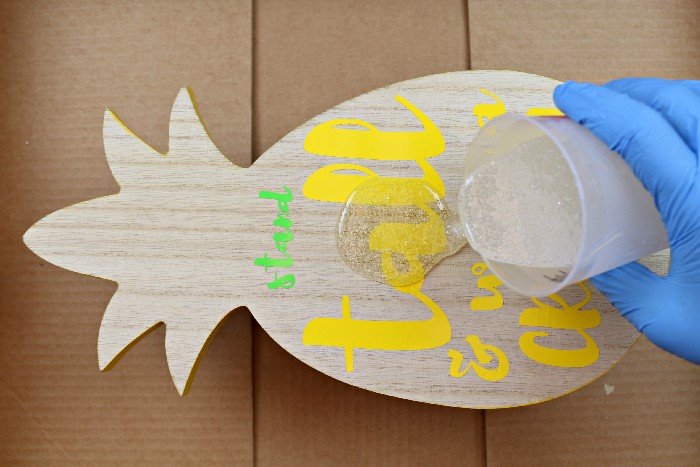
When it comes time to pour the resin, you will want to work in a well-ventilated area. Protect your work surface with something you are okay with throwing away later. Then place a cardboard box on top of your work surface. Finally, elevate the cutting board on a block inside of the box. You need to do all this prep work because there will be resin run-off from the top of your sign. Then slowly pour the resin mixture all over the cutting board.
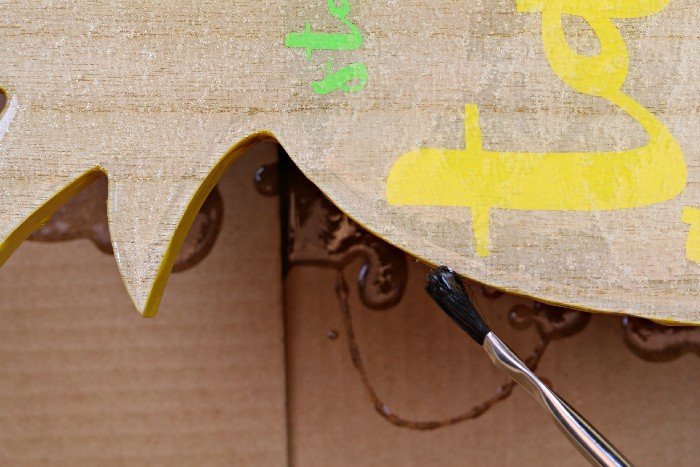
As the resin begins to flow over the sides of the sign, you can use an old paintbrush to remove excess drips on the edges.
CURING THE RESIN
After you pour the resin, you may notice bubbles form within the resin. You can pop them by gently blowing on them or by applying the heat from a hand-held propane torch. Hold the flame about 6 inches away from the resin and the bubbles will pop from the heat.
Rig up a cover for your project (one that won’t touch the surface of your sign, obviously) and let it sit for 20 minutes. Check on the sign again after this time has passed. If there are remaining bubbles in the resin, repeat the same process you used earlier to pop the bubbles.
Cover and let the project cure for 6-8 hours or overnight.
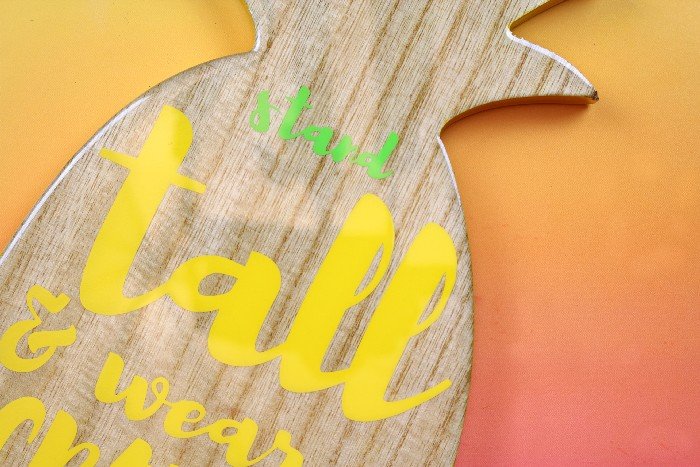
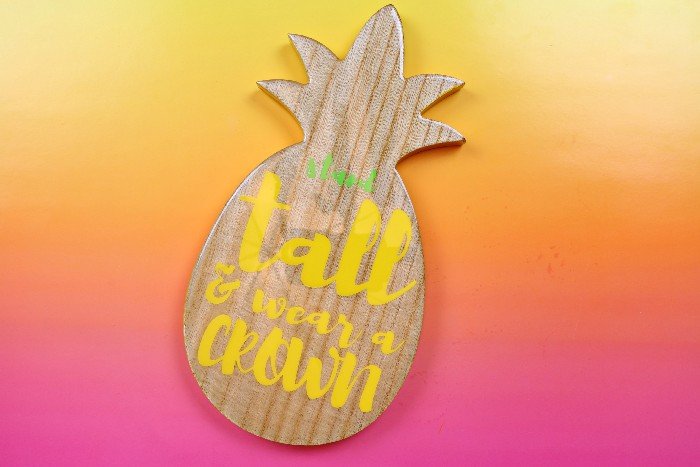
When the resin has cured your sign should have a shiny coat of resin protecting the vinyl. This is an incredible way to make your homemade projects look polished and professional. I had a hard time not capturing my own reflection when I was taking photos of my pineapple sign. It’s like the wooden cutting board now has a glassy surface!
You might like these other DIY signs:


Very helpful, thanks!