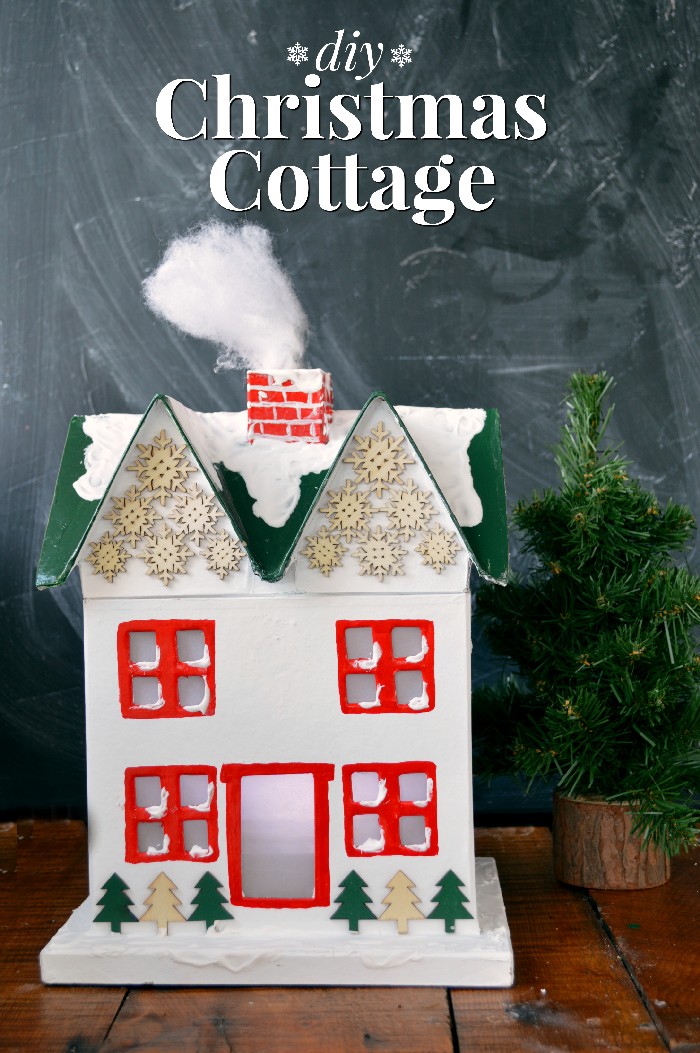
You guys. This was one of those projects. In fact, I don’t have any process shots for the tutorial because I almost scrapped the whole idea about four times. I hated how it looked, I was frustrated with my lack of skill, I just wanted to give up. Instead, I just kept pushing forward, and I am so glad I did because I really like how this little Christmas cottage turned out!
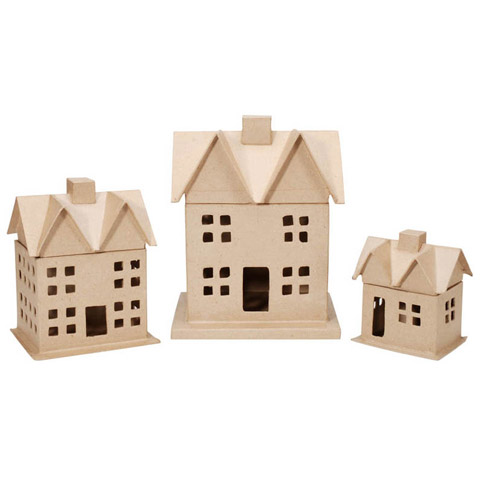
In my Christmas Haul video, I showed you the set of three paper mache houses I bought. The largest of the three houses was too big to fit in with my other painted village houses, so I needed to find a different way to decorate and use it. I started by giving the cottage a coat of pure white spray paint; it’s the same paint I used on my Glitter and Lace Christmas Village two years ago. That paint dries very quickly, so I was able to move right on to painting the roof and window and door trim. I chose not to tape off the trim, but to freehand it instead. I sort of regretted that decision as I was painting. At this point, I was even more concerned with the paint colors. I was worried that the red and green were too bold against the white walls, and I almost scrapped the whole thing.
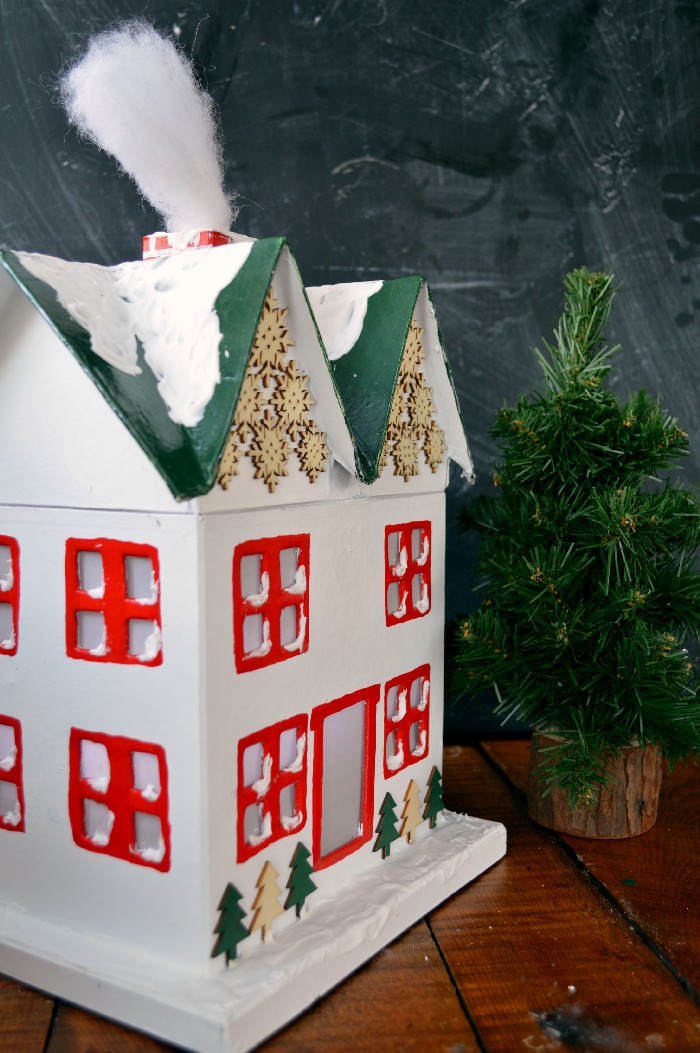
I decided to keep working on the house to see if I could get it to a place where I was liking how it looked. A few weeks ago, I bought a few packages of small wood embellishments from the dollar spot at Target. I used craft glue to add them to the gables and front of the cottage. Then I used adhesive dots to add vellum to the inside walls of the cottage, so you can’t see the LED light I placed inside of it.
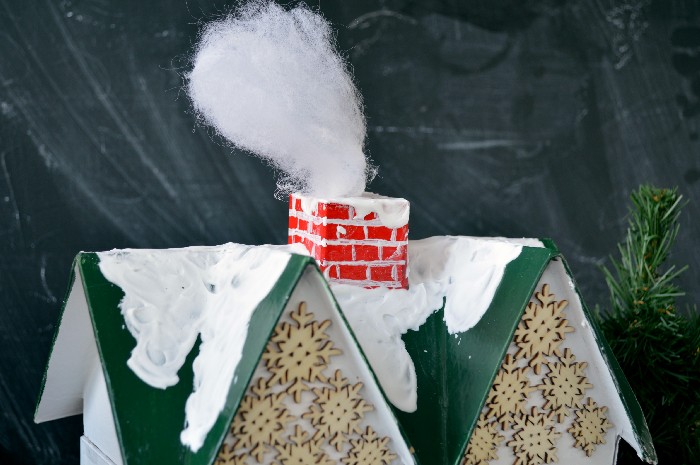
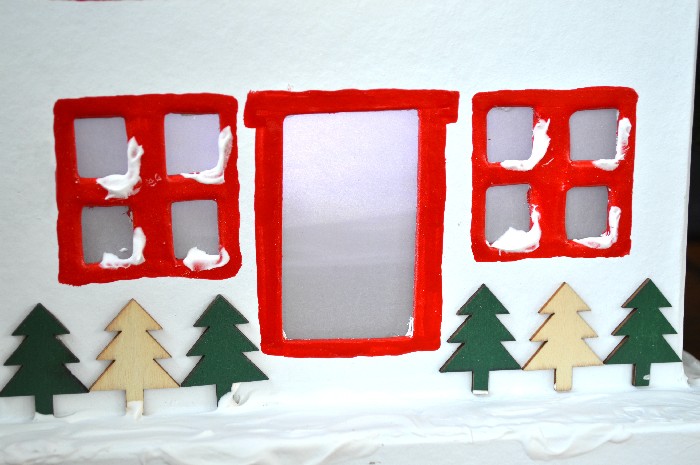
After the paint and glue dried, I added snow to the rooftops, windows, and ground using Aleene’s True Snow. The medium has a shaving cream like texture that dries hard. It wasn’t until I added the faux snow to the cottage that I started to think this project might actually turn out okay!

The smoke coming out of the chimney was the easiest part of this project, but it is my favorite detail. I unbent a paperclip and dipped it into my bottle of craft glue. Then I sandwiched the paperclip between two pieces of cotton batting, and formed it into a smoke shape. I punctured a small whole in the top of the chimney, inserted the smoke, and glued it in place with super glue.
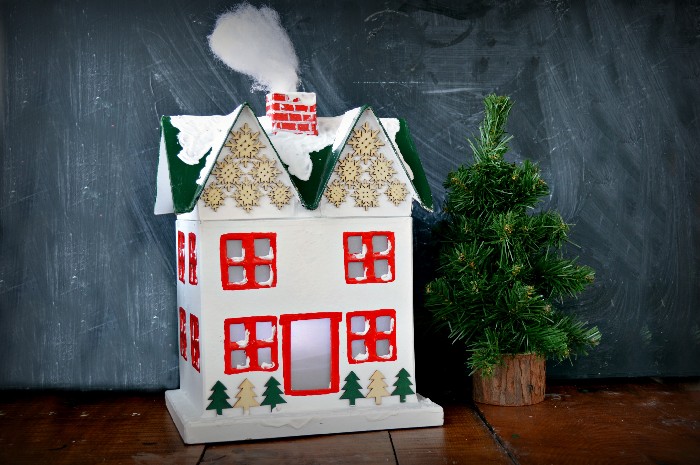
At first, I was conflicted about this piece, but now that it’s finished I am really happy with it. I kind of like how the slightly wonky trim shows that it is hand-painted. The rich red and green colors read as kind of vintage/Scandinavian now, especially with the laser cut wood embellishments. I am glad I kept pushing forward with this project, because I would have missed out on a cool, new Christmas decoration if I had given up.
Have you ever had a project that challenged you like this one? Tell me about it in the comments!
I purchased many of the supplies for this project from Consumer Crafts or Target, but I wanted to make sure you were able to make your own version no matter where you live. These are all affiliate links, if you make a purchase (of anything on Amazon, not just these items) after clicking through, I will earn a small commission. Ads and affiliate links are the way I am able to keep this website running and to offer you free tutorials all year long. Thank you so much for supporting me and Mad in Crafts!
- Paper mache house set
- White spray paint
- Vellum
- Adhesive dots
- Green paint
- Red paint
- Paintbrushes
- Faux snow
- Craft glue
- Cotton batting
- Super glue
- Wood trees
- Wood snowflakes
You might like these other Christmas village DIYs:



SO pretty Christmas cottage decoration, thank you for linking up to Inspire Me Monday!