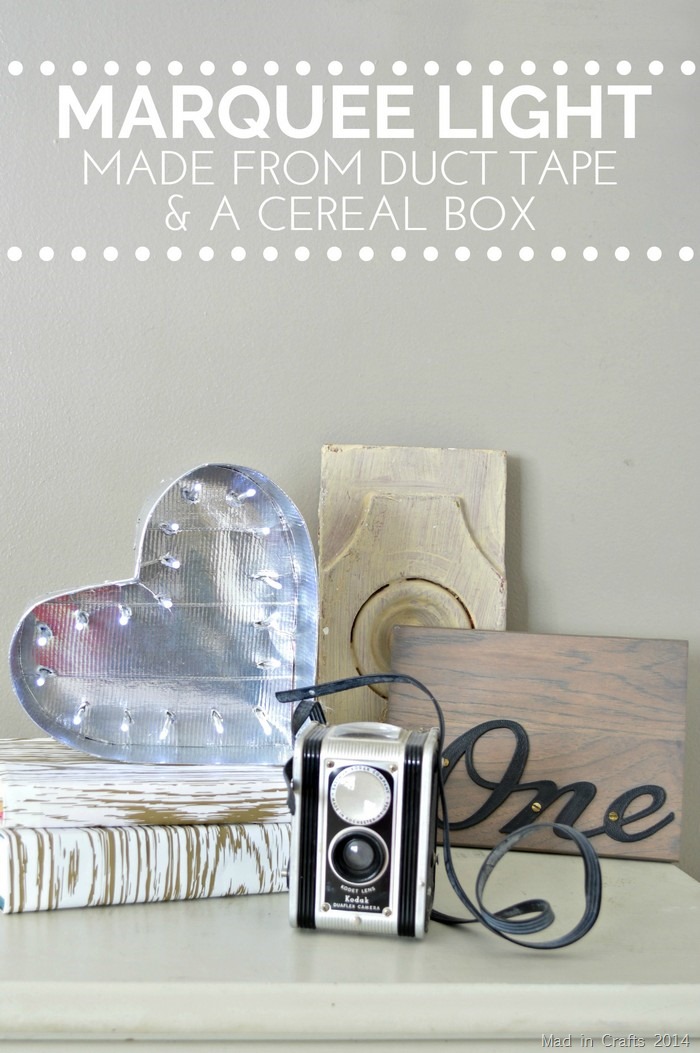
After five years of craft and home blogging, it’s kind of a miracle that this is my first attempt at a marquee light DIY. The variations of the idea are everywhere, so I didn’t have to reinvent the wheel for this tutorial. My version can be made quickly and with items you might already have around the house!
I am sharing this project as part of the new round of Craft Lightning. As always, 30 Minute Crafts and The Country Chic Cottage are behind the series, but this month’s series host is Carissa of Creative Green Living. Be sure to check her blog every day this week for wrap-ups of each day’s projects. Although the project looks like a lot of steps, they each go really quickly. The whole project consists of cutting cardboard and sticking duct tape to things. It’s nowhere near rocket science! To make this project all you will need are some lightweight cardboard, duct tape, LED string lights, scissors, and a craft knife.
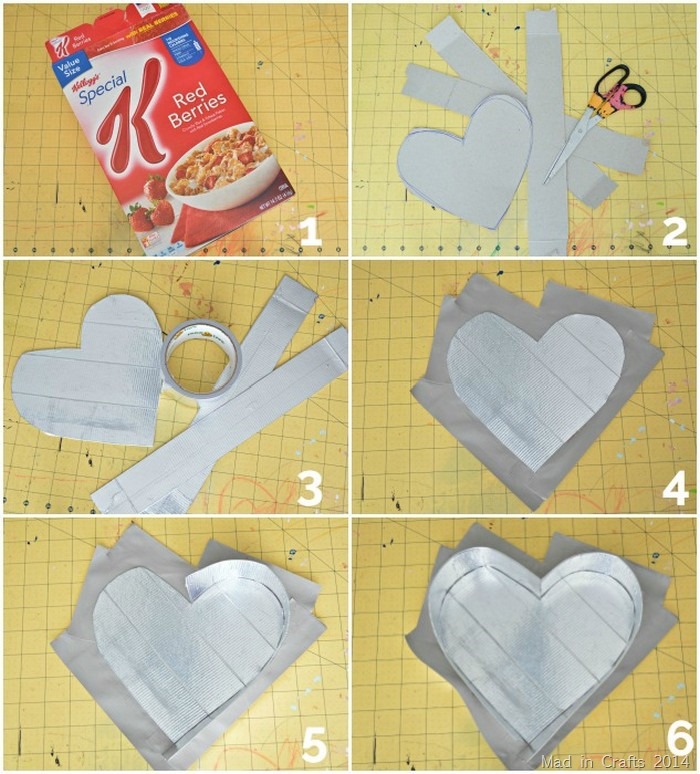
1. Dig a cardboard box out of your recycling bin. Cereal box weight cardboard is the easiest to work with.
2. Cut the box into the shape you would like to create. Cut several strips of cardboard, making sure they are all of equal width.
3. Cover the shape and strips with duct tape.
4. Apply duct tape around the edges of the shape, sticky side up.
5. Outline the shape with the duct tape covered strips, overlapping when necessary.
6. Finish outlining the shape with strips and cut off any excess.
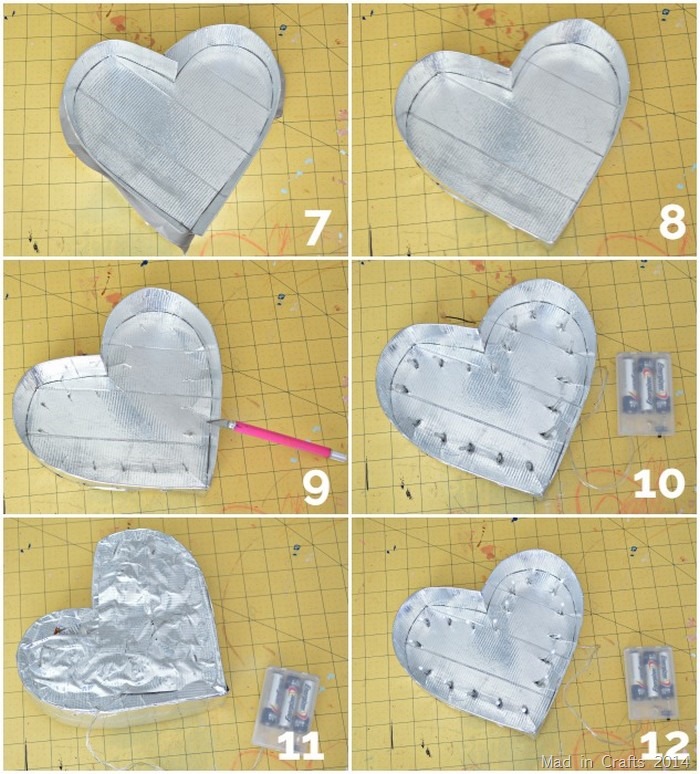
7. Use a craft knife to trim the duct tape so that it is roughly 1/2” wider than the shape on all sides.
8. Fold the tape up onto the strips to hold them in place. Add any addition duct tape to reinforce the strips where it is needed.
9. Use the craft knife to cut slits for the lights.
10. Carefully push the lights through the slits.
11. Tape the wires down onto the back of the marquee shape.
12. Test out your new marquee light!
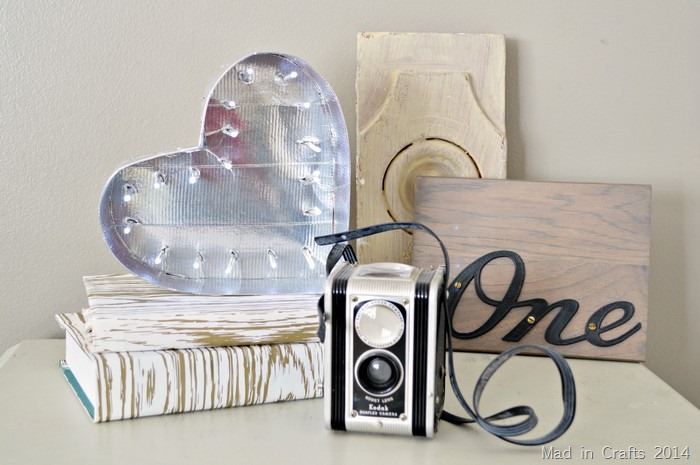
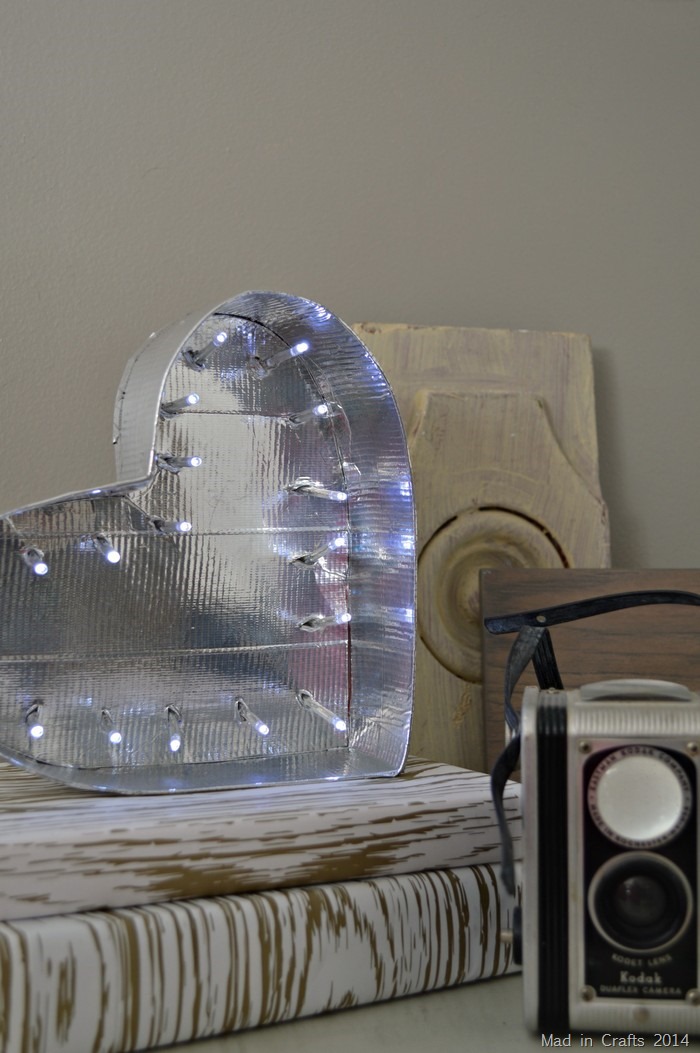
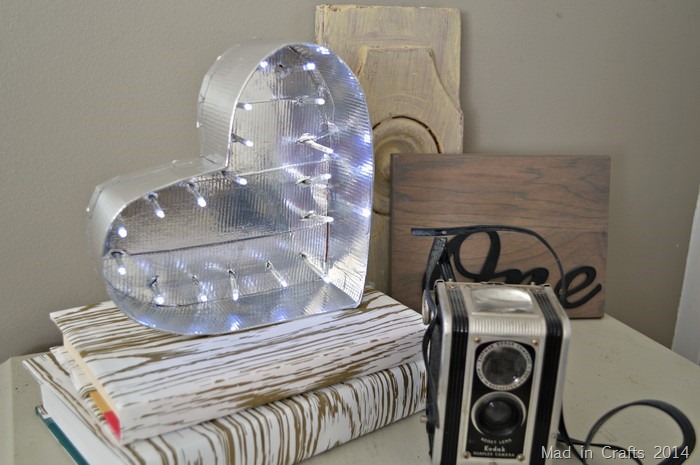
While you can use any color or pattern of duct tape that you would like, I really like how Duck Brand’s metallic silver tape reflects the lights of the marquee.
You can rest the marquee sign on a tabletop with some other décor pieces, or make a few more and hang them up in a display on a wall.
Has this quick tutorial convinced you to jump on the marquee light bandwagon? I’d love to see your version if you make one of your own! Don’t forget to hop over to Creative Green Living to see the other recycled crafts that bloggers are sharing this week.
I have put together a list of affiliate links for all the products I used in this tutorial. If you choose to purchase after clicking through, I will receive a small commission. Thanks!



Love this Jess! Thanks for joining!
Genius! So clever and smart!
Cute idea! Recycling a cereal box in such a creative way is a good example to follow. My girl will fall in love with this marquee heart, also both of us could spent some time together making other forms too. Thank you for the inspiration!