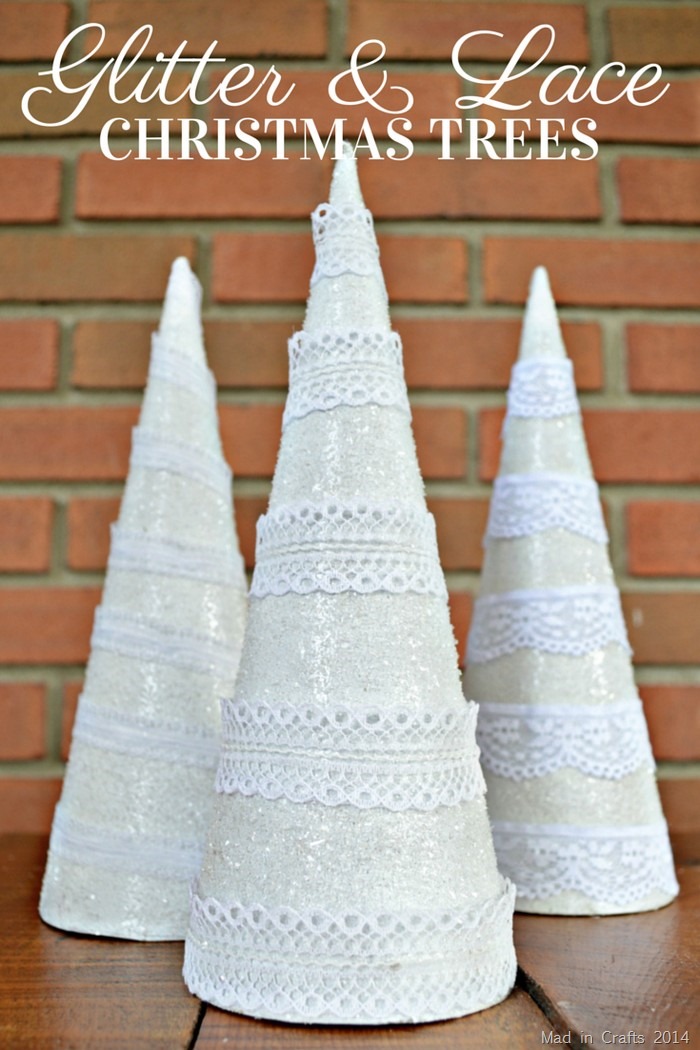
About a week and a half ago, I shared my glitter and lace Christmas village tutorial and promised that I would get back to you with the tutorial for the trees. I keep my promises! The process is VERY simple and results in pretty, delicate looking trees to accompany your Christmas decorations.
I bought three of these 10 inch paper mache cone trees and gave them a coat of Plutonium spray paint in Polar. You could also give them a coat of white craft paint, if the weather is keeping you from spray painting.
After the paint dried I creased a piece of parchment paper and laid it in the 9×13 pan that has become my “crafting pan.” I coated each tree with Mod Podge, sprinkled on a heavy dose of glass glitter, and shook off the excess. Then I could pick up the paper, fold it in half, and pour it back into the container. In this photo, I was actually working with MS glitter, but the concept is the same.
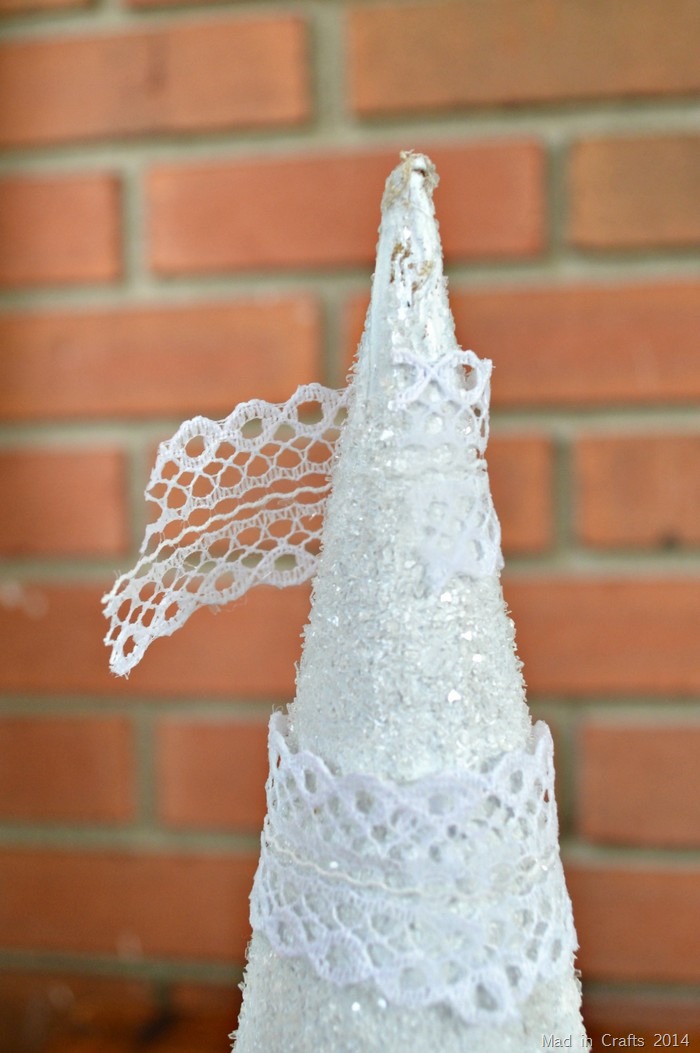
Next, I measured lengths of Martha Stewart lace to fit around the tree and used strong craft glue to hold the lace in place. I made sure to choose a back for each tree, and I put all the rough edges on that side.
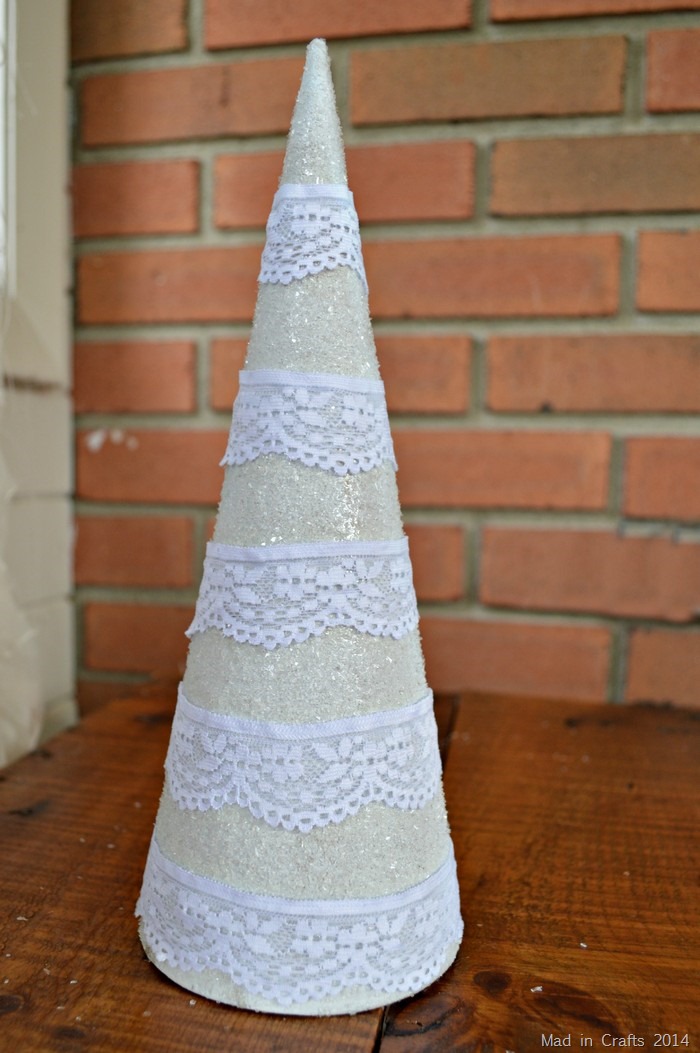
For two of the trees, I cut smaller and smaller pieces of lace so they would encircle the tree all the way up.
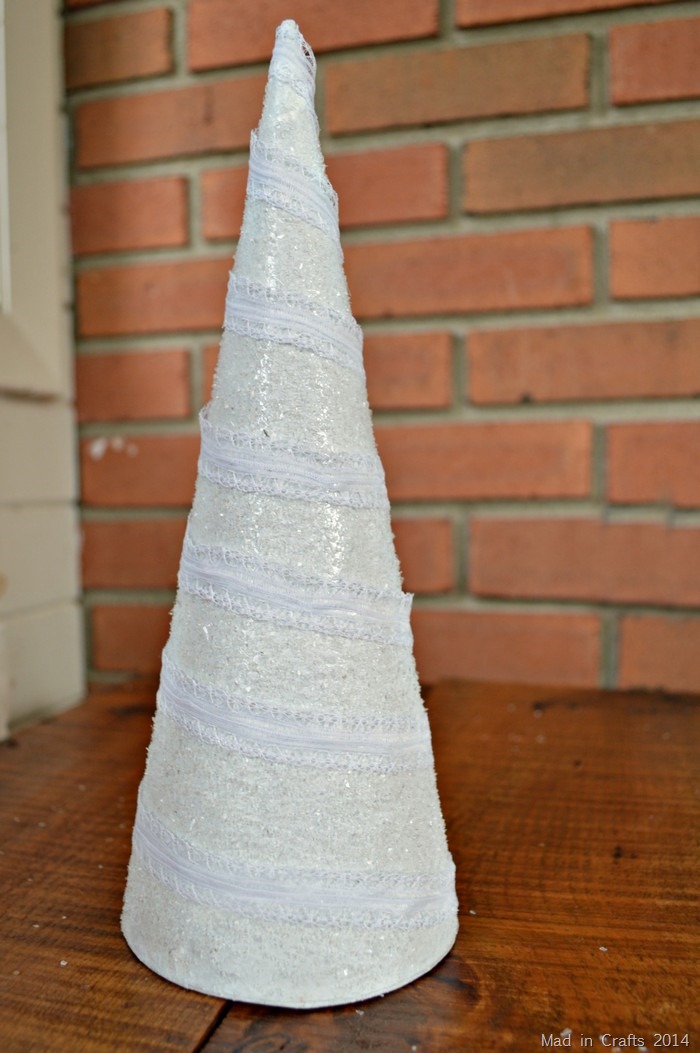
I spiraled the lace around the third tree from bottom to top and cut off the excess. A few dots of glue hold that lace in place too.
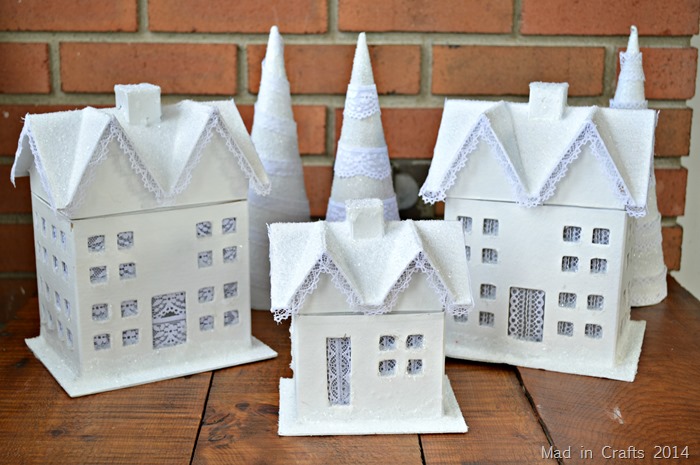
The trees were quick to make, but they really complete my glittering Christmas village. You could also use these trees in addition to other Christmas decorations or as a sparkly centerpiece for a winter table.
I’ve gathered links to the materials I used in this tutorial. If you purchase after clicking one of these links, I will receive a small commission. Thanks!

