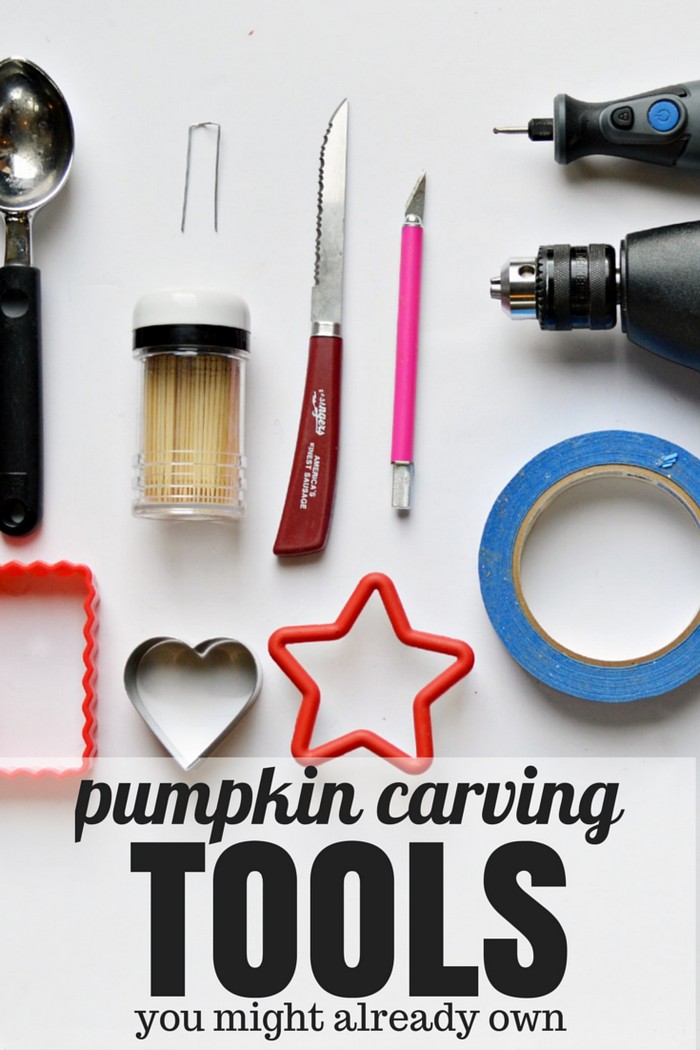
By now you may have already purchased the ideal pumpkin to turn into this year’s jack-o-lantern masterpiece. What tools do you need to turn the orange gourd into a piece of art? Don’t spend your money on specialty tools that you will only use once a year! You may already have all the tools you need in your own home!
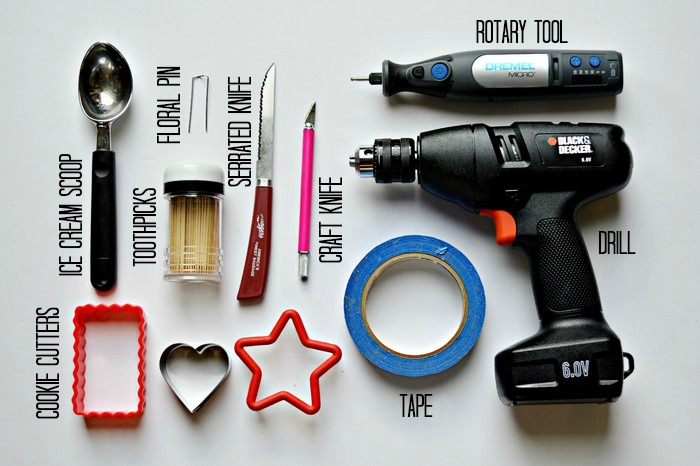
Serrated Knife: The saw-like blade of a serrated knife is perfect for slicing through pumpkin flesh. Use it for the jack-o-lantern’s eyes and mouth or the hole for the candle.
Ice Cream Scoop: The rounded bowl and sturdy handle of most ice cream scoops are ideal for scraping down the inside of a pumpkin to remove seeds and “guts.” Just be sure not to scrape the interior of the pumpkin flesh too thin, or it will be more difficult to carve and etch. Rinse and roast those seeds later for a delicious, healthy snack!
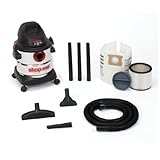
Wet/Dry Vac: If you happen to have a shop vac, you can use it to quickly and cleanly suck the cavity of the pumpkin out. The downside of using the vacuum is that you probably don’t want to roast and eat pumpkin seeds that have been inside your vacuum.
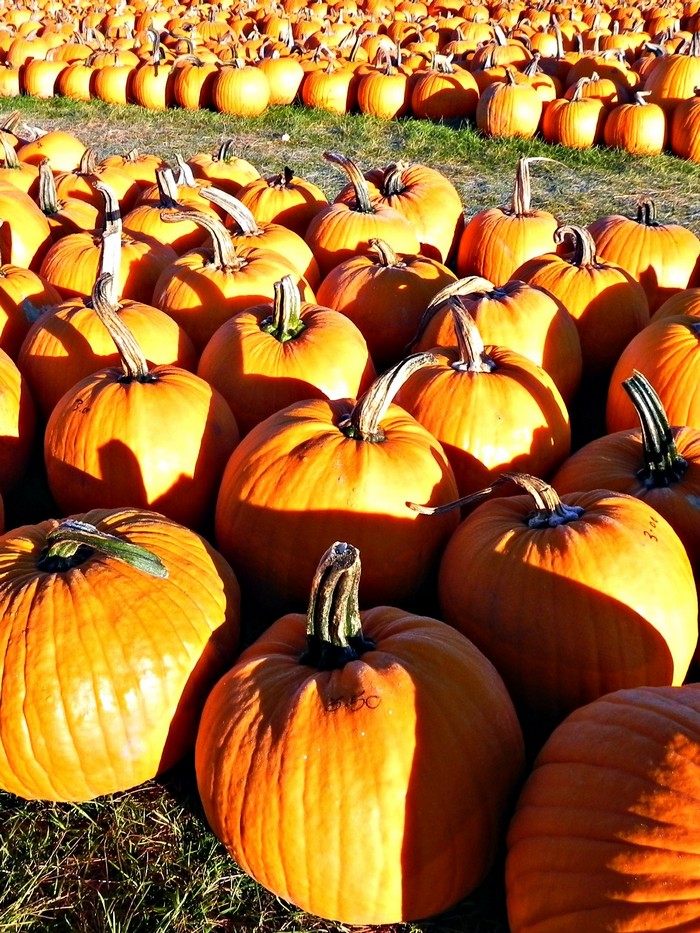
Printer: Instead of trying to freehand your pumpkin design, create or search for a printable design online. Print the design out to guide your carving.
Tape: Masking tape works best to hold the printed design onto the slick surface of a real pumpkin, but scotch tape will work in a pinch. Do your best to curve the printed design to the outside of the pumpkin.
Pins: Straight pins, stick pins, or floral pins can be used to transfer the printed design onto your pumpkin. Poke through the lines of your pumpkin design and into the flesh of the pumpkin. Remove the paper and tape and you have a simple dot-to-dot pattern to follow with your carving tools.
Craft Knife: Kitchen knives work for pumpkin carving, but nothing beats a small craft knife for intricate details.
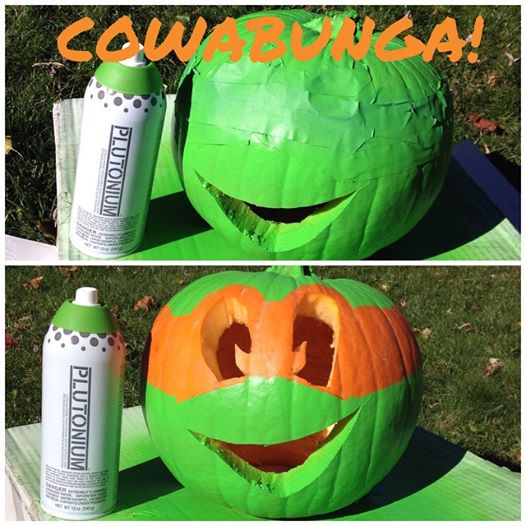
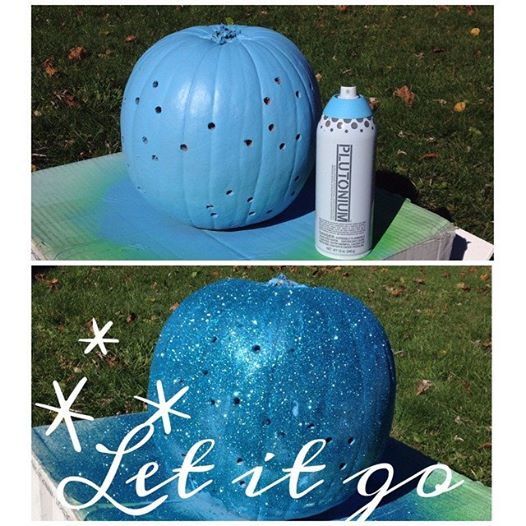
Spray Paint: Yes, you can spray paint real pumpkins! I used painter’s tape and Plutonium Paint in Hydro to make a simple Michelangelo pumpkin for my son.
Dremel: Rotary tools can be very useful for pumpkin carving. Dremel tools offer a wide variety of bits and attachments, like etching bits and very small drill bits, that can help you quickly and easily remove pumpkin material to create a design. Dremel tools can also be used to carve and etch Funkins like I did earlier this year. Dremel makes a tool specifically for pumpkin carving, but you will use the Dremel Micro year-round so I recommend it over the pumpkin tool.
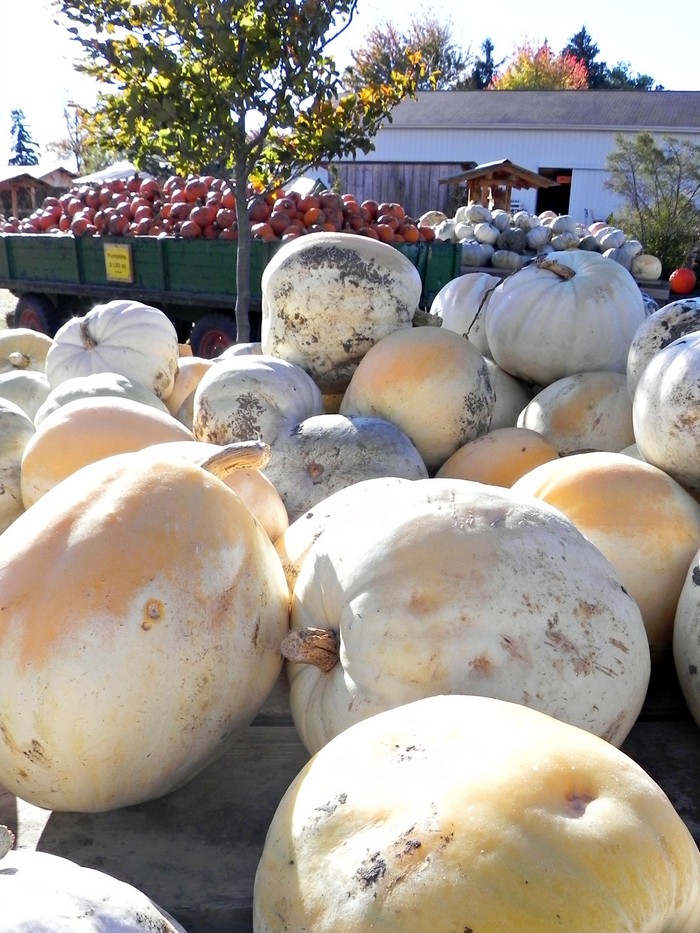
Drill: Drills are slightly less versatile than Dremel tools, but you can make graphic designs like polka dota lightning fast with a large drill bit. My daughter’s Frozen inspired pumpkin features hole “sparkles” all around it.
Cookie Cutters: Metal cookie cutters and a rubber mallet are all you need to easily create shaped holes in your Halloween pumpkin. Save the cut-outs for additional decoration.
Skewers and Toothpicks: If you have weak areas in your pumpkin design, you can create hidden reinforcements with toothpicks. Slip the pick inside the flesh of the pumpkin to prevent sagging and breaking. Skewers can be used to add additional elements to your pumpkin design, like the cut out shapes you created with your cookie cutters.
Even if you have to buy some of these tools for the first time, you will be guaranteed to use them year round, not just in October. I’ve gathered links to the tools I mentioned in this tutorial. If you purchase after clicking one of these links, I will receive a small commission. Thanks!
This post was originally created for ForRent.com
Did you like this post? Think it’s worth sharing? Please share with your friends using the social media share buttons at the bottom of the page!
Thanks, Jessica





GREAT post… super smart. Many times those official tools that you find in grocery stores don’t work that well! Pinning.