Earlier this year, my mom offered me my grandpa’s old camera tripod. I eagerly snapped up the tripod that he used to take countless shots of our large, loud family. Although I didn’t need a camera tripod, there was another way I could turn the tripod into something practical and beautiful.
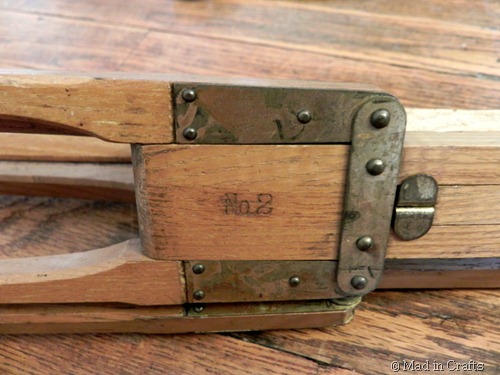
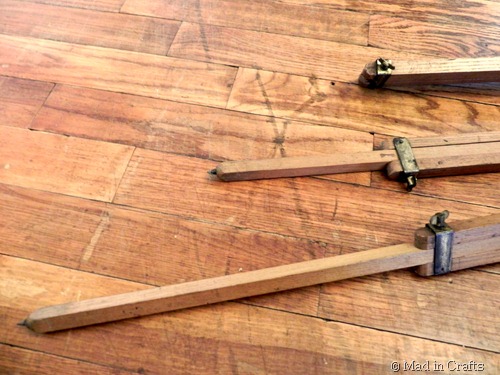
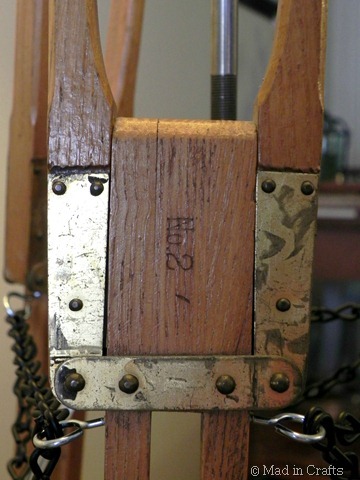
Since most people don’t use tall camera tripods anymore, you can occasionally find them at thrift stores or garage sales. My grandpa’s is wooden and has fantastic brass details and some typographical engraving too.
I did some internet research and found that quite a few high-end home décor stores sell versions of tripod lamps… but theirs cost upwards of $250! I put my floor lamp together for less than $10. I purchased a few materials from a home improvement store and “borrowed” the rest of my materials from an unused table lamp I had in my basement.
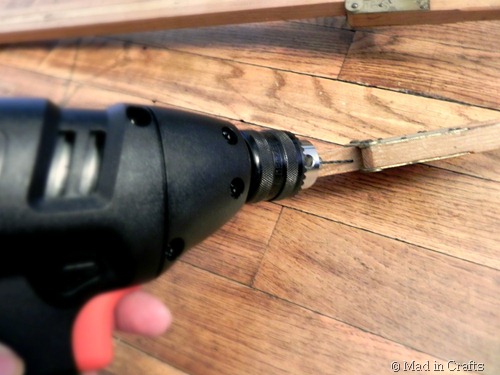
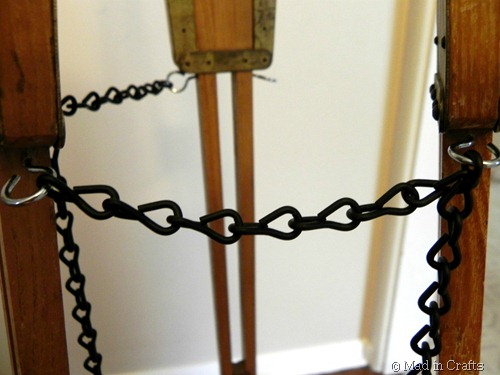
To ensure the tripod will stand securely, I had to link the three legs together. I started by drilling a guide hole in the legs just below the brass detailing, two on each leg.
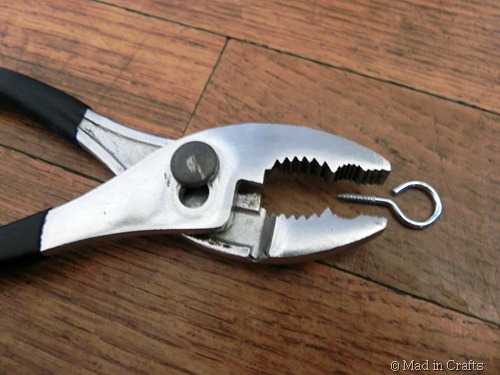
I used a pliers to open each of six eye hooks just enough to be able to attach a length of chain.
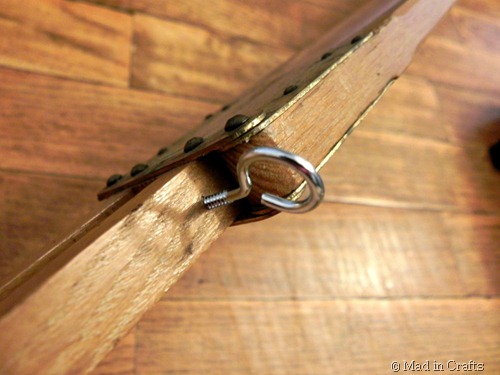
Then I carefully screwed each eye hook into place.
The legs of the camera tripod are adjustable, so I could make the lamp as tall as I wanted! After adjusting the length of the legs, I removed them from the circular center of the tripod to make the next steps easier.
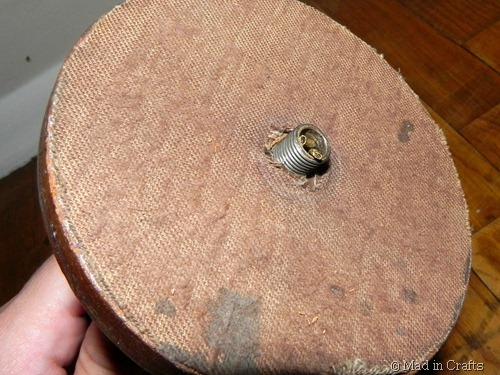
After removing the hardware from the center of the tripod, I took a threaded post from the center of an old table lamp and put it through the hole.
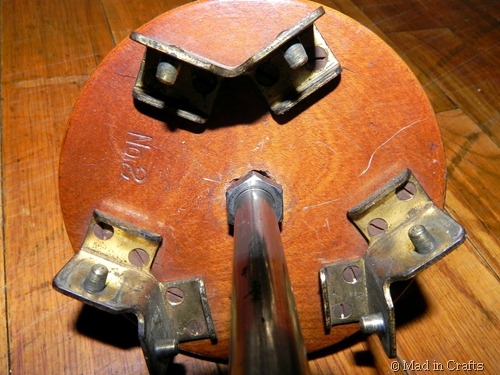
I secured the threaded post on the underside of the tripod center with a hex nut.
I bought a cord kit from a home improvement store, which was then inserted into the threaded post and up through the center of the tripod.
I salvaged a lamp socket from the old table lamp and screwed it onto the threaded post. Then I pulled the wiring through. I wish I would have realized here that I had forgotten to put the harp attachment on first, instead of 4 steps later.
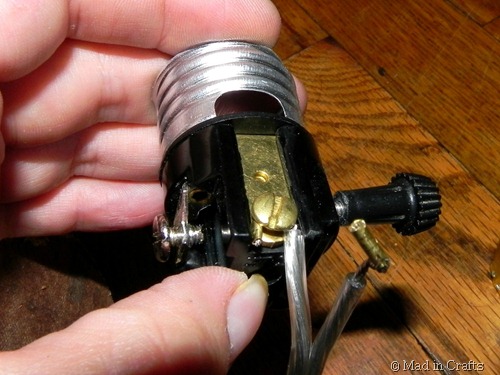
After reading some great instructions on the internet, I rewired the electrical cord to the lamp socket.
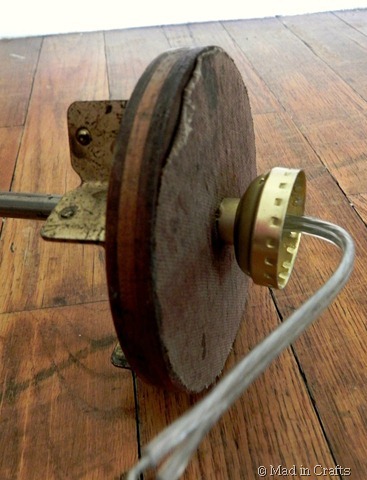
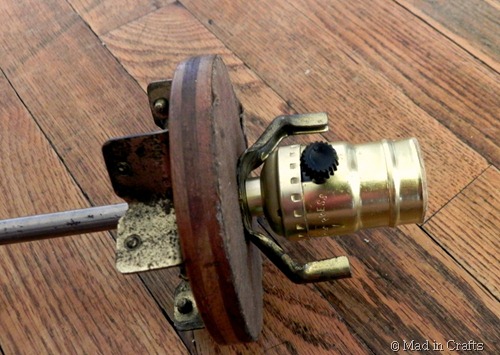
This is what the lamp socket looks like once it is all put together (with the harp attachment in place).
To support the legs of the tripod, lengths of chain need to connect each leg to the other two. I asked the saleslady at the home improvement store to cut me three lengths of chain, each a foot long, from the store’s bulk chain aisle.
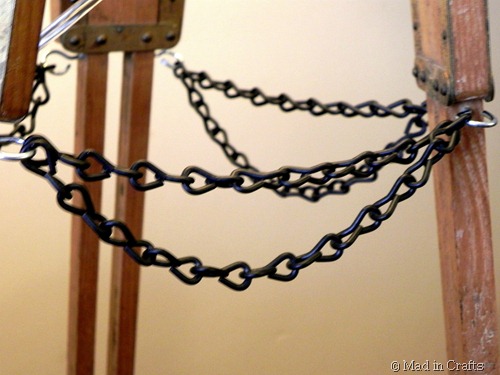
After reattaching the legs to the center of the tripod, I determined how long each length of support chain should be. This took some trial and error until the lamp was adequately stable.
Originally I thought I would have to cut the the excess chain from each length, but I found that I could just drape the excess back to the first eye hook again. I think it adds another elegant detail to the lamp.
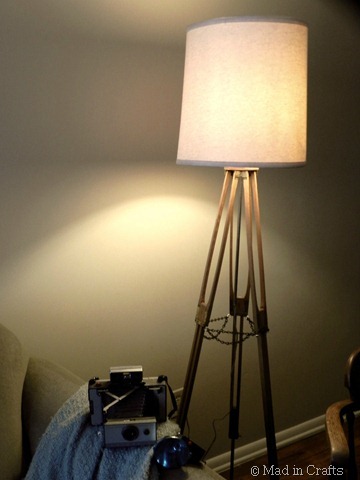
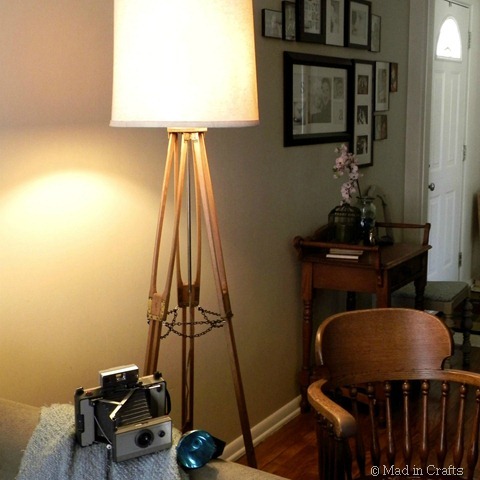
All the great parts of the original camera tripod are still visible, even in its new life as a floor lamp.
All that was left to do was to add the harp, lampshade and finial to the base. I reclaimed all those parts from that same unused table lamp that provided the lamp socket, so they were free too!
I love that not only was I able to make a stylish floor lamp for so little money, but that it has such sentimental value to me. It’s important to me that the décor in my house is functional and meaningful, and this lamp is a perfect example of that!
I originally created this lamp as my audition project for So You Think You’re Crafty. Click the links below for more of my SYTYC projects.
|
Did you like this post? Think it’s worth sharing? Please share with your friends using the social media share buttons on the toolbar at the bottom of the page!
Thanks, Jessica Hill
|



![diy-typographical-globe-with-pedesta[2] diy-typographical-globe-with-pedesta[2]](http://lh6.ggpht.com/-SeBumc-0GX8/TrKEzWnKgfI/AAAAAAAAFTo/G6yPzxX0Aks/diy-typographical-globe-with-pedesta.jpg?imgmax=800)
![knockoff square[4] knockoff square[4]](http://lh3.ggpht.com/-dGb6EZ3gr_k/TrKEzo1GCgI/AAAAAAAAFTw/dh0h0zQzbfc/knockoff-square47.jpg?imgmax=800)


You know …about I'm keen on Andy and appreciate his stance, I can't think the Russians are going to caqre if Andy perhaps there is or
not.
This is incredible!