Are you tired of creating design layouts from scratch? Look no further than Canva! This popular graphic design tool offers a wealth of features to help you create stunning graphics, social media posts, presentations, and more. But with so many options, it can be overwhelming to know where to start. That’s why we’ve rounded up some of the most useful Canva tips and tricks, complete with video tutorials! That’s why we’ve rounded up some of the most useful Canva tips and tricks, complete with video tutorials! Whether you’re a seasoned Canva user or just getting started, these tips will help you create beautiful designs in no time. So grab your favorite beverage and get ready to take your designs to the next level with Canva!

17 USEFUL CANVA TIPS (WITH VIDEOS)
CANVA TRICKS YOU CAN DO FOR FREE
FIND THE PERFECT GRAPHIC WITH MAGIC RECOMMENDATIONS
Easily find design elements that match your style with Canva’s Magic Recommendation tools. This tool helps to create consistency within larger projects.
CREATE A PHOTO COLLAGE WITH GRIDS
Canva’s premade grids allow you to make photo collages quickly and easily. I used the grids to make a collage pin for Pinterest, but this trick is great for Instagram posts or even holiday photo cards.
ANIMATE SINGLE DESIGN ELEMENTS
You can animate single elements in your Canva projects and even create custom animations using a new feature. Use animations to spice up presentations and graphics for social media. Download the designs in MP4 or GIF file formats.
ANIMATE ENTIRE DESIGNS
Did you know you can turn your Canva graphics into short videos with their animation tool? It’s an easy way to create short Reels and TikToks or to add interest to presentations.
ADD COOL EFFECTS TO YOUR TEXT
In this tutorial video, I show you how to use Canva’s text effects to create eye-catching designs for your social media posts, presentations, and more. You’ll discover the different text effects available and learn how to customize them to fit your project. Follow along and start creating stunning designs with Canva today!
EASILY CURVE TEXT
Let’s tackle the Text Effect I didn’t cover in the video above. Curved text is super helpful if you are designing your own stickers!
CREATE PROFESSIONAL MOCKUPS IN CANVA
Do you create digital products? You can make cool mockups to show off your products quickly and easily using Canva’s Smart Mockups. Just drag your digital designs or photos into the frames in the mockup and Canva does the rest!
COLOR MATCH YOUR DESIGNS TO YOUR PHOTOS
Making your Canva project match your photos is so easy! No more guessing or settling for “close enough!” I made a quick video to show you how to use a handy Canva feature to pull colors directly from your own photos.
GENERATE A CUSTOM COLOR PALETTE FROM A PHOTO
Have you tried Canva’s Color Palette Generator? Upload a photo and it will automatically pull a four-color palette based on the tones in the photo!
PLAY WITH COLOR THEORY
Have some fun learning about color theory and create a new color palette for your Canva project! The Canva Color Wheel Tool is an easy way to create pretty palettes based on known color theory.
CREATE A CUSTOM GRADIENT IN CANVA
Give your Canva designs a custom look by adding a color gradient behind your photos. You can choose the exact colors in your gradient to suit your occasion or your brand!
ADD QR CODES TO YOUR DESIGNS
Did you know that you can add QR codes to your Canva projects this easily? This is great for promotional materials like flyers, postcards, and brochures.
ADD CLICKABLE LINKS TO PDFS
Add clickable links to the PDFs you create with Canva! It’s super easy and great for PDFs that are shared digitally.
USE GUIDELINES TO CREATE PROFESSIONAL DESIGNS
Trying to keep multiple elements aligned over several pages? Learn how to show rulers on the canvas to make sure your designs look clean and professional!
SAVE TIME WITH KEYBOARD SHORTCUTS

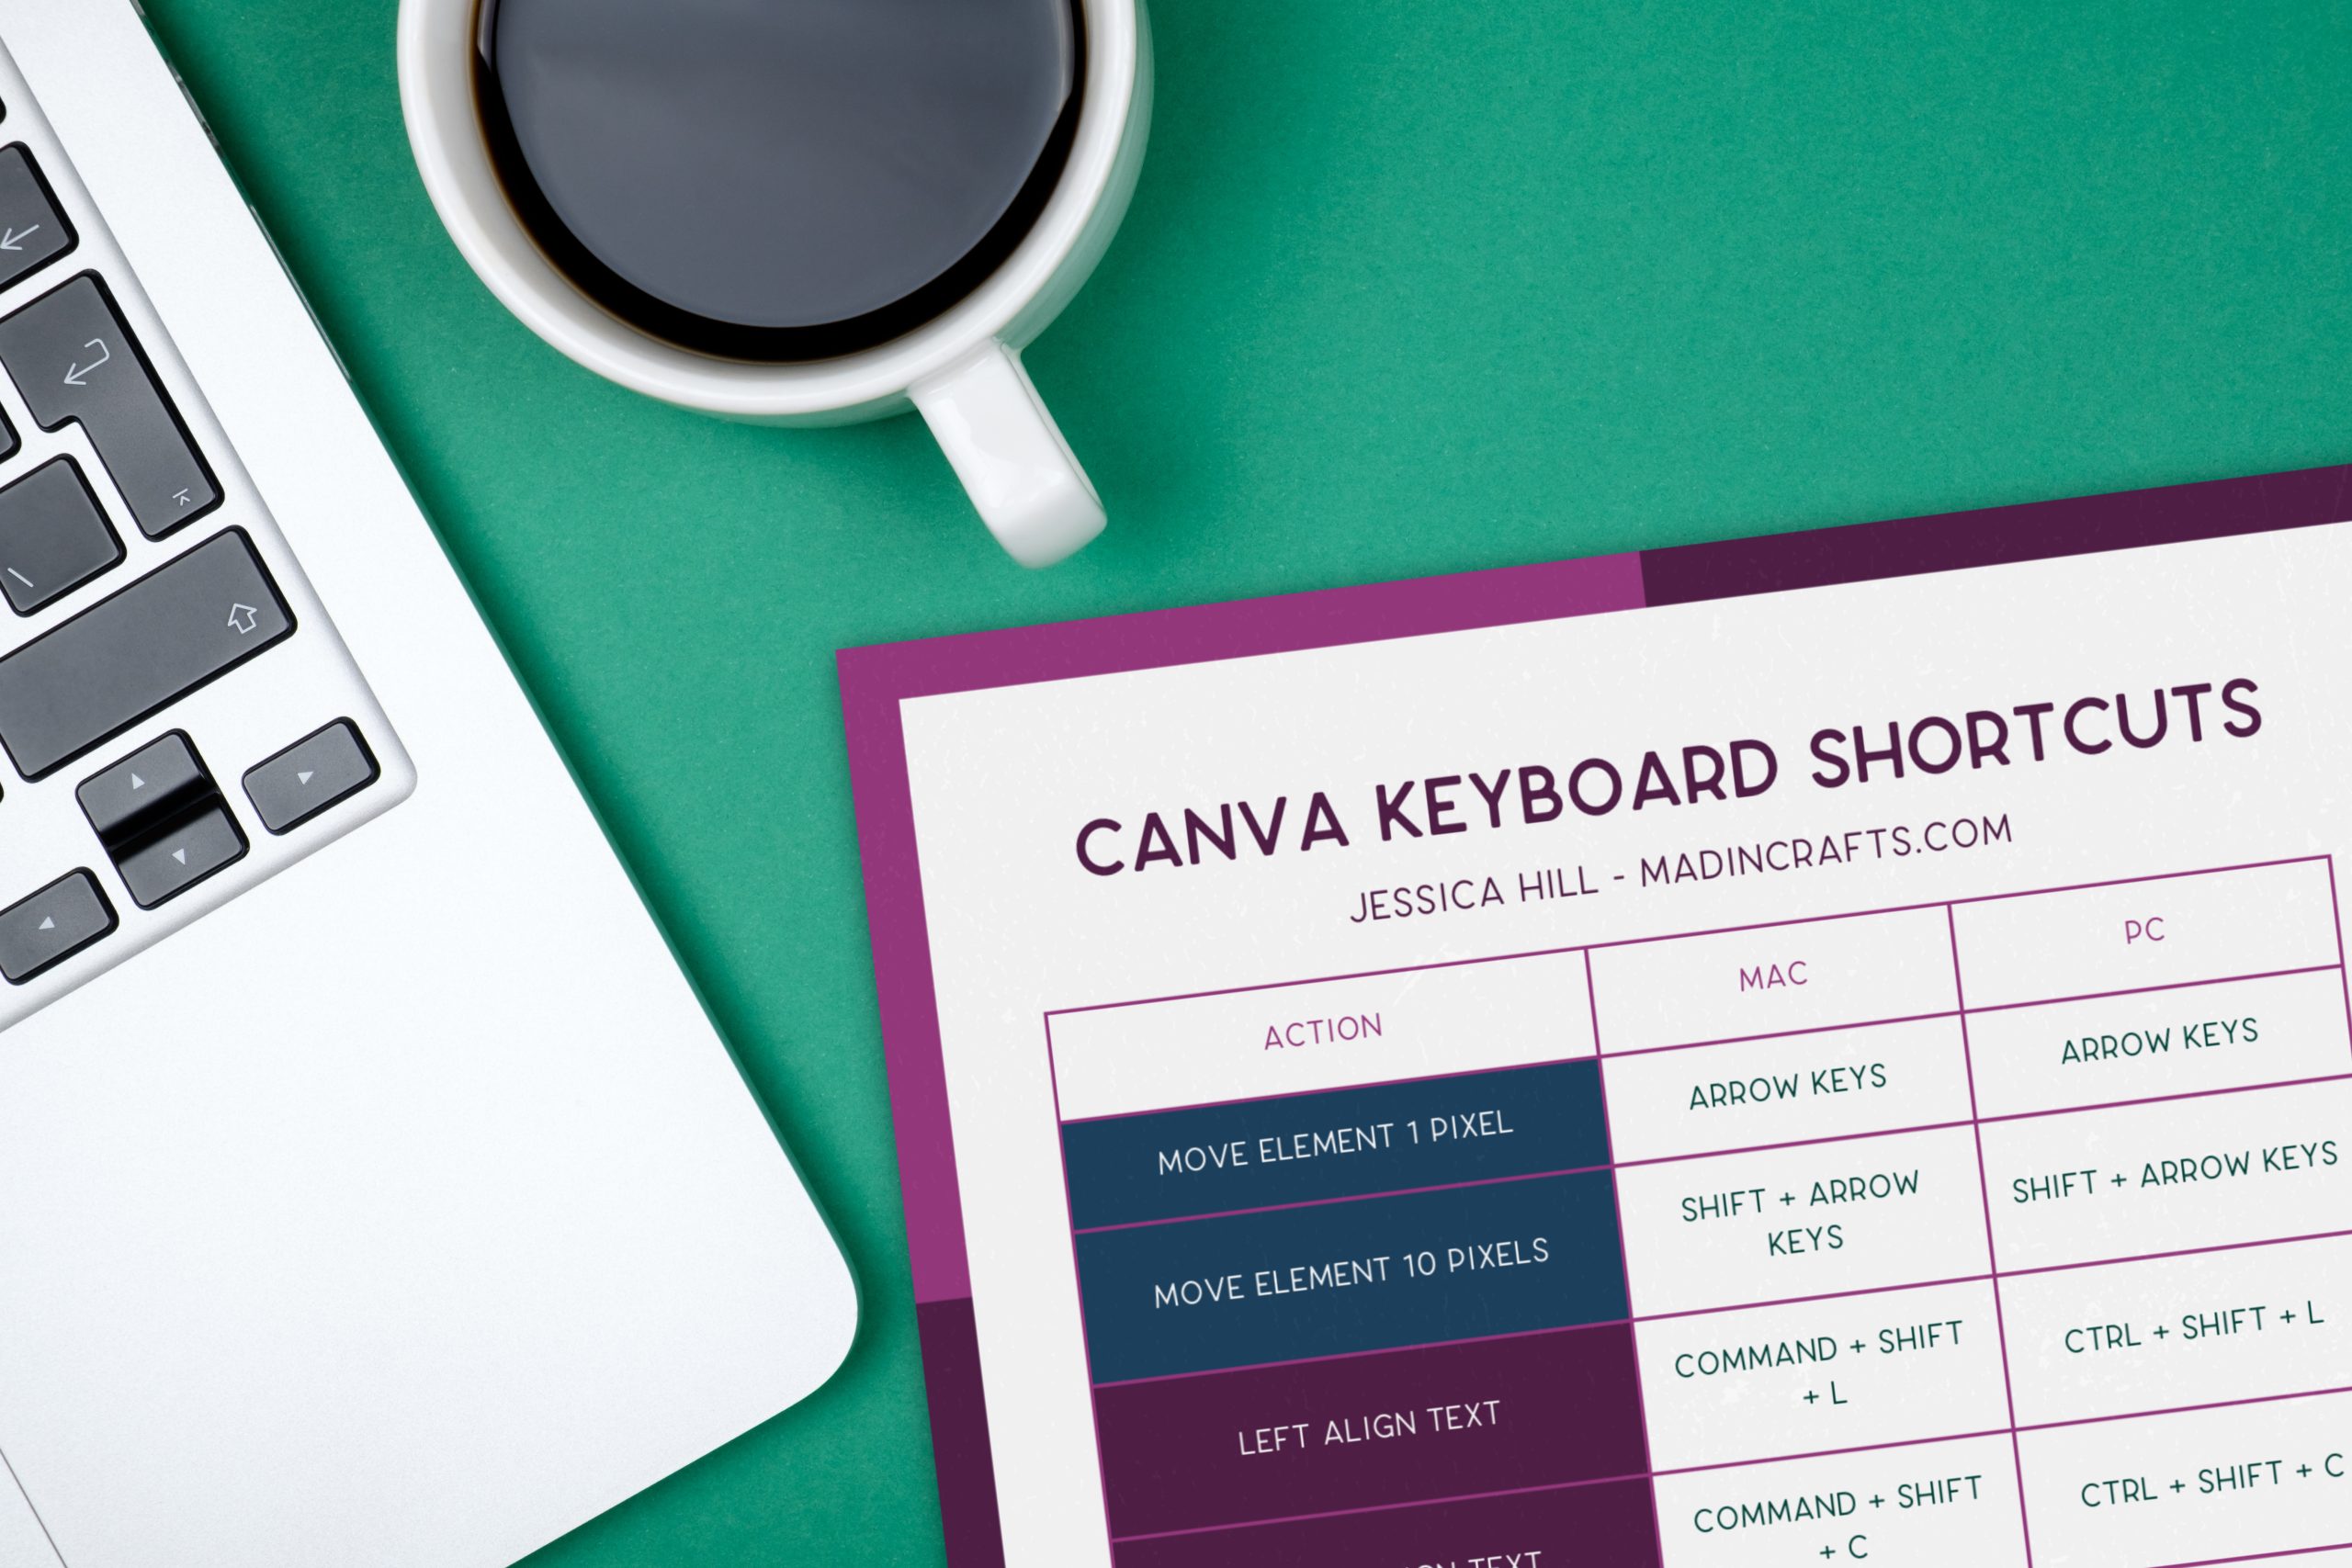
Using Canva for graphic design is already simple, but the process gets even easier when you know the keyboard shortcuts. Sign up for the Mad in Crafts email newsletter, and I will send you a two-sided reference PDF of the most commonly used shortcuts.
CANVA PRO TOOLS
LEARN MORE ABOUT CANVA PRO

The free version of Canva is an amazing tool for creating graphics to use online or to print. It does have its limitations, however. The rest of the tips in this post require a Canva Pro subscription. If you are looking to have access to a wider range of tools, assets, and abilities, Canva Pro might be worth the monthly subscription.
Canva Pro users have access to the following:
- Access to over 100 million pieces of premium content including graphics, stock photos, videos, and more
- Intuitive video creation software
- Impressive photo editing capabilities (like Background Remover that works with the click of a button)
- Over half a million professionally designed templates to guide your design
- Turn static photos into GIFs and videos with instant animation
- Social media scheduling for Facebook, LinkedIn, Pinterest, and Twitter
- The ability to resize your design for different social media platforms with the Magic Resize tool
- Quick and easy branded graphics based on your personalized Brand Kit
- 1 TB of cloud storage
- 24/7 customer support
The following is an affiliate link, if you purchase Canva Pro after clicking through, I will earn a small commission. Thank you so much for supporting me and Mad in Crafts!
SAVE TIME WITH MAGIC RESIZE
Canva’s Magic Resize feature is my FAVORITE time-saver. You can turn one design into custom graphics for all your social media platforms.
CREATE PROFESSIONAL PRODUCT PHOTOS IN CANVA
In this video, I will share some amazing Canva hacks that will help you create professional-looking product photos that will make your products stand out. Whether you’re a small business owner, a blogger, or a social media influencer, these hacks will save you time and money while giving your photos a polished and professional look.
The video shows you how to remove the background from your photo, how to apply a background image to the photo, how to use Edit Image to ad a shadow effect, and how to create a realistic-looking product reflection.


Leave a Reply